This post is sponsored by Ace Hardware.
We have these chairs that were left at the house when we moved into our home a few years ago. They’re really old, outdated and worn-out and we’ve been wanting to upholster them for a while and we finally did it this past weekend! I’ve partnered with Ace for their $.99 Color Sample Pint promotion for this post.
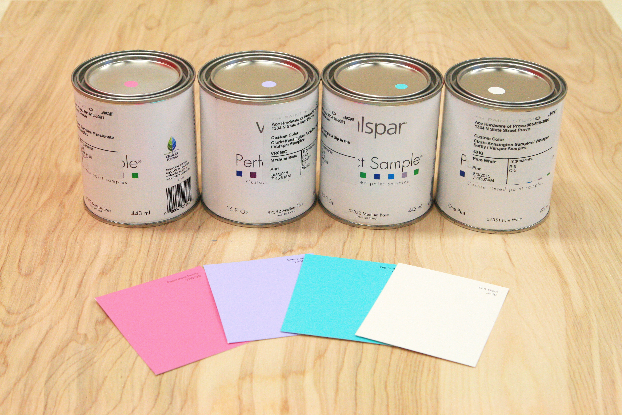
These pint color samples are usually $4.99 and from 8/1-8/31, they’re only $0.99 which is an awesome deal. I went to my local Ace Hardware store and purchased an off-white paint color to upholster the chairs and then bought paint colors of my girls favorite colors so that we can just play around and have fun painting for later, The employee that mixed my colors for me was so helpful and nice, I love when you go to stores and they have excellent customer service! These color samples have primer in them so you don’t even need to put a primer on before putting on paint! Why don’t all paints have this? It’s ingenious!
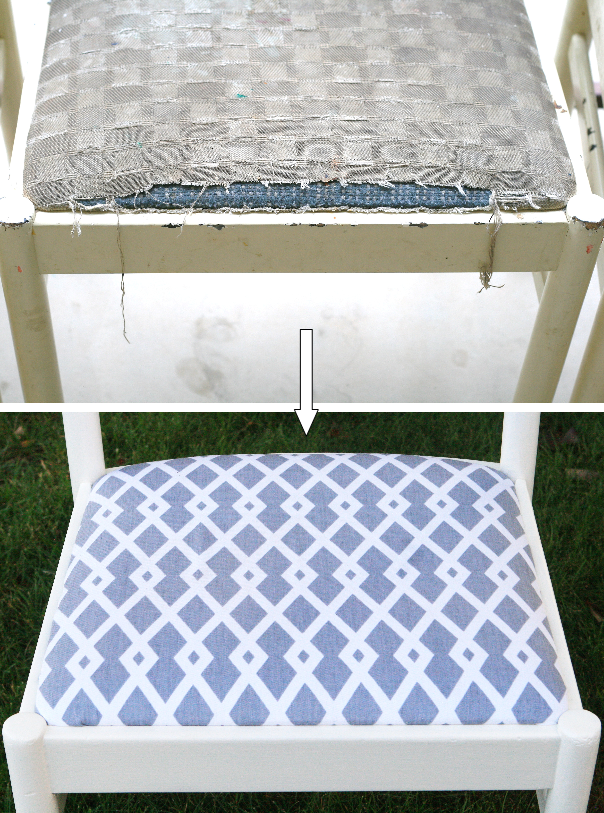
BEFORE:
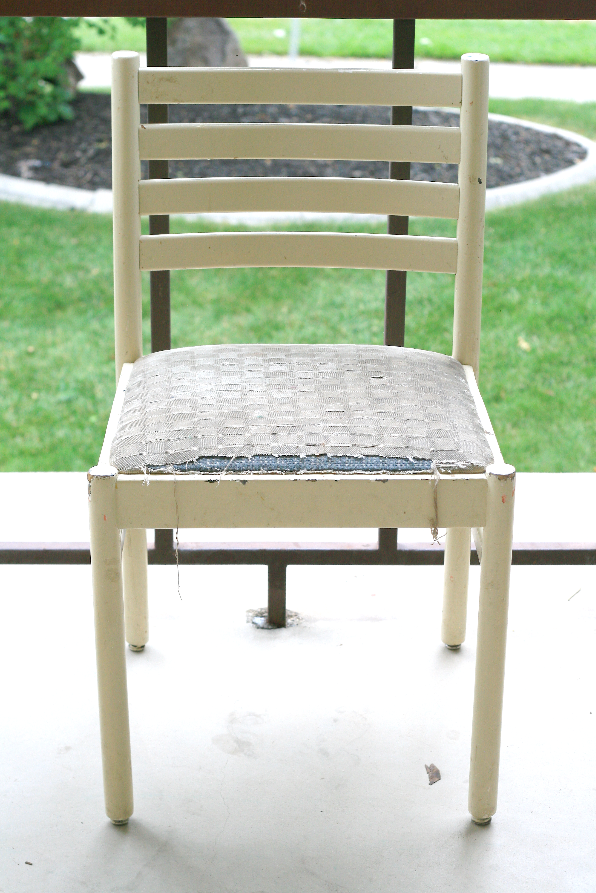
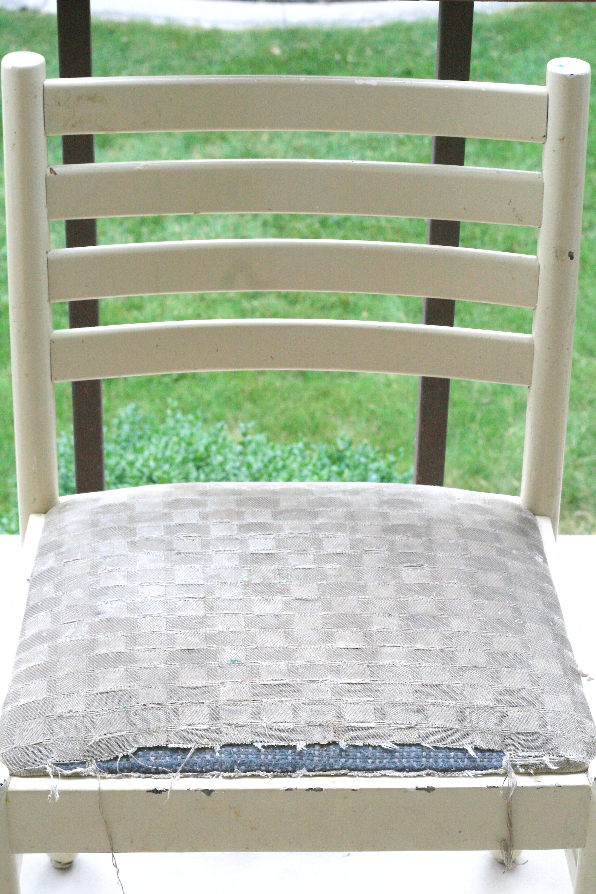
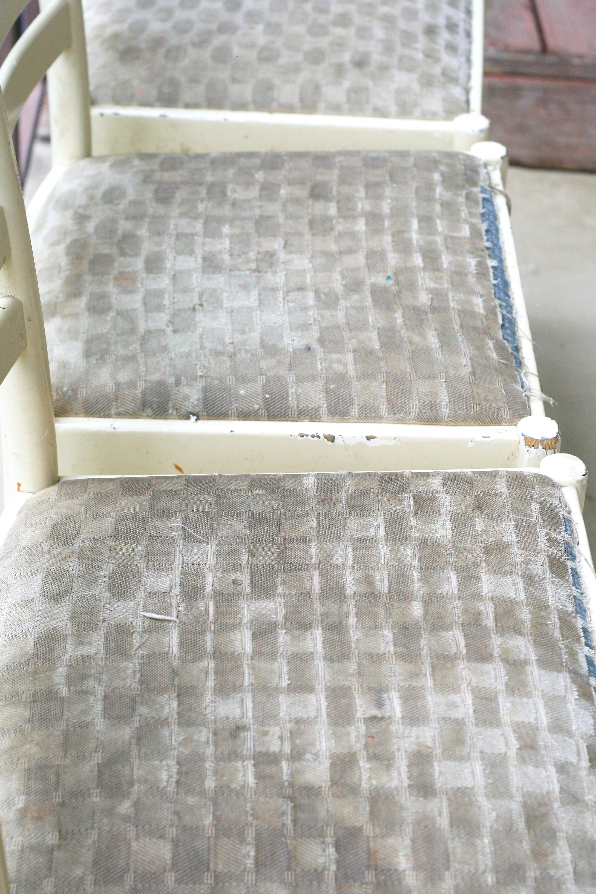

Pretty hideous right? The cloth is coming off and fraying everywhere, the paint is chipped all over the chair, it’s dirty and just so bad!

How to upholster a Chair
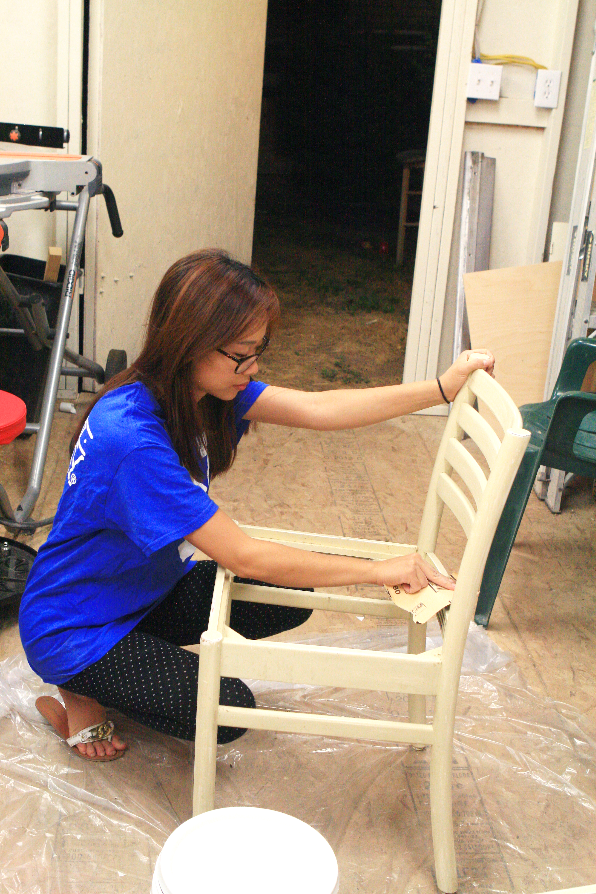
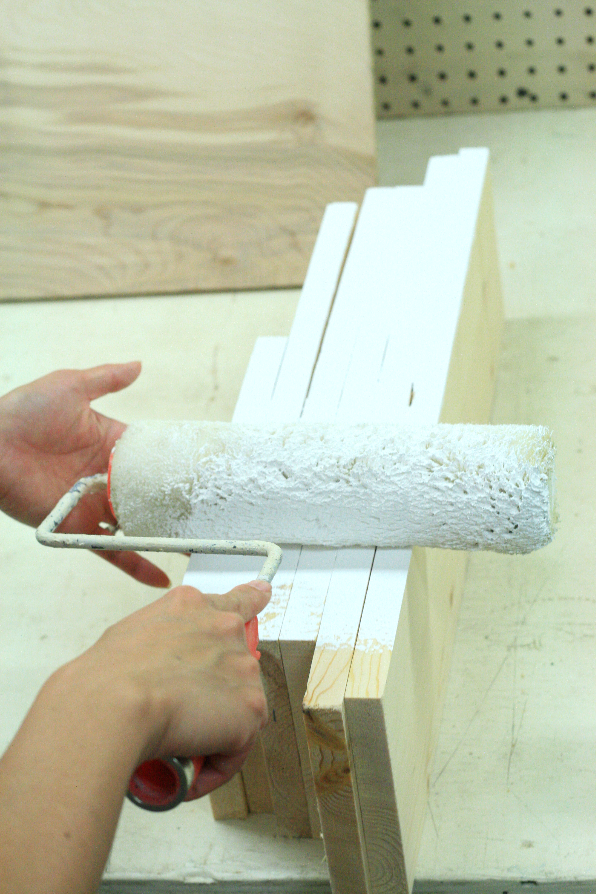
1. With sandpaper, sand away old stains and old paint. You don’t have to sand away the paint completely, just lightly sand it so the wood is fresh and ready for new paint.

2. Paint your chair. If your paint has primer in it, coat two layers of paint. If your paint doesn’t have primer in it, put a primer on and then coat two layers of paint. Wait between 30-45 mins. between each layer of prime/paint before adding on a new layer of paint.
3. Take out the old chair cloth by taking out the old staples. If the staples are hard to come off, just rip out the fabric, it’s not a big deal.

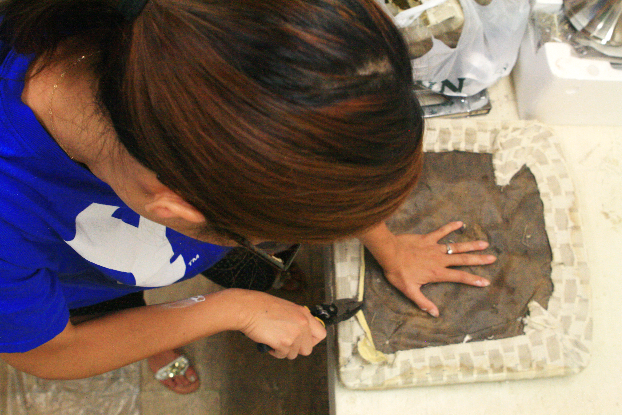
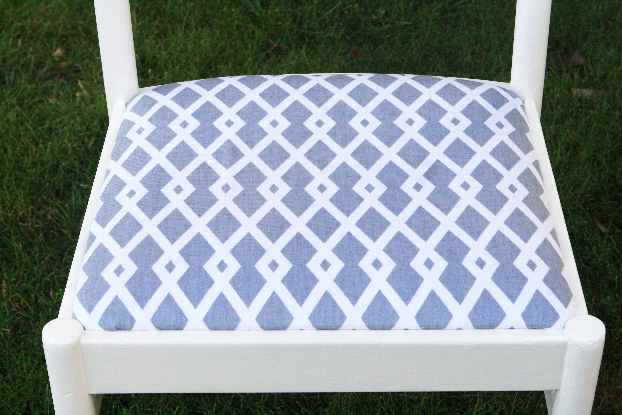
4. On your new fabric cloth, put the old chair cloth on top and use it as an estimate to cut out your square of fabric.
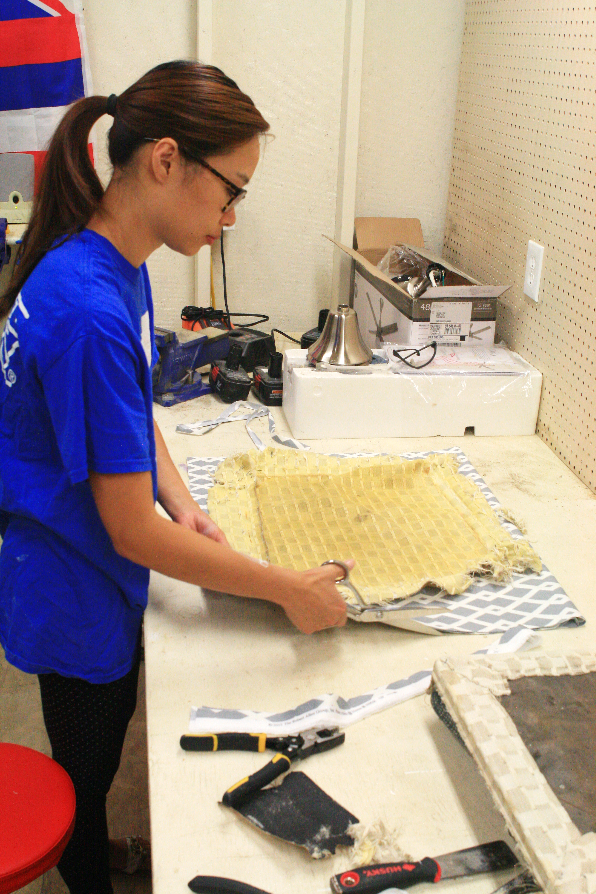

5. Put the seat cushion on top of the fabric with the bottom of the seat facing the top. Gather the fabric together and staple it to the seat cushion. It helps to staple the sides first and then the edges. Make sure your fabric is straight in line with the seat.

Ta-da!
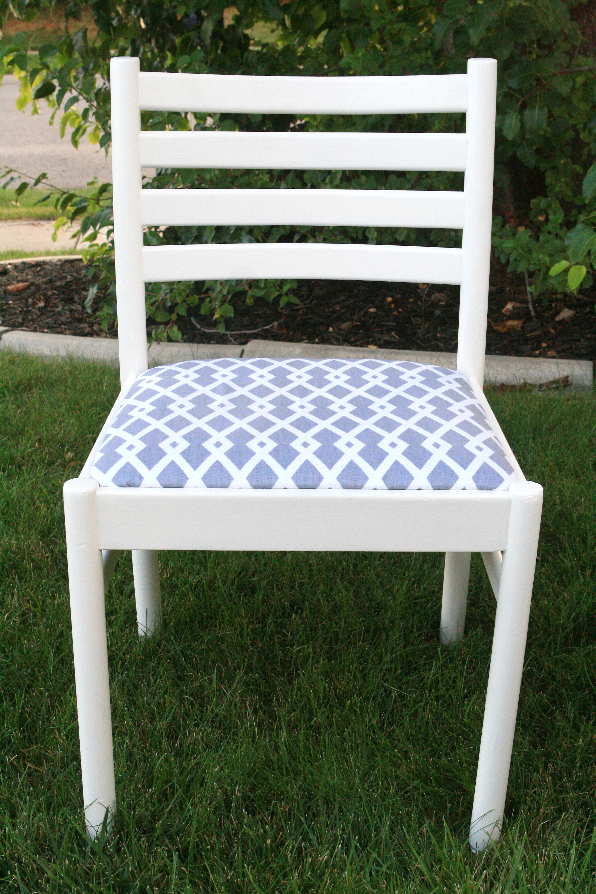
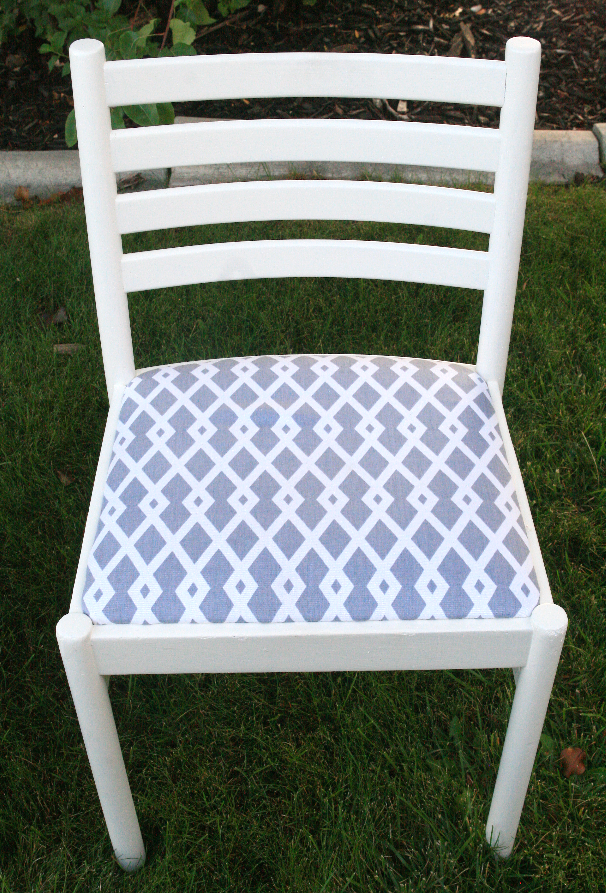
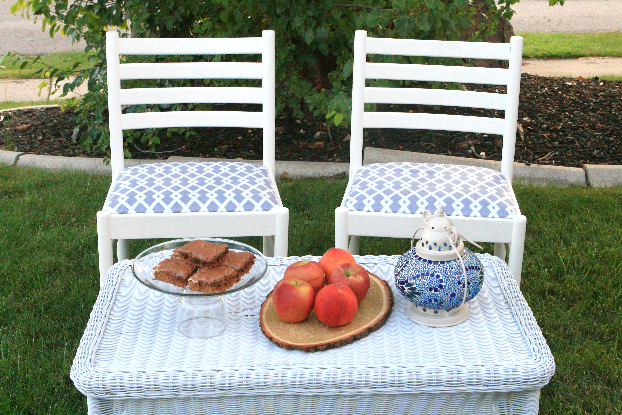
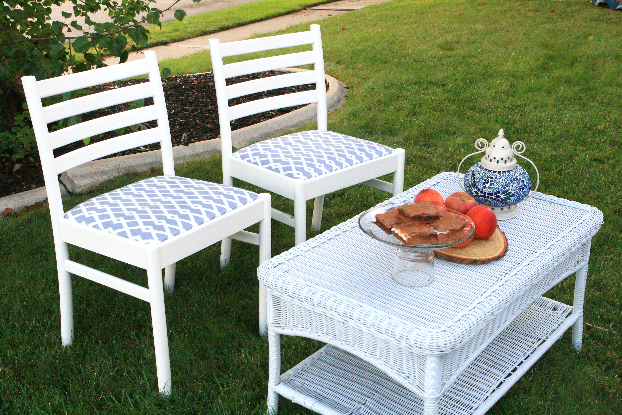
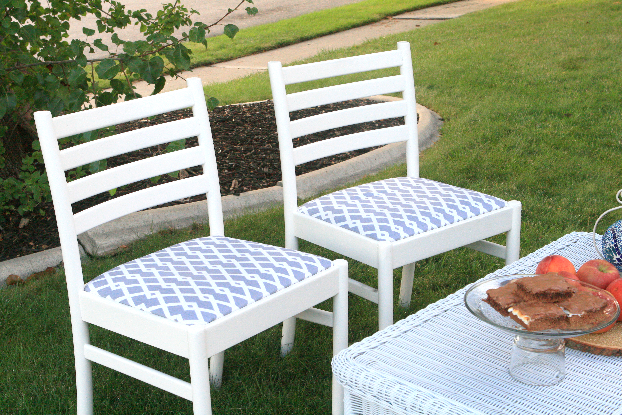
AFTER:


What you’ll need:
-An outdated chair
-fabric(I got 1 1/4 yards of home decor fabric for 4 chairs)
-sand paper
-primer + paint
-a paint brush
-stapler
Estimated time: 1.5 hours
Budget: $5 per chair
Skill level: A beginner
Now go see what old chairs you can upholster, I had a lot of fun doing this project because it was simple, fast, inexpensive and I love my new chairs now!
Pin & Share!