This post is sponsored by The Home Depot.
I am so excited to share a tutorial on how to make your own pumpkin stand. After every project I complete for The Home Depot DIH Workshop, I get such a feeling of accomplishment and pride! I hope you get inspired to attend the DIH Workshop to make your own or even make one at home! This one was the easiest project out of all the projects I made, you can check out my other projects here.
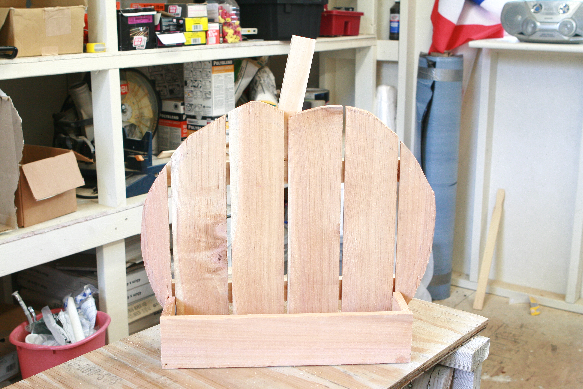
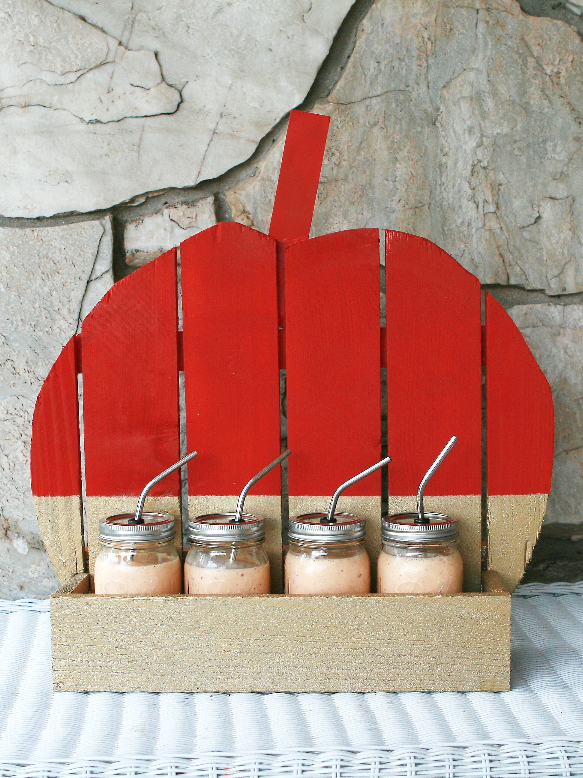
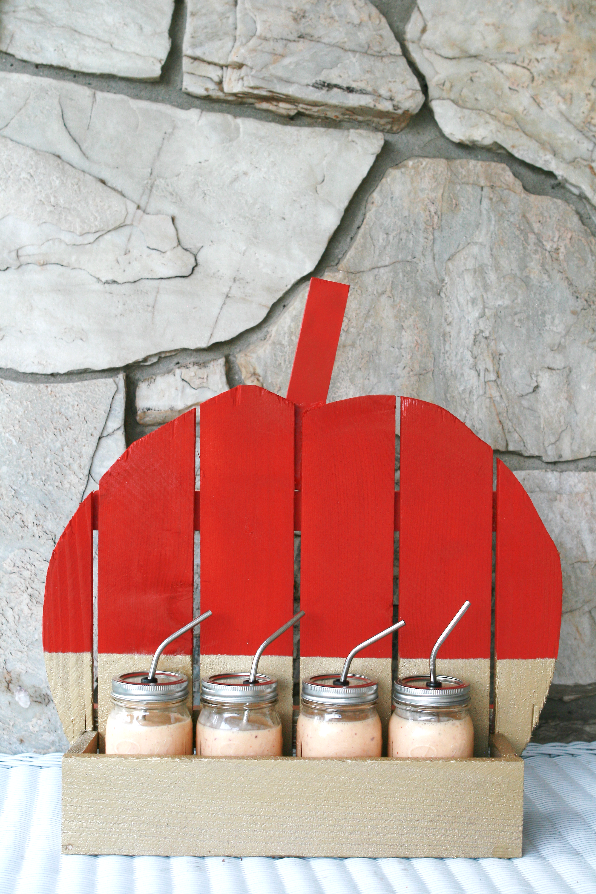
AFTER:
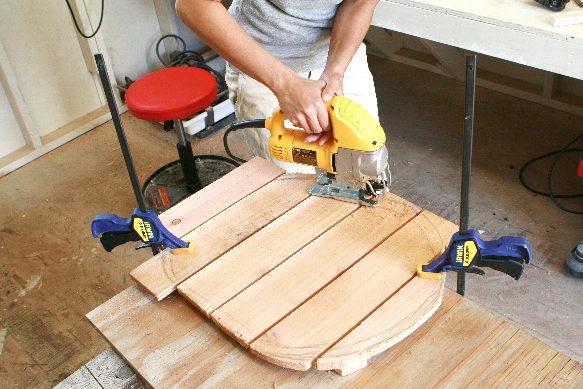
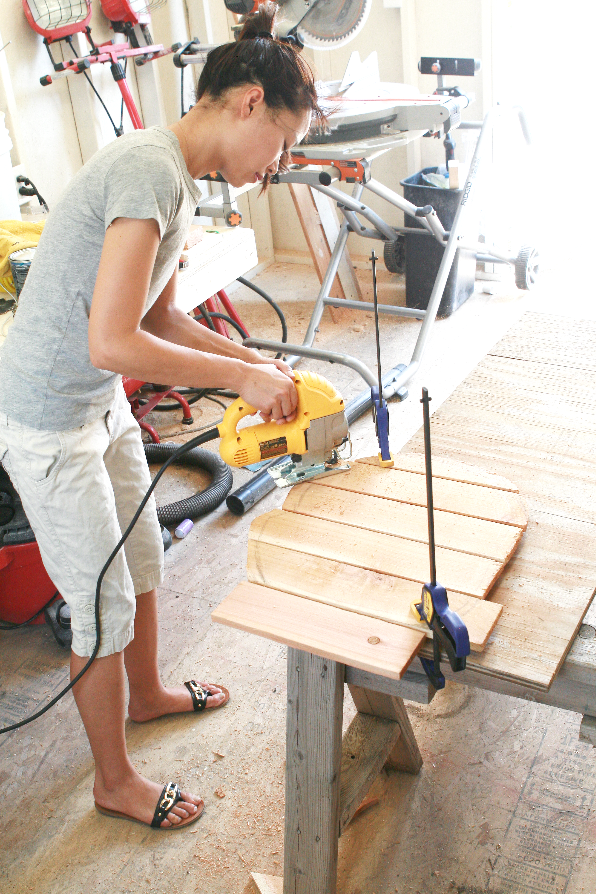
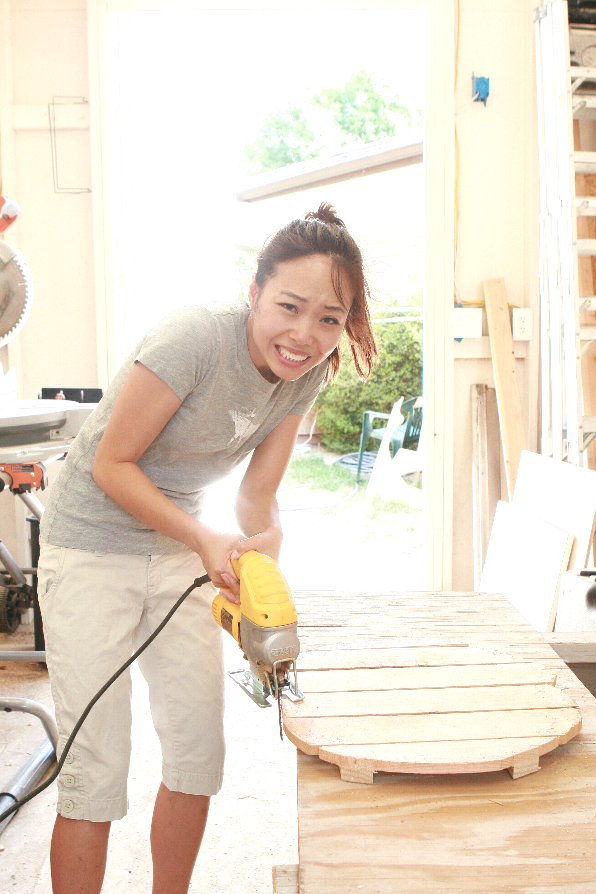
This project was so easy and fun to make! I was really scared to use the jigsaw for the first time but I got the hang of it and it was actually fun cutting out the curve of the pumpkin. I usually know instantly what designs I want my end result to look like, whether it is with sewing or with DIY projects like this one, and I knew I wanted to paint the pumpkin a darker orange and dip part of the pumpkin in gold on the bottom, and I got so excited thinking about it! And it turned out just the way I had imagined so I am so happy with it. It’s also gotten me excited for fall, sweaters, boots, hot chocolate and two of my favorite Holidays — Halloween and Thanksgiving!
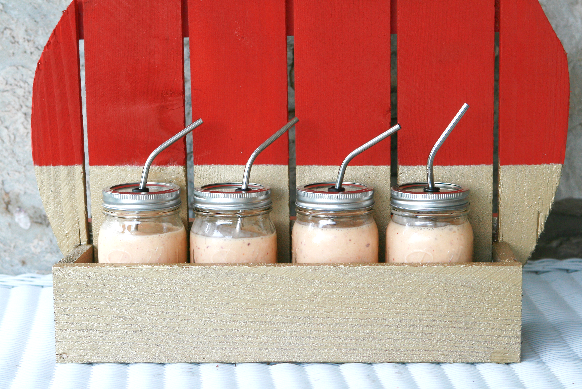
I served my peach ice-cream shake on the pumpkin stand when I had my parents over for dinner and they didn’t believe me when I told them I made the stand! Haha, they thought Jay made it. I’ve come a long way with making projects myself, and just like sewing, you get better the more you do it!
You can make the pumpkin stand using the instructions below or make it a girls night and take your girlfriends to a free workshop at your nearby Home Depot. The Home Depot’s DIH Workshop is held every third Thursday of each month and in September, they’ll be making this pumpkin stand. They’ll have supplies and tools all ready for you and you’ll get to take home the finished product! While the workshop is free to attend, you do need to purchase the materials. To check out the schedule and sign up, click here.
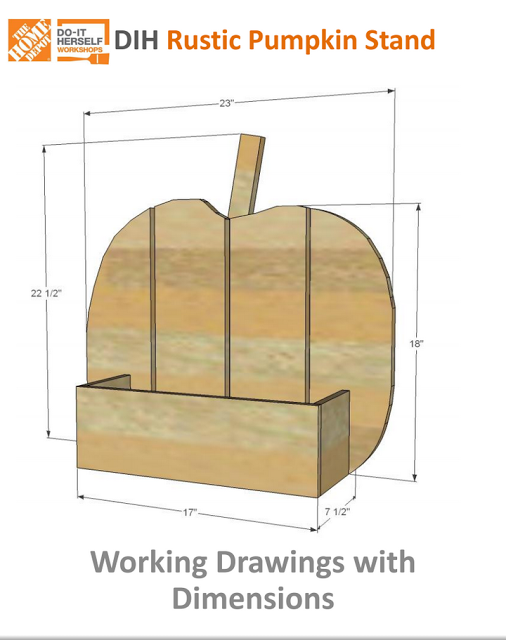
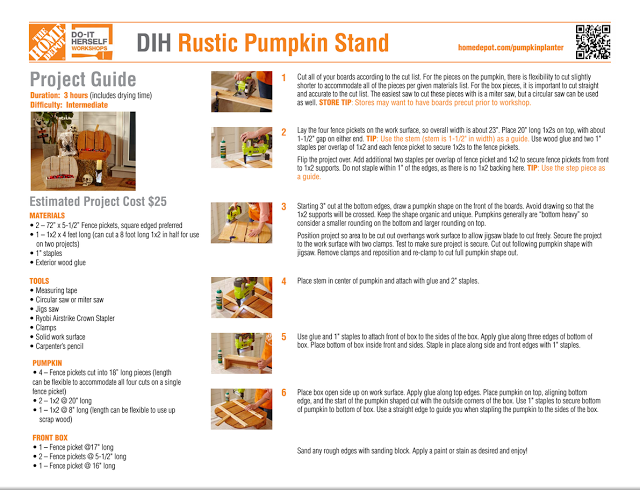
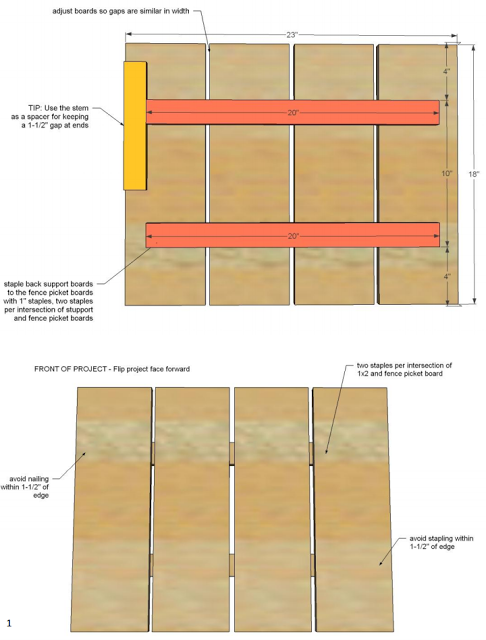
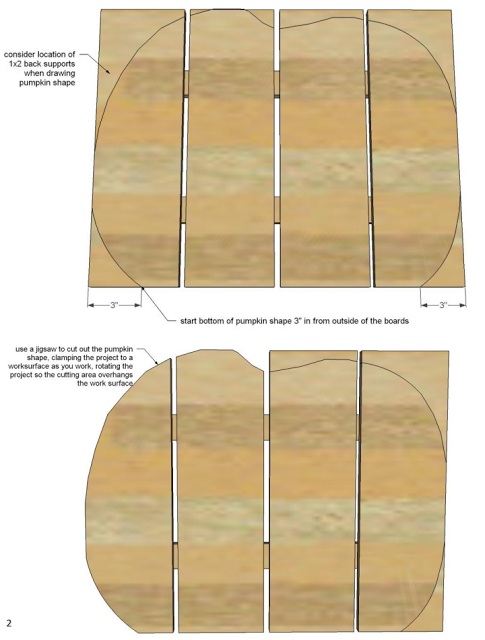
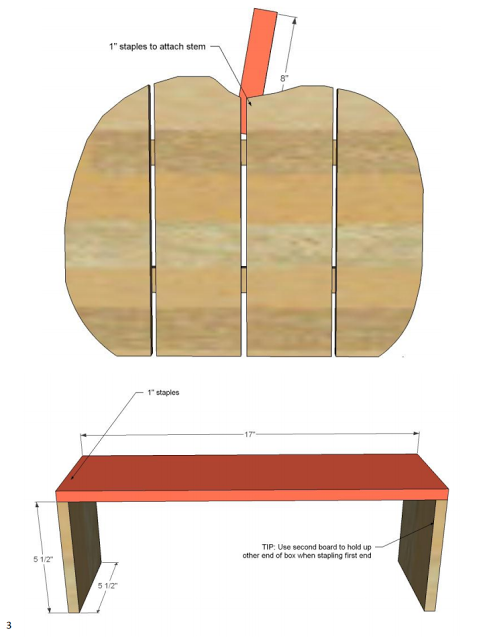
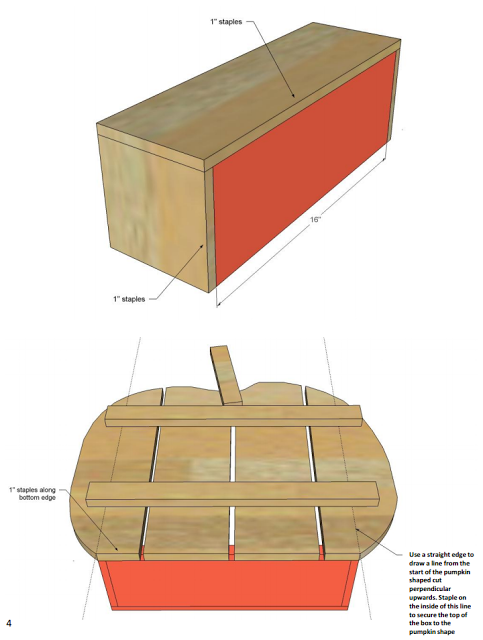
Instructions
(click on the image to view full size)
Estimated time: 2 hrs.
Budget: $20
Skill level: A beginner DIY’er
