
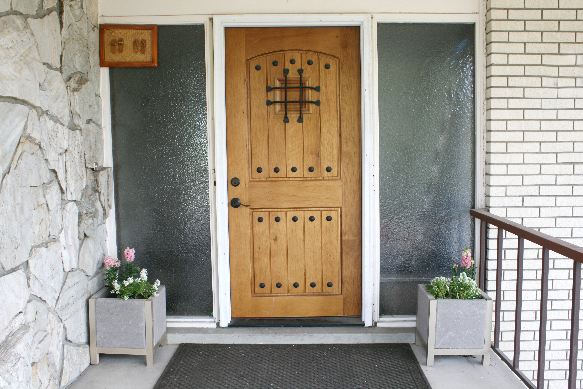
DIY: Paver Planters
DIFFICULTY: Beginner
DURATION: 2 Hours (includes drying time)
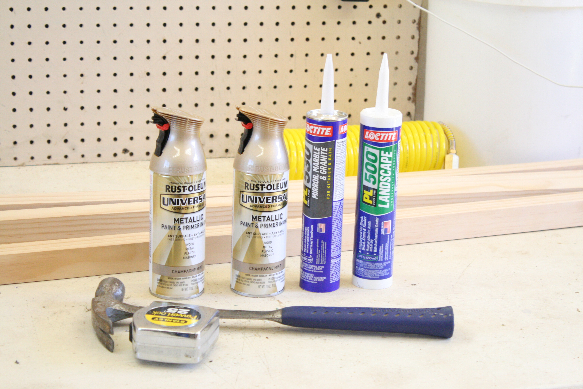
TOOLS
• A circular saw
• A power drill and bits
• A caulking gun
• Utility knife
• Sand paper block
• A paintbrush
MATERIALS
• Four 12×12 pavers, any color
• Two 8 foot 2x2s
• A bag of moisture control soil
• A small roll of landscape fabric
• 2 Bungee Cords
• Tape measure
• Pencil
• Gloves
• Safety goggles
• A box of 3 ̋ exterior deck screws
• Stain and polyurethane
• A newspaper
• Construction Adhesive
NOTE: If using these projects outdoors where contact with water could occur, use either pressure treated, cedar, or redwood boards depending on availability.
HOW TO MAKE PAVER PLANTER
PROJECT GUIDE
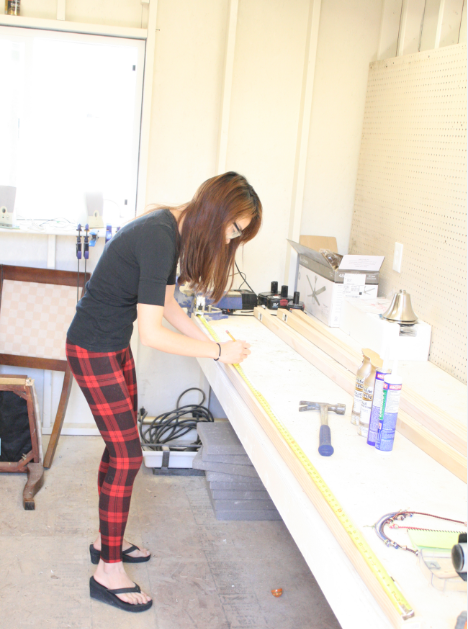
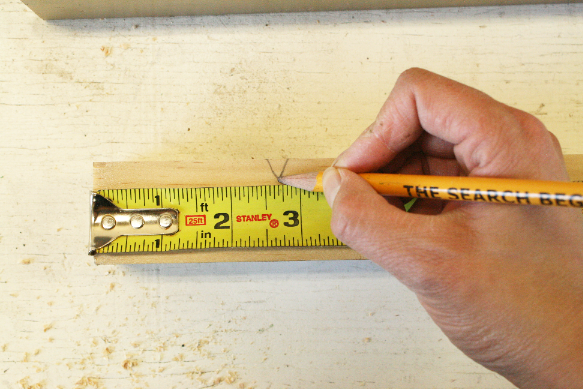
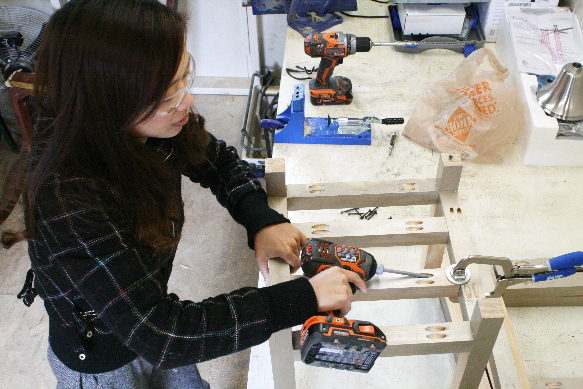
STEP 1: CUT
Start by cutting the 2x2s into four pieces of 16 ̋ and eight pieces of 12 ̋.
STEP 2: SAND AND STAIN
Grab a sheet of sandpaper and begin sanding the entire frame. Apply your stain and polyurethane finish to the wood and let it dry.
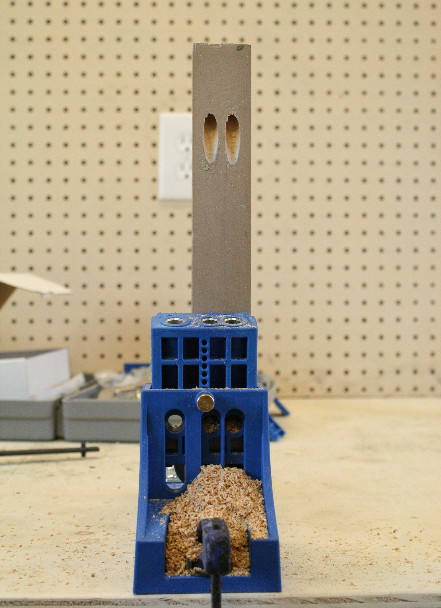
STEP 3; FRAME ASSEMBLY
Pre-drill and countersink the 2×2 pieces together, with the 16 ̋ pieces forming the legs, and the 12 ̋ pieces forming the support between the legs. Apply some wood glue, and then screw in the 12 ̋ support pieces in 12 ̋ down the legs, allowing for the pavers to be flush around the entire top. Next, grab your remaining four 12 inch 2x2s, pre-drill, apply some wood glue, and space them evenly across the bottom and screw them into the frame.
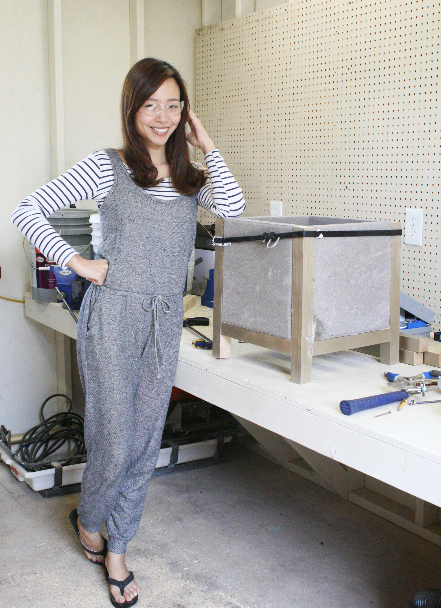
STEP 4: GLUING IN PAVERS
Place a thick bead of adhesive along the inside edges of the frame. Gently place each paver into place and avoid getting the adhesive on the front of the pavers or on the outer wood frame. Finally, take your bungee cords and wrap them around the planter while the adhesive is drying. Let the adhesive set overnight to get a strong bond.
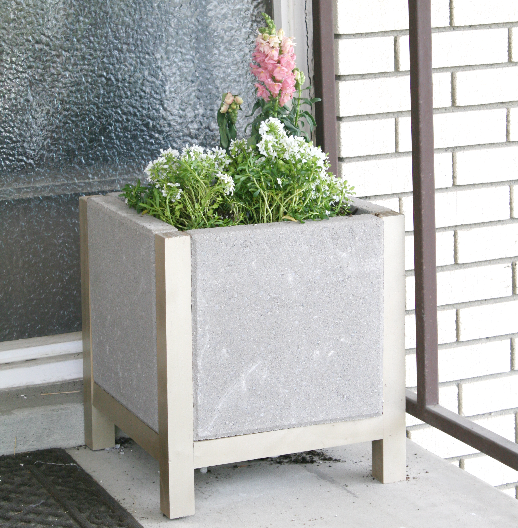
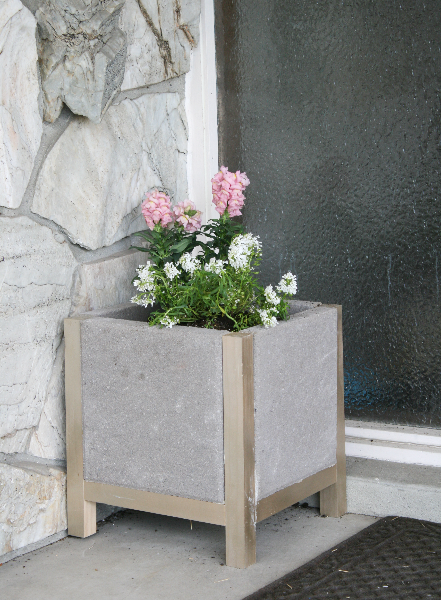
STEP 5: PLANTING
Remove the bungees and now you’re ready for some planting! First, line the planter with landscape fabric and then add the planting soil. Arrange the plants or flowers however you desire.