• ABOUT
  • COLLABORATE
  • CONTACT

Life is Beautiful

Motherhood, Sewing, Family

  • SEW
  • HOME
  • PARTY
  • TRAVEL
  • SHARING MY HEART
  • SHOP

DIY: What to do with a shirt that shrunk or bleached

December 18, 2015~ SEWING

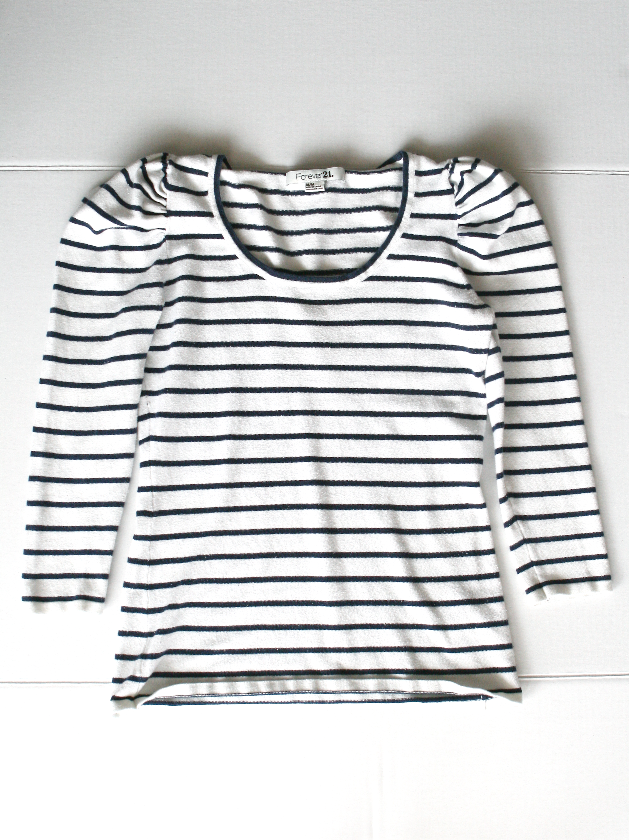
This post is in collaboration with Deseret Industries. They’re one of my go-to’s for my DIY refashion projects since there’s one within a few miles of my home. I went to the store looking for a solid color holiday sweater to refashion but found this striped sweater instead, there were so many options! They had plenty of solids and patterned sweaters so if you’re wanting a sweater to refashion like mine so you can wear it to your holiday gatherings, you’ll be sure to find one at Deseret Industries.
 
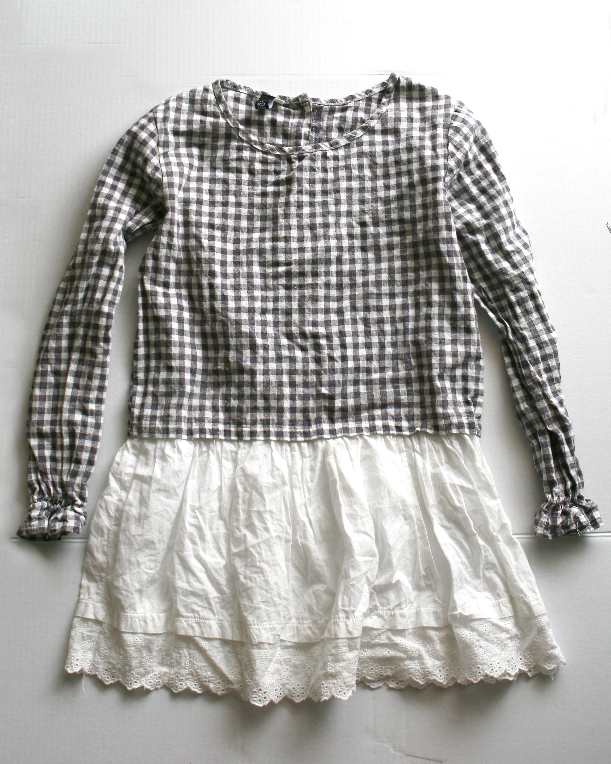
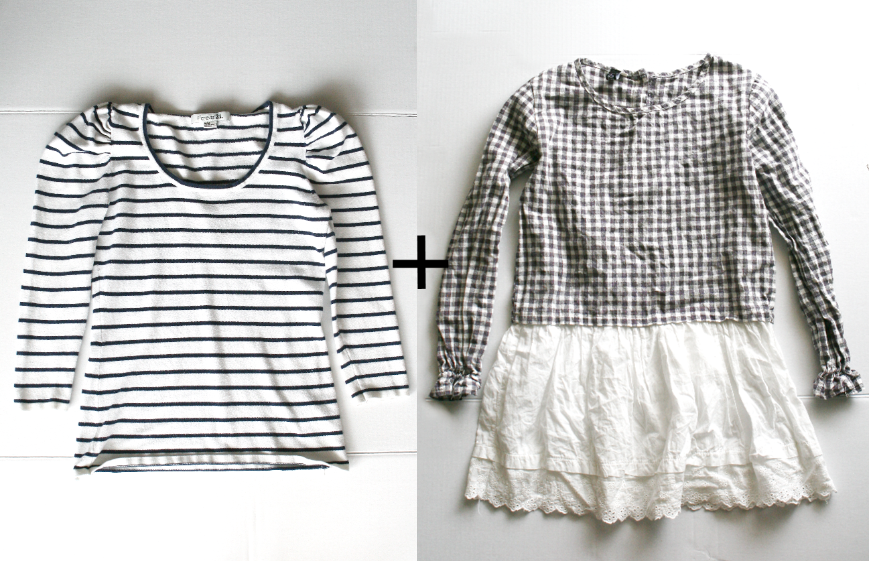
This top is a little too short to my liking, and the top below got bleached so the gingham print is all faded now. It was suppose to be a navy blue gingham print. I saved the top because I knew I could use the white lace on the bottom for a future project!
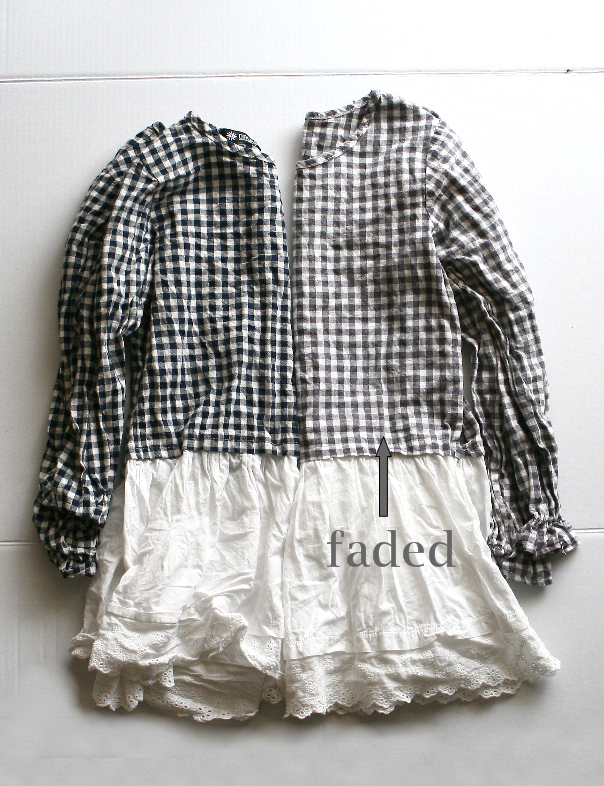
the comparison of how the top is suppose to look vs. the bleached faded color.
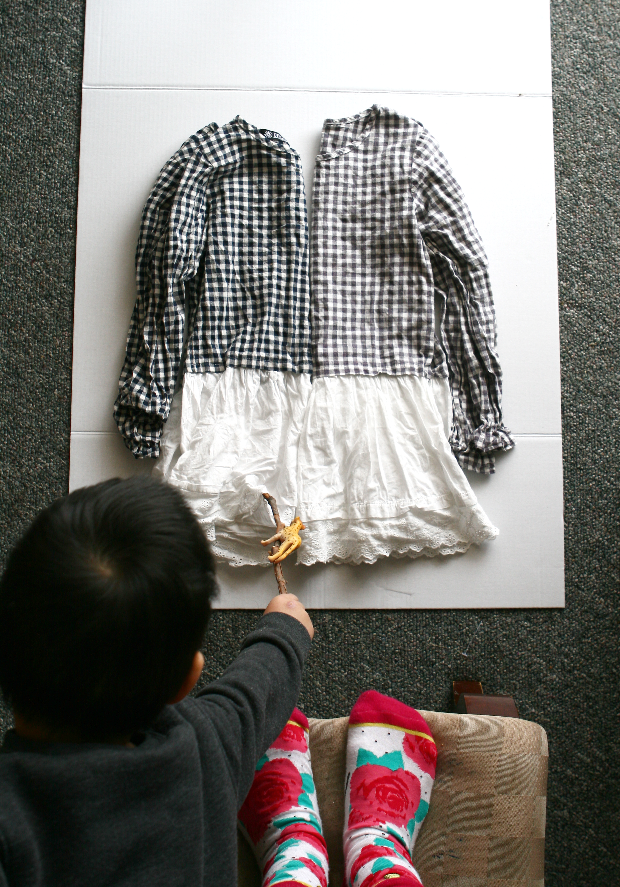
#momslife this is the behind the scenes of my photo shoot taking place. It just makes sense that the cheetah would try to climb down from the branch onto the shirt, doesn’t it? 😉

READ MORE

60

TAGGED: DIY 3 Comments

DIY: Make a Dress More Form Fitting

November 2, 2015~ SEWING

Make a Dress more Flattering
I got this cute dress from Chicwish. There’s nothing wrong with the dress and the quality is excellent, but being small and petite(I am 5′ 3″), the length and the size drowns me a little bit. So I did a quick alteration to make it more form fitting to my body.
BEFORE:
I took several step by step pictures but I must have deleted the pictures, darn it! So here’s the rundown on what I did to the dress.

AFTER:
Dress | Bag: Nena & Co. | Boots: Old Navy
Estimated time: 40 mins.
Budget: $0.00
Skill level: Intermediate
I worked on this dress right before I was to go to a Kingdom & State and Nena & co,’s blogger party. I always think a project would take way less time than it actually turns out and I was 20 mins. late picking up my friend but I got it done! Tan, the owner of Kingdom & State is always awesome and I met the owner of Nena & co., Ali for the first time and she emits such positive energy and kindness, I love her company even more now than I already have before! As an entrepreneur myself, I love meeting women whom are so talented and are able to grow such a successful company. I only hope I can follow in her footsteps!
my favorite picks from Nena & Co.
0

TAGGED: DIY, DIY tailoring 4 Comments

DIY: Stocking Planter

October 30, 2015~ DIY DREAM HOUSE

This post is in partnership with The Home Depot. This project will be my fourth and last project with The Home Depot DIH Workshop.

My first DIH project with The Home Depot was the paver planters back in April. I remember being so intimidated since I had never used tools before and was pretty much clueless about what to buy, what to do, and how to use the tools. So my husband helped me a lot. He basically ran the whole thing, and just told me what to do next, as I followed his step-by-step instructions. But as the projects went on, he helped less and less, and with this stocking planter, I am proud to say I made it all by myself! He didn’t help me one bit. I went and purchased all the supplies, and cut, drew, painted and painted everything myself! Woo-hoo!!! 
It helped that my husband has a shed with all the tools you could think of, so I didn’t have to purchase any of the tools. But I know not everyone will have what’s necessary to make these projects. The  Home Depot’s monthly Do-It-Herself Workshops are a great way to get step-by-step instructions and hands- on experience to gain the skills and confidence to be a DIY-er, since they’ll have everything already there and will be there to help you and answer any of the questions you have. Then soon enough, you won’t need anyone else’s help- you’d be able to do it all by yourself, and it’ll be such an awesome feeling! 

Here are the DIY stocking planters I made all by myself. Have I told you that already? 😉

AFTER:

I am obsessed with gold. Can you tell? Three out of my four DIH projects have had some gold in them-  it’s my favorite! And I wish my house was cute and decorated with Christmas decorations, but our house is not cute. We have yet to decorate the upstairs fireplace, so ideally, I wish it was all renovated and cute and I could take “Pinterest” worthy pictures of the after, with the stocking planters hanging and all cute but just lying it on a white blanket on my porch outside and taking pictures will have to do. 😀

Your local Home Depot will be making these stocking planters on Thursday, November 19th. You can register now. 

1

TAGGED: DIY 2 Comments

5 Minutes DIY: How to make a pleated dress more fitted

October 26, 2015~ SEWING

Don’t you hate finding a dress you absolutely love and when you try it on, the fit just isn’t quiet right? I fell in love with this dress the moment I saw it and when I put it on, the waistband was too loose. I knew it would be a quick alteration so that didn’t stop me from purchasing it. I tell my friends they should all learn how to do quick alterations on their clothes so that it fits them better, instead of putting an item of clothing back in the rack in disappointment. Pleats are one of the easiest to alter, so don’t get intimidated!
So the waistband is just a bit big.
This is a better, more flattering fit!
So we want to make the waist look like from before

to an after like this.
And it’s very simple!
After:
Photos by Emily Cooper Photography
Instructions:
1. Try on the dress and stand in front of a mirror.
2. Pinch the sides with your fingers and measure how much you need to take in. (I took in 1′ from each side)
3. Flip the dress inside out and staring at the armpit, sew 1″ in to the end of the waistband. Repeat on the other side.
Estimated time: 10 mins.
Budget: $0.00
Skill level: A confident beginner
shop similar:
!function(d,s,id){var e, p = /^http:/.test(d.location) ? ‘http’ : ‘https’;if(!d.getElementById(id)) {e = d.createElement(s);e.id = id;e.src = p + ‘://’ + ‘widgets.rewardstyle.com’ + ‘/js/shopthepost.js’;d.body.appendChild(e);}if(typeof window.__stp === ‘object’) if(d.readyState === ‘complete’) {window.__stp.init();}}(document, ‘script’, ‘shopthepost-script’);

JavaScript is currently disabled in this browser. Reactivate it to view this content.
Pin it!
0

TAGGED: 5-min.DIY, DIY, DIY tailoring 14 Comments

DIY: Bird Costume

October 15, 2015~ SEWING

This post is in partnership with Deseret Industries. 
Bird Costume DIY
Felt Bird Wings

DIY Leather Moccasins
Leather Moccasins DIY
Top: Deseret Industries
Bottom: Deseret Industries
Wings: Made by me
Moccasins: Made by me
Hat: Made by me
My favorite way of making a costume is to mix thrifted pieces with new and/or hand made items for a complete Halloween costume. It’s like those Rachel Ray’s 30-minute meals, you made the dinner but with the help of pre-cooked or easy to prepare foods to make your life so much easier. 😉 I got these black turtleneck top and sweatpants from Deseret Industries, and I got a $1 beanie that I added 3-layers of felt feathers. To make the wings, I cut a half circle black felt with a little cut out for the neck part as shown in the picture, then added from the bottom up, layers of the felt feathers. Then sewed on the black elastic for the shoulder part and the wrist part. It’s fairly easy but time consuming. Then the moccasins! The fringe compliments the feathered wings so well, don’t you think?
If you’re thinking about making your own costume, Deseret Industries is a great place to check out costumes, they also have holiday decorations as well! There are thousands of items added everyday so you’re sure to have a lot of variety whenever you check out the store. Remember this wedding dress refashion I did when I was in a sewing competition for Refashion Runway? That dress I found at Deseret Industries. I  love that store!
Pin & Share!
Bird Costume DIY
DIY Leather Moccasins
4

TAGGED: DIY 9 Comments

  • 1
  • 2
  • 3
  • …
  • 27
  • Next Page »
cutmypic
Hello! My name is Sarah and I am so happy to have you here! Here you'll find DIY sewing, DIY home building & decor, honest and vulnerable posts of motherhood and snippets of my family. We are building our dream house and will update you regularly on our whole process from start to finish and I am also starting a mother-daughter sewing series. So I hope you stay awhile!

BLOG ARCHIVES

SEARCH

JOIN THE LIST

- THEME BY ECLAIR DESIGNS - Web Hosting By RFE Hosting -