• ABOUT
  • COLLABORATE
  • CONTACT

Life is Beautiful

Motherhood, Sewing, Family

  • SEW
  • HOME
  • PARTY
  • TRAVEL
  • SHARING MY HEART
  • SHOP

DIY: How to Make Your Roof Efficient and Airtight

September 10, 2020~ DIY DREAM HOUSE, Dream Home Come True, HOME BUILDING, YOUTUBE VIDEOS

Wow, it’s been awhile since we did our house update on this blog! We have been documenting it on my home account on Instagram: www.instagram.com/dreamhomecometrue so make sure to follow along there if you’d like to keep up-to-date with our building process. Go take a look at how far we’ve come, we are so happy with how it’s turning out!


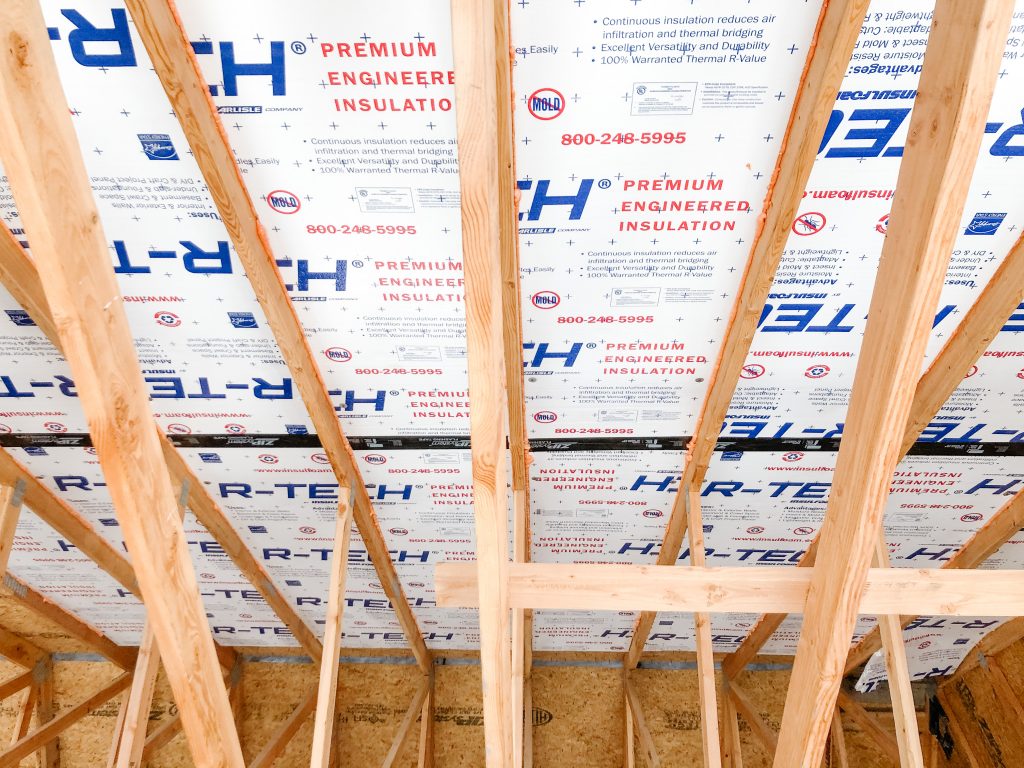
In this video my husband will show you how he DIY’ed a way to make sure the roof of our house is breathable but also airtight. He wasn’t happy with the materials that are offered in stores so we have partnered with The Home Depot to show you how he made his own way to do it and I have been so impressed with his knowledge in building science!


Every time the City inspectors come to inspect our home, they have all said that in all their years of inspecting new home builds, they’ve never seen a house being built with such attention to detail, quality and integrity. Many builders and architects have drove by our house to ask Jay what kind of materials he’s using and how he’s doing things, because they are so impressed with what they see. So I am so proud of him and for all the knowledge we are both gaining, as we go through this home building journey together.


So watch the video below to find out how to make your roof breathable but airtight!

1

Leave a Comment

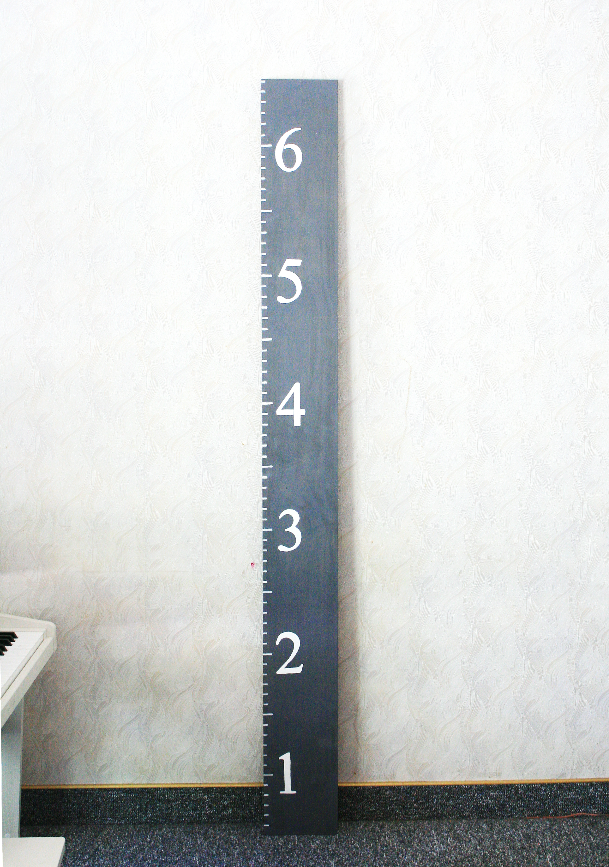
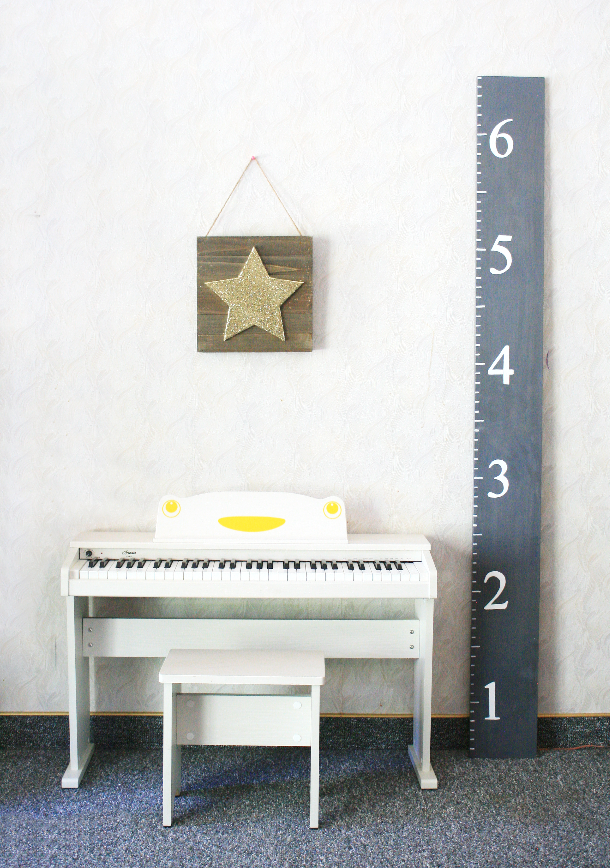
DIY GIANT RULER GROWTH CHART

February 28, 2017~ DIY DREAM HOUSE


This DIY Growth Chart video is in partnership with Similac.


sim2 sim1


At the rate my son’s growing, he’ll over-tower me when he’s 9. And my girls? My oldest’s feet are literally an inch smaller than my feet. I always tell my family that once my kids get taller than me, we are only taking family photos while sitting down. But it’s a good sign that they’re growing strong so I have nothing but gratitude… even if it hinders with my pride a little bit. 😉

Did you know that:

  • 60% of growth is achieved in the first five years of life?
  • Early childhood offers a critical window of opportunity for growth and development so good nutrition is essential during this time.
  • Studies show that a child’s poor growth before the age of 2 predicts lower intellectual development and a child’s educational performance suffers.
  • Visit https://similac.com/baby-development/activities/physical-growth  for more information.

Since my son is growing so fast and even though he’s 3 years old yet looks like he’s 5, I’ve been wanting to make a giant ruler growth chart for my kids. We mark their heights on the wall by the bathroom but I never liked that idea because 1. It makes your walls look dirty. 2. What if you move? Or want to repaint your house?


So here’s the tutorial I made. Don’t laugh, okay? I did my best. 😀


*This was my very first video I made back in July 2016 and it ended up being a “How not to make a growth chart” due to my trial and error(dang you, Pinterest) so I never posted it. But after some mishaps here and there, I finished making my own growth chart and am so happy with the result!


Materials You Need:
  • 6 x 8 pinewood
  • Wood Finish Stain(mine is in classic grey)
  • Paint Brush
  • Measuring Tape
  • White Paint Markers for the inch marks
  • White craft paint and Foam Brush for the numbers
  • Sanding Sheet(100 grit +)
  • Number Stencils
  • Tape
  • Pencil


Instructions:
  1. Sand the pinewood, paying special attention to the edges and corners.
  2. Mix well the Wood Finish Stain, then with a paint brush paint the pinewood. (I did 3 layers, I wish I only did one layer so the design of the wood is more prominent.)
  3. Let it dry, approximately 30 mins.
  4. With a pencil, mark from the very bottom to the top, every inch. Every 6 inches, make the mark thicker and longer.
  5. Now with the paint marker, go over the pencil line, making sure every 6 inches is a bigger mark.
  6. Lay flat #1 stencil on the 6th inch from the bottom(the ruler will be up 6 inches from the ground so it will measure 1 foot).
  7. Tape around the number so the stencil will stay still.
  8. Dip the foam brush onto the craft paint and go over inside of the #1 stencil. I found dabbing to be helpful.
  9. Gently lift off the stencil.
  10. Lay #2 stencil 12 inches from the #1 mark. Repeat 7-9.
  11. Repeat until you get to #6.
  12. Let it dry. You are now done!


0

3 Comments

DIY: Stocking Planter

October 30, 2015~ DIY DREAM HOUSE

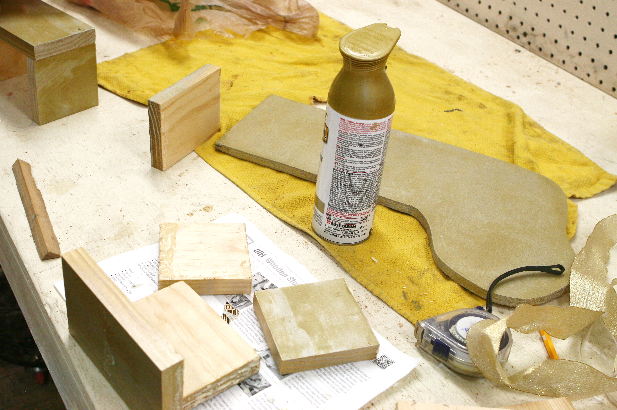
This post is in partnership with The Home Depot. This project will be my fourth and last project with The Home Depot DIH Workshop.

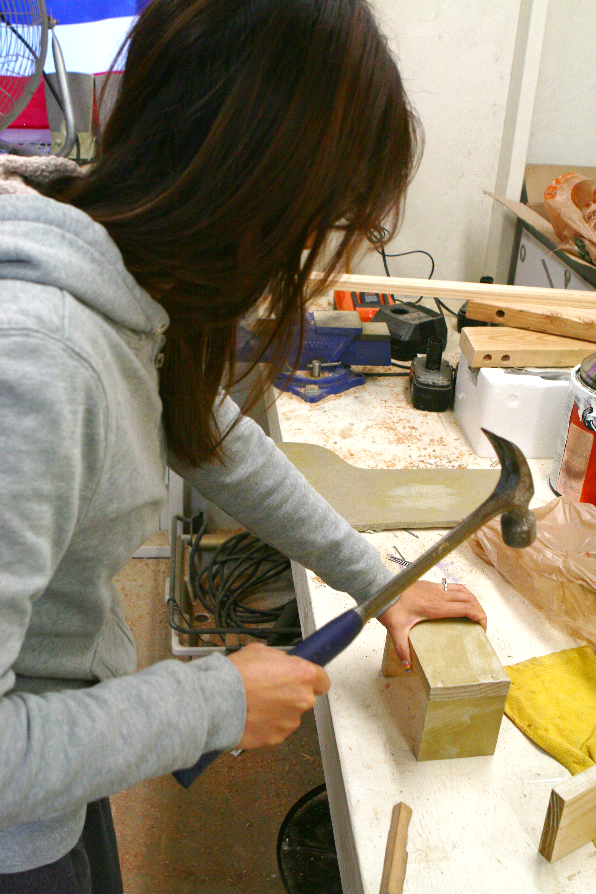
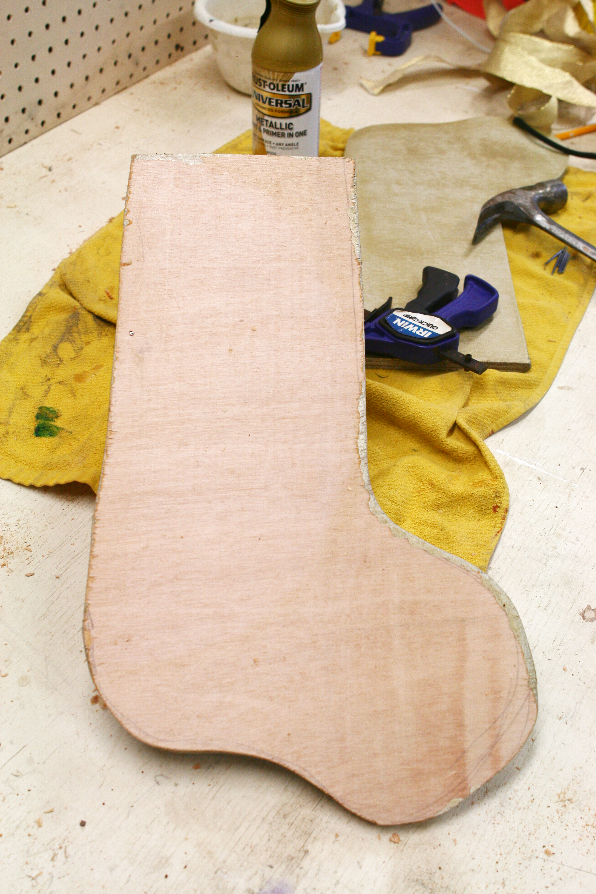
My first DIH project with The Home Depot was the paver planters back in April. I remember being so intimidated since I had never used tools before and was pretty much clueless about what to buy, what to do, and how to use the tools. So my husband helped me a lot. He basically ran the whole thing, and just told me what to do next, as I followed his step-by-step instructions. But as the projects went on, he helped less and less, and with this stocking planter, I am proud to say I made it all by myself! He didn’t help me one bit. I went and purchased all the supplies, and cut, drew, painted and painted everything myself! Woo-hoo!!! 
It helped that my husband has a shed with all the tools you could think of, so I didn’t have to purchase any of the tools. But I know not everyone will have what’s necessary to make these projects. The  Home Depot’s monthly Do-It-Herself Workshops are a great way to get step-by-step instructions and hands- on experience to gain the skills and confidence to be a DIY-er, since they’ll have everything already there and will be there to help you and answer any of the questions you have. Then soon enough, you won’t need anyone else’s help- you’d be able to do it all by yourself, and it’ll be such an awesome feeling! 

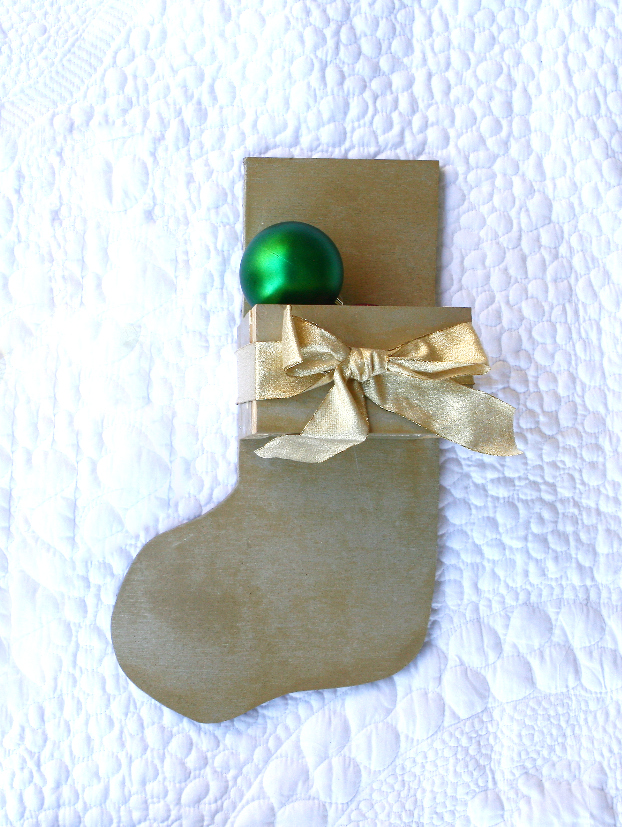
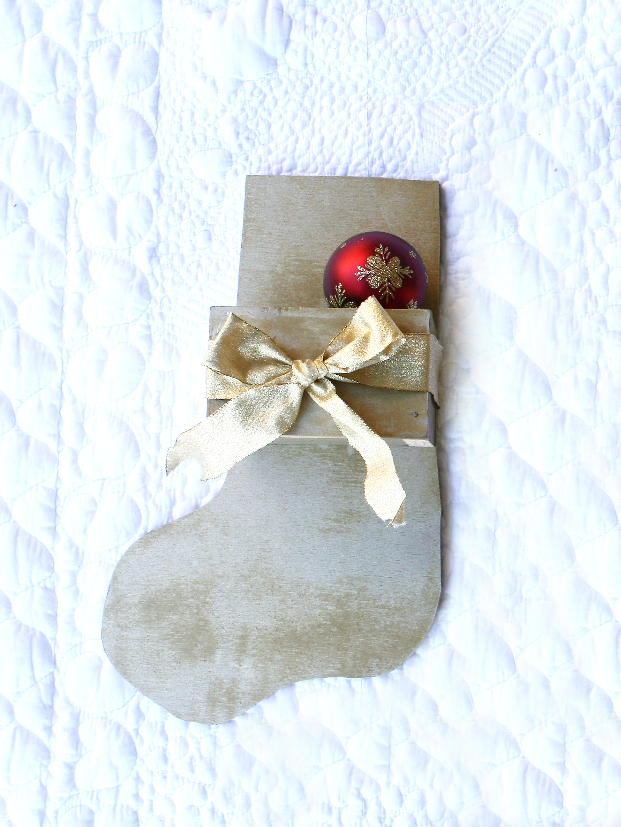
Here are the DIY stocking planters I made all by myself. Have I told you that already? 😉

AFTER:

I am obsessed with gold. Can you tell? Three out of my four DIH projects have had some gold in them-  it’s my favorite! And I wish my house was cute and decorated with Christmas decorations, but our house is not cute. We have yet to decorate the upstairs fireplace, so ideally, I wish it was all renovated and cute and I could take “Pinterest” worthy pictures of the after, with the stocking planters hanging and all cute but just lying it on a white blanket on my porch outside and taking pictures will have to do. 😀

Your local Home Depot will be making these stocking planters on Thursday, November 19th. You can register now. 

1

TAGGED: DIY 2 Comments

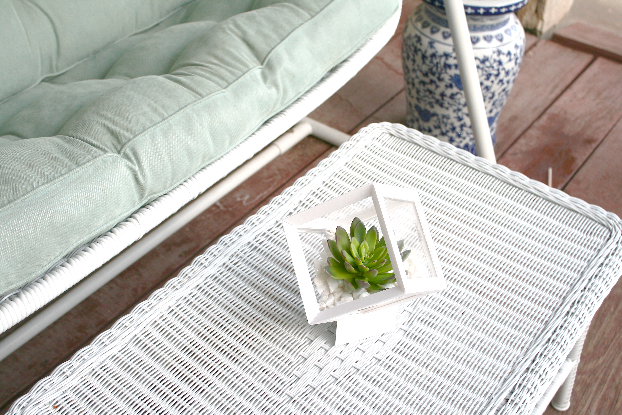
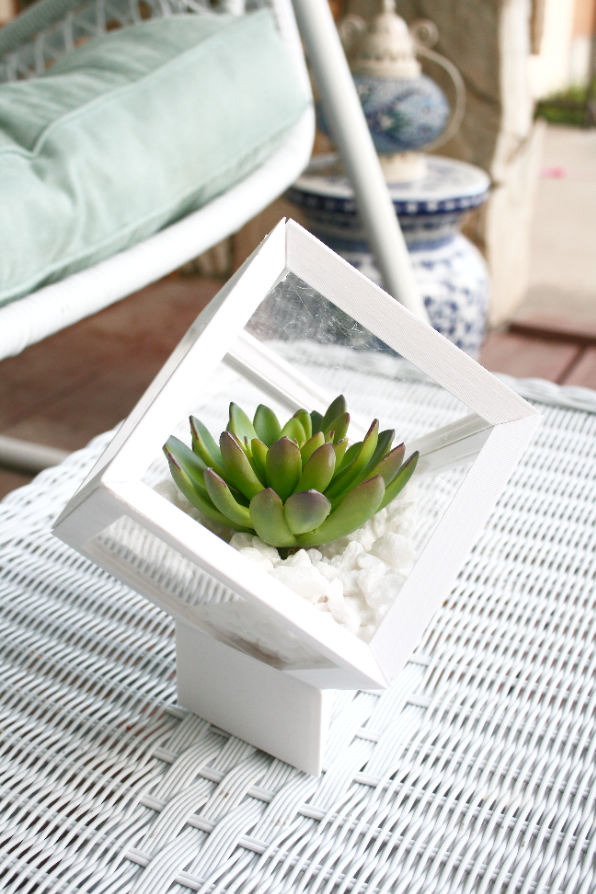
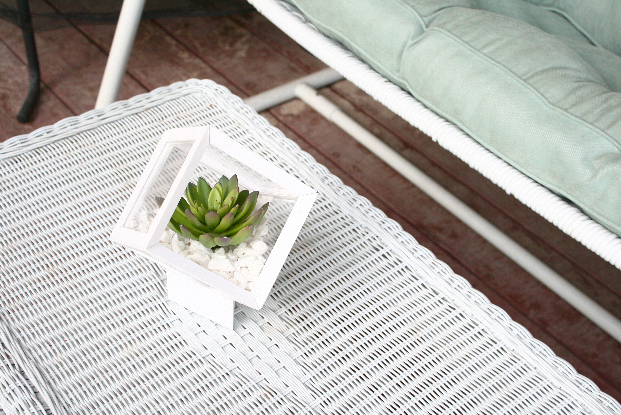
DIY: Making a Terrarium with a 3D Maker

September 28, 2015~ DIY DREAM HOUSE

This project was made in partnership with HP.
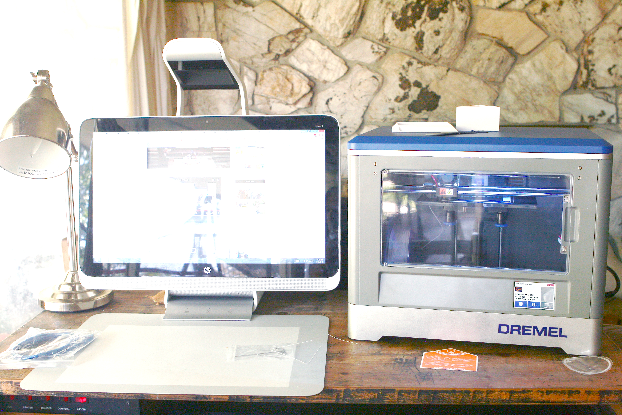
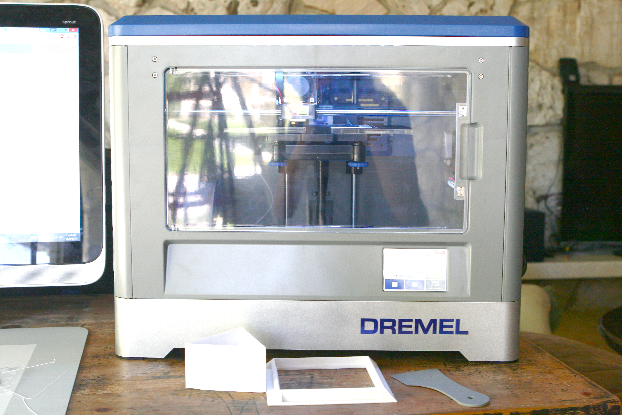
I am not tech savvy at all and hate getting used to new technology. Like my iPhone 6? I hate when you have to update it every so often and I delay it as long as possible. The same with Facebook or Instagram, why do they keep changing the layout? So when I received the Dremel 3D printer, it stayed in the box for awhile. 3D printer? It just sounds so futuristic and intense and therefore confusing and intimidating! After holding it off as long as possible, I had to open it so that I could make a project with it. Jay kept telling me he’d help me set it up but he’s been training for a marathon and been falling asleep while putting the kids to sleep almost every night so after waiting for him for 2 days with no luck, I reluctantly opened it by myself, hoping I’d be able to figure this dang thing out. And guess what? It’s a miracle. I set it up all by myself with no trouble! I still can’t believe I did it! I am so proud of myself! Haha, it just means it was super easy and simple to set up and run. I figured out how to download designs and make something too, with no hassle or frustration. I LOVE this 3d printer. I haven’t used any other ones but I am so happy that it’s easy and so simple to use, that even I figured it out with no trouble! And I didn’t really know how a 3D printer worked before and how it makes stuff, but now I know and I am blown away. Technology is so awesome. Especially when it’s so simple and non-intimidating. 

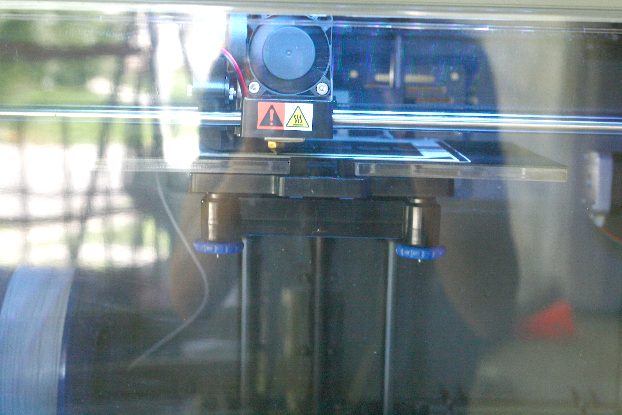
Maybe you all know how a 3D printer works, but it’s string by string, line upon line. That white filament you use on the very left is like the ink. Then it goes through the metal tip that’s like a pen and it shoots out thin strings to build upon line upon line to make the design. 
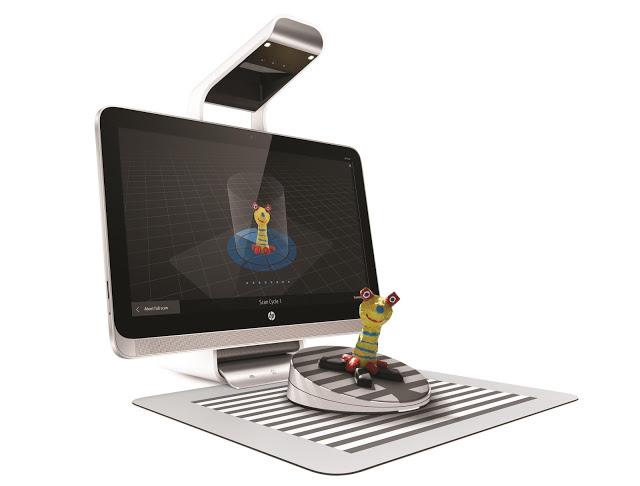
HP Sprout also came out with their new 3D turntable scanner where you can turn whatever object you put on the turntable come to life. so like a true printer. You place the object on the turntable and it’ll take meticulous measurements and pictures from all angles, you hook it up to the Dremel 3D printer and it’ll make the copy!
Here is a video of my process, so you can see better how it all works!

I’ve also made a toothpaste squeezer, a dinosaur head and a frog for the kids and their friend, and a tablet stand. The filament is about $26 and it lasts a lot longer than I had thought. I’ve made all this with one filament that came with the printer and there’s still quiet a bit left. What would you make with a 3D scanner and a 3D printer?
Find out more about HP here.
See what others have created here.
To find a HP Sprout near you click here. 
1

TAGGED: DIY, HP by Sprout 6 Comments

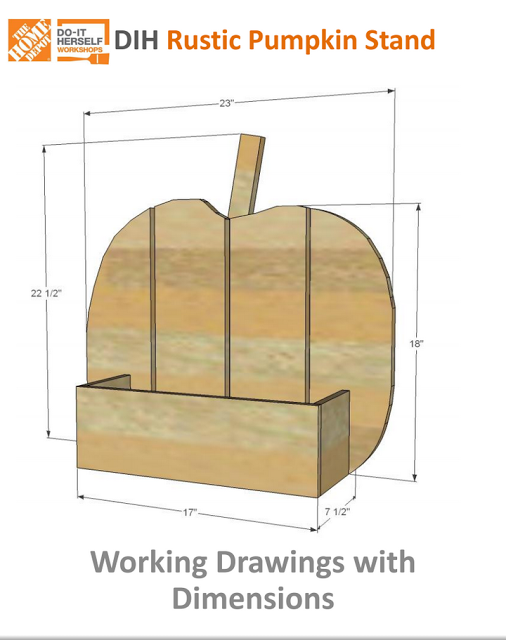
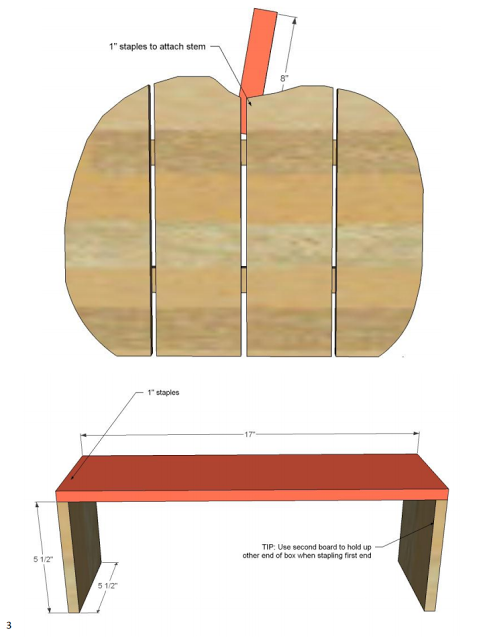
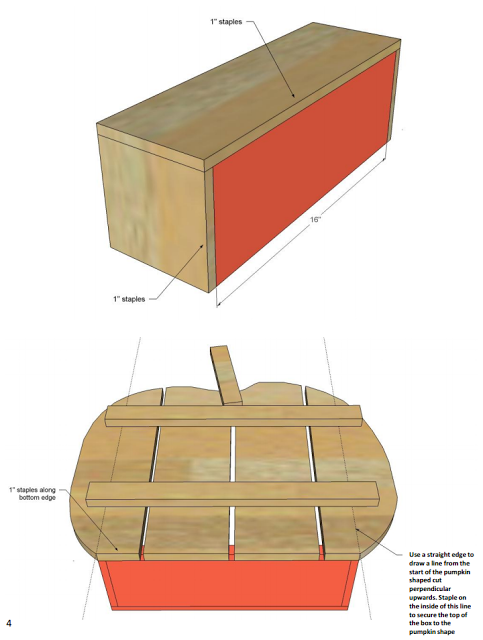
DIY: Make Your Own Pumpkin Stand

August 31, 2015~ DIY DREAM HOUSE


This post is sponsored by The Home Depot.

I am so excited to share a tutorial on how to make your own pumpkin stand. After every project I complete for The Home Depot DIH Workshop, I get such a feeling of accomplishment and pride! I hope you get inspired to attend the DIH Workshop to make your own or even make one at home! This one was the easiest project out of all the projects I made, you can check out my other projects here.

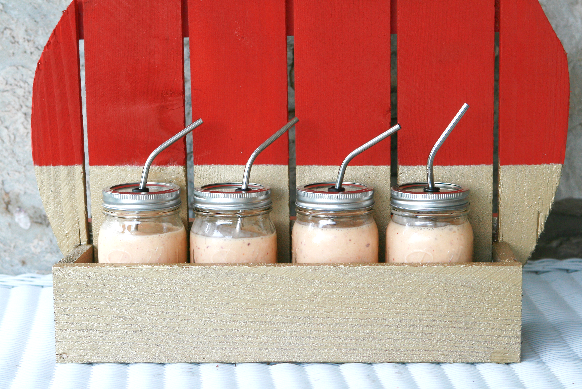
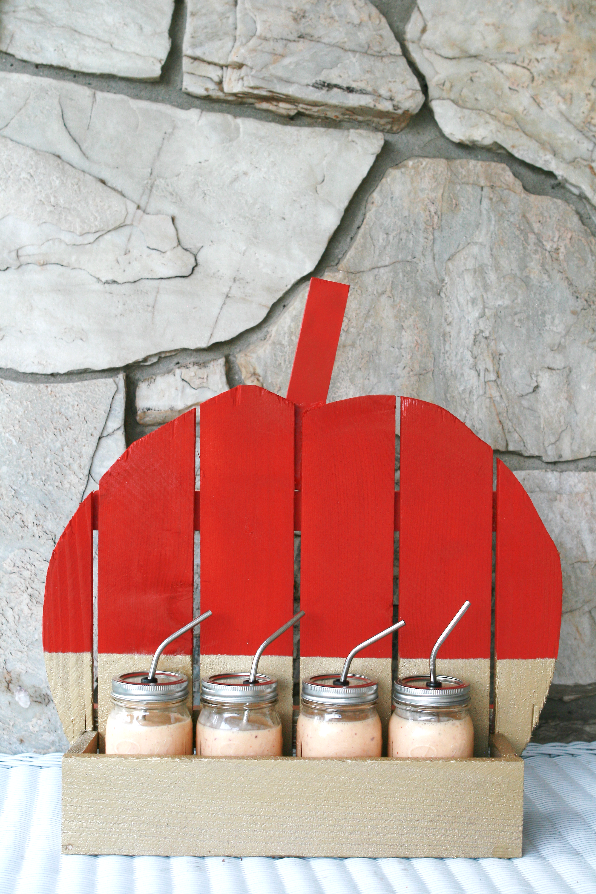
AFTER:

This project was so easy and fun to make! I was really scared to use the jigsaw for the first time but I got the hang of it and it was actually fun cutting out the curve of the pumpkin. I usually know instantly what designs I want my end result to look like, whether it is with sewing or with DIY projects like this one, and I knew I wanted to paint the pumpkin a darker orange and dip part of the pumpkin in gold on the bottom, and I got so excited thinking about it! And it turned out just the way I had imagined so I am so happy with it. It’s also gotten me excited for fall, sweaters, boots, hot chocolate and two of my favorite Holidays — Halloween and Thanksgiving!
I served my peach ice-cream shake on the pumpkin stand when I had my parents over for dinner and they didn’t believe me when I told them I made the stand! Haha, they thought Jay made it. I’ve come a long way with making projects myself, and just like sewing, you get better the more you do it!
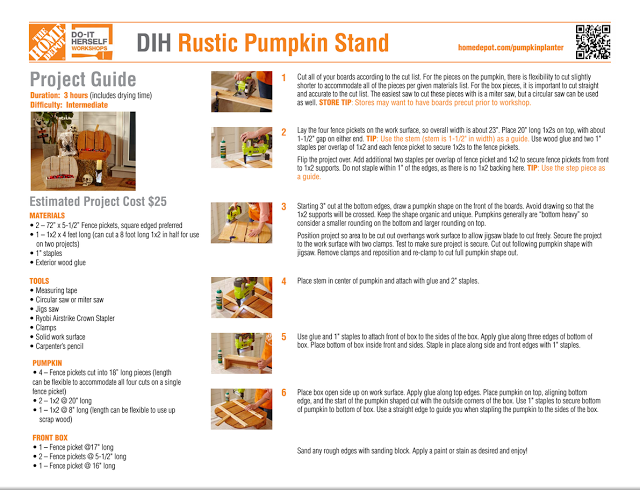
You can make the pumpkin stand using the instructions below or make it a girls night and take your girlfriends to a free workshop at your nearby Home Depot. The Home Depot’s DIH Workshop is held every third Thursday of each month and in September, they’ll be making this pumpkin stand. They’ll have supplies and tools all ready for you and you’ll get to take home the finished product! While the workshop is free to attend, you do need to purchase the materials. To check out the schedule and sign up, click here.
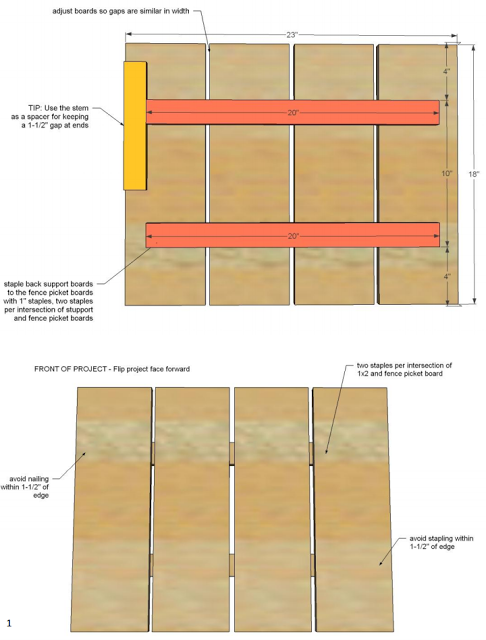
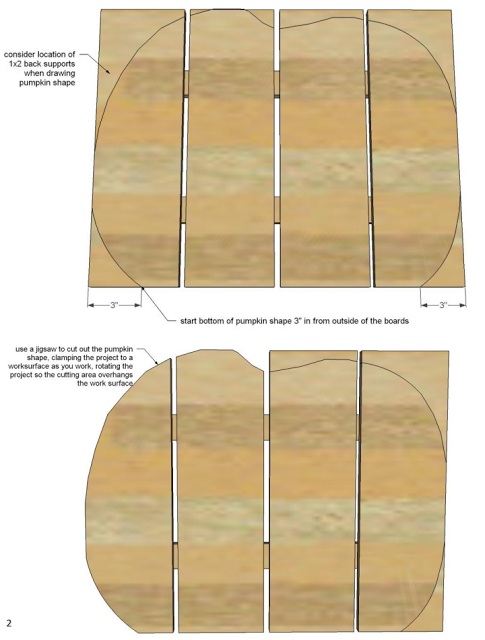
Instructions
(click on the image to view full size)

Estimated time: 2 hrs.
Budget: $20
Skill level: A beginner DIY’er
2

TAGGED: DIY, home depot 11 Comments

  • 1
  • 2
  • 3
  • …
  • 9
  • Next Page »
cutmypic
Hello! My name is Sarah and I am so happy to have you here! Here you'll find DIY sewing, DIY home building & decor, honest and vulnerable posts of motherhood and snippets of my family. We are building our dream house and will update you regularly on our whole process from start to finish and I am also starting a mother-daughter sewing series. So I hope you stay awhile!

BLOG ARCHIVES

SEARCH

JOIN THE LIST

- THEME BY ECLAIR DESIGNS - Web Hosting By RFE Hosting -