
HOW TO MAKE A SERVING STATION
TOOLS
• Circular saw
• Level
• Drill with driving bits
• Safety goggles
MATERIALS
• A two-foot by two-foot, three-quarter-inch
project panel
• A ten-foot long one-by-six pine board
• A nailer and one-and-a-quarter inch nails
• Wood glue
• Paint or stain
• Four 5⁄8 inch screws
• Tape measure
• Pencil
• Paint brush
• Gloves
NOTE: If using these projects outdoors where contact with water could occur,
use either pressure treated, cedar, or redwood boards depending on availability.
• A two-inch hook & eye kit
• A five-foot jack chain and pliers
• And a two-pack of three-inch utility hinges
• Four three-inch deck screws
• And two three-inch corner braces 2 ́x 4 ́ x 1⁄2 ̋
STEP 1
CUT THE BOARD AND PROJECT PANELS
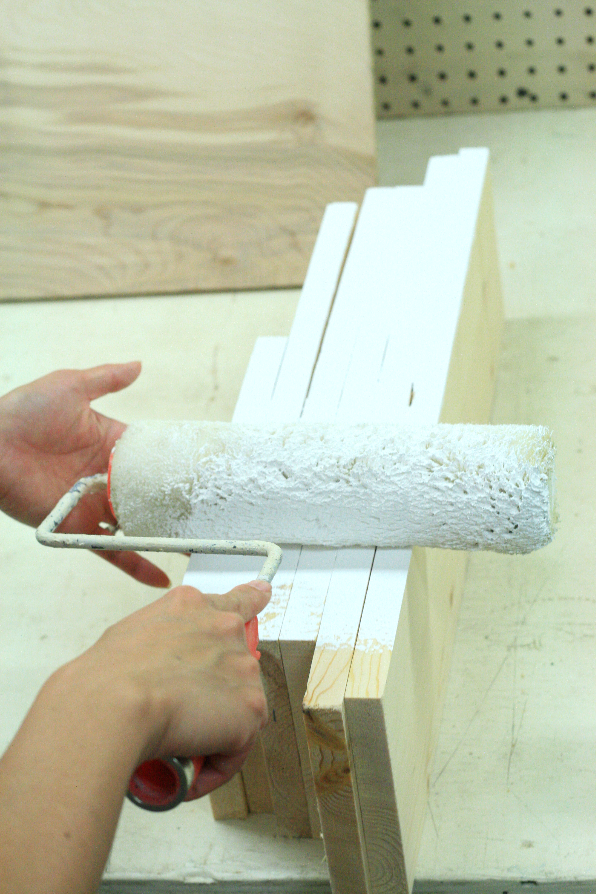
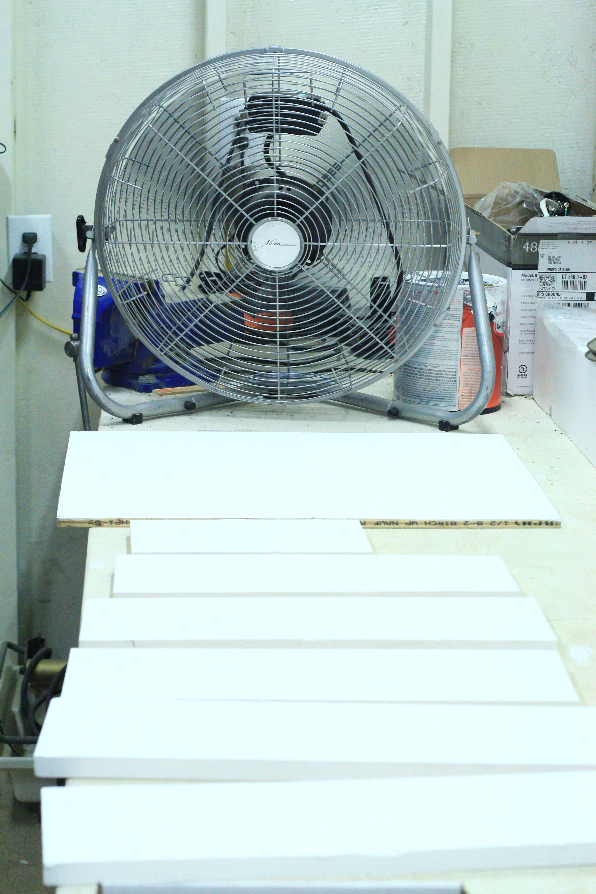
Using a circular saw, cut the one-by-six into two 18 3 ⁄4 inch pieces, two 22 1 ⁄2 inch pieces, one 17 1⁄4 inch piece, and one 10 7 ⁄8 inch piece. Then cut the project panel into a 2-foot by 18-inch rectangle. This is also the optimal time to paint or stain the wood.
STEP 2
BUILD THE BOX
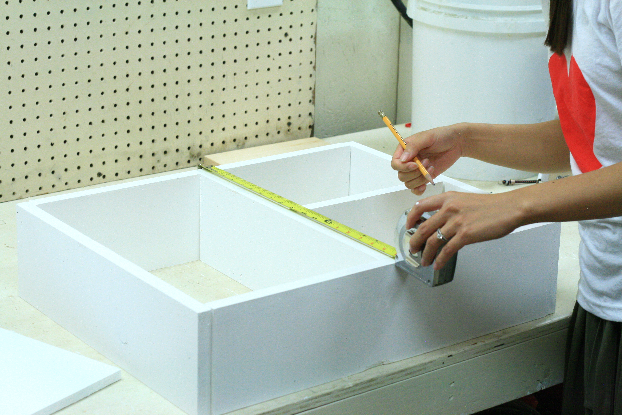
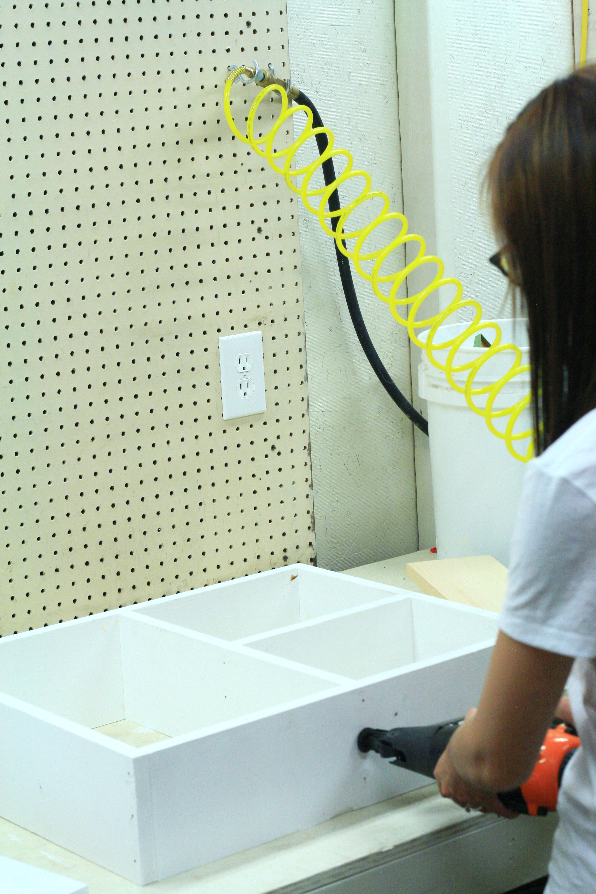
Next, create a box using the 22 1 ⁄2 inch pieces for the top and bottom and the 18 3 ⁄4 inch pieces for the sides. Check to make sure that the top and bottom pieces fit between the side pieces. Lastly, check that the outer measurements are 24 by 18 3 ⁄4 inches, then – being careful to keep the box square – glue and nail each corner together.
STEP 3
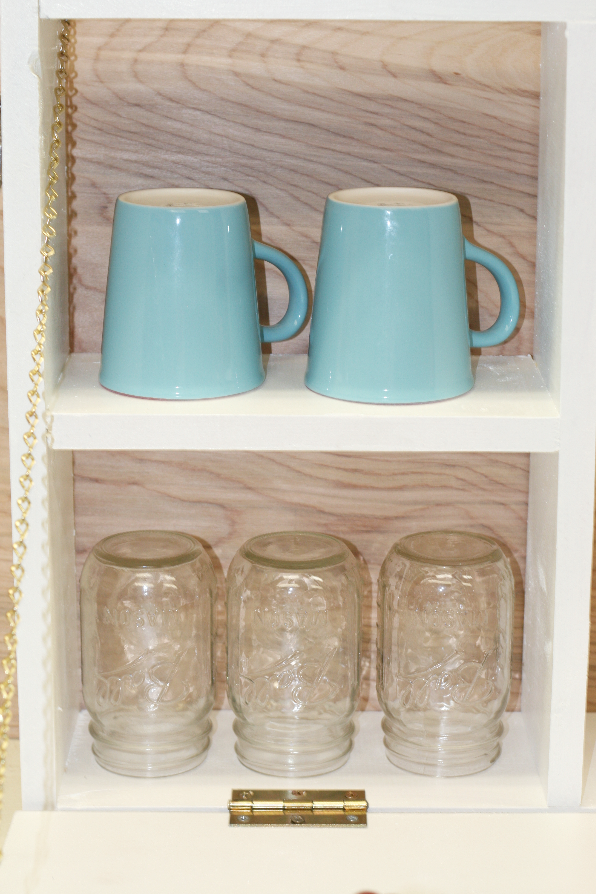
The next step is to attach the divider and shelf. Find the center of the box – 12 inches across the top and bottom – and insert the board measuring 17 ¼ inches. Glue it and nail it in place. Now, do the same with the 10 7 ⁄8 inch board, positioning it horizontally at the 9 3 ⁄8 inch mark. Again, secure it with wood glue and nails.
STEP 4
ATTACH THE TABLE TOP
Now it’s time to attach the folding top. Stand the box upright, and butt the table top up against the bottom. From there, pull it back about an eighth of an inch, leaving just enough of a gap to then attach the two three-inch utility hinges.
STEP 5
ATTACH THE CHAIN AND HOOK & EYE
Next up is the drawbridge-style chain; this is the part that supports the table once it’s mounted. With the box and table top still resting on the workbench, cut the chain in half. From the outer corners of the table top, measure back two inches and in one inch.
Then use two of the 5 ⁄8 inch screws to attach the chain. Stretch one side of the chain upward. Make sure it’s nice and taught before attaching it to the inside of the box with another 5 ⁄8˝ screw. You may need to cut off some of the excess chain with your pliers. Repeat the process on the other side.
When the chain is securely fastened, it’s time to attach the hook & eye. Close the table top against the box, then screw the eye into the side of the table top, and screw the hook into the outside of the box. Measure carefully; you’ll want to make sure the hook and eye are close enough to latch.
STEP 6
ATTACH MOUNTING PLATES AND HANG
Now, attach the two three-inch corner braces to the inside of the top two corners of the box, and use the deck screws to mount it to the wall. Of course, a full bar can be pretty heavy, so be sure to find a stud or hang it on another strong structure.
STEP 7
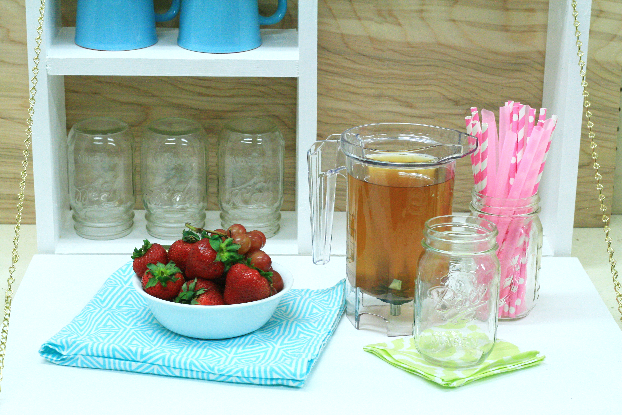
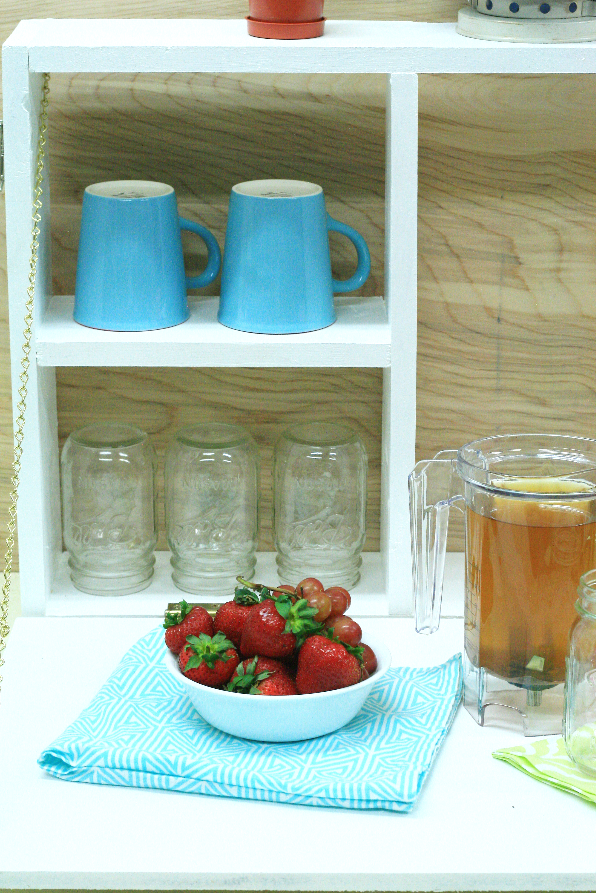
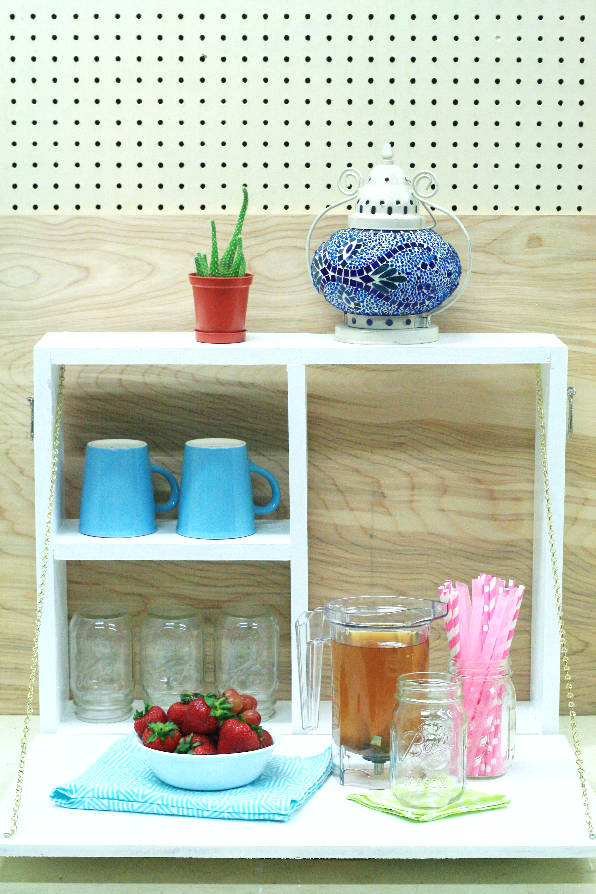
STOCK, SERVE, AND ENJOY
That’s it. You’re ready to stock your serving station and raise a glass to a job well done.
great idea 🙂
bezauberndenana.de
nice work! It looks great