This DIY Growth Chart video is in partnership with Similac.
At the rate my son’s growing, he’ll over-tower me when he’s 9. And my girls? My oldest’s feet are literally an inch smaller than my feet. I always tell my family that once my kids get taller than me, we are only taking family photos while sitting down. But it’s a good sign that they’re growing strong so I have nothing but gratitude… even if it hinders with my pride a little bit. 😉
Did you know that:
- 60% of growth is achieved in the first five years of life?
- Early childhood offers a critical window of opportunity for growth and development so good nutrition is essential during this time.
- Studies show that a child’s poor growth before the age of 2 predicts lower intellectual development and a child’s educational performance suffers.
- Visit https://similac.com/baby-development/activities/physical-growth for more information.
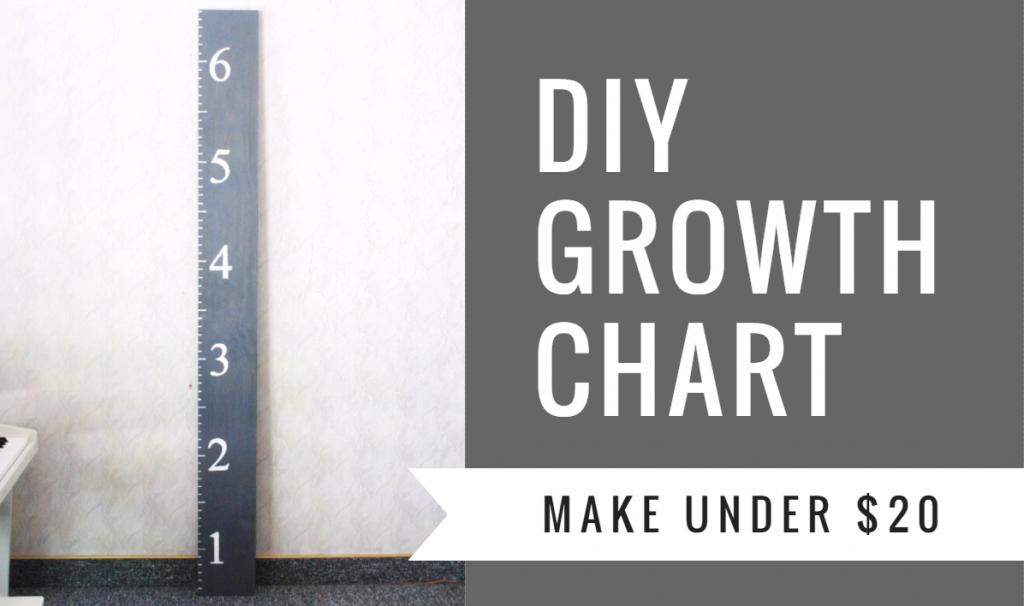
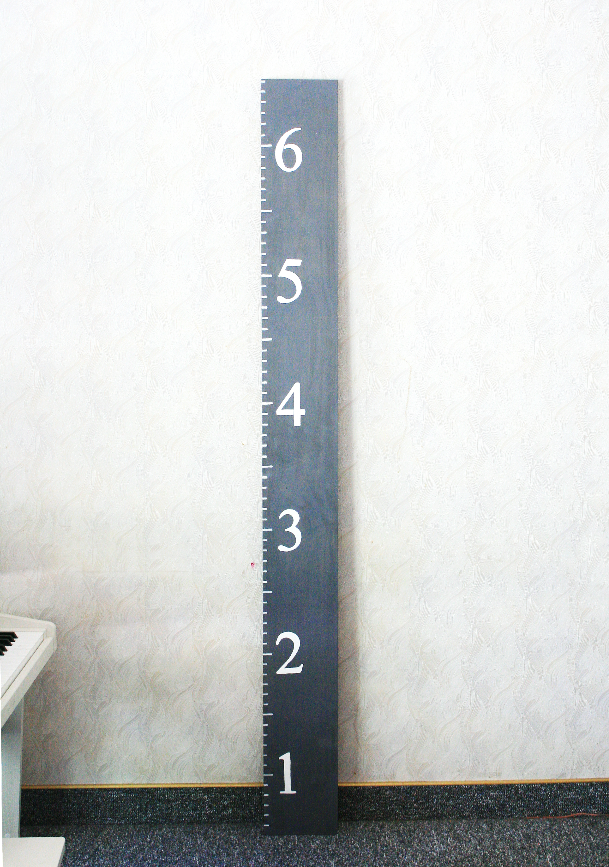
Since my son is growing so fast and even though he’s 3 years old yet looks like he’s 5, I’ve been wanting to make a giant ruler growth chart for my kids. We mark their heights on the wall by the bathroom but I never liked that idea because 1. It makes your walls look dirty. 2. What if you move? Or want to repaint your house?
So here’s the tutorial I made. Don’t laugh, okay? I did my best. 😀
*This was my very first video I made back in July 2016 and it ended up being a “How not to make a growth chart” due to my trial and error(dang you, Pinterest) so I never posted it. But after some mishaps here and there, I finished making my own growth chart and am so happy with the result!
Materials You Need:
- 6 x 8 pinewood
- Wood Finish Stain(mine is in classic grey)
- Paint Brush
- Measuring Tape
- White Paint Markers for the inch marks
- White craft paint and Foam Brush for the numbers
- Sanding Sheet(100 grit +)
- Number Stencils
- Tape
- Pencil
Instructions:
- Sand the pinewood, paying special attention to the edges and corners.
- Mix well the Wood Finish Stain, then with a paint brush paint the pinewood. (I did 3 layers, I wish I only did one layer so the design of the wood is more prominent.)
- Let it dry, approximately 30 mins.
- With a pencil, mark from the very bottom to the top, every inch. Every 6 inches, make the mark thicker and longer.
- Now with the paint marker, go over the pencil line, making sure every 6 inches is a bigger mark.
- Lay flat #1 stencil on the 6th inch from the bottom(the ruler will be up 6 inches from the ground so it will measure 1 foot).
- Tape around the number so the stencil will stay still.
- Dip the foam brush onto the craft paint and go over inside of the #1 stencil. I found dabbing to be helpful.
- Gently lift off the stencil.
- Lay #2 stencil 12 inches from the #1 mark. Repeat 7-9.
- Repeat until you get to #6.
- Let it dry. You are now done!
This looks great! I made a similar one a few years ago and transferred all the marks from the wall to our “ruler”. Pinning and sharing. thanks for linking up to #Homemattersparty
Hey, Sarah! Just wanted to let you know that we loved your DIY Giant Ruler Growth Chart so much when you shared it at the #HomeMattersParty last week, we’ve FEATURED it THIS WEEK! Hope you can check it out when you get a sec. Happy Friday!!!
http://lifewithlorelai.com/2017/03/09/home-matters-linky-party-126
~Lorelai
Life With Lorelai / Home Matters Linky Party
That is a really nice ruler! Unlike the old “mark on a wall” method, this will be a lifelong keepsake! All The more special!
Thanks for sharing! #HomeMattersParty
Jeannee