• ABOUT
  • COLLABORATE
  • CONTACT

Life is Beautiful

Motherhood, Sewing, Family

  • SEW
  • HOME
  • PARTY
  • TRAVEL
  • SHARING MY HEART
  • SHOP

DIY: How to Make Your Roof Efficient and Airtight

September 10, 2020~ DIY DREAM HOUSE, Dream Home Come True, HOME BUILDING, YOUTUBE VIDEOS

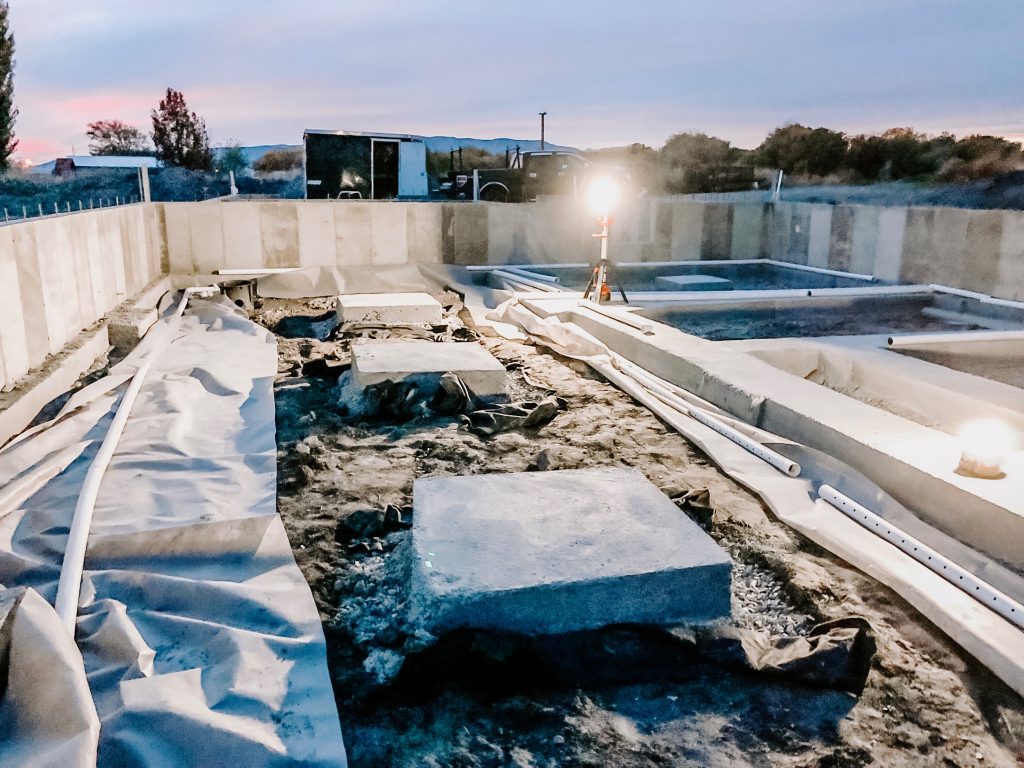
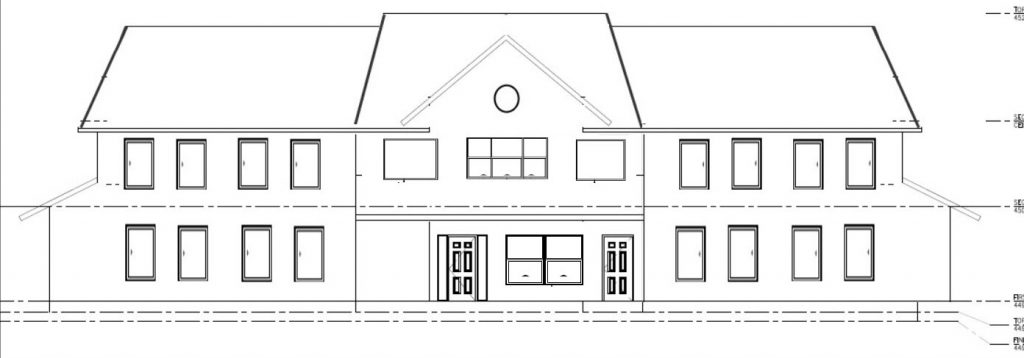
Wow, it’s been awhile since we did our house update on this blog! We have been documenting it on my home account on Instagram: www.instagram.com/dreamhomecometrue so make sure to follow along there if you’d like to keep up-to-date with our building process. Go take a look at how far we’ve come, we are so happy with how it’s turning out!


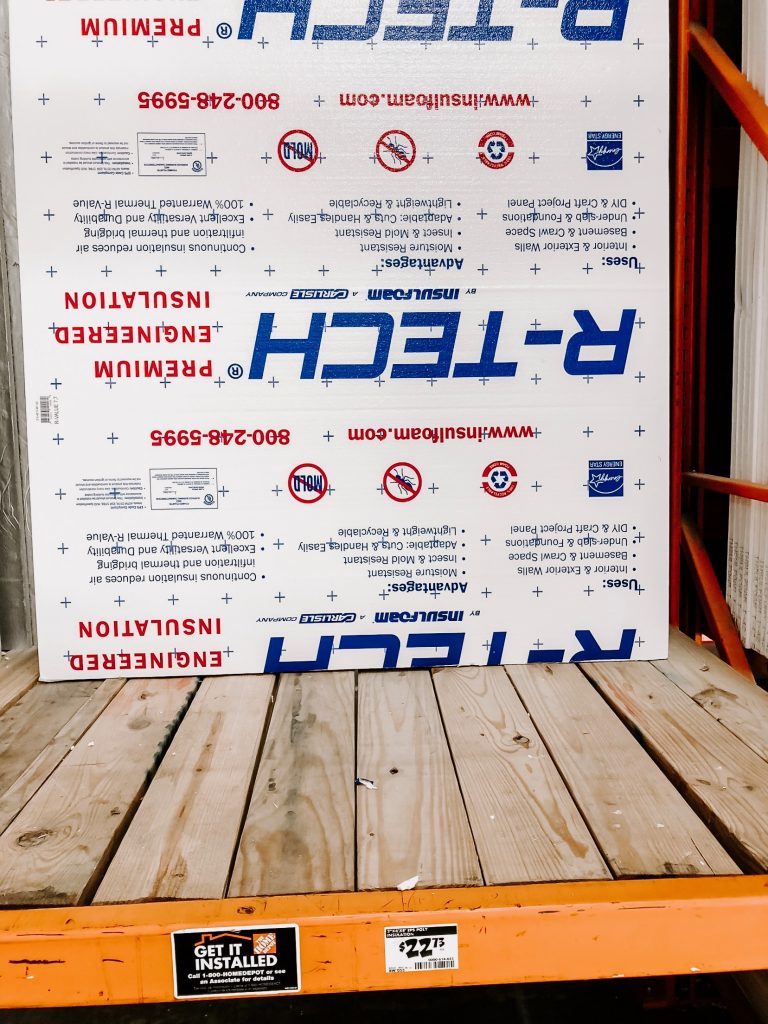
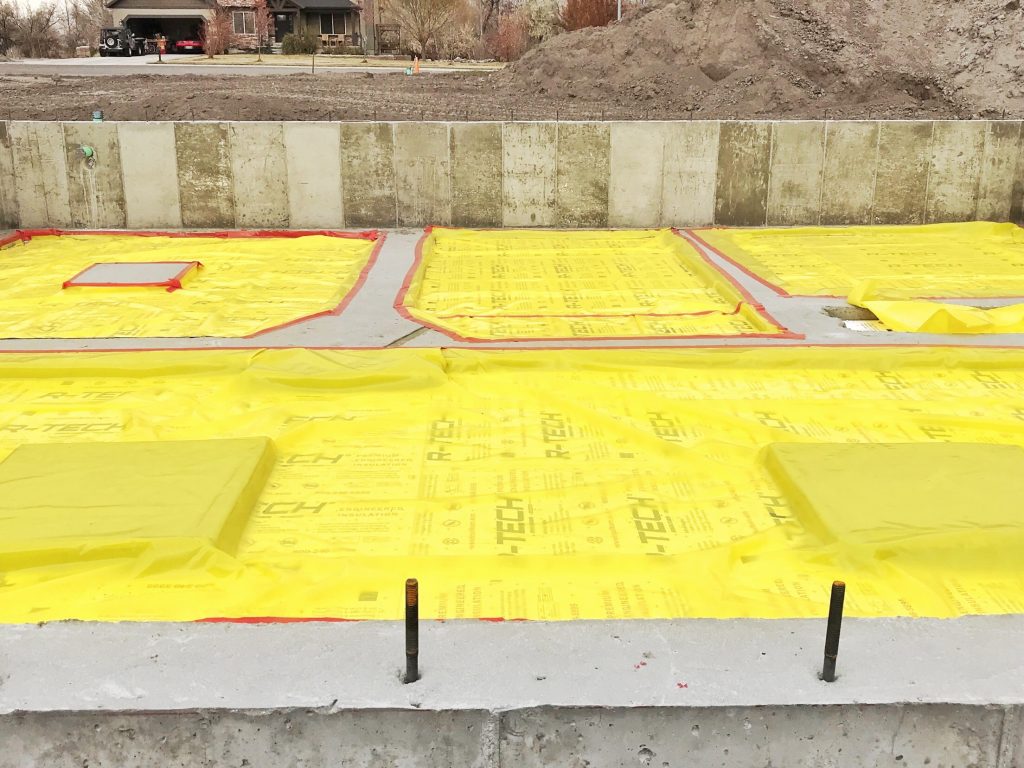
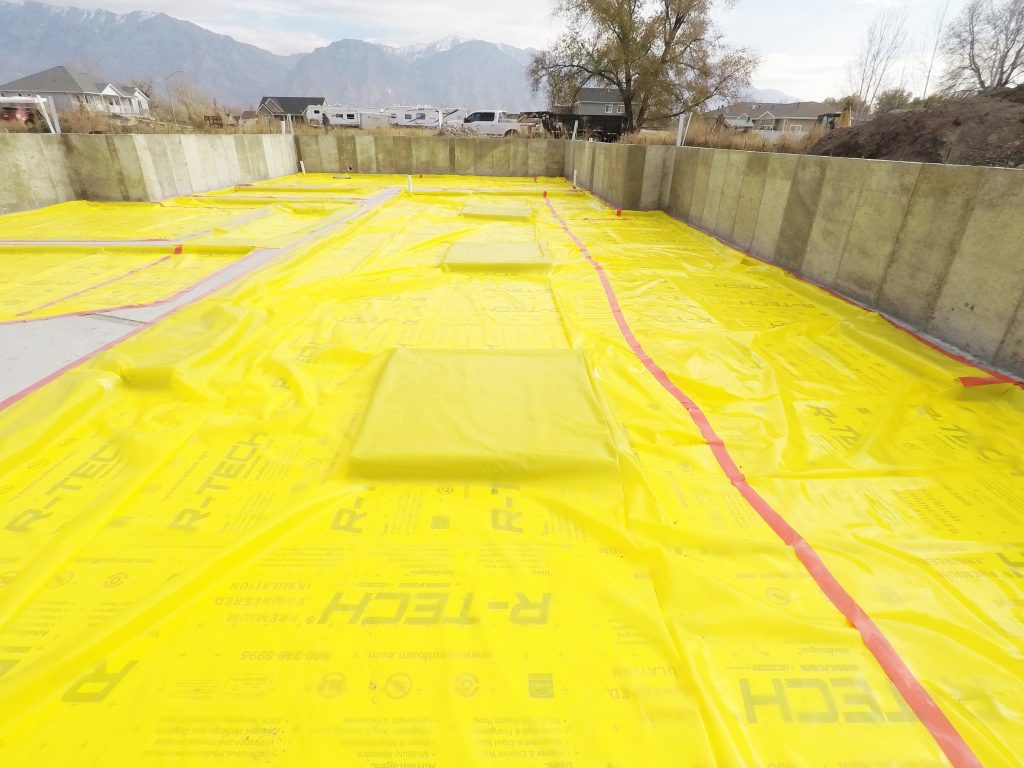
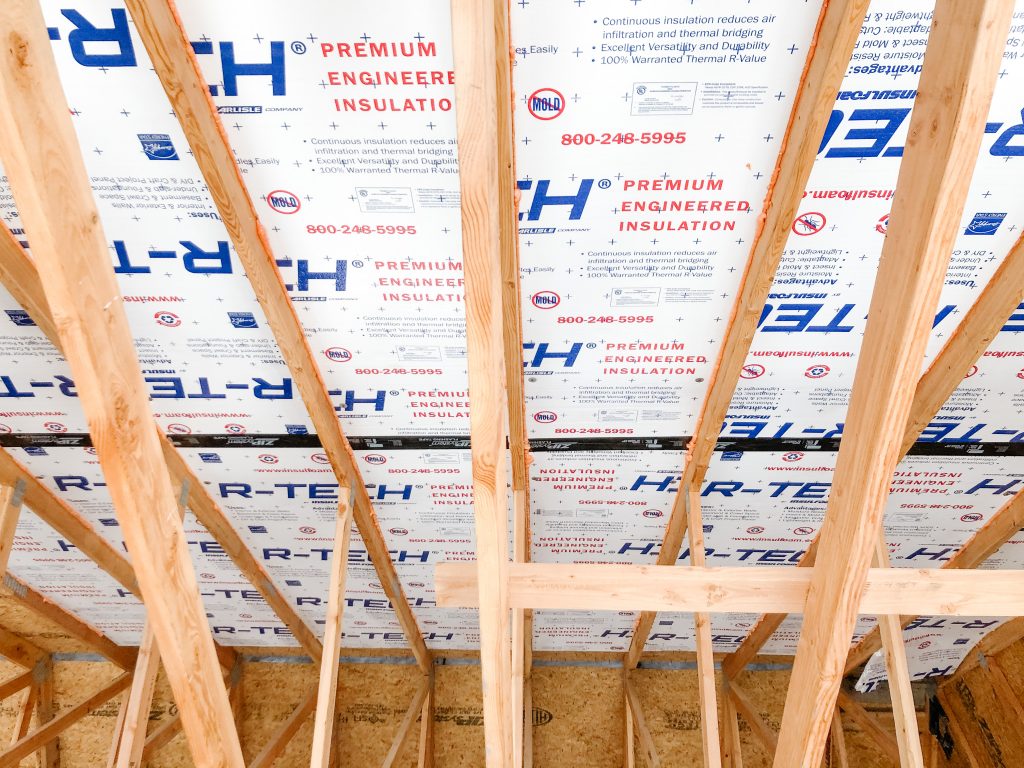
In this video my husband will show you how he DIY’ed a way to make sure the roof of our house is breathable but also airtight. He wasn’t happy with the materials that are offered in stores so we have partnered with The Home Depot to show you how he made his own way to do it and I have been so impressed with his knowledge in building science!


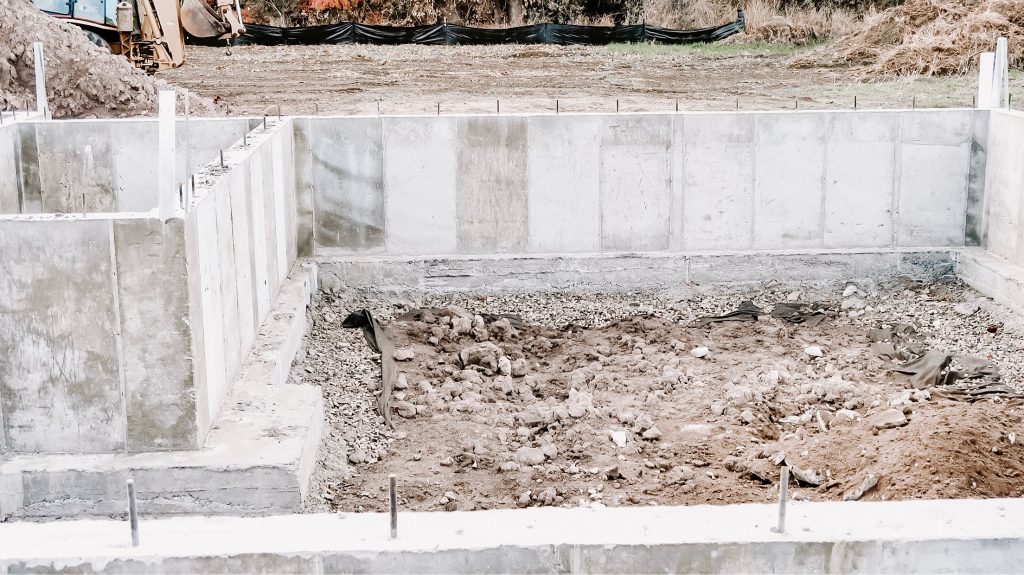
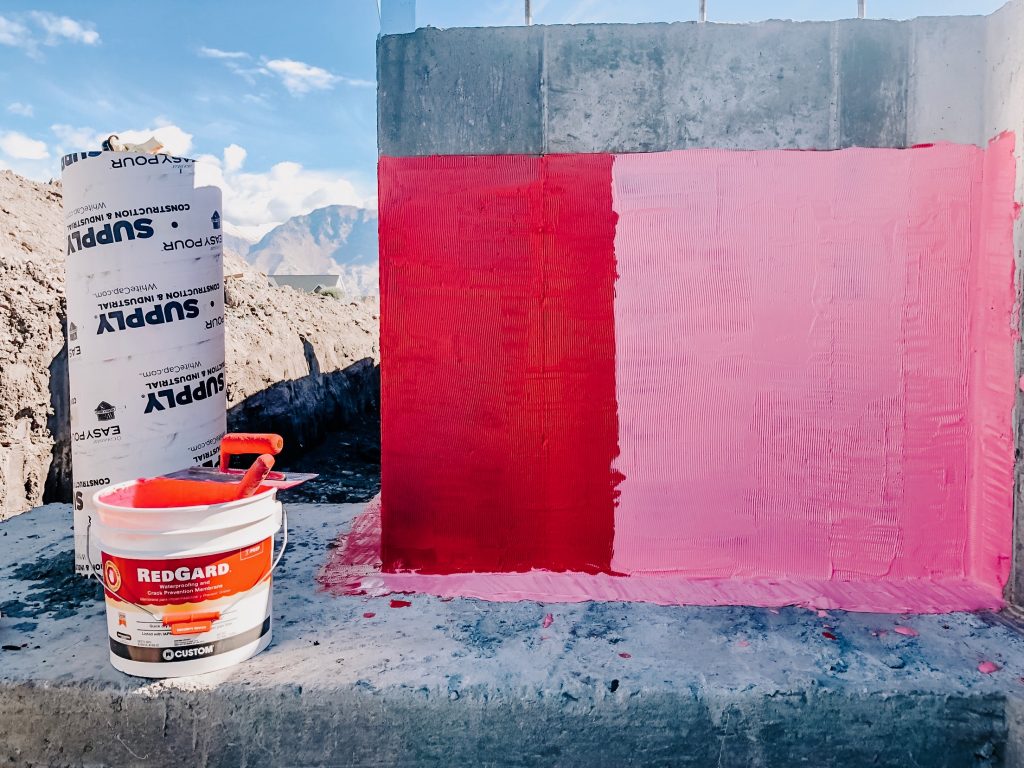
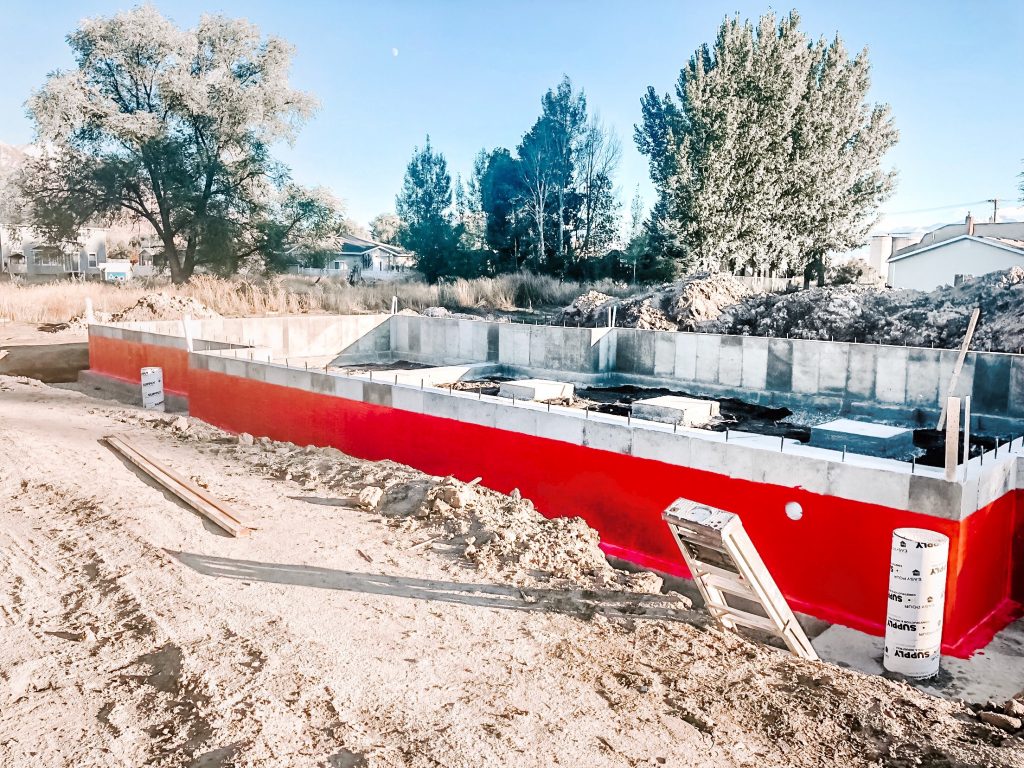
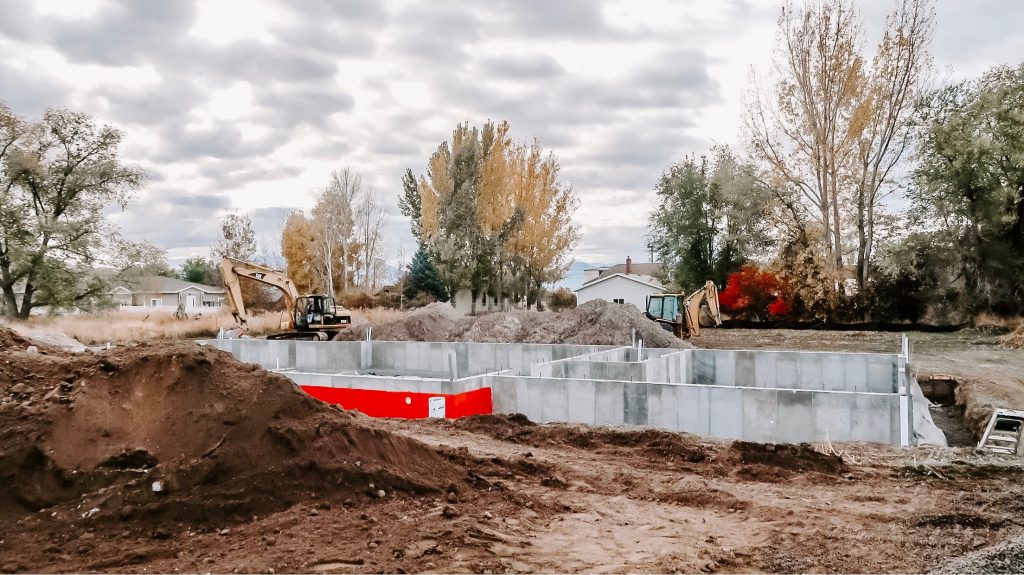
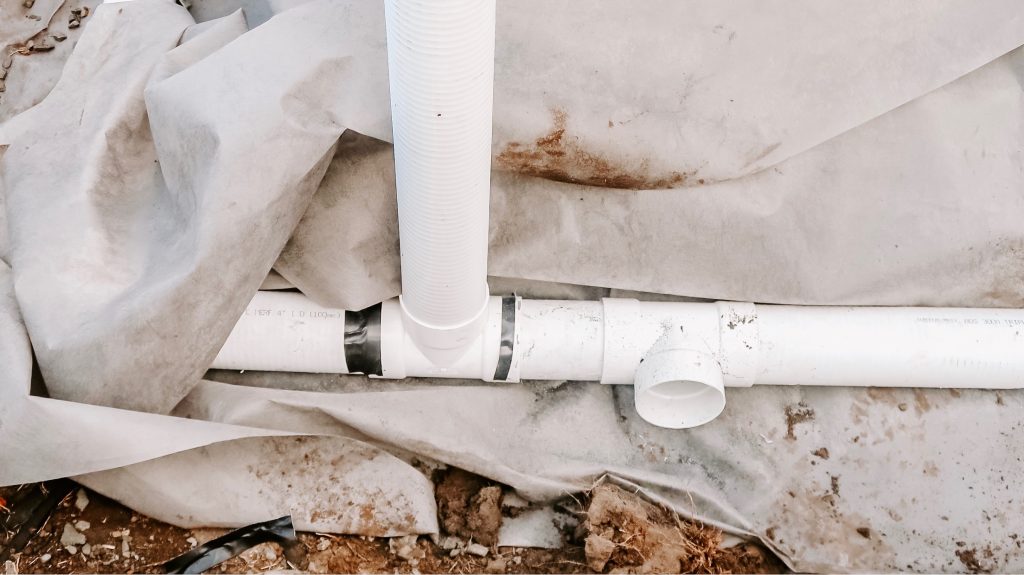
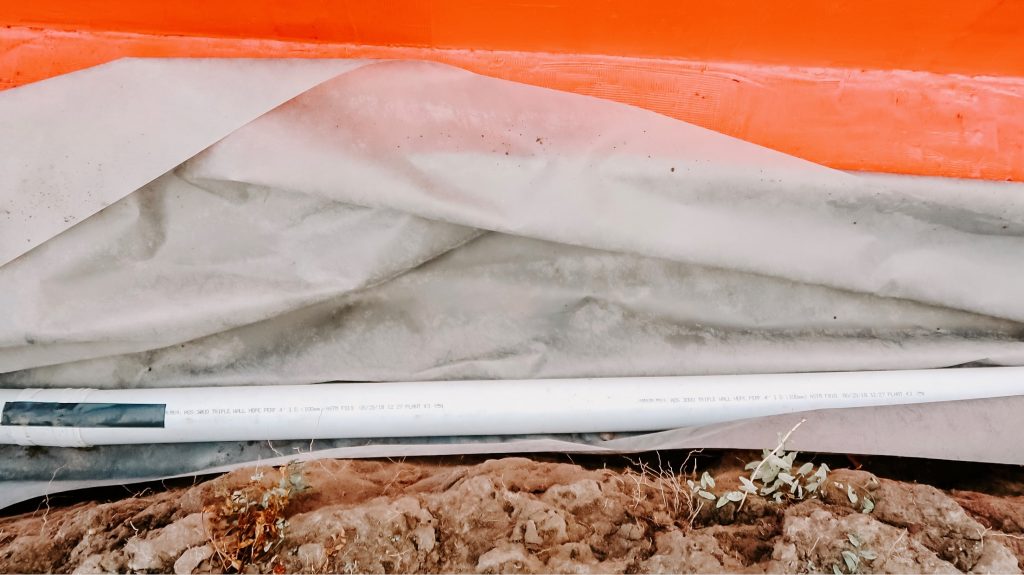
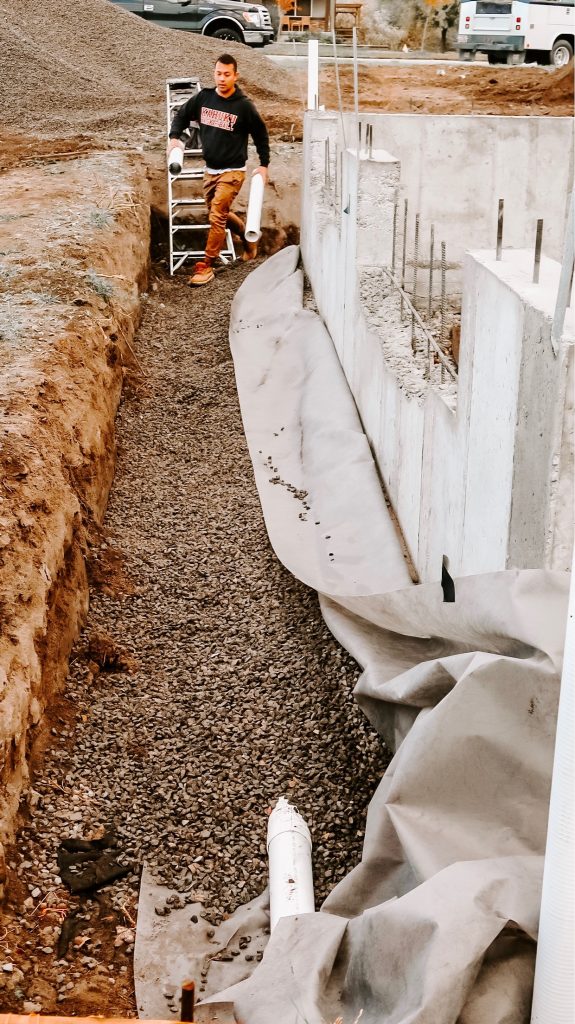
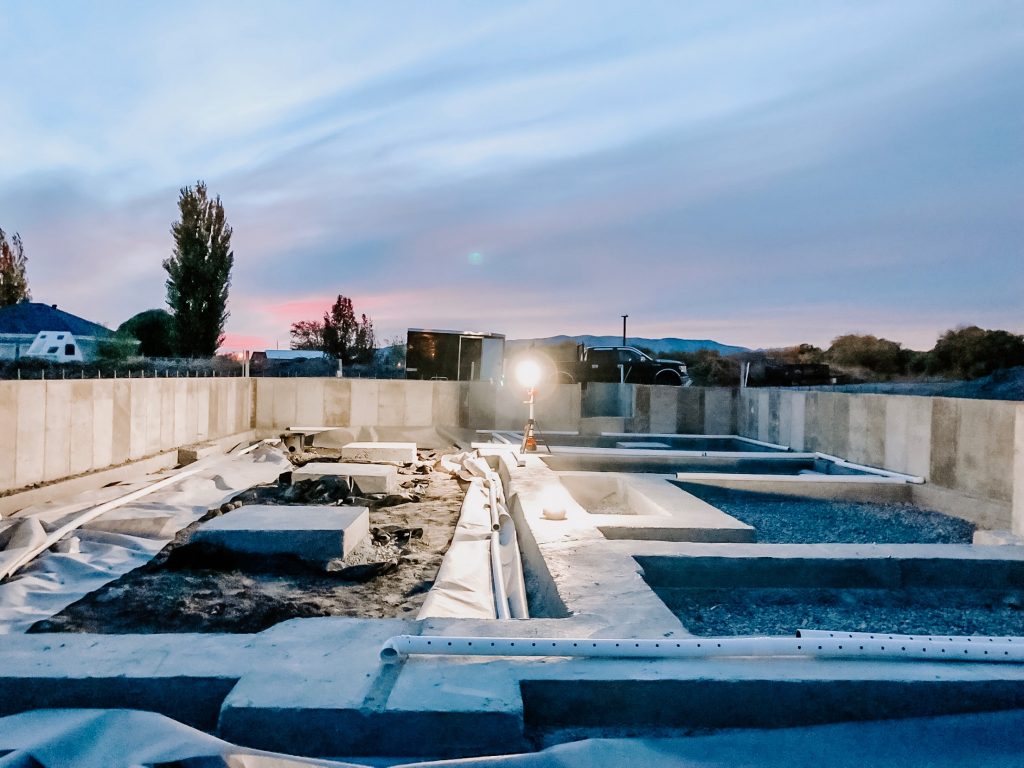
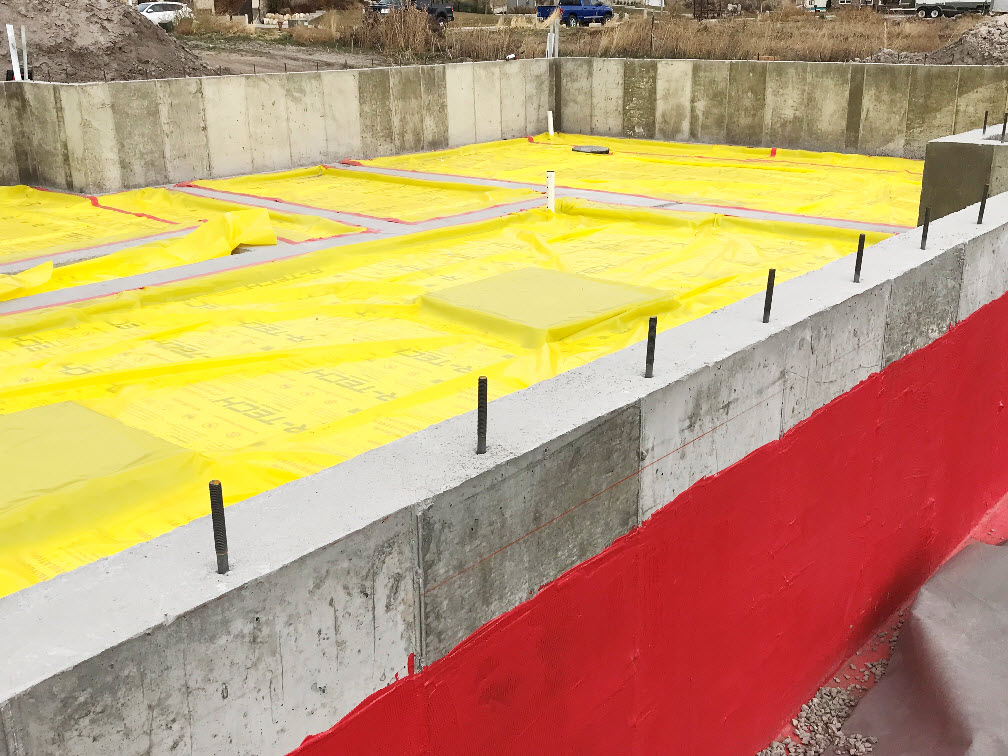
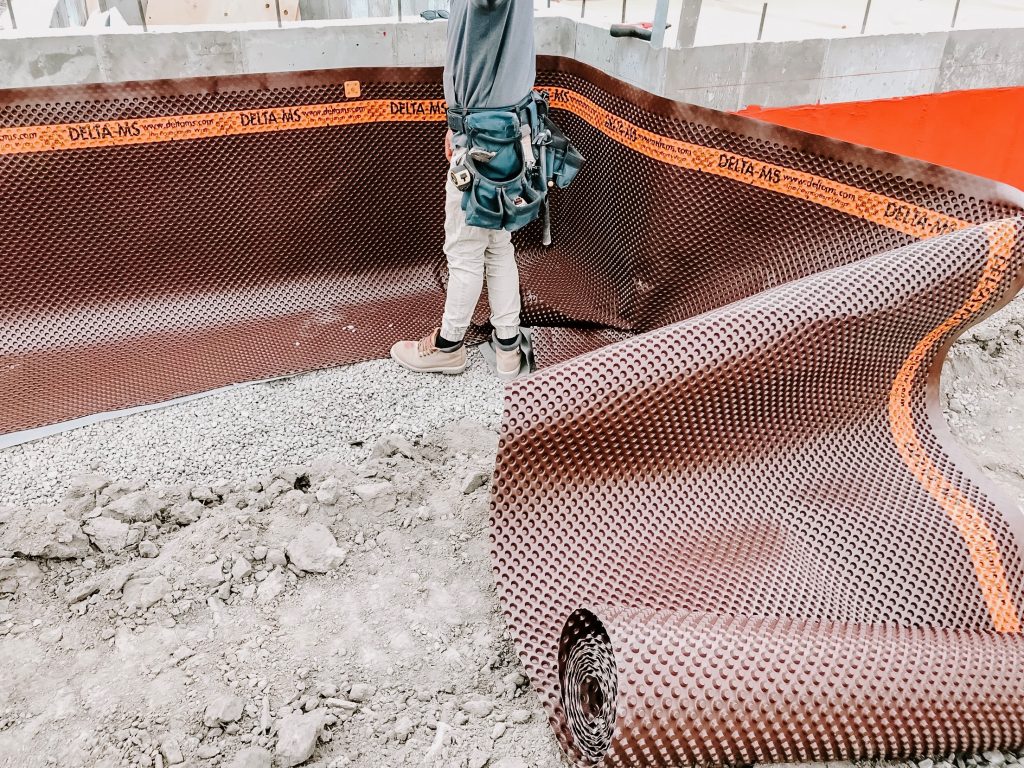
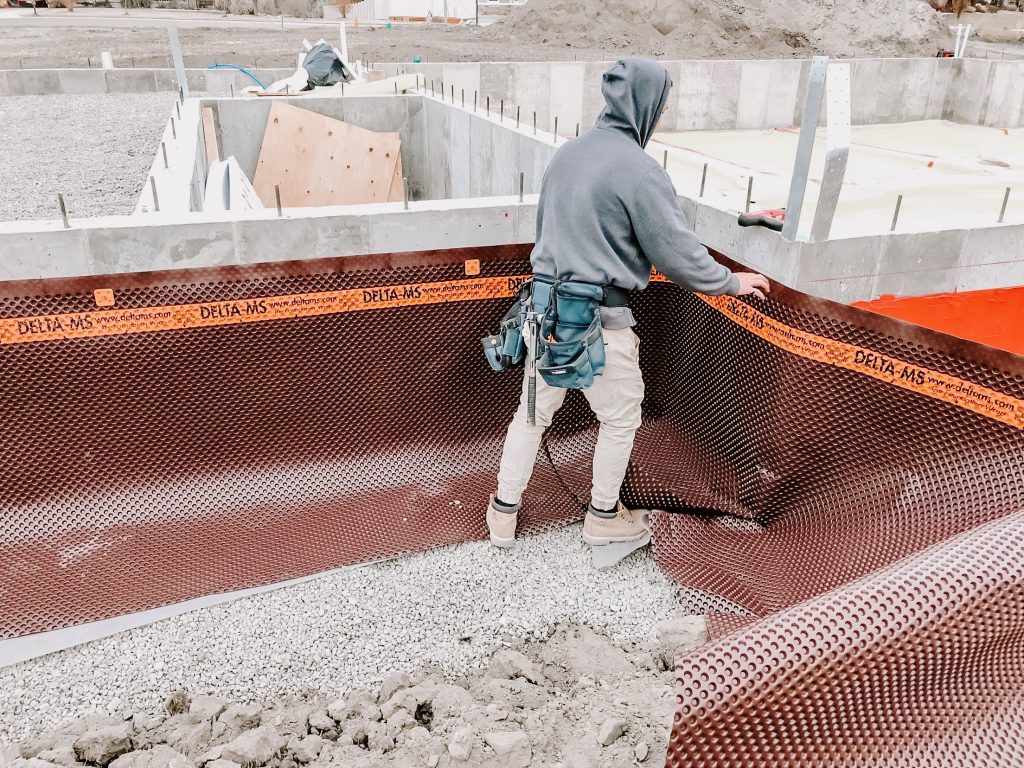
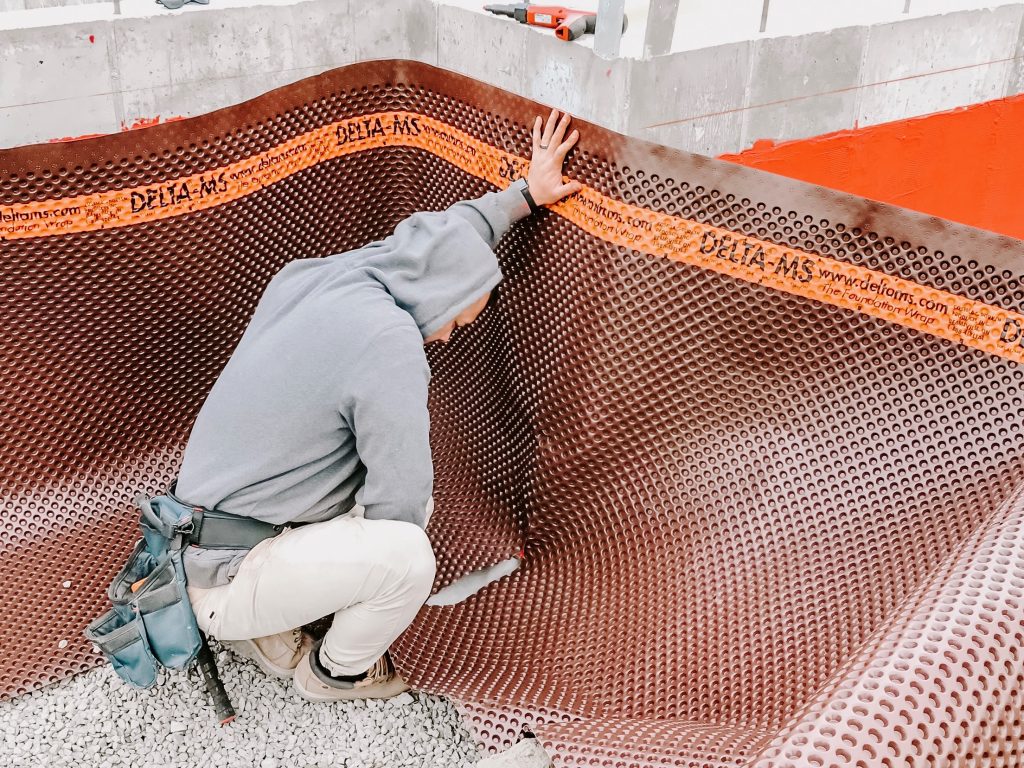
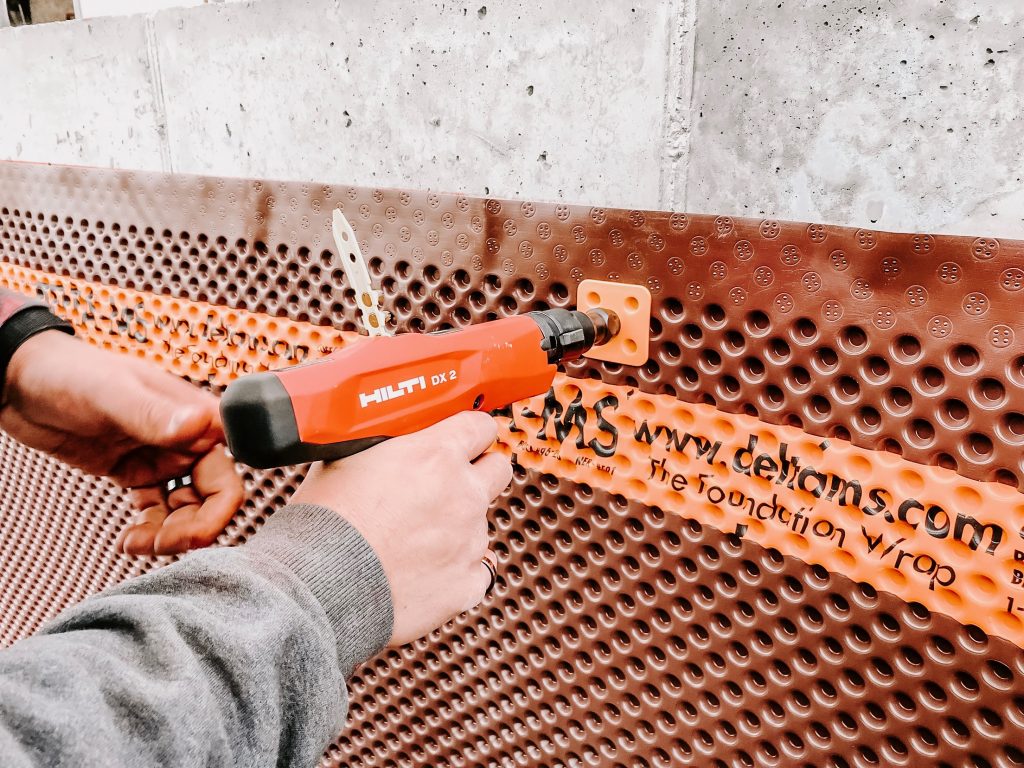
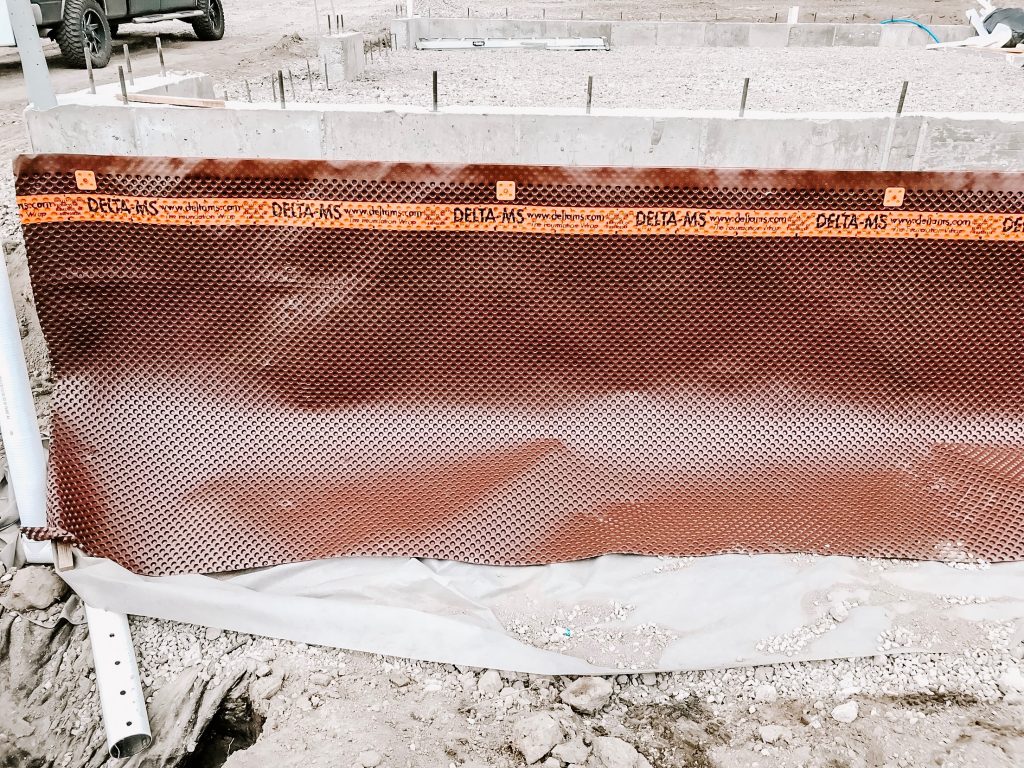
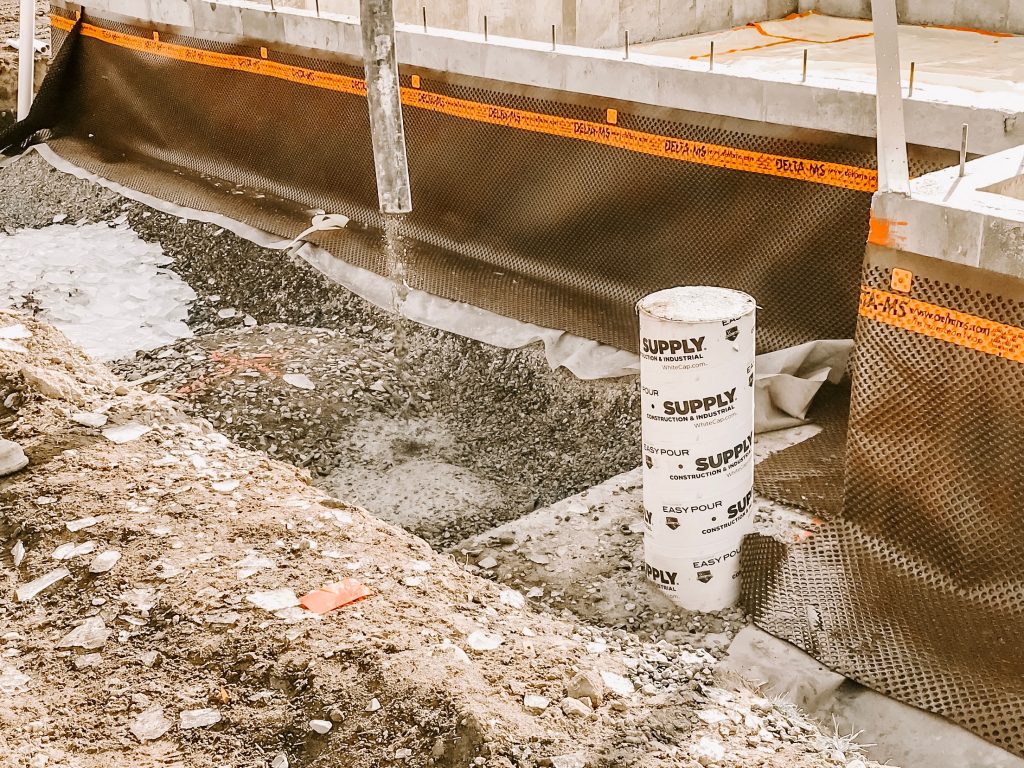
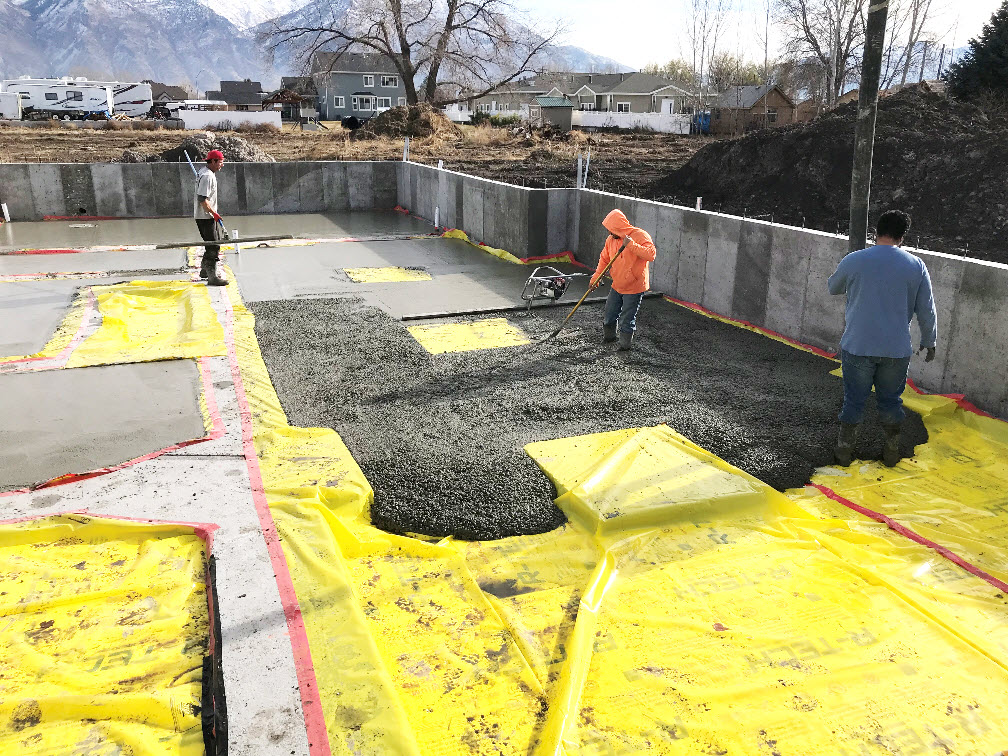
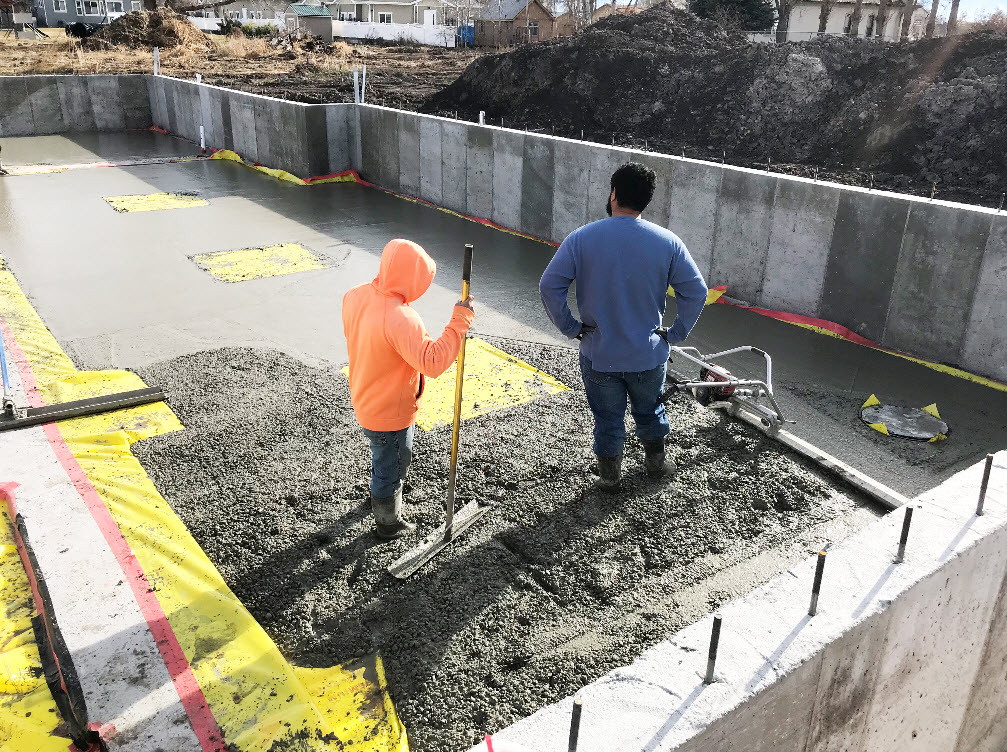
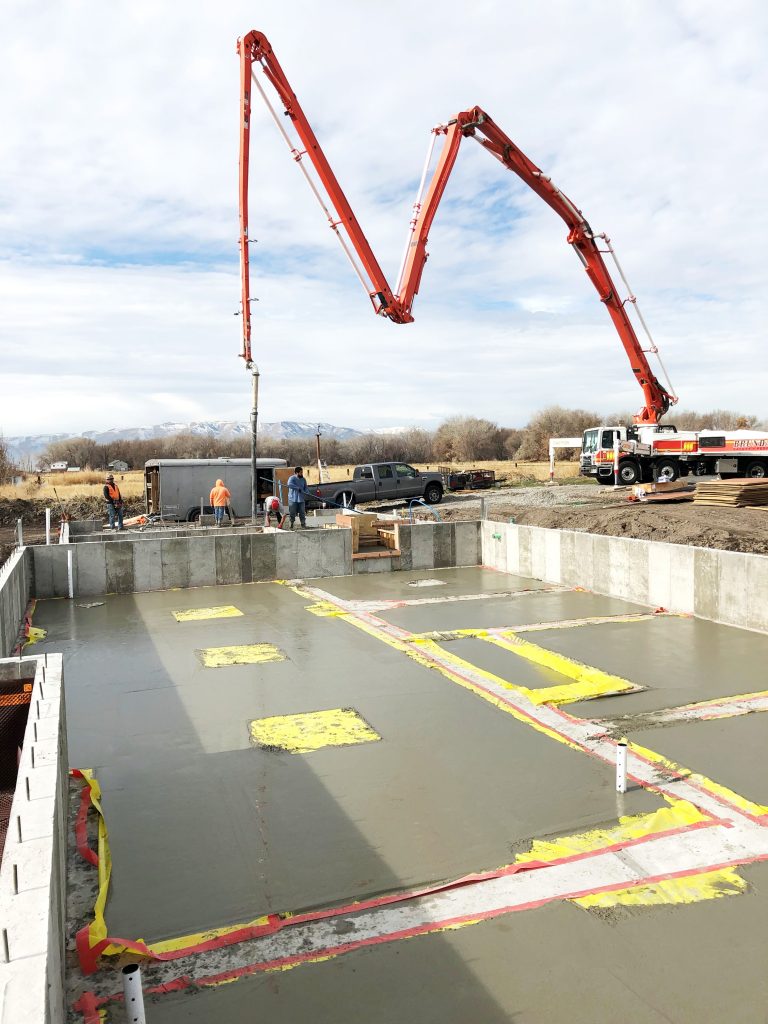
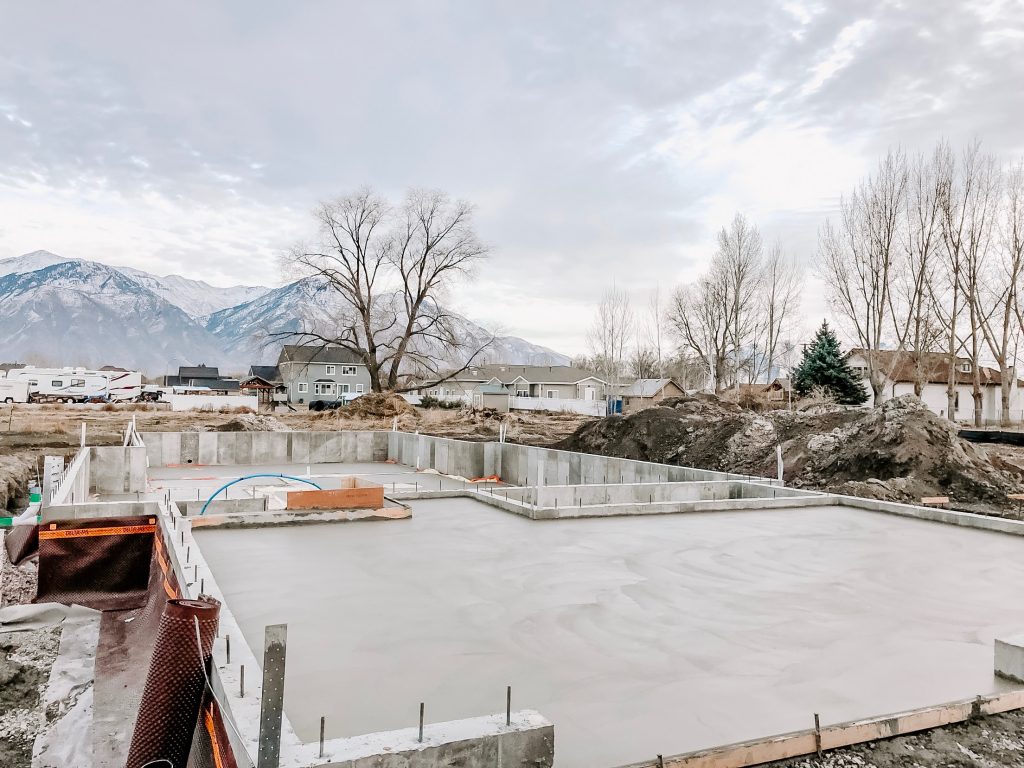
Every time the City inspectors come to inspect our home, they have all said that in all their years of inspecting new home builds, they’ve never seen a house being built with such attention to detail, quality and integrity. Many builders and architects have drove by our house to ask Jay what kind of materials he’s using and how he’s doing things, because they are so impressed with what they see. So I am so proud of him and for all the knowledge we are both gaining, as we go through this home building journey together.


So watch the video below to find out how to make your roof breathable but airtight!

1

Leave a Comment

Dream Home Come True Ep. #2: Breaking Ground/Laundry Room

December 21, 2018~ Dream Home Come True, HOME, HOME BUILDING, Jay's DIY

This post is in partnership with Elkay. I’m so excited to show you what our laundry room will look like!


We finally broke ground!!! After waiting 4 months for the City to approve of our plans, I cannot tell you enough how excited and grateful I am that this day is finally here!!!

In this episode, I’ll take you with me to the day of our ground breaking and the actual first digging of the dirt, and then a reveal of what our laundry room will look like! Watch it below!


Let me know if the inspiration photo for our laundry room spoke to you as much as it did to me, because I love it. So much. This is actually a kitchen renovation for a beach house by a talented designer named Will Taylor, you can read his kitchen renovation post here.


I knew I wanted my kitchen cabinets to be a light color but I loved this design so much, I had to think of a place to incorporate it into, and thought the laundry room would be a perfect place for it, mainly because of that beautiful white farmhouse sink, I love the idea of having a big farmhouse style sink in the laundry room for putting all the dirty clothes in there to wash, or to dye my clothes for my refashion revisions, or to bathe my grand-babies in like 20 years! I just like to plan ahead, guys, is that so wrong?


I found a beautiful farmhouse sink from Elkay that will go perfectly for it, and it arrived right on time as I was making this video so make sure to watch the video for the unboxing and see just how big and spacious the sink is! It is a fireclay single bowl that is 29-7/8″ wide which is so roomy, I fit two of my kids in the sink at the same time. I always wished I had a beautiful farmhouse sink to bathe my kids in when they were little but since it’s so big, I can bathe them in it now, even my 11 year old! Haha, I am totally joking but I just might try to bathe my 5 year old in it, don’t judge me.


Photo by lifefromhome.com
 
The sink is super heavy and sturdy and very high quality, I didn’t realize just how heavy-duty it was until I tried to move it and couldn’t so Jay had to help me. He doesn’t like many things but he really likes the size of the sink and was impressed by the quality! Also because it’s made of fireclay, it’s super durable, easy to clean and it’s s scratch and stain-resistant.
Photo by @barij


The best part about this sink is that it can be installed in two ways: as a flat front or with the decorative band at the top as the two photos above show. Which one should I do for my laundry room?


I love that Elkay offers versatile styles for one product, such as the interchangeable apron, where you can switch out the front part of the sink to many various colors such as platinum, sapphire, champagne, scarlet and many other colors, to change according to season, holiday or mood!


Elkay offers a variety of beautiful faucets, drinking fountains, cabinets and more, checkout www.Elkay.com/ for a list of full products.

And let me know in the comments what you think of our future laundry room and which sink style you think fits in my laundry room. Things are rolling along quickly now that we broke ground, so make sure to subscribe to watch more of our Dream Home Come True series!


2

TAGGED: dream home come true 2 Comments

DIY: How to Waterproof your Home

December 5, 2018~ Dream Home Come True, HOME


This DIY on how to waterproof your home is in partnership with The Home Depot. And for the first time in 10+ years, Jay is the one that wrote this blog post! So give him a lot of love and maybe he’ll post more. Just maybe. I’ll let him take it from here!


While we absolutely love the location of our land and consider it to be a great location, the proximity to Utah Lake brings about some unique challenges to what is a houses biggest enemy…water.  The average elevation in feet of the lake coupled with the flood line over the past 10 years is about 4487 ft while our footings and foundation that hold our home up are at an elevation of 4490 ft.  Therefore you can can see that my precautions in building a tight moisture barrier to protect our home are all thoroughly calculated.  We already had brought in a lot of gravel and laid 24″ of 3/4″ gravel down underneath the foundation and brought in an additional 12″ of gravel to lay on top.


We took every step to ensure that we would be able to divert water away from our home.  All of the products except for two specialty items were purchased at Home Depot.  All of these techniques are preventative measures to re-divert water away from your home.


Materials you need:

*quantity varies with every house


4″ pipe for exterior french drain


3″ pipe for exterior french drain  


hilit dx2 gun


hilit dx2 gun powder 


geotextile fabric


redgard(we used 28 gallons)


sika self leveling sealent


R-tech insulation


dorken DELTA


stego wrap


Instructions on Waterproofing your Home


1. I grabbed a box of Sika Polyurethane Concrete Sealant to add some additional protection to the seam between the footings and the foundation as this is more susceptible to failure due to water pooling up on the seam. No waterproofing is needed around the garage since it’ll be at the top of the foundation elevation.

2. I applied a product called ReGard which basically hardens as a rubber. I used a 3/8″ trowel to apply two coats of ReGard to the exterior walls.  I also troweled the ReGard in a vertical striping to add additional direction for water drainage. It is a elastomeric waterproofing membrane suited for interior and exterior substrates.  ReGard creates a continuous waterproof membrane barrier.  The thing that I love while using this product is that it applies pink and dries red.

To reemphasize, no waterproofing is needed around the garage since it’ll be at the top of the foundation elevation.

3. I used 4″ x 10′ triplewall solid pipe on the exterior and 3″ x 10′ triplewall solid pipe on the interior of the house footprint.  After a lot of research I knew that I did not want to use the black prefabricated drain pipe that seems to get crushed under the weight of the ground when it is back filled.  I was then dead set on purchasing 4″ schedule 35 or 40 drain pipe for its rigidity but after further due diligence I found out that some of these pipes, despite their rigidity did not have enough flex in them and started to crack when the ground settled.  Therefore I went with the 4″ and 3″ triplewall solid pipe for its reinforced structure yet flexibility and give.


4. I also created clean-out access around the home so that if the triplewall solid french drain pipe ever gets plugged, I will have access to clean them out with a snake.

5. I purchased 6′ x 100′ geotextile fabric. I laid the geotextile fabric down and put about 3″ – 7″ of 3/4″ gravel on top of it, thereafter I laid the french drain pipe down at a 2 percent slope that drain into two exterior sump pump stations and 2 interior sump pump stations respectively.  I then put another 3″-7″ of gravel on top of the french drain pipe and wrapped the extra geotexitle fabric over the gravel to create a burrito of rock and french drain pipe so that no sediment would clog up our drains.


6. We then used R-tech 2″ rigid Foam Insulation as this not only creates an additional moisture barrier between the gravel and the interior concrete slab.  This also adds a small thermal break between the ground and the slab as it has a R-value of 7.7 which helps the coldness from the ground not travel up and into the home.   I cut all these to fit perfectly between the interior footings.

7. After the R-tech 2″ rigid foam insulation was installed, I used the first specialty item, Stego Class A 10 mil Poly vapor wrap.  This is a multi-layer plastic that stops radon, methane, and water.  All edges and seams were taped with StegoMastic tape to create a continues vapor barrier.

8. I chalked a straight line 10″ down from the top of foundation to get my revel and lined up the top of the DELTA membrane here.

9. On top of the ReGard on the exterior walls, a DELTA dimple membrane made by Dorken was applied to further direct water away from the house and direct any water that settled in the ground straight to the french drain system.  This dimple board has dimples all throughout that create voids for the water to drop straight down to the french drain system.  The reason that I used DELTA is because it has a reputation for being the best vapor and moisture sub-grade system on the market.

10. I used the Hilti DX2 which is a semi-automatic powder actuated concrete nailer to secure the DELTA membrane to the concrete.  I made sure to secure the membrane 1-inch above the top of the RedGard as to not compromise RedGard when the DELTA membrane was secured to the foundation walls.

11. Lastly, we then poured concrete over the interior slab which contained 30″ of 3/4″ gravel, 2″ rigid R-tech insulation, 10 Mil Stego wrap, and then 4″ of concrete.  After the framing is done for the crawl space I will also impregnate the concrete with a waterproof sealer and put a skim coat of epoxy over the whole interior slab.

All waterproofed and ready to start framing!


All of this may sound like an overkill, but I am using proven advanced building science and techniques to build a tight vapor, moisture, and thermal envelope for our home.  You also only have one chance right now to do all of this and while there is additional cost as all of the techniques used were not required and go way above and beyond code, it gives me the peace of mind that in the years to come our home will not be affected by an increased water elevations. Furthermore if there was a problem down the road with water damage then it would cost at least 10 times more to fix than any of the preventative steps we are taking currently and that alone is the reason that we have gone to extreme measures to safeguard our home from a home’s #1 enemy…water.


All-in-one Instructions on Waterproofing Your Home


Materials you need:

*quantity varies with every house

4″ pipe for exterior french drain


3″ pipe for exterior french drain  


hilit dx2 gun


hilit dx2 gun powder 


geotextile fabric


redgard(we used 28 gallons)


sika self leveling sealent


R-tech insulation


dorken DELTA


stego wrap


1. I grabbed a box of Sika Polyurethane Concrete Sealant to add some additional protection to the seam between the footings and the foundation as this is more susceptible to failure due to water pooling up on the seam. No waterproofing is needed around the garage since it’ll be at the top of the foundation elevation.

2. I applied a product called ReGard which basically hardens as a rubber. It is a elastomeric waterproofing membrane suited for interior and exterior substrates. ReGard creates a continuous waterproof membrane barrier. The thing that I love while using this product is that it applies pink and dries red. I used a 3/8″ trowel to apply two coats of ReGard to the exterior walls.  I also troweled the ReGard in a vertical striping to add additional direction for water drainage.

3. I used 4″ x 10′ triplewall solid pipe on the exterior and 3″ x 10′ triplewall solid pipe on the interior of the house footprint.  After a lot of research I knew that I did not want to use the black prefabricated drain pipe that seems to get crushed under the weight of the ground when it is back filled.  I was then dead set on purchasing 4″ schedule 35 or 40 drain pipe for its rigidity but after further due diligence I found out that some of these pipes, despite their rigidity did not have enough flex in them and started to crack when the ground settled. Therefore I went with the 4″ and 3″ triplewall solid pipe for its reinforced structure yet flexibility and give.

4. I also created clean-out access around the home so that if the triplewall solid french drain pipe ever gets plugged, I will have access to clean them out with a snake.

5. I purchased 6′ x 100′ geotextile fabric. I laid the geotextile fabric down and put about 3″ – 7″ of 3/4″ gravel on top of it, thereafter I laid the french drain pipe down at a 2 percent slope that drain into two exterior sump pump stations and 2 interior sump pump stations respectively.  I then put another 3″-7″ of gravel on top of the french drain pipe and wrapped the extra geotexitle fabric over the gravel to create a burrito of rock and french drain pipe so that no sediment would clog up our drains.


6. We then used R-tech 2″ rigid Foam Insulation as this not only creates an additional moisture barrier between the gravel and the interior concrete slab.  This also adds a small thermal break between the ground and the slab as it has a R-value of 7.7 which helps the coldness from the ground not travel up and into the home.   I cut all these to fit perfectly between the interior footings.


7. After the R-tech 2″ rigid foam insulation was installed, I used the first specialty item, Stego Class A 10 mil Poly vapor wrap.  This is a multi-layer plastic that stops radon, methane, and water.  All edges and seams were taped with StegoMastic tape to create a continues vapor barrier.


8. I chalked a straight line 10″ down from the top of foundation to get my revel and lined up the top of the DELTA membrane here.


9. On top of the ReGard on the exterior walls, a DELTA dimple membrane made by Dorken was applied to further direct water away from the house and direct any water that settled in the ground straight to the french drain system.  This dimple board has dimples all throughout that create voids for the water to drop straight down to the french drain system.  The reason that I used DELTA is because it has a reputation for being the best vapor and moisture sub-grade system on the market.


10. I used the Hilti DX2 which is a semi-automatic powder actuated concrete nailer to secure the DELTA membrane to the concrete.  I made sure to secure the membrane 1-inch above the top of the RedGard as to not compromise RedGard when the DELTA membrane was secured to the foundation walls.

11. Lastly, we then poured concrete over the interior slab which contained 30″ of 3/4″ gravel, 2″ rigid R-tech insulation, 10 Mil Stego wrap, and then 4″ of concrete.  After the framing is done for the crawl space I will also impregnate the concrete with a waterproof sealer and put a skim coat of epoxy over the whole interior slab.


Estimated time: 3 weeks

Projected cost: $8000 without labor, $14,000 with labor

Skill level: Intermediate


I hope you enjoyed this knowledgeable information by Jay! I have no idea what he’s talking about in any of the above instructions but that is exactly why he’s the one building our house, not me! Aren’t you so glad? Me too.

Jay has studied in-depth and researched widely and thoroughly in order to make sure he builds our home in the best method, using the highest quality materials so it can be one of the strongest and well-built houses ever built!

Every time someone from the City comes to check off things, they’re so impressed with the way Jay’s building and told him they’ve never, ever seen a house being built this well and thoroughly, ever in the state of Utah or in their entire career. This makes me so proud of him and it makes me in awe at how hard he’s working to build me the house of my dreams.

Don’t you think he should be building other people’s homes? And what do you think of this waterproofing tutorial? Would you want this done in your house?


I acknowledge that The Home Depot is partnering with me to participate in the promotional program described above (the “Program”). As a part of the Program, I am receiving compensation in the form of products and services, for the purpose of promoting The Home Depot. All expressed opinions and experiences are my own words. My post complies with the Word Of Mouth Marketing Association (WOMMA) Ethics Code and applicable Federal Trade Commission guidelines.
0

TAGGED: DIY building, dream home come true 5 Comments

DIY DREAM HOME: MY HUSBAND IS BUILDING ME MY DREAM HOUSE! Episode 1

April 24, 2018~ Dream Home Come True, HOME, Jay's DIY, YOUTUBE VIDEOS


Welcome to our 1st episode of “DIY DREAM HOME: My Husband’s Building My Dreamhouse!” Click play to see the design of our house, where we will be building and the difficulties we faced trying to design a home we love!


(Captions from the video):

I am so excited to share this journey with you!!! This series will be a year long series where I will take you on our home building journey from start to finish, tips, tutorials and the mistakes I am sure we will make along the way so you don’t make the same mistakes! In our 1st episode, I will be sharing with you how we chose the design we finally ended up with, the hardships we faced(even some fights we’ve had), how we were able to resolve our issues, our land where we will be building our dream house and a sneak peek of what our house will look like! So get ready, I am so excited you will be joining us on this crazy journey!

We were suppose to move into our house right now, like this month but we haven’t even broke ground yet. Ugh. I will tell you the reasons why it’s taken us so long.

M husband and I have completely different tastes when it comes to exterior style of homes. He’s more modern, I am more classic, he’s more trendy, I am more timeless. But we are both stubborn and strong-minded. Which equals a lot of disagreements. So we weren’t sure which way our house would go. But one day, on the 4th of July my husband’s favorite Holiday, as he was setting up all his ridiculous amount of fireworks he bought, he said to me, “Sarah, if you let me buy this many fireworks every single year from now on, without complaining or whining once, then I’ll build you whatever exterior house you want.” I thought about it for 10 seconds and said deal.

So it’s a win win, husband gets to explode plethora of fireworks every single year without me complaining that fireworks are money getting blown up, because it literally is, and I get a house of my dreams!


My Dream house

We tried to make my vision of the house work along with the floor plan that Jay picked out soon after, but it was a disaster. Jay didn’t want French doors, French windows, the design wouldn’t work with the floorplan, so after compromising so many things things I loved about the house and going back and forth with our architect tens of times and re-designing, the end result was a disaster. It looked nothing like my original idea, It was a really badly designed house, it looked like a big school house. I hated it. So I put my foot down and said, “We are starting all over and this time I will design the exterior of the house, and only THEN you can design the floor plan.”


The misaligned front door, the horizontal windows, the side buildings being wider than the center, and the weird side pop-outs with the sloped roof…. WHAT….


So we started all over, which set us back a good 9 months. BUT we have finally designed a house we love, both inside and out and we are so excited to get this started!
I do have to say we fought a ton during this process of designing in the beginning. We fought like we’ve never had before, it’s like parenting where all your worst faults get magnified by a 100x fold and this monster in you comes out that you never knew existed. Many people have told me it’ll test your marriage and lots of couples end up in a divorce through the process of home building and I understood why! I cried many times and one late night in the middle of our fight and I was crying, my husband looked at me and said, ‘If you knew just how much I loved you and how much I pray that this house will be the house of your dreams, you’d be less worried and trust me more.” And as he said those words, it was as if I was him for a moment and I felt exactly how his heart felt and just how much he loved me. It was such an overwhelming love that encompassed my whole being that I was so taken aback. I knew he loved me but I had no idea he loved me that much. That night changed our lives. We both ended up crying and talking it over and decided that keeping our marriage strong and respecting and making each other happy was more important than a perfect house or getting our way. Since then, we haven’t fought once and it’s been 11 months, and our marriage is better than ever.


My husband, when he was younger, helped his dad build 3 of their houses in Hawaii from scratch so he knows a lot about building and construction so he will act as our general contractor, saving us about 15-20% of the cost of our house. And he will try to build as much as he can himself, which will probably save us another 20-30%, so we are basically building our house at 50% off or more.


So are you ready to see our land and our house design? Let’s do it! Watch the video to see what our house will look like and let me know in the comments what you think!


Like this post? See similar posts:

Husband Renovates My Parents’ Kitchen/Dining room

Ugly 70’s Bathroom Renovation DIY

My Husband’s Man Cave/Tool Shed DIY


1

TAGGED: dream home come true Leave a Comment

cutmypic
Hello! My name is Sarah and I am so happy to have you here! Here you'll find DIY sewing, DIY home building & decor, honest and vulnerable posts of motherhood and snippets of my family. We are building our dream house and will update you regularly on our whole process from start to finish and I am also starting a mother-daughter sewing series. So I hope you stay awhile!

BLOG ARCHIVES

SEARCH

JOIN THE LIST

- THEME BY ECLAIR DESIGNS - Web Hosting By RFE Hosting -