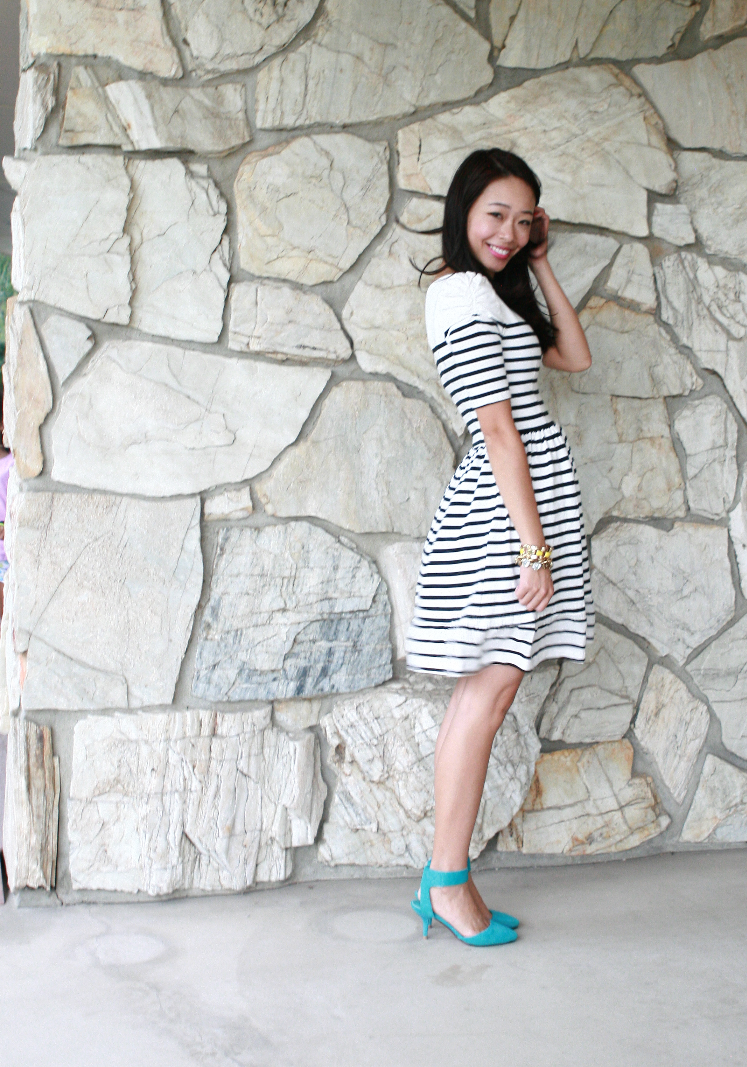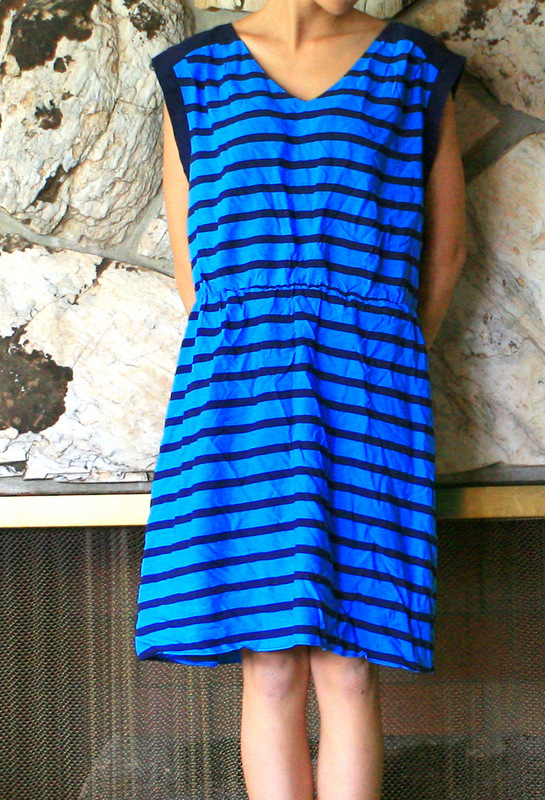
I bought this dress during our trip in St. George a few weeks ago. A dress with stripes & sleeves? I just couldn’t pass it. I often buy dresses that are larger because the larger the size = the longer the length. It’s a lot easier to alter the sides of the dress than to lengthen the dress.
before/after:

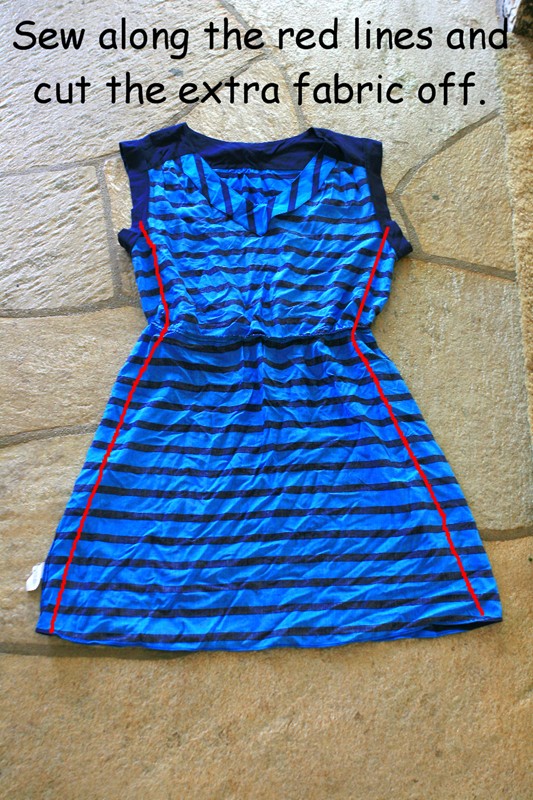
directions:
after:
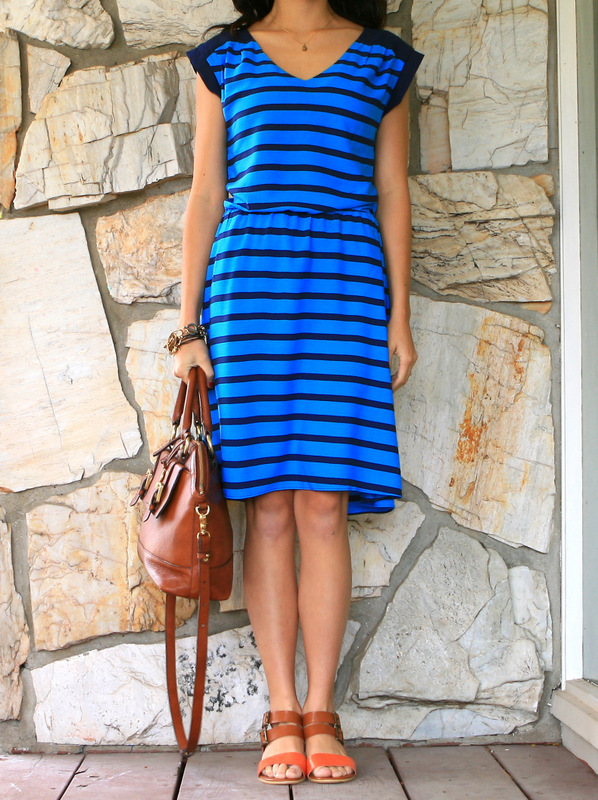
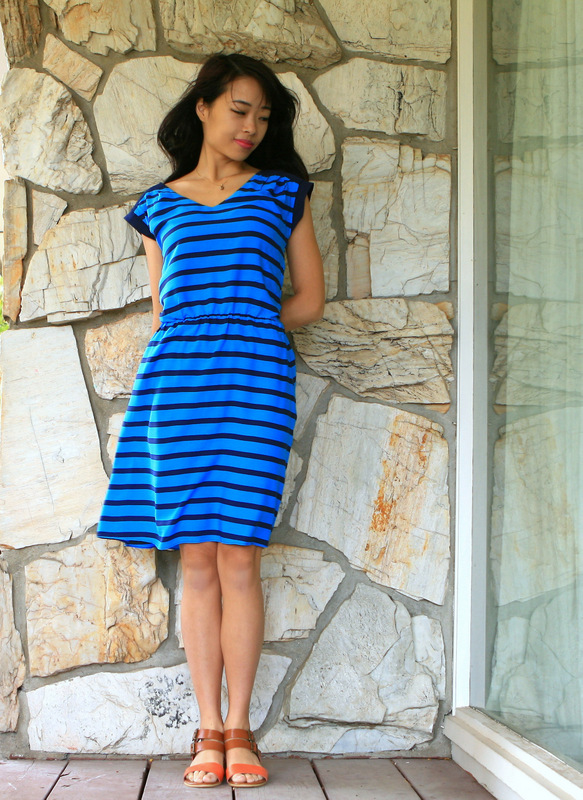
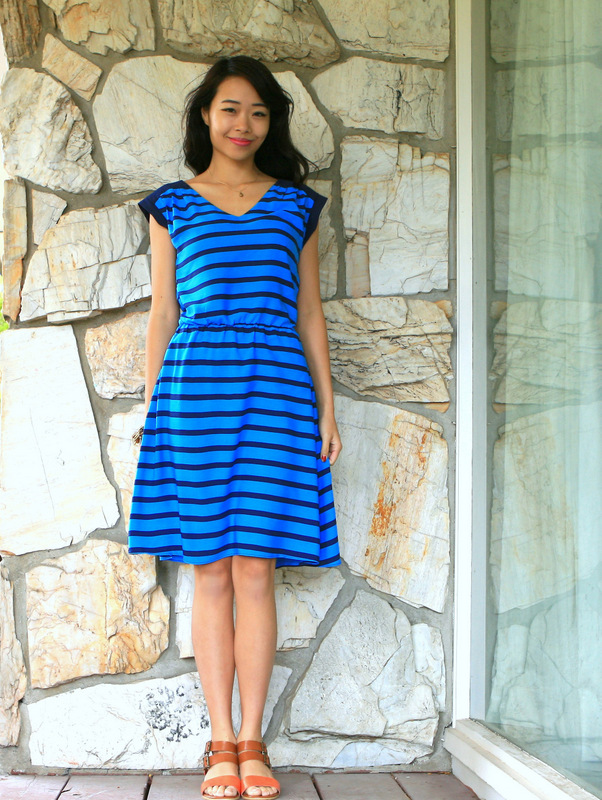
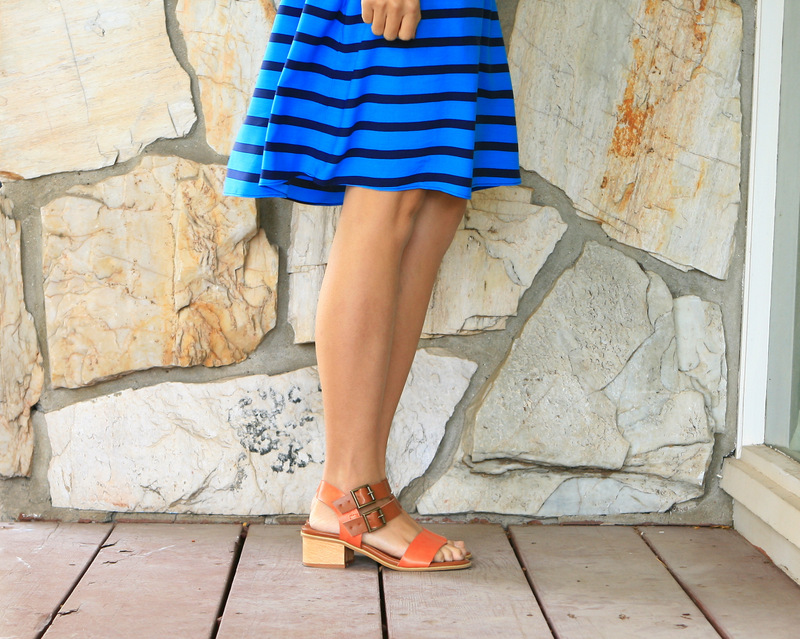
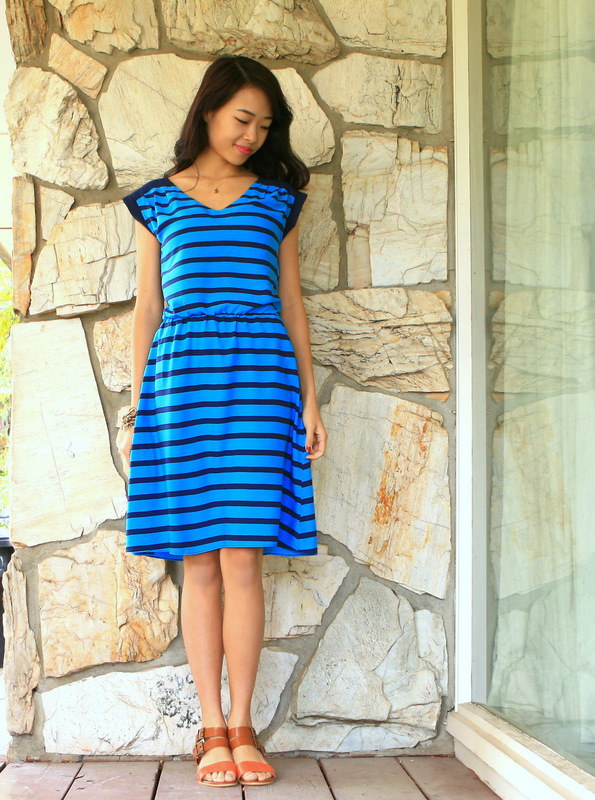
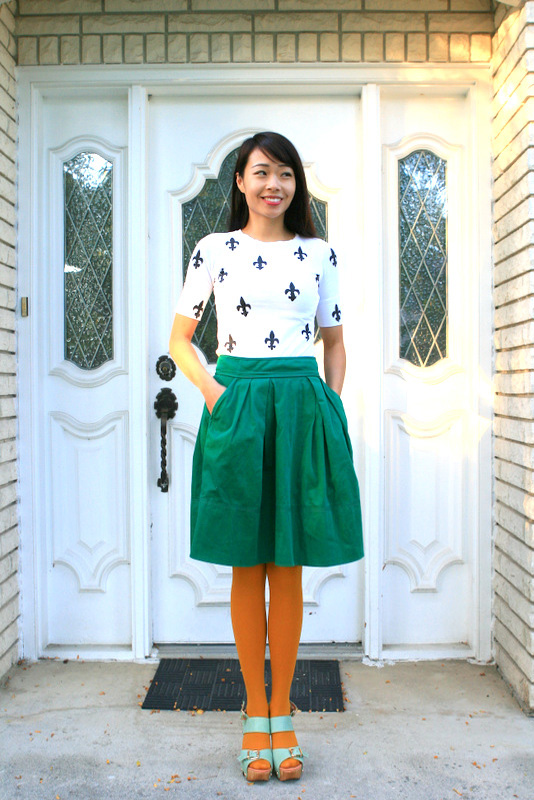
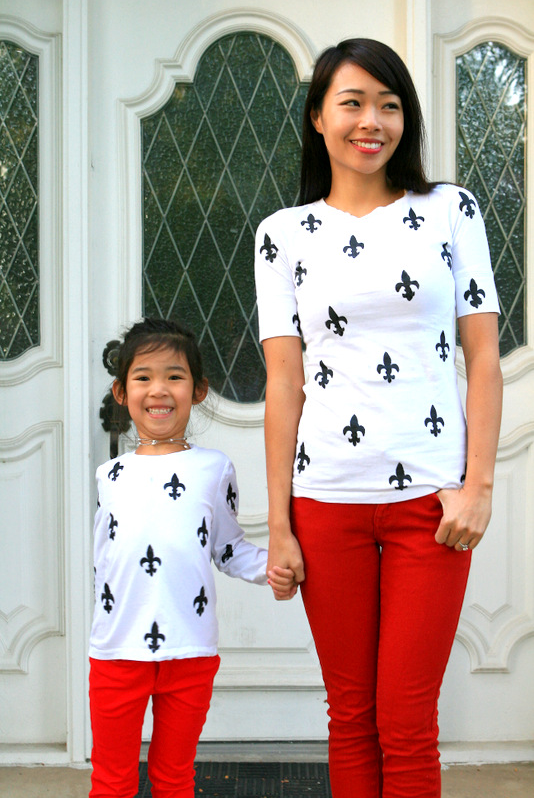
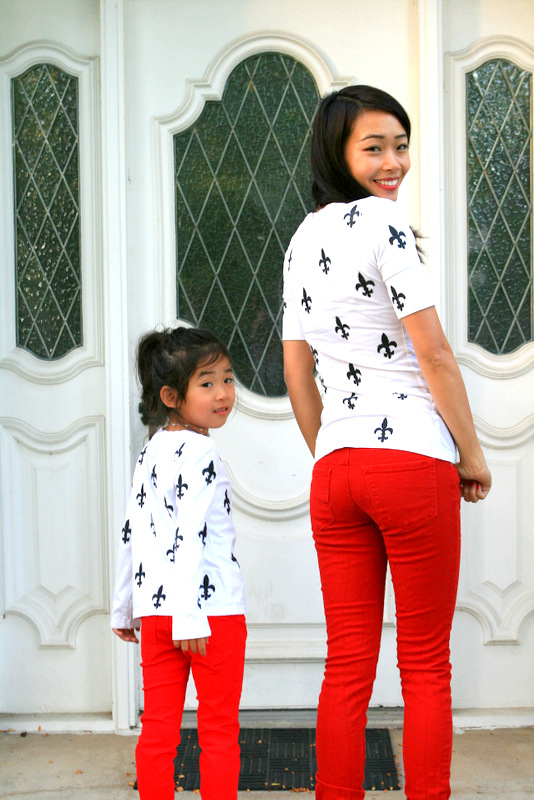
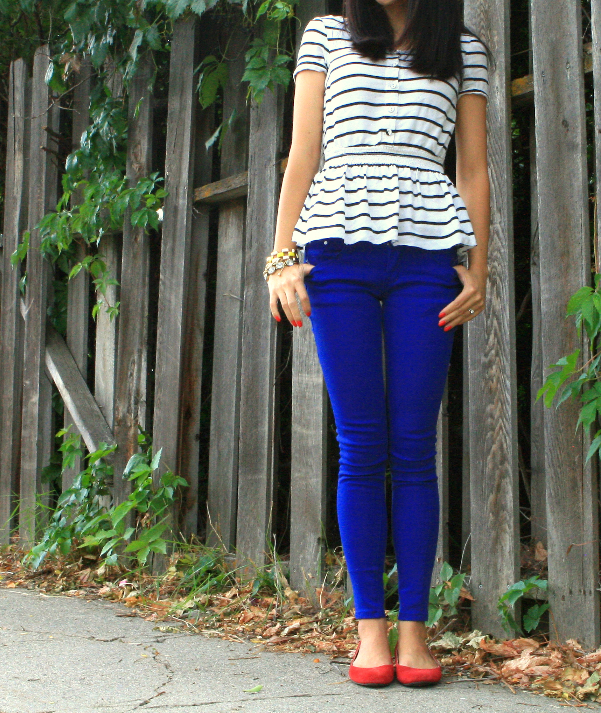
dress: gap | necklace: diy | bracelets: f21 & c/o romwe | color block sandals: oasap |
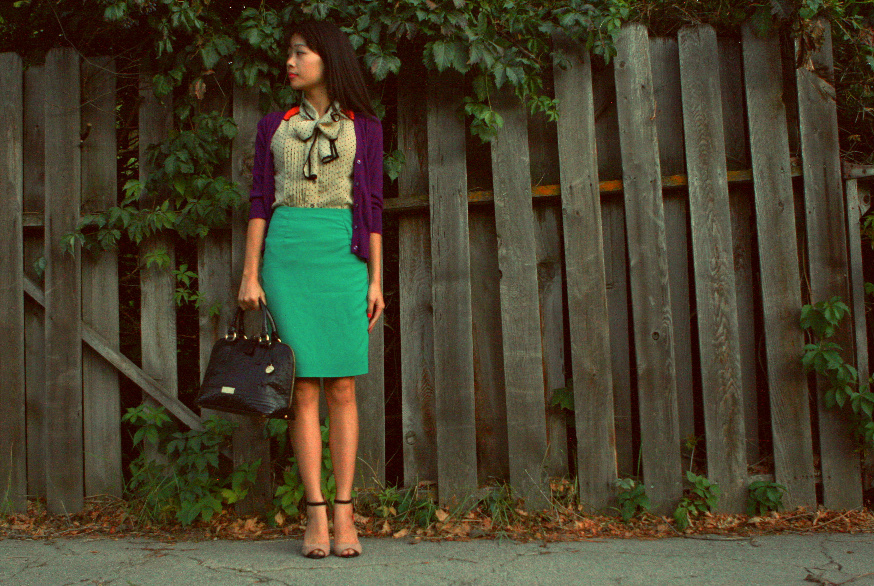
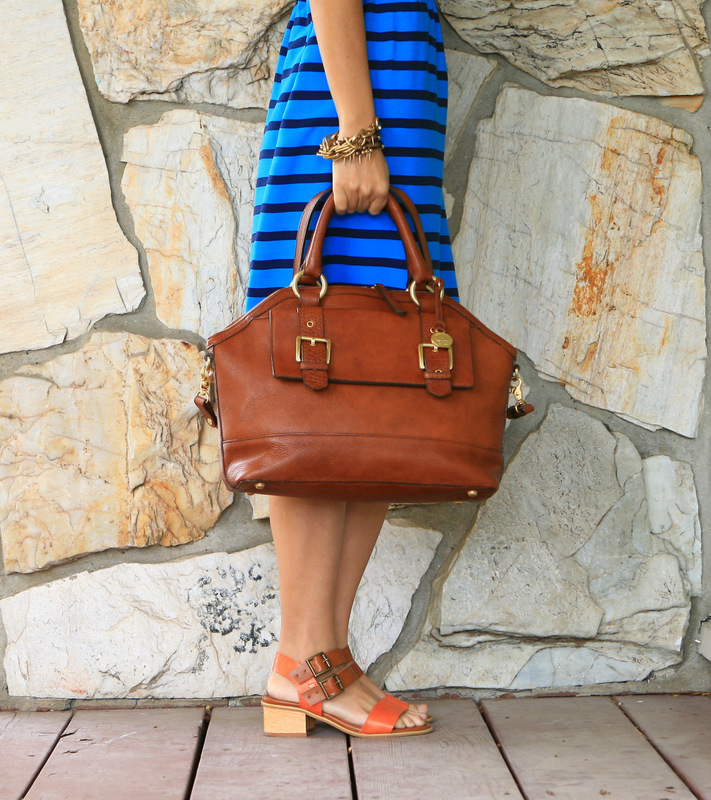
brown satchel: brahmin
Estimated time: 10 minutes
Skill level: beginner
Budget: $0