• ABOUT
  • COLLABORATE
  • CONTACT

Life is Beautiful

Motherhood, Sewing, Family

  • SEW
  • HOME
  • PARTY
  • TRAVEL
  • SHARING MY HEART
  • SHOP

DIY pleated dress

September 20, 2010~ SEWING

I’m in love with pleats.  So I was ecstatic to find this when I was rummaging through my mom’s closet.

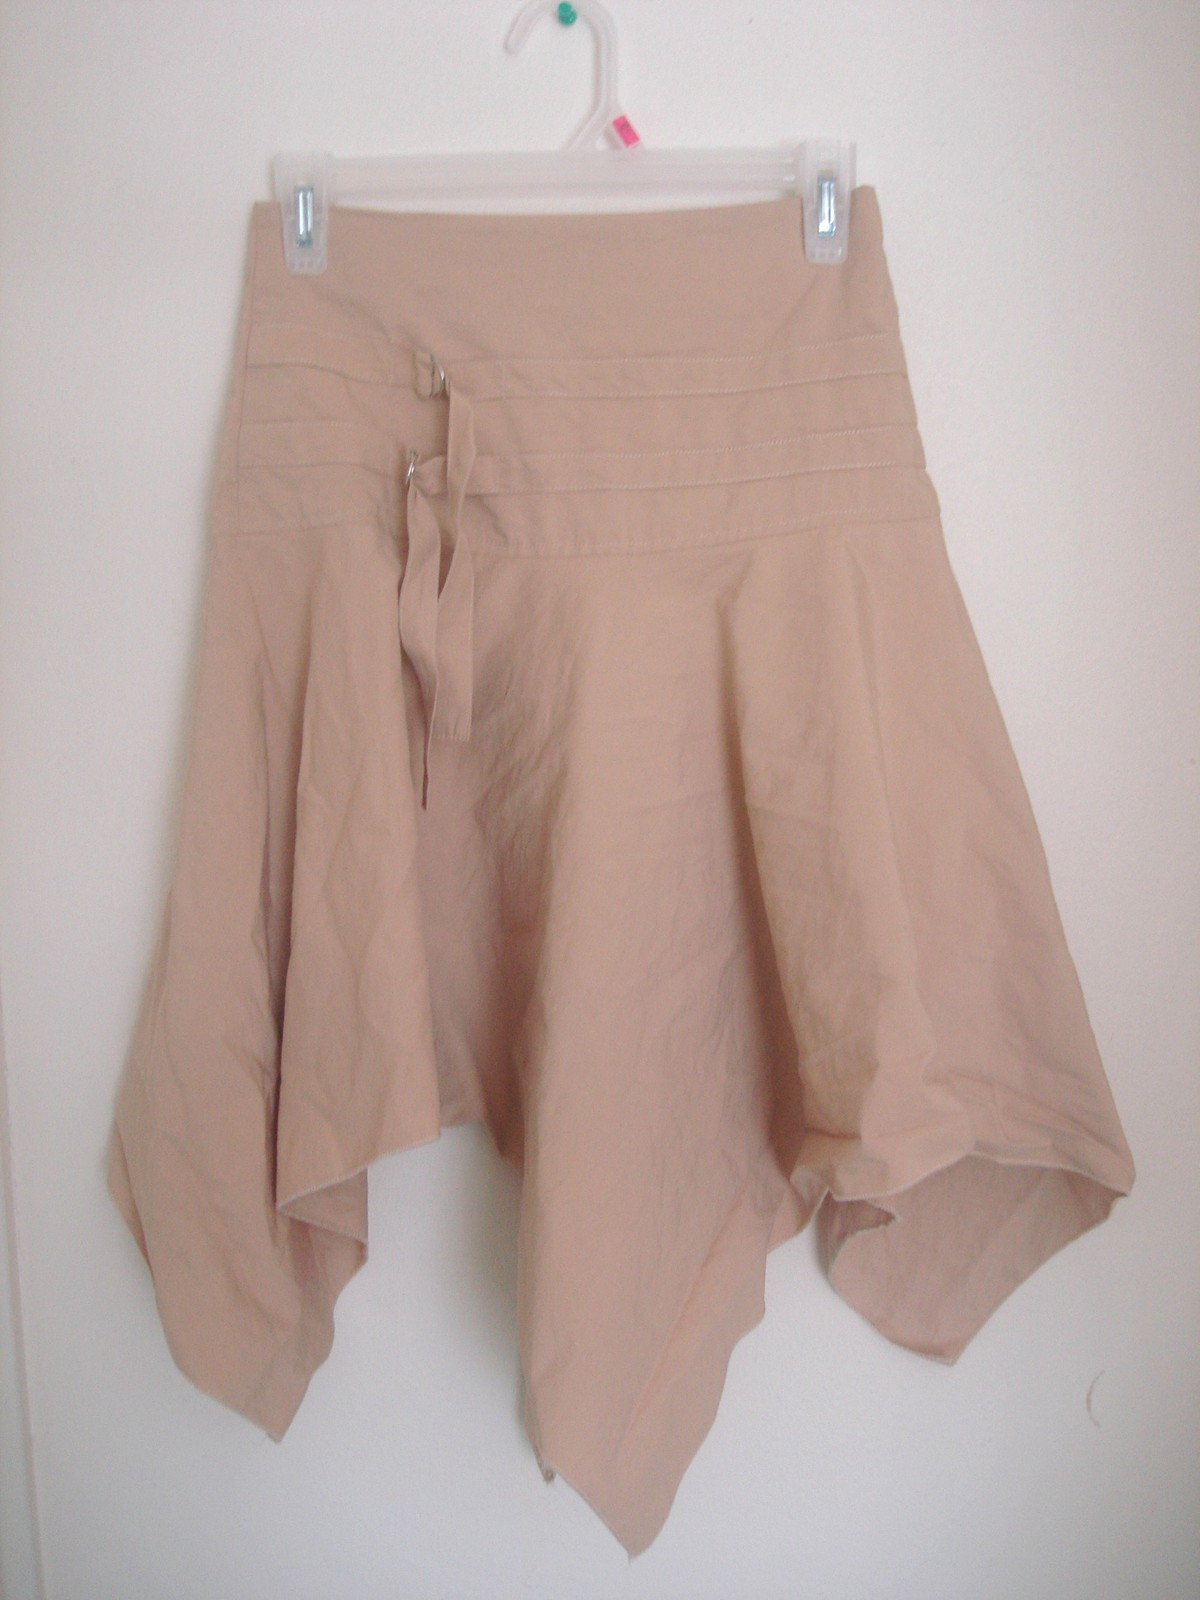
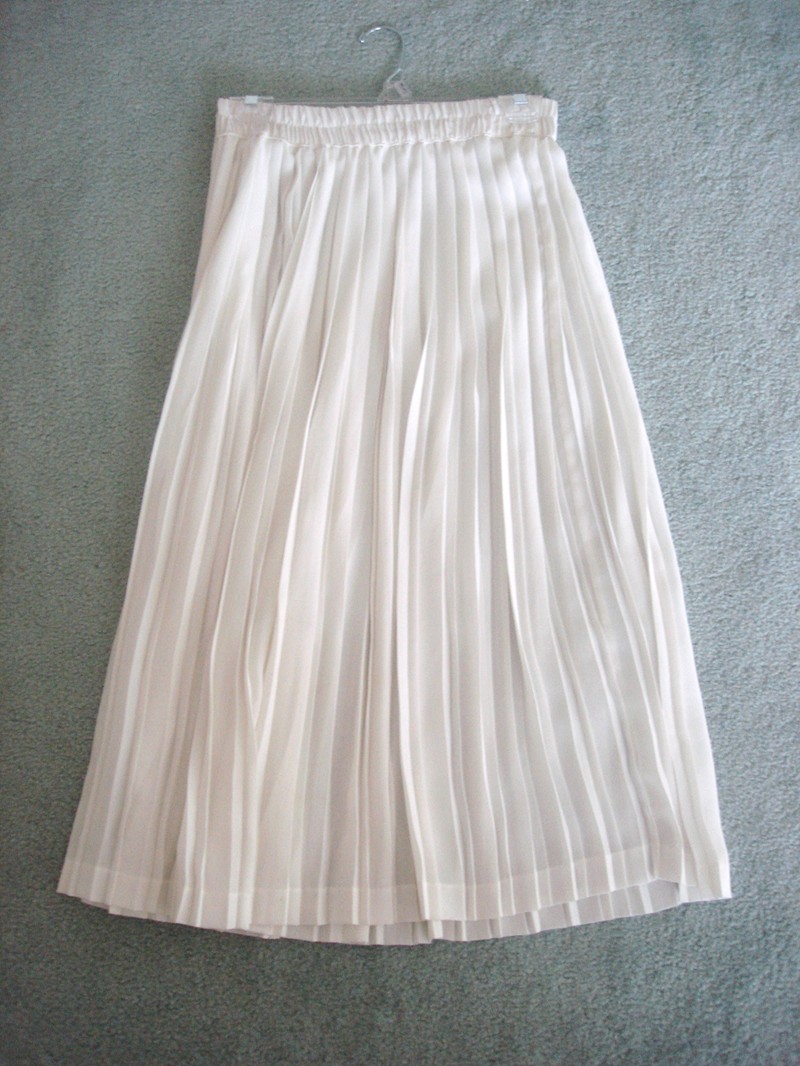
a white pleated skirt!


My mom’s out of the country for 6 months so I’m just hoping she won’t notice it missing when she returns.
I’m so kidding!  I found this in the “old” clothes pile where she no longer wears it.  But mom, if you had changed your mind, I’m sorry…. you can borrow it anytime? 😉
the after:


Now, I knew you would ask for a tutorial so here it is.  You’ll be surprised at how simple it is!


Directions:
1. Put the skirt over your head.  The elastic waist part will go around your neck.  To know how far along to cut the horizontal  lines(for the sleeves), mark where you want the sleeves to end.  Mine is about 2-3 inches above my elbows.  To know how far along to start the vertical lines, pinch the sides of the skirt to where your waist ends, and mark it, while making sure the pleats are not stretched out.  Leave an extra inch or two on each sides and mark it.  That’s where you’ll start cutting the skirt vertically.
2. Flip it inside out and sew the vertical lines on both sides.  Cut off the extra fabric.
3. Use fray check on the seam of the sleeves.
That’s it! It’s easy as 1,2,3!  You just pull it over your head and you’re ready to go.  I made the belt using the extra fabric I cut. Or you can use a belt you already have.

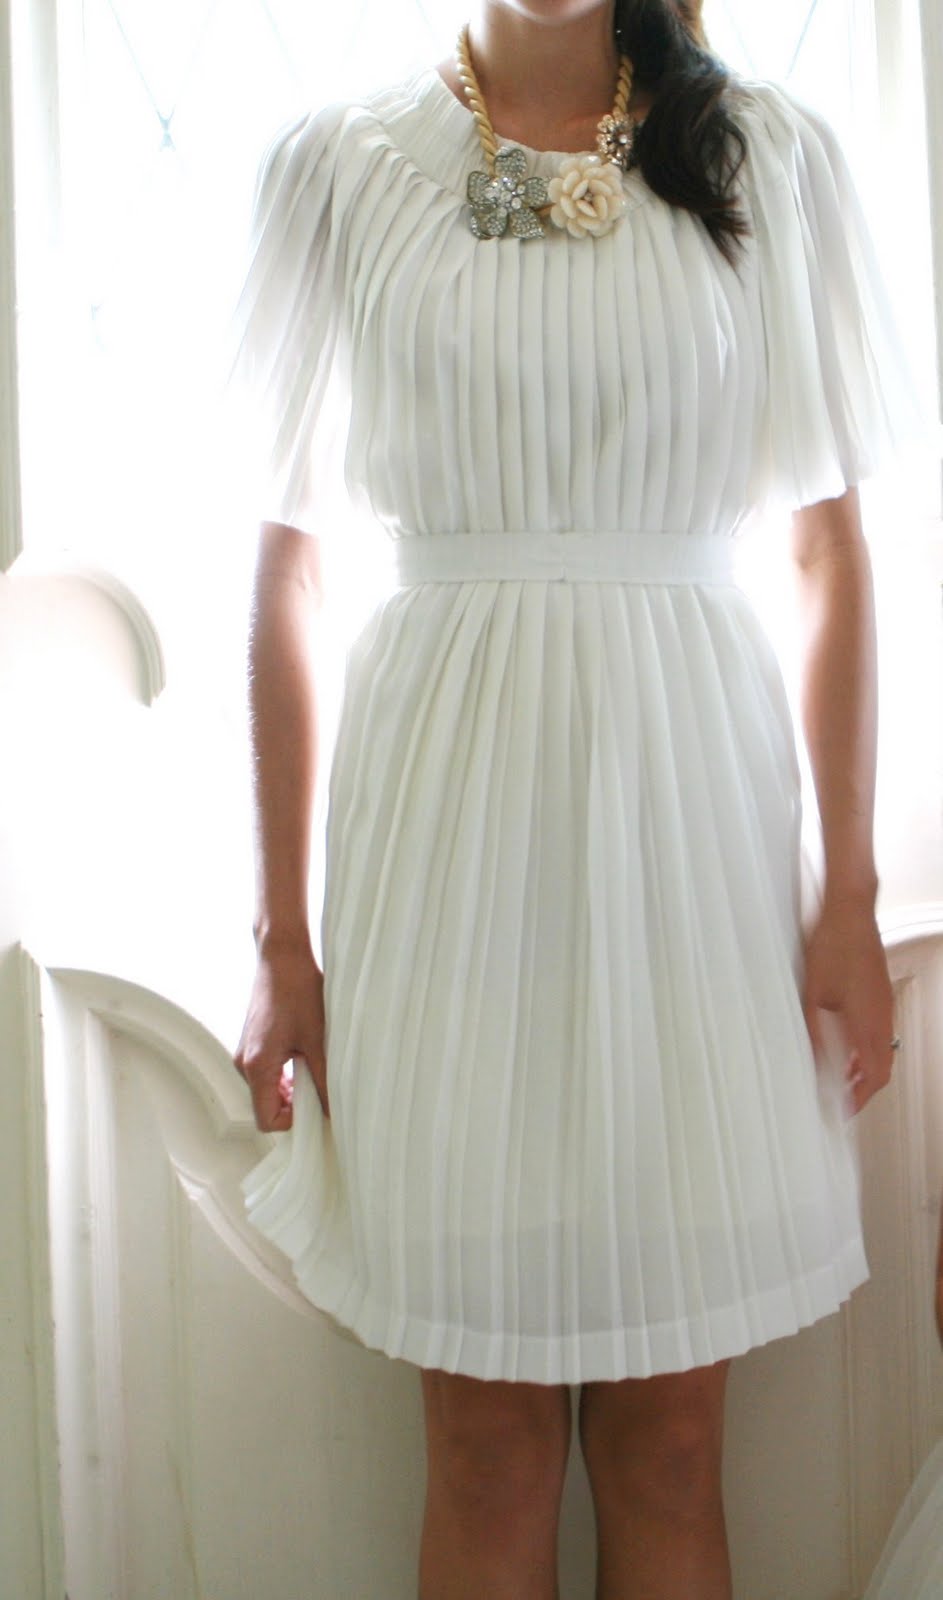
the necklace I made here.

Here are better photographs of the dress taken by Jessica Peterson.  These pictures were submitted to the dress design contest for Shabby Apple, and I won the contest!  For winning the contest, they have manufactured my designs and are now sold at their online store.  *update: they are sold out and no longer sell the dresses.


Now go see if you have any old skirts you can transform!
Estimated time: 30 mins.
Budget: $4
Skill level: very beginner
FAQ’s
Q: How did you make the neckline?
A: I didn’t!  I left it just as it is.  The elastic waist just fell nicely around my shoulders so I didn’t change it.Q: What kind of lining does the skirt have?  Does it have a lining?
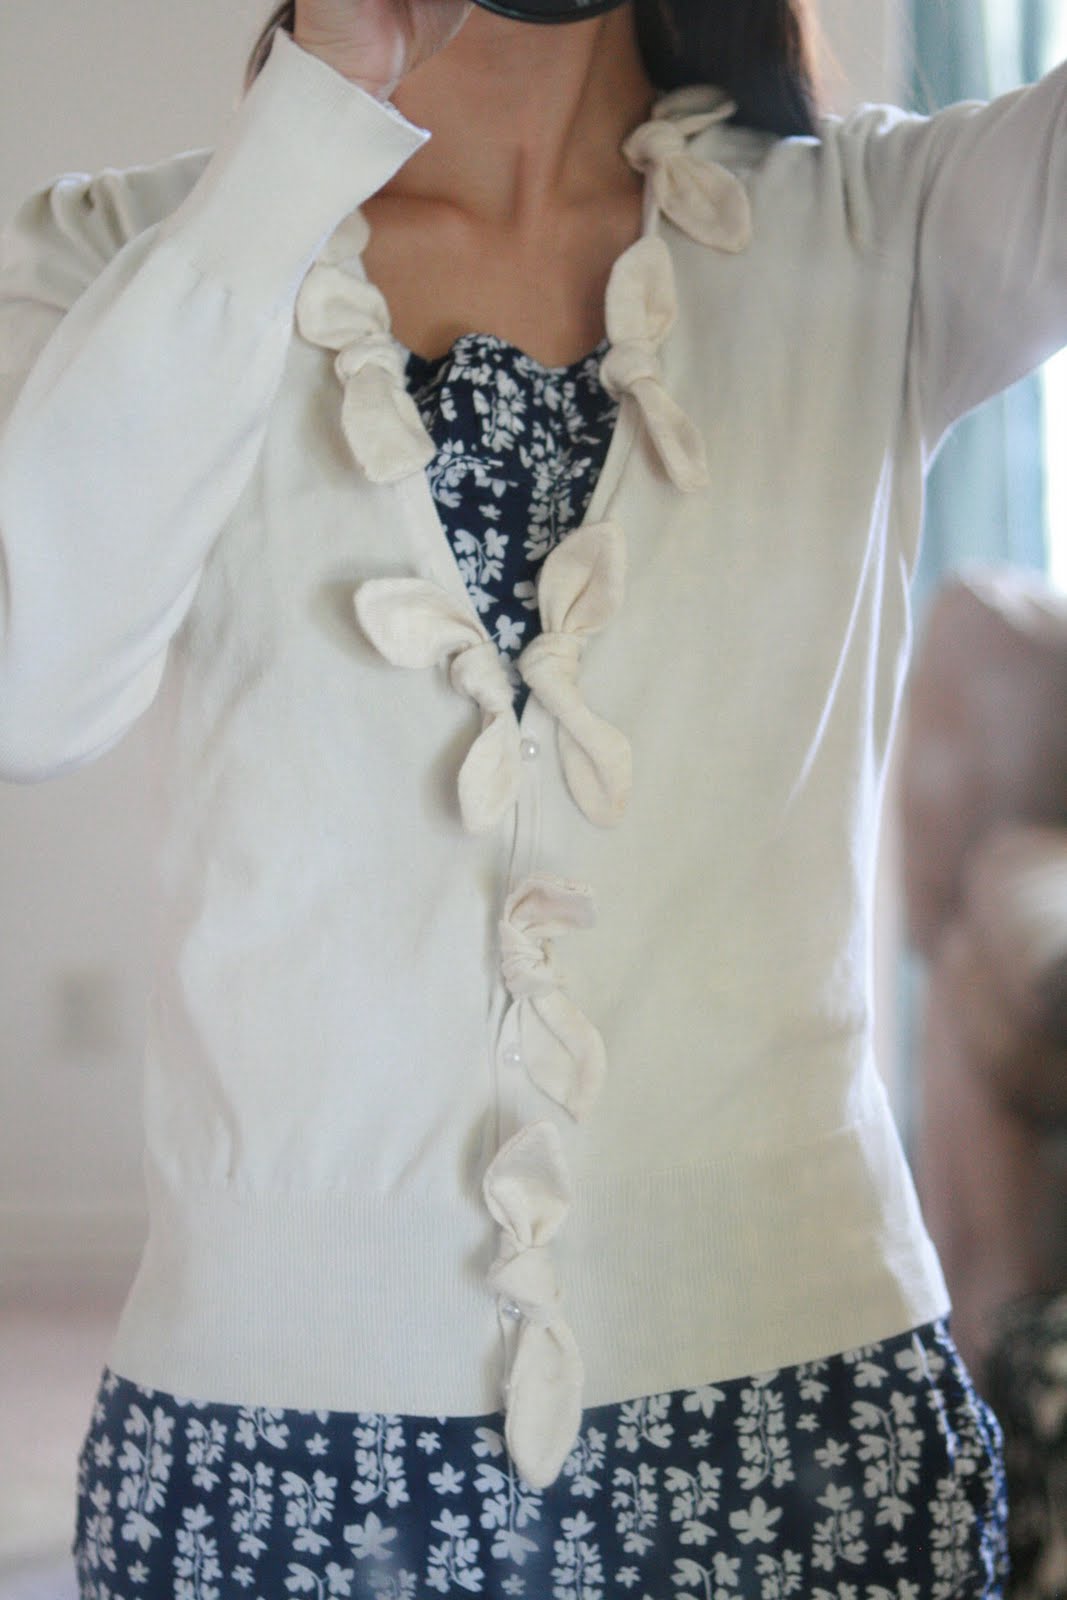
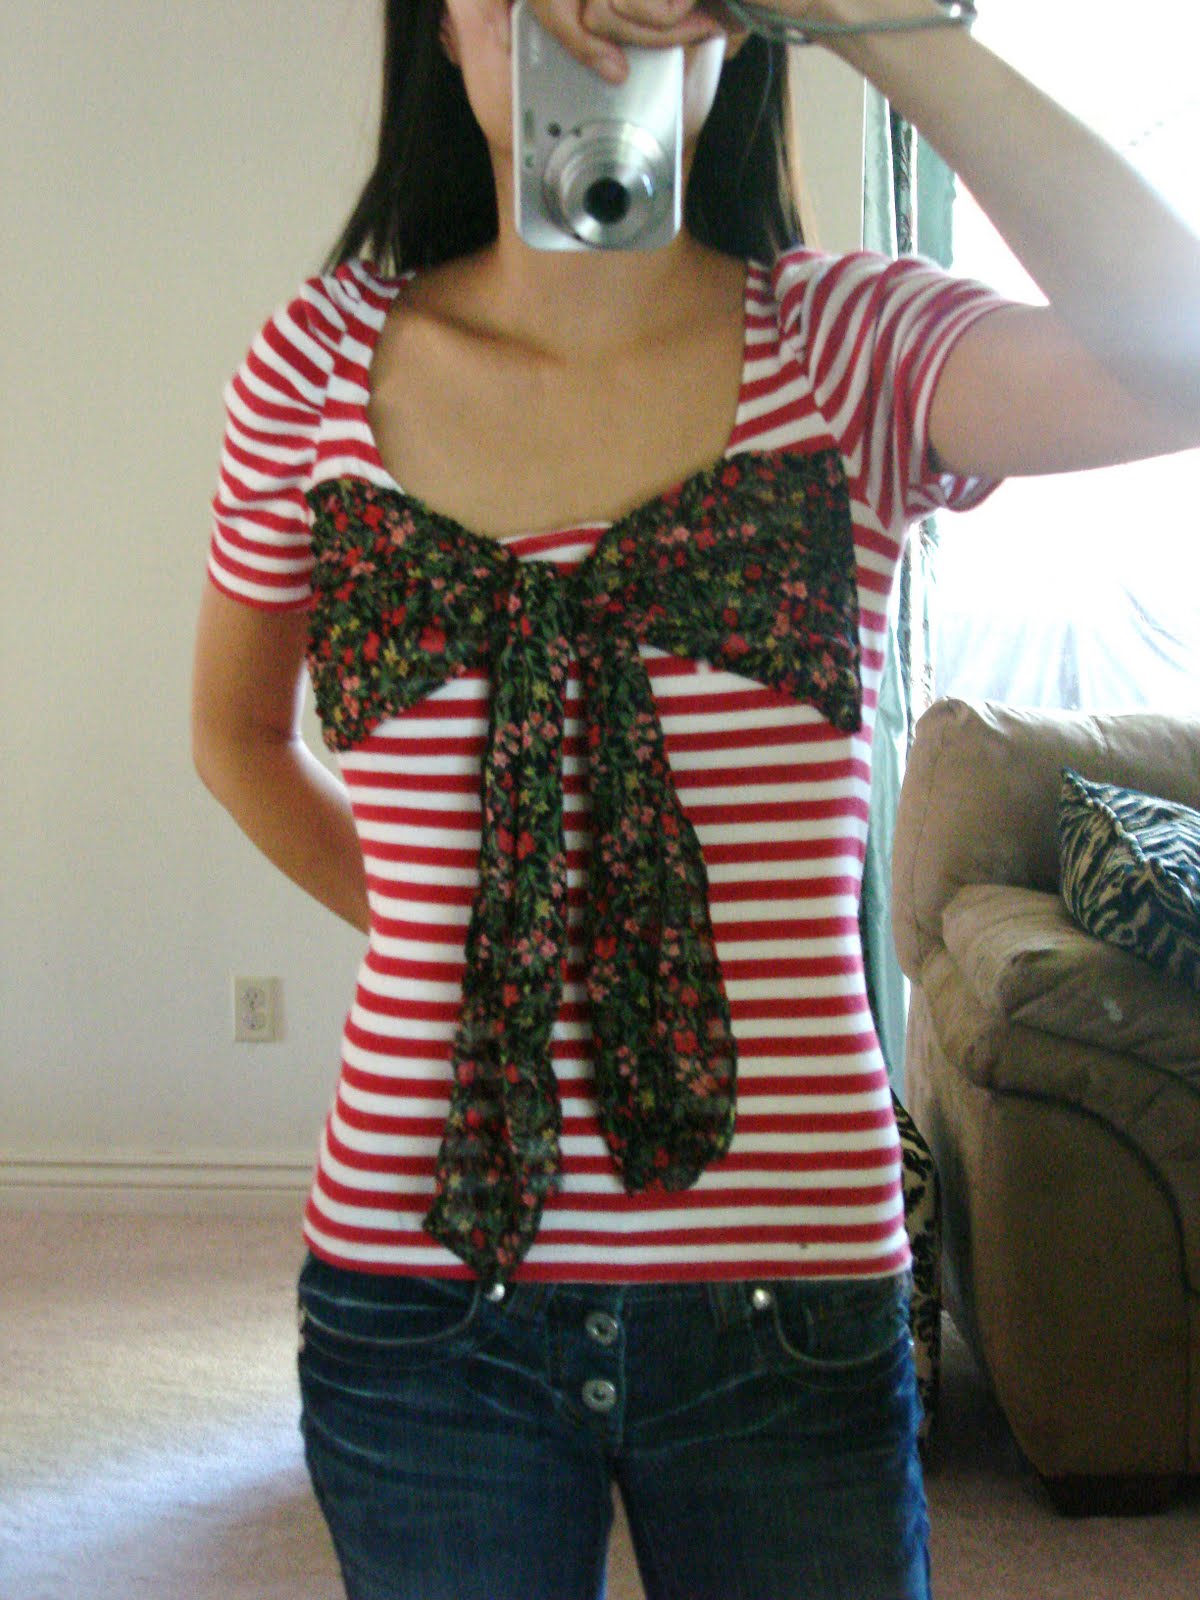
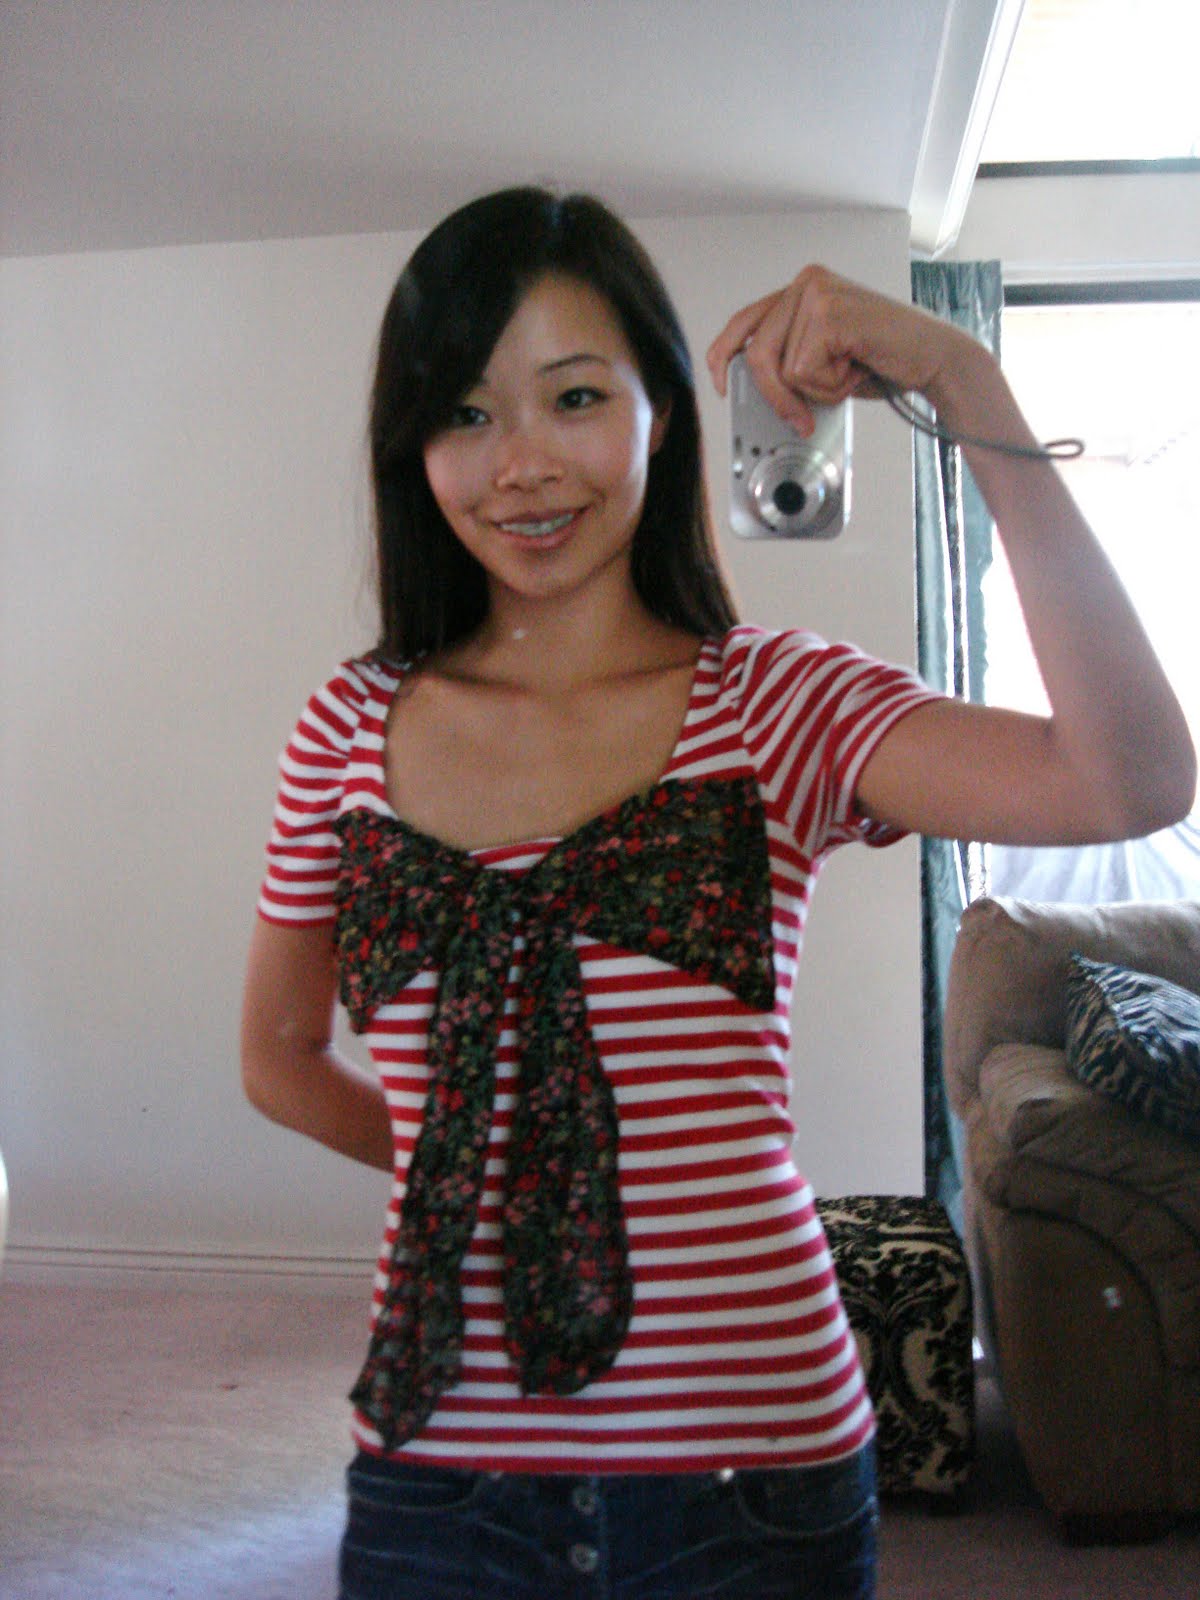
A.  No, it doesn’t have a lining.  You’ll need to wear something underneath like a slip because when you hold up your arms, it will show a huge chunk of your sides.  I wear a spaghetti strap tank dress under it that’s similar to a slip.

Q: It looks too good to be true.  I wonder about the waistband and how it lays so perfect.  What size skirt would I buy?
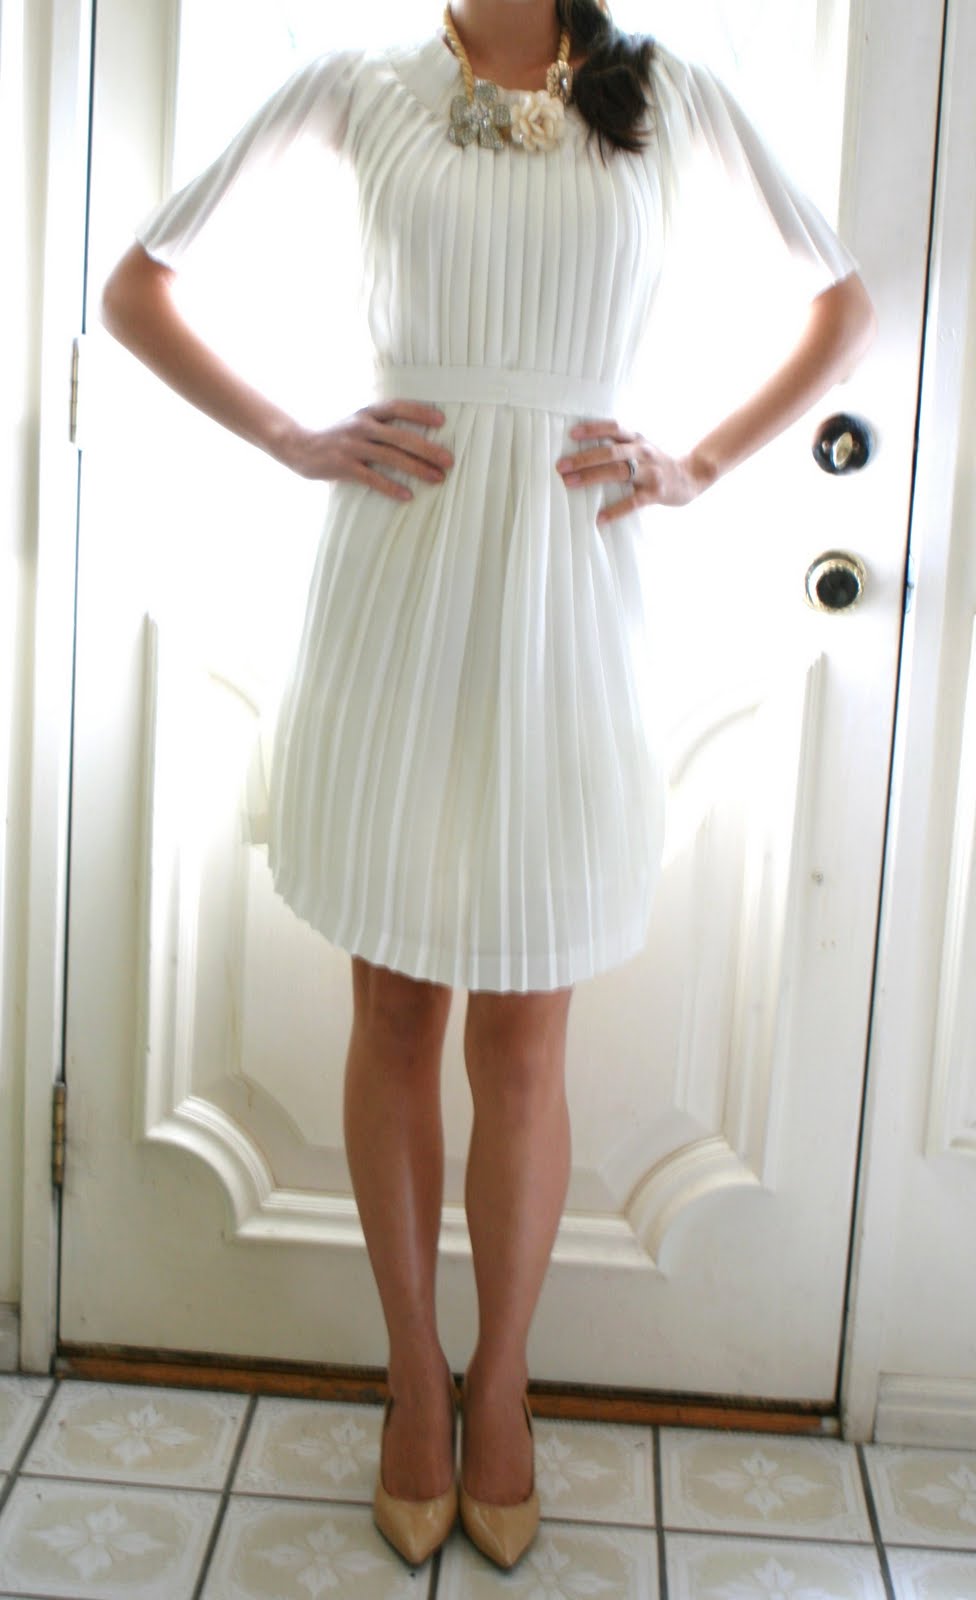
A: More important than the size of the skirt, I would first try on the dress around my neck and see how the waistband falls around your shoulders and neck.  If it falls nicely, no need to change anything.  If it’s too loose, you can sew one side of the skirt smaller(no need to sew two sides since the elastic waistband pleated skirt has no center/sides/back really.  If it’s too tight, find another skirt.

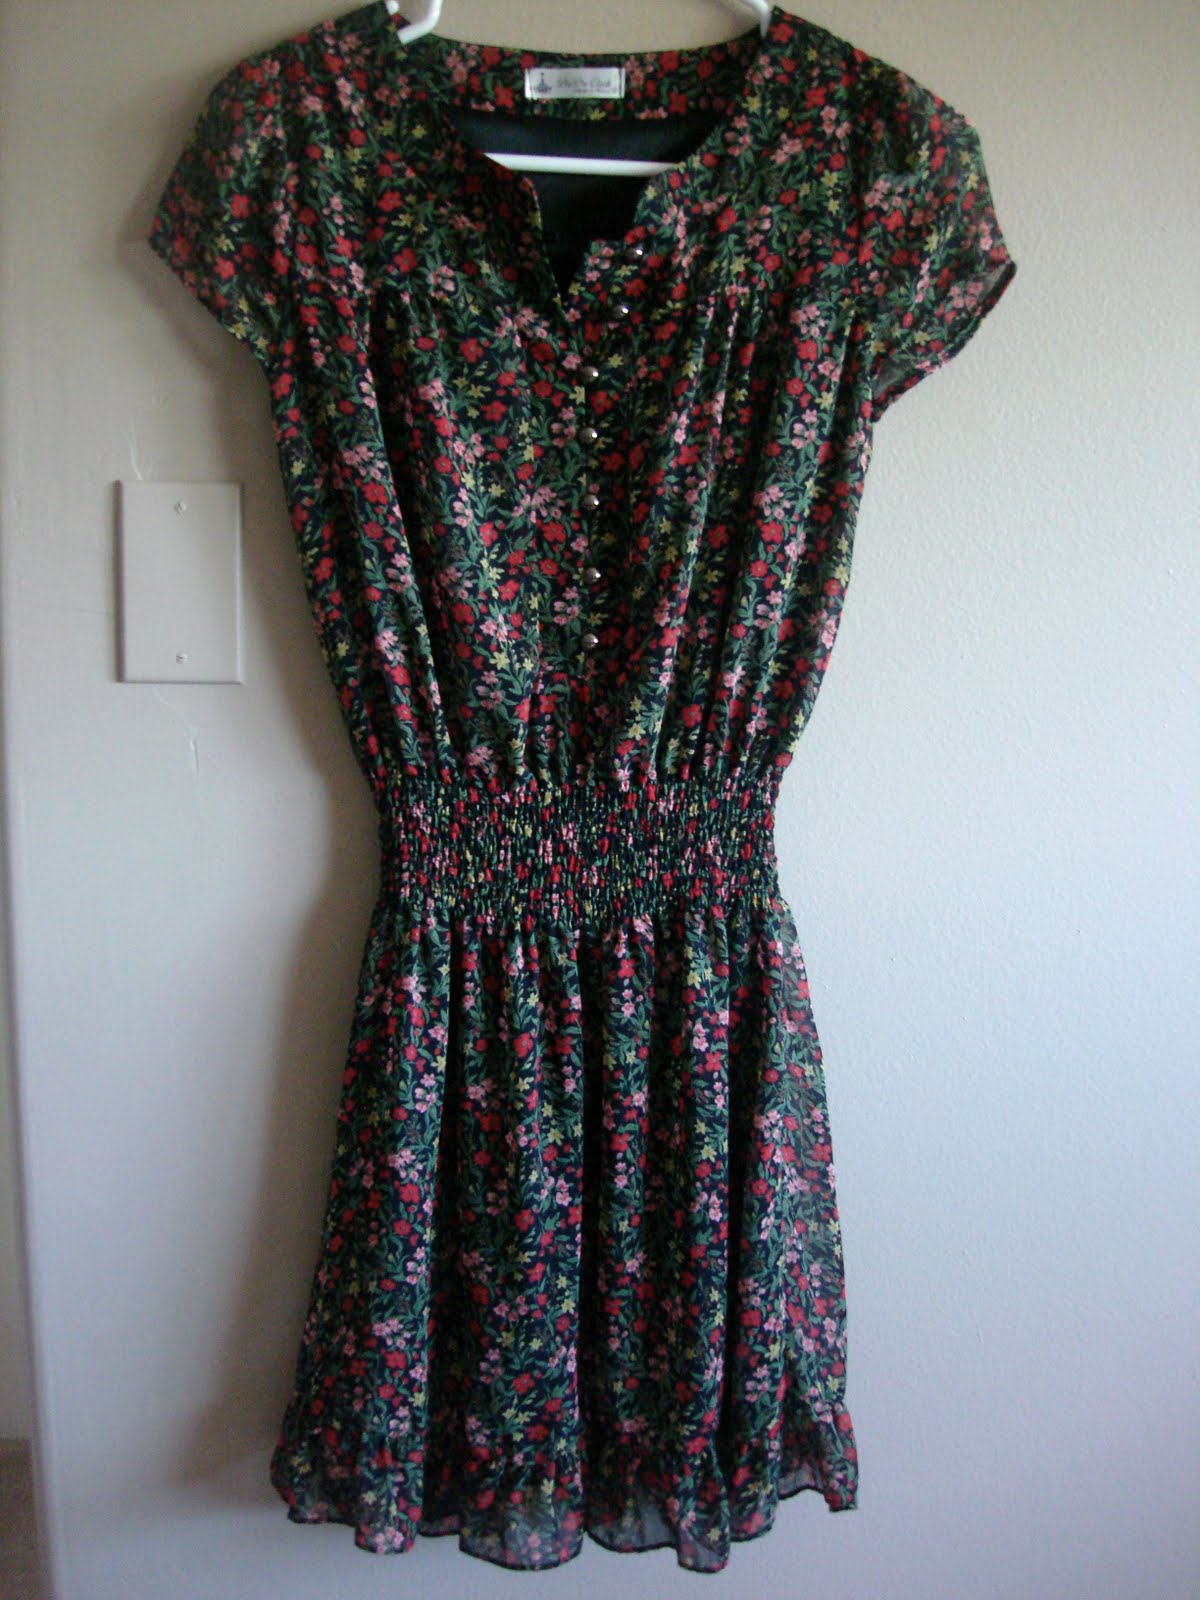
Q: How long was the skirt when you started?
A: It hit my ankle bones when I had the skirt on regular.  You’ll need an ankle length or longer to have the outcome as shown above.  If you don’t mind the length shorter, go for it!  I think it’ll be adorable shorter.

If you have anymore questions, feel free to ask me in the comments section or at sarahtyau at gmail dot com!
13

TAGGED: DIY, S.A design contest 222 Comments

DIY-J.Crew ruffle path dress

September 6, 2010~ DIY DREAM HOUSE

inspiration: J.Crew ruffle tank

h & m dress I got for $5

an old skirt I’ve never worn, not even once!

after:


(note: since it’s taken through the mirror, the ruffles are showing the opposite side as it really is. so it’s actually the same exact way as the j.crew tank pictured above. get it? i sure was confused for a little bit haha. 😀 )

this last picture shows the color of the dress more correctly.I don’t know how much I saved but I think it’s safe to say I saved A WHOLE LOT! 😉

1

TAGGED: DIY, J.crew DIY 47 Comments

DIY-J.Crew crepe myrtle cardigan

August 31, 2010~ SEWING

inspiration: crepe myrtle cardigan from J.Crew
before: a cardigan from express from 7+ yrs. ago.
it used to be a white and silk/cashmere
but I didn’t dry clean so it turned cream. oops!

a tie from a cardigan i don’t use.

cut a hole, make ties and put it through.
then i sewed the ties securely.
and after:

saved over $160!
0

TAGGED: DIY, J.crew DIY 10 Comments

DIY-how to make a twist-top

August 23, 2010~ SEWING

inspiration this week was this shirt from Anthropologie.

I bought this shirt from wal-mart for $4 in XXL.

HOWEVER, I thought I would never say this but I think I’m done with ruffles. GASP, I know I know, I’m a ruffle queen and i still love them and will still wear them, but after owning 15+ items with ruffles on it, I think I quenched my thirst for ruffles. for now at least. 😉

so my newest craving? knots and twists.

I seperated the front and back 

traced out a pattern


and twisted it using this how-to video I found. it’ll also show you the pattern.

and the result:

I sewed the back on and made the sleeves.
now that i got the twist top done away, the ruffled top does look pretty cute…
maybe i’ll make one later. ^ ^ ah, girls. we can never have enough clothes right?
12

TAGGED: DIY 22 Comments

anthro DIY-sailor and sweetheart cardi

August 17, 2010~ DIY DREAM HOUSE

I was featured here last week on examiner.com for my anthropologie marjorelle necklace thanks to Samantha! Thank you for the article!
my inspiration this week:


sailor and sweetheart cardi from anthropologie. original price: $98. from my closet:
a striped shirt
and a long sleeve floral dress

I cut the neckline of the shirt and the sleeves of the dress to use for the tie.
and the result:


this dress looked a little grandma-ish due to the long sleeves but with the cap sleeves now it looks more young and fresh.

I saved over $100! 😉

0

TAGGED: Anthro DIY, DIY 19 Comments

  • « Previous Page
  • 1
  • …
  • 21
  • 22
  • 23
  • 24
  • 25
  • …
  • 27
  • Next Page »
cutmypic
Hello! My name is Sarah and I am so happy to have you here! Here you'll find DIY sewing, DIY home building & decor, honest and vulnerable posts of motherhood and snippets of my family. We are building our dream house and will update you regularly on our whole process from start to finish and I am also starting a mother-daughter sewing series. So I hope you stay awhile!

BLOG ARCHIVES

SEARCH

JOIN THE LIST

- THEME BY ECLAIR DESIGNS - Web Hosting By RFE Hosting -