to read my 3 reasons to start sewing, read here.
i’m a part the knock-off series over at kojodesigns for this tutorial for today.
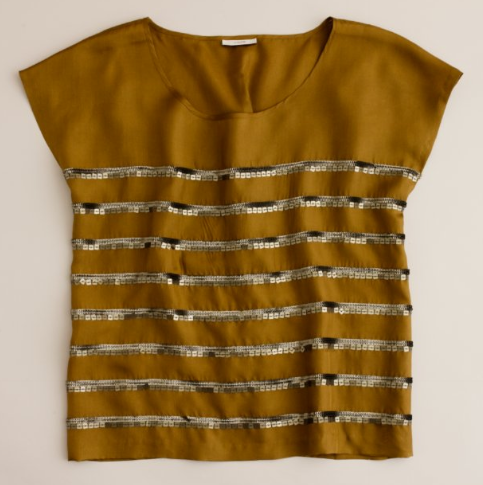
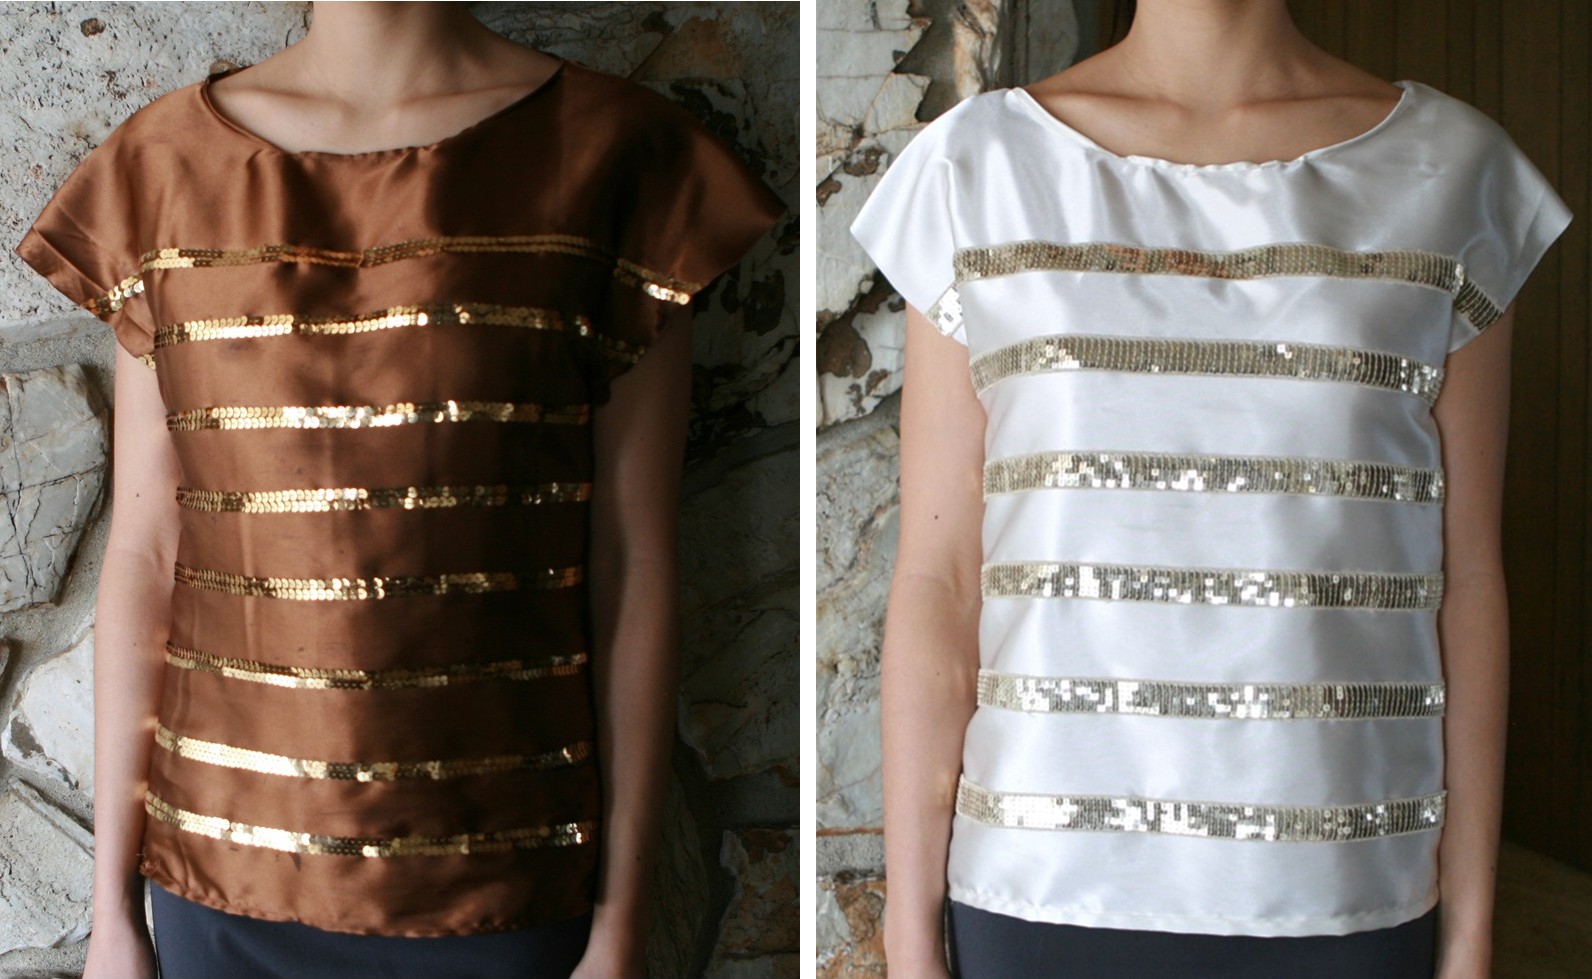
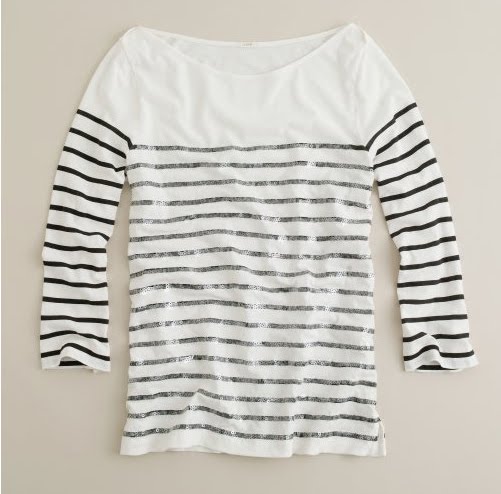
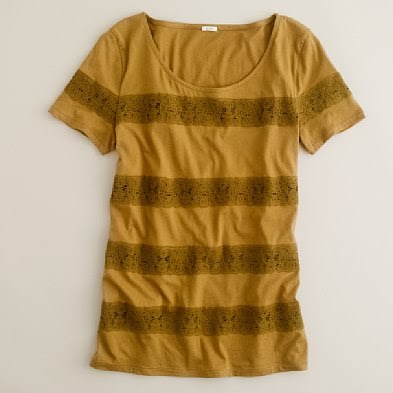
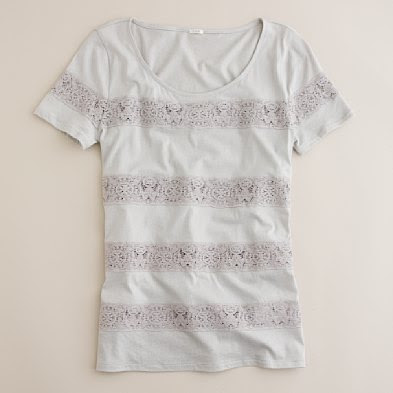
inspiration: J.Crew lace stripe tissue tee $58
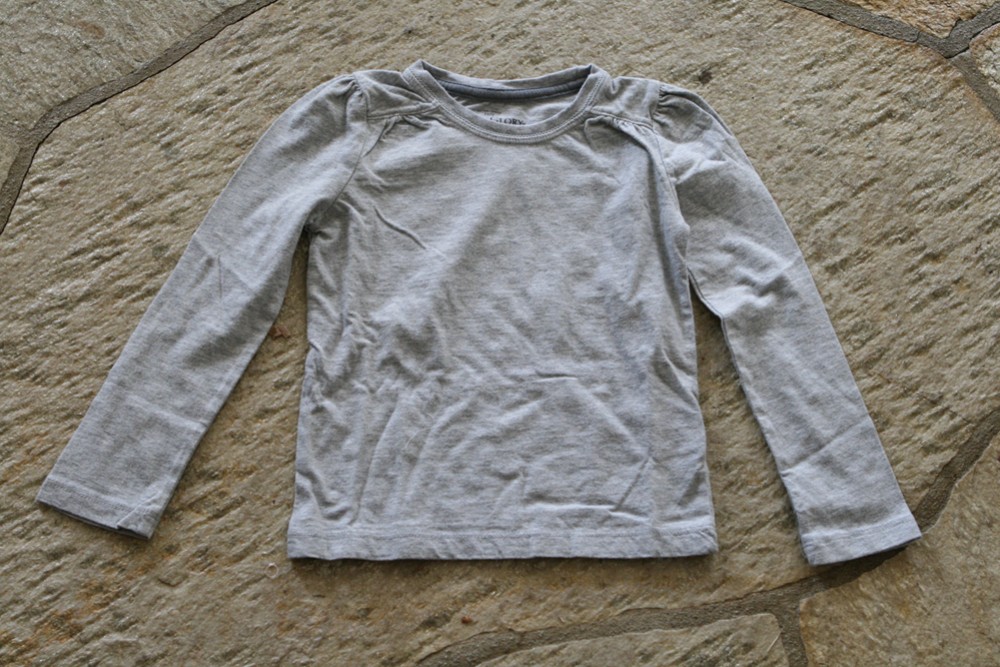
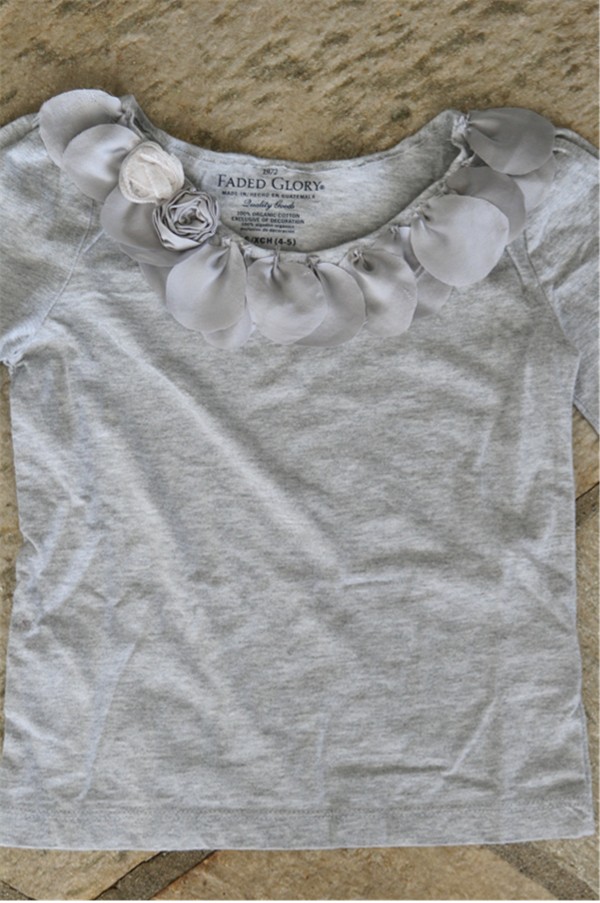
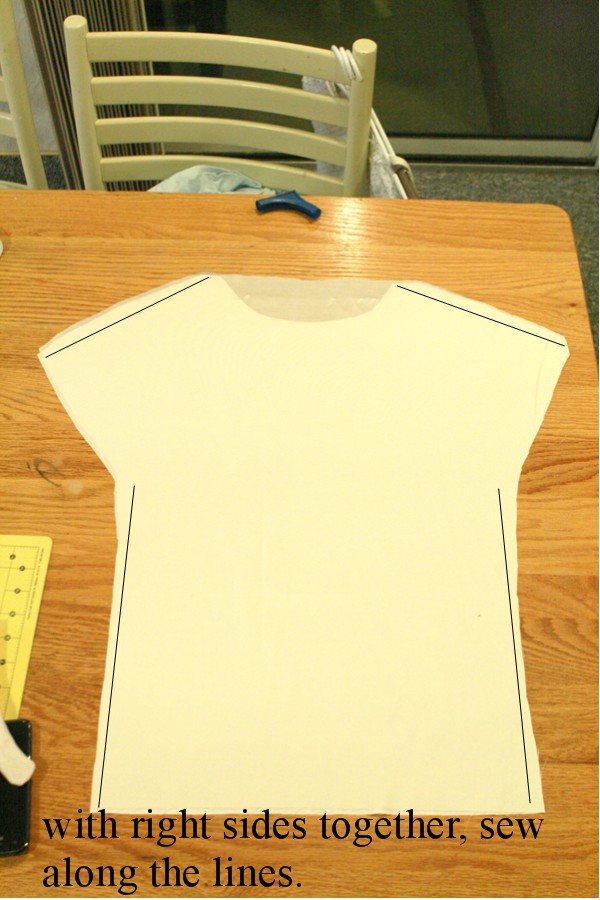
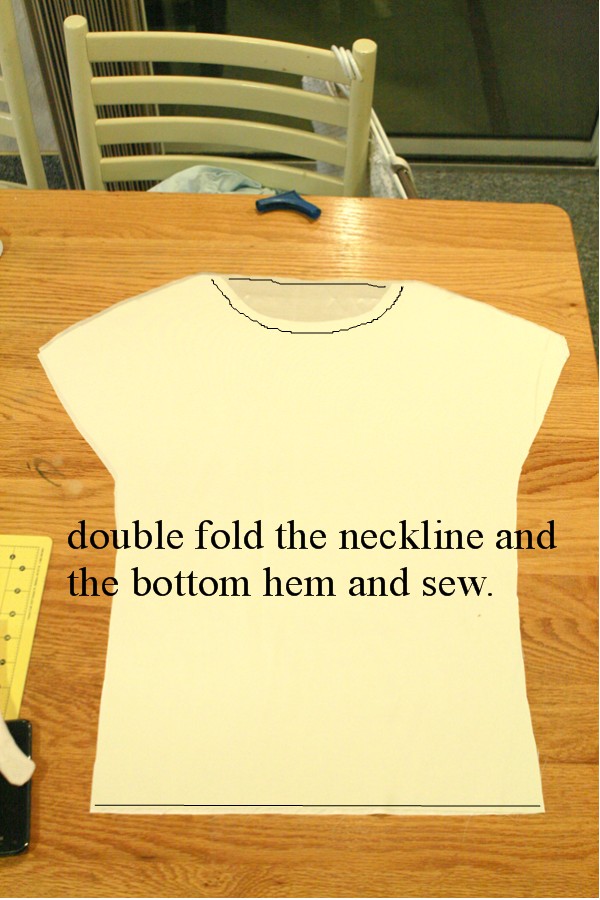
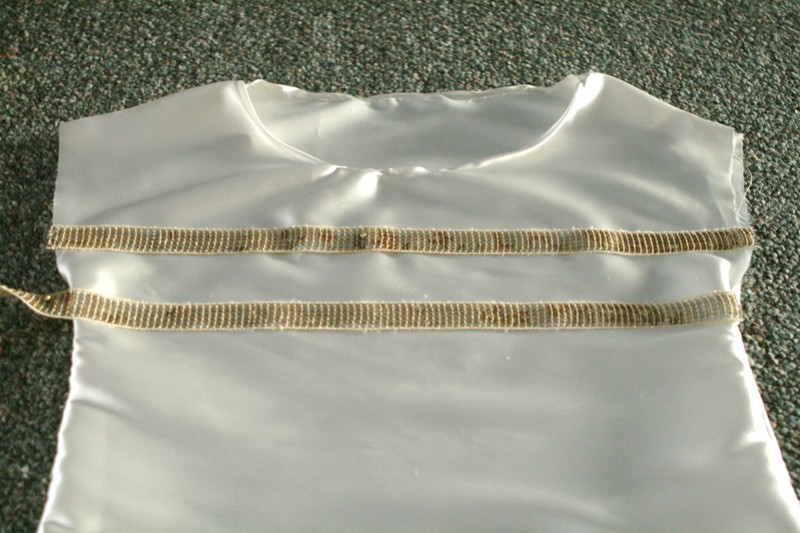
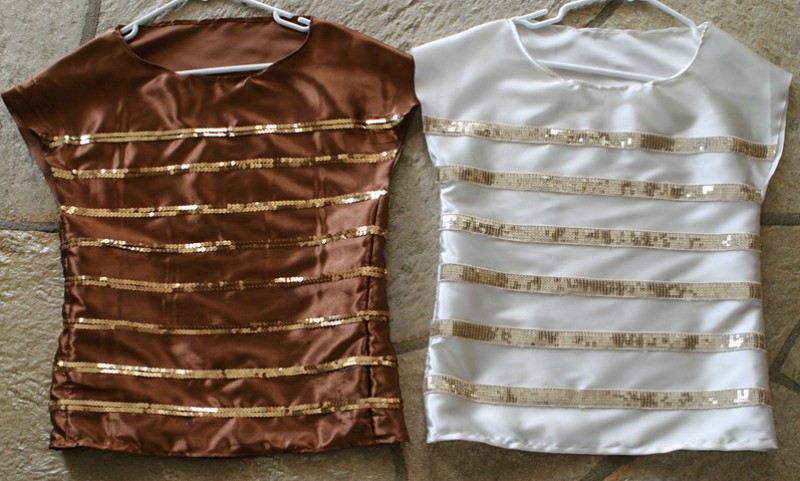
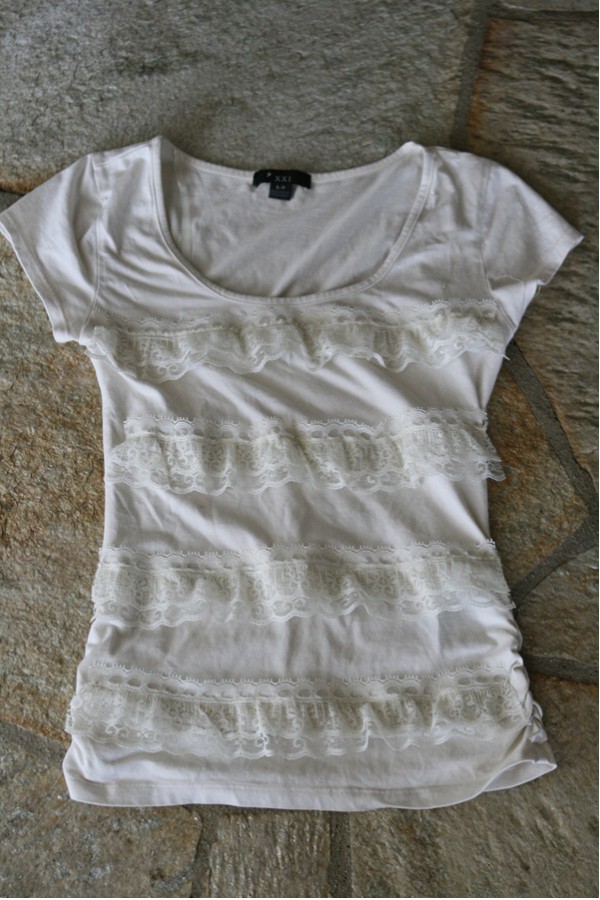
in my closet I found this shirt from my last DIY

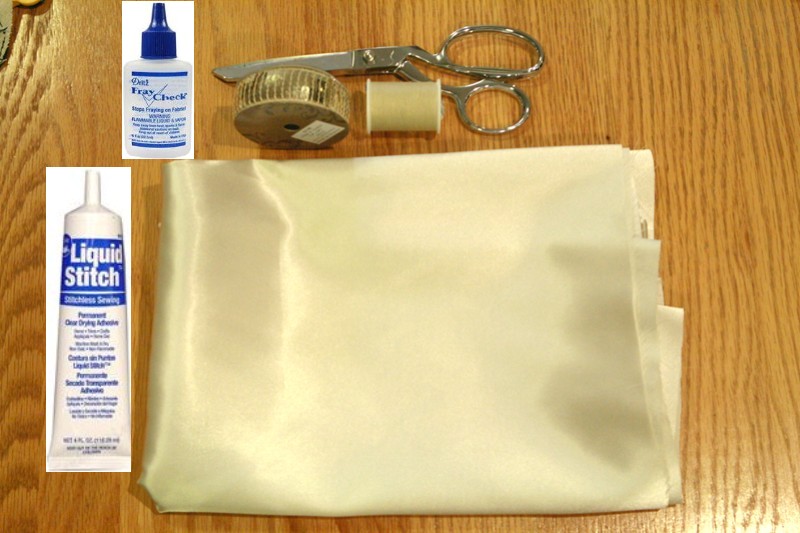
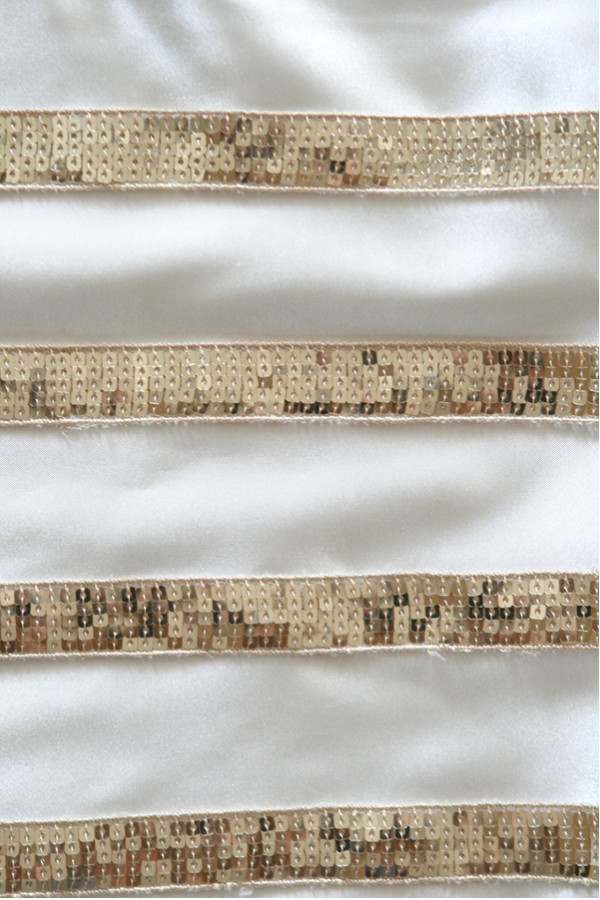
you’ll need: matching thread, 1.5-2 yards of lace(jo ann’s), pins or liquid stitch
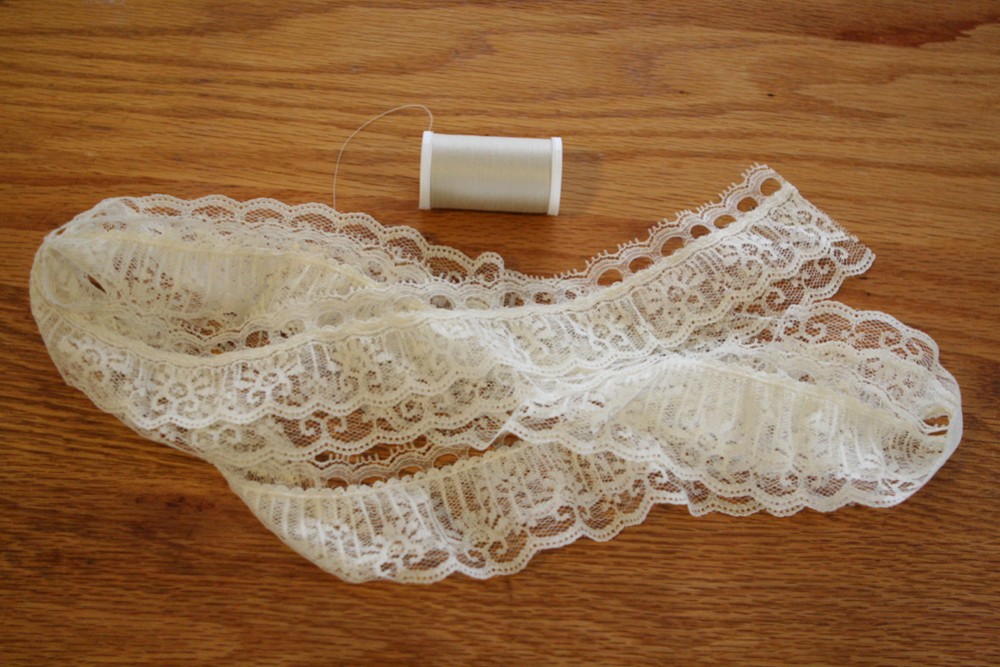
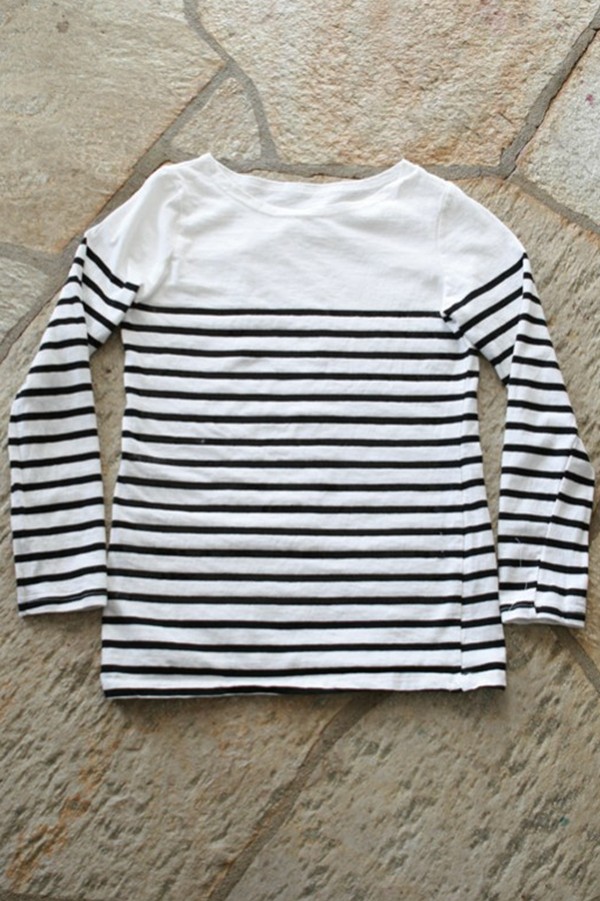
1. lay the lace on the shirt to know the width and cut the lace in four pieces.

2. try the shirt on. it always looks different when it’s worn than lying flat on a flat surface.
(for ex.: you sew the stripes on straight across only to try it on and find out it’s not due to your body stretching certain parts)
(for ex.: you sew the stripes on straight across only to try it on and find out it’s not due to your body stretching certain parts)
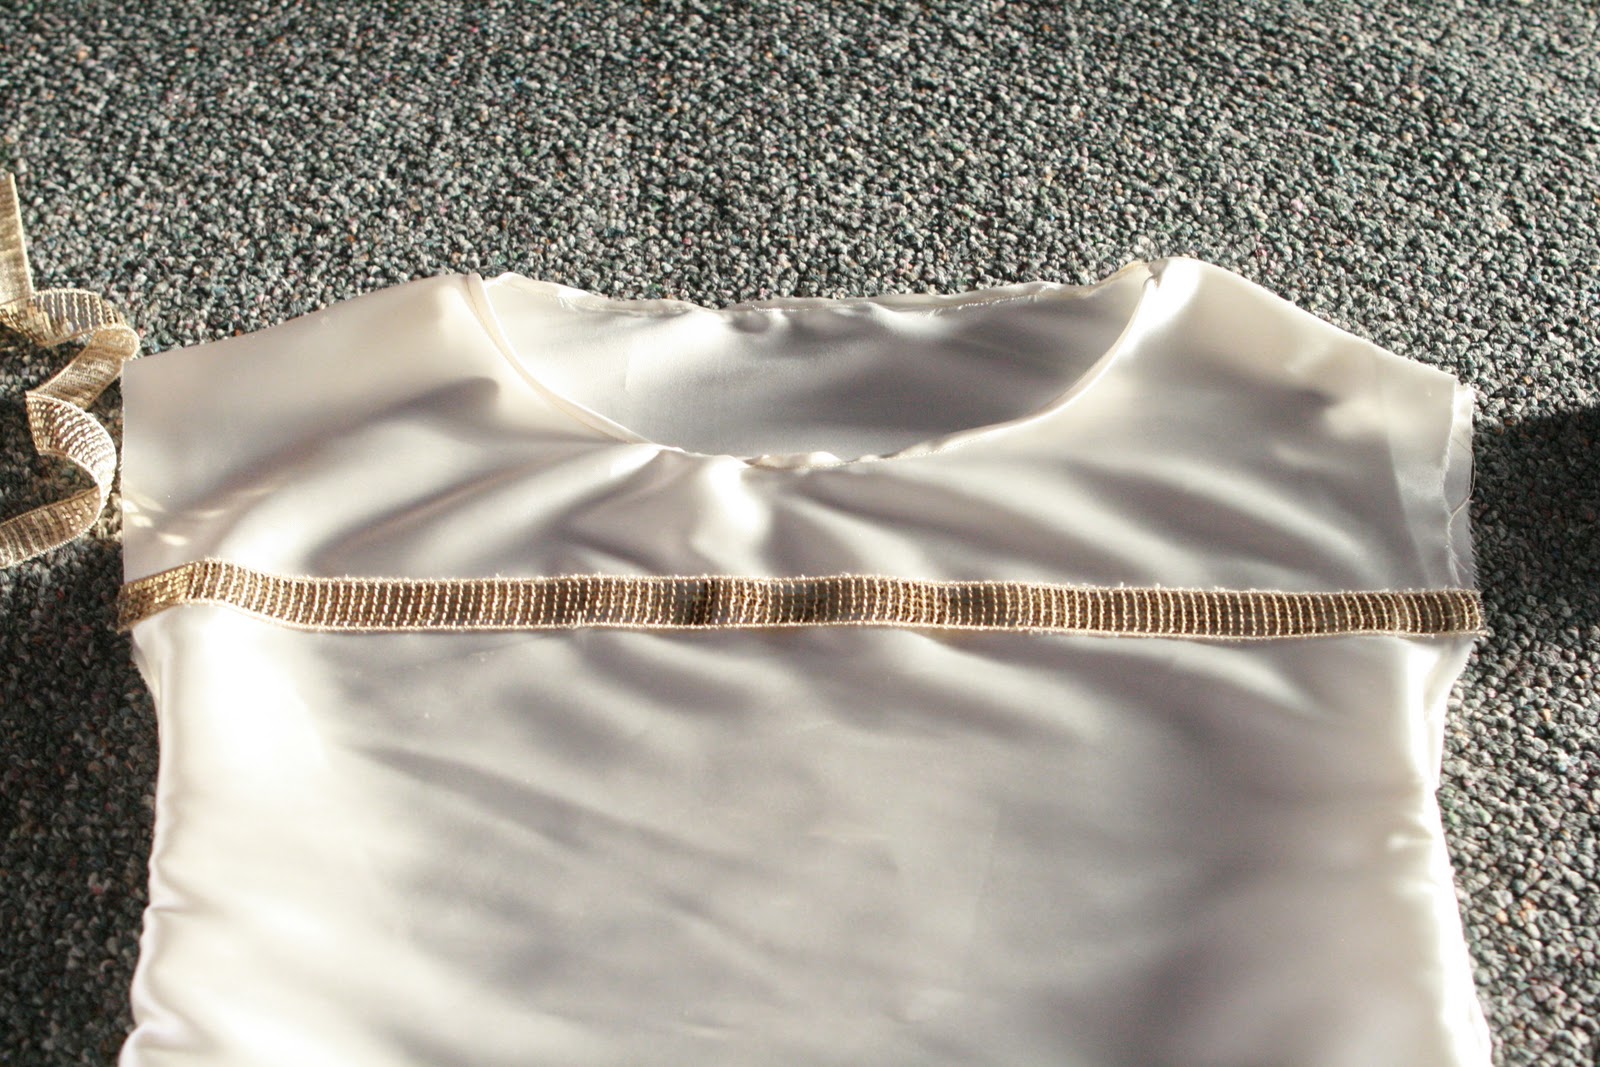
then using pins or liquid stitch, put the lace in 4 horizontal stripes.
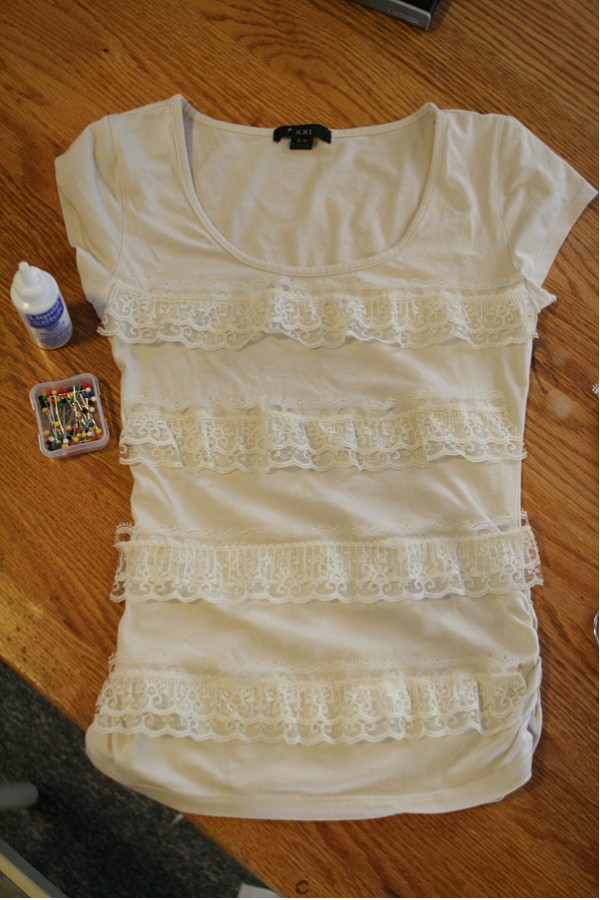
3. take the shirt off and sew it across.
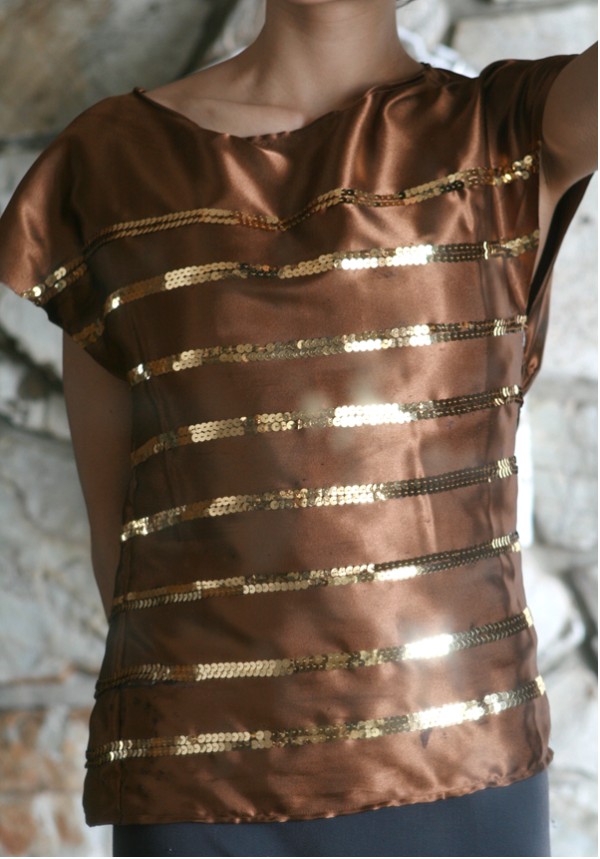
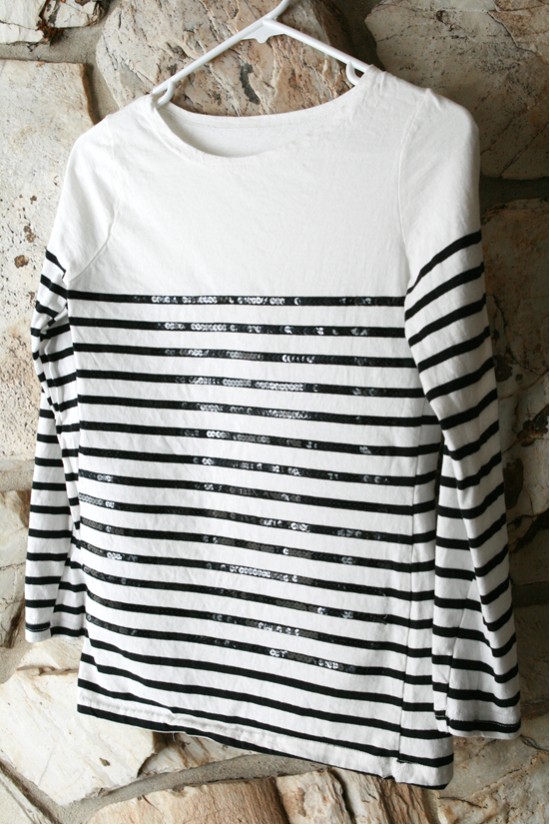
after:


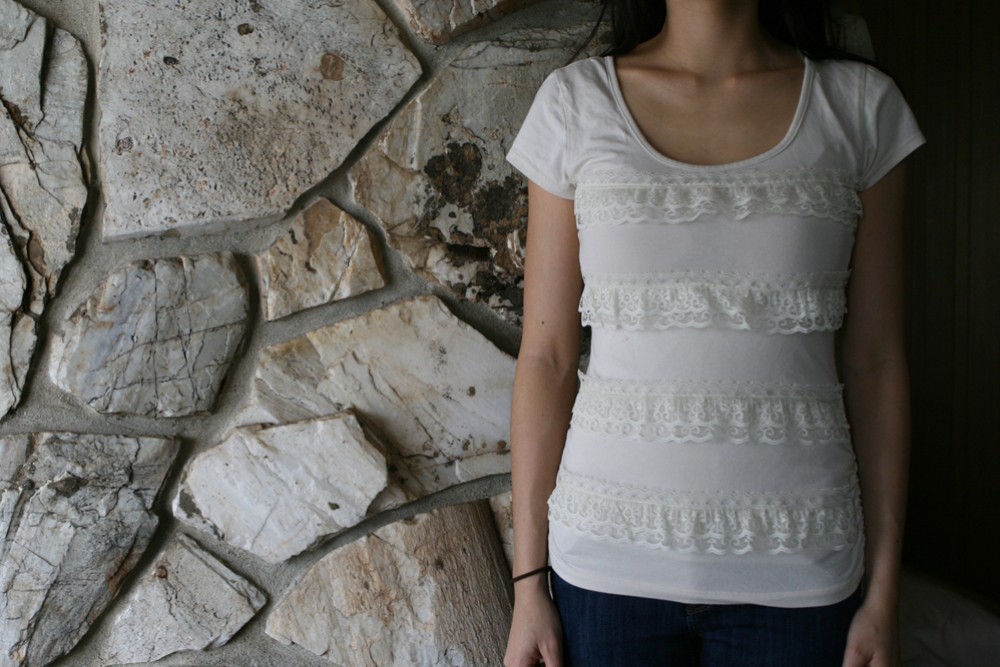
i saved over $55!