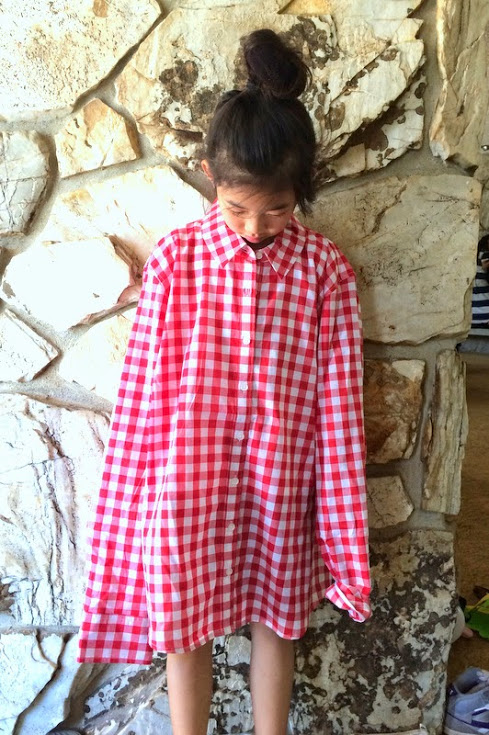
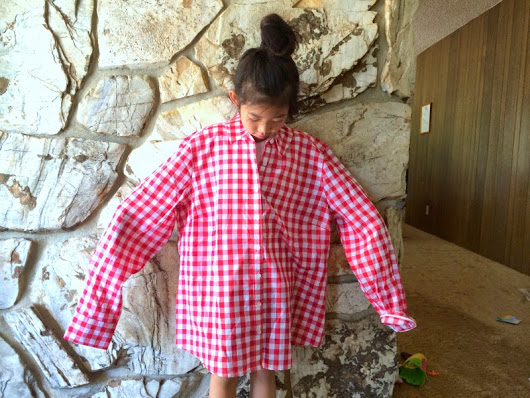
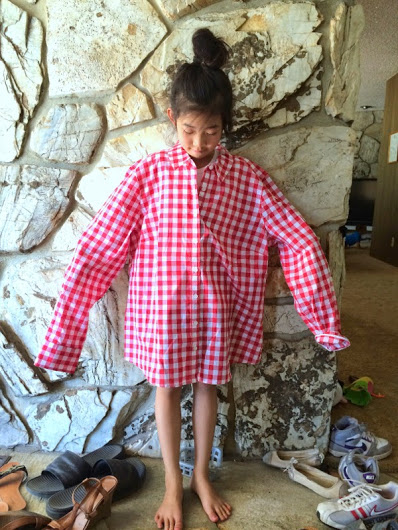
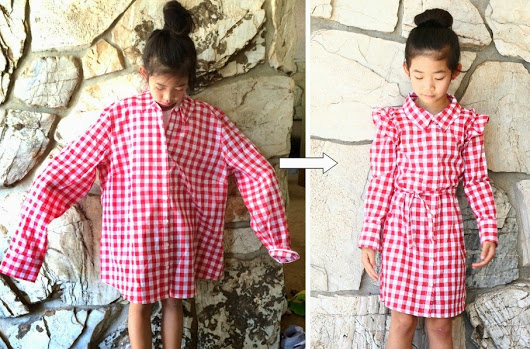
Before:
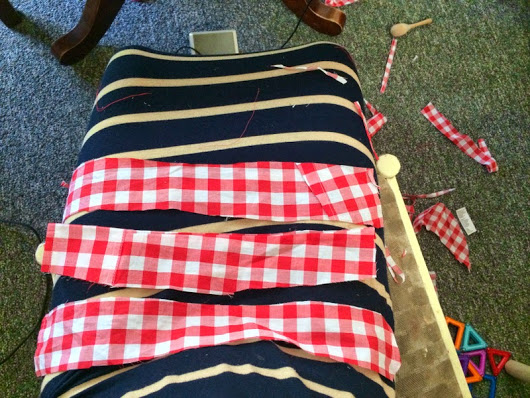
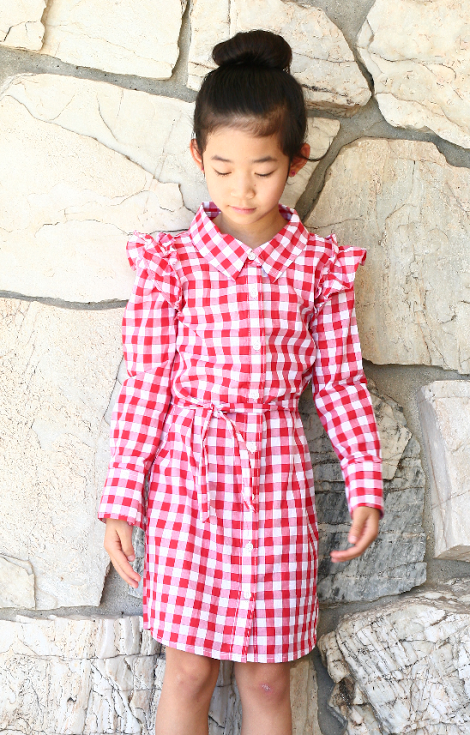
I found this shirt on sale for $10. I bought one for myself in XS and then saw another one in XL and immediately thought it’d make a cute little dress for my girls!
yeah, no, I did not put away those shoes around her to get better pictures. You’re talking to a mother of 3 little kids here, psh. please lower your expectations. 😉
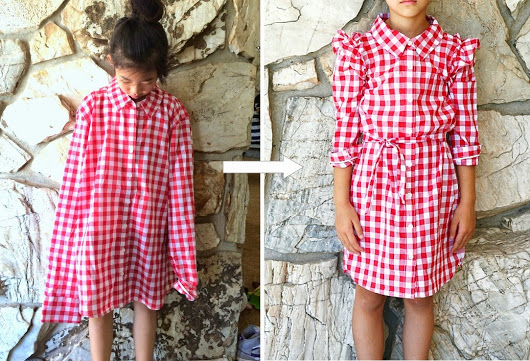
Before/After:
Instructions:
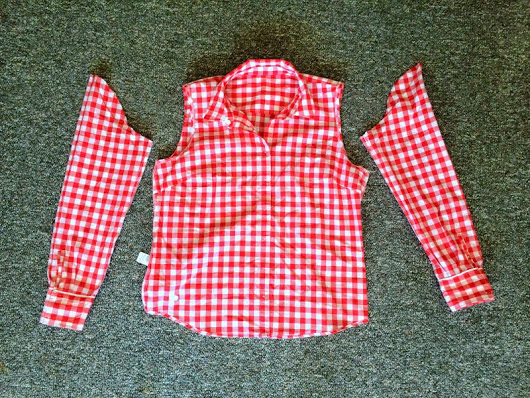
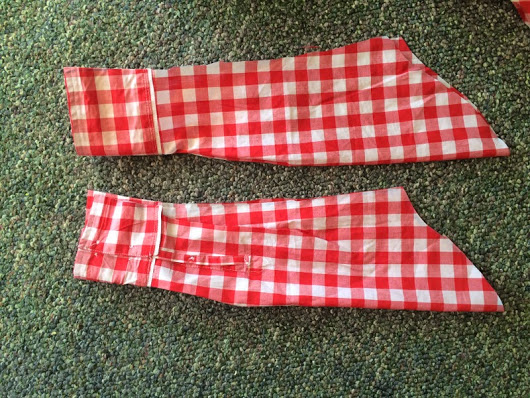
1. Cut off the sleeves of the shirt.
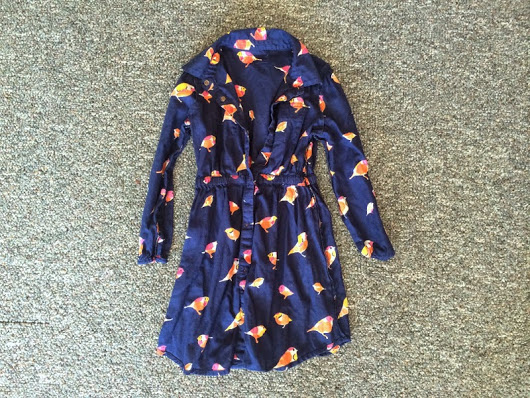
2. Get a little girl’s dress to get the approximate sizing to compare to.
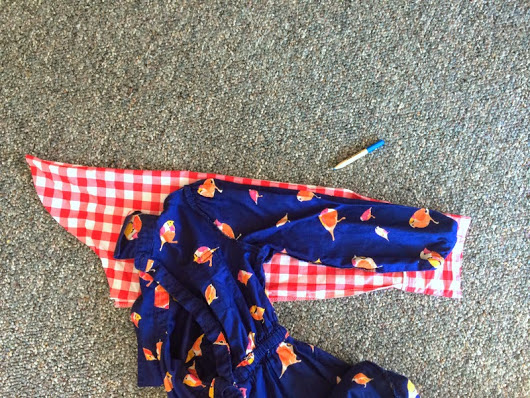
3. Place the sleeve of the girl’s dress on the cut sleeve and roughly trace, matching the width and the length, adding about 1.5 centimeters extra on both sides. Make sure the folded part is not cut(and keep the buttons on the cuff).
4. Cut the fabric following the trace to make smaller sleeves.
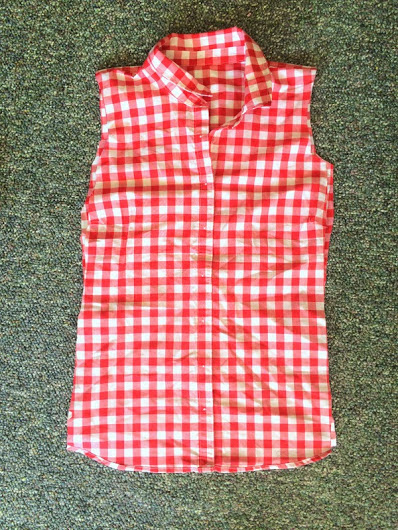
5. Cut the extra fabric off the sides of the body. You will have to cut the arm-hole smaller too.
6. Sew the smaller sleeves back on.
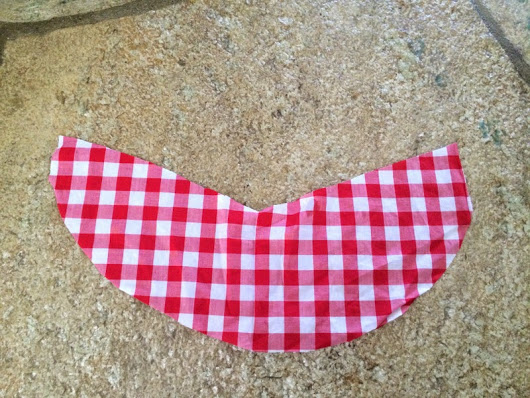
7. Using the extra fabric you cut off, cut off an oval shape similar to above.
8. Fold the edges twice and sew all the way around on all sides.
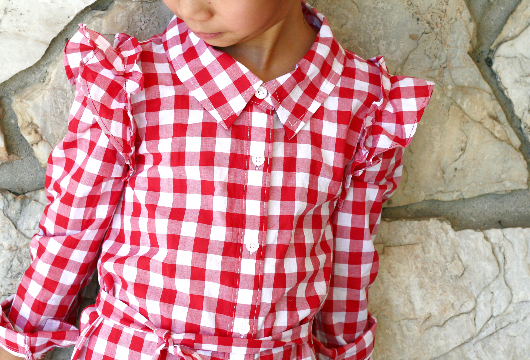
9. Ruffle the shorter curved side and sew it onto the top of the shoulder seam.
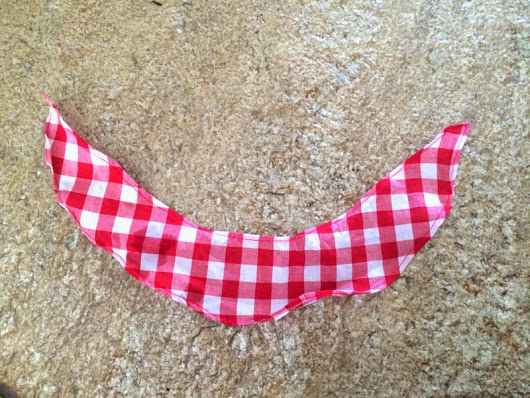
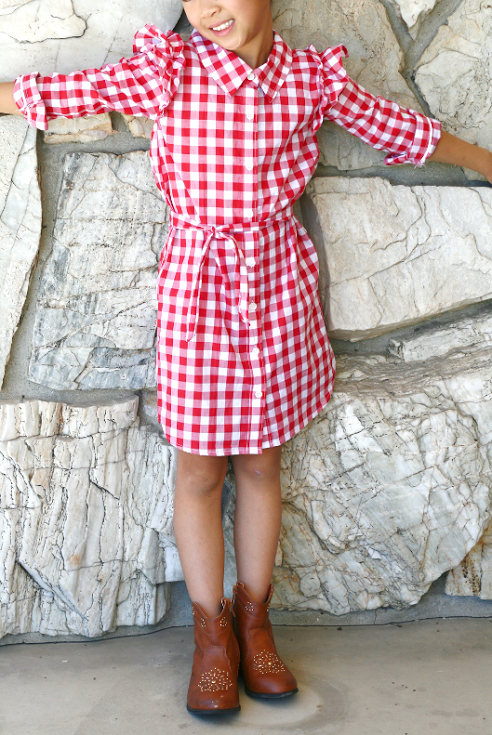
10. Using the extra fabric, make a waist-tie to use as a belt for the dress. For a tutorial, click here.
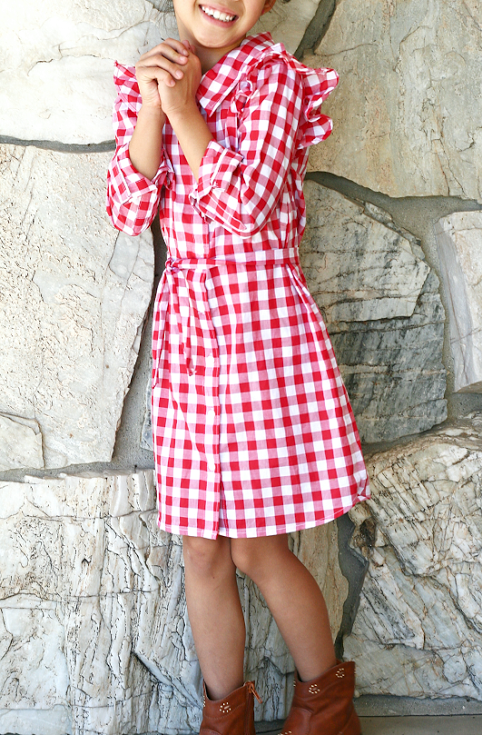
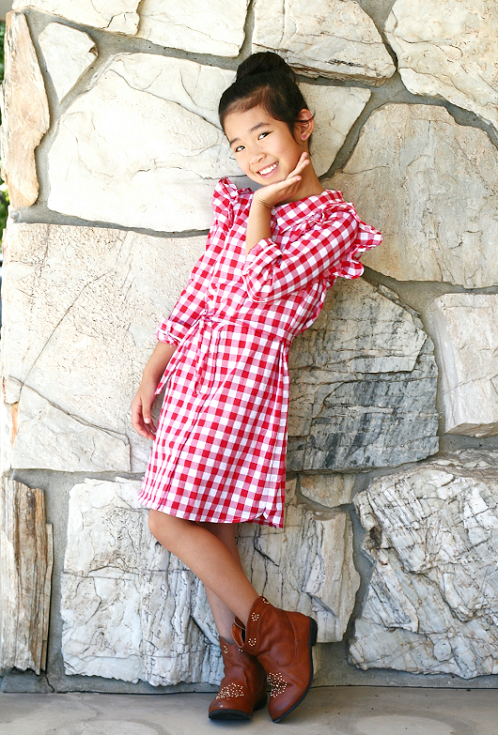
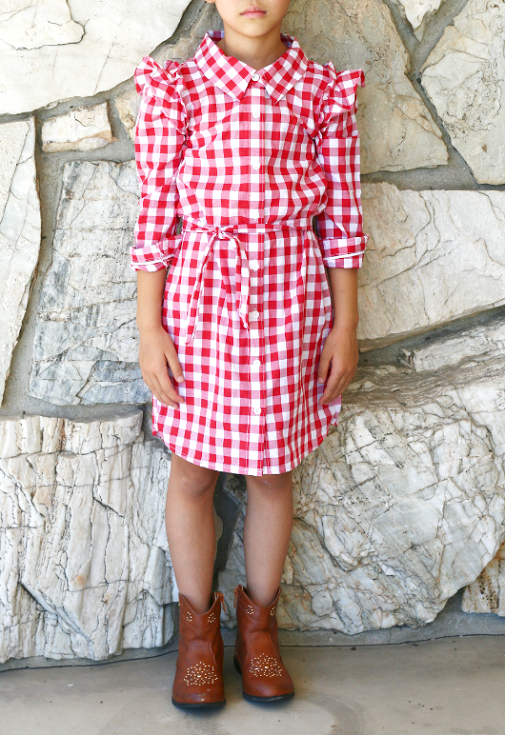
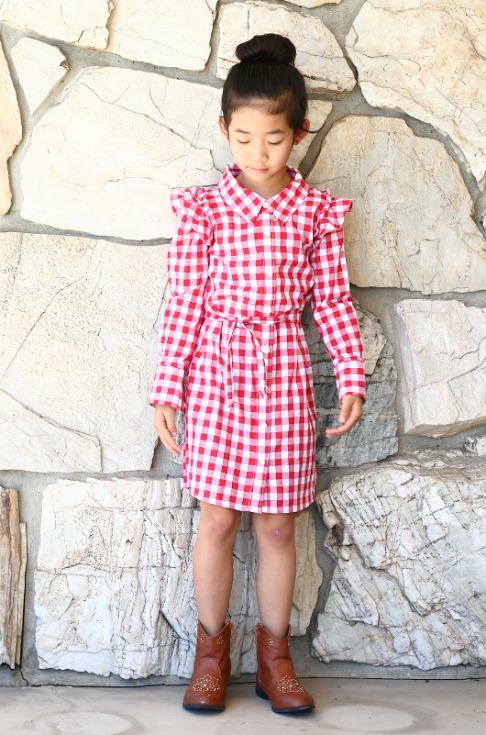
After:
What you’ll need:
-An oversized shirt
-matching thread
-needle or sewing machine
-scissors
Directions:
1. Cut off the sleeves of the shirt.
2. Get a little girl’s dress to get the approximate sizing to compare to.
3. Place the sleeve of the girl’s dress on the cut sleeve and roughly trace, matching the width and the length, adding about 1.5 centimeters extra on both sides. Make sure the folded part is not cut(and keep the buttons on the cuff).
4. Cut the fabric following the trace to make smaller sleeves.
5. Cut the extra fabric off the sides of the body. You will have to cut the arm-hole smaller too.
6. Sew the smaller sleeves back on.
7. Using the extra fabric you cut off, cut off an oval shape similar to above.
8. Fold the edges twice and sew all the way around on all sides.
9. Ruffle the shorter curved side and sew it onto the top of the shoulder seam.
10. Using the extra fabric, make a waist-tie to use as a belt for the dress. For a tutorial, click here.
Estimated time: 45 min.-1 hr.
Budget: just the cost of the dress(mine was $10!)
Skill level: a very confident beginner
Hey! I discovered your post over at the linky party on PolkadotsonParade.blogspot.com. I reeeeaaallly like what you've done with this reconstruction, and you're instructions are also quite thorough 🙂 I love DIY too, check out my latest project: http://wp.me/pX2Yv-6l
This is absolutely beautiful!
Very well done! A little effort for great results! This dress is perfect for school.
How cute! This is delightful! She looks like she loves it. 🙂
Sara!! This is awesome! And just too too cute! Well done!
So very cute! Love this idea.:)
Stopping by from Artsy Corner Link Party. I love this! I wish I could sew to be able to make this. Pinning 🙂
Great idea. I have few unfit shirt thinking what to do; I shall try this for my niece. Thank you for sharing.
Such a fantastic idea! I would love it if you joined and contribute your awesome posts at my link party at City of Creative Dreams, starts on Fridays 😀 Hope to see you there at City of Creative Dreams Link Party.
looks GREAT!! when did she get so tall?! glad you guys are having a nice summer!!
This is "sew" cute! (Couldn't help myself. Ha ha!) What a fun dress. 🙂
The frill detail on the sleeve is lovely. What a great model for this pretty dress!
This is so cute! I love the ruffle on the sleeves! I would love to have you link it up to my Feature Friday Link Palooza!
Danielle @ Blissful & Domestic
http://www.blissfulanddomestic.com/search/label/Feature%20Friday%20Linky%20Party
LOVE this! Very innovative and creative. Thanks for sharing. I am inspired 🙂
Yeah there's no way I can pull that off. BUT. Your daughter is ADORABLE!
So cute and your daughter is the perfect little model. Thanks for sharing at Treasure Box Tuesday. Pinned!
Wanda Ann @ Memories by the Mile
This is such a cute refashion!! Great photos too!
Thanks for linking to a Round Tuit!
Hope you have a fabulous week!
Jill @ Creating my way to Success
http://www.jembellish.blogspot.com/
I love this… its looks so great when taken in!! Featuring today in the Create Link Inspire features on Nap-Time Creations… spreading the word on social media.. thanks for linking! Emily
Thank you for sharing this post at City of Creative Dream's City of Links last Friday! I loved this post so much that I chose it to be featured for this weeks party. 🙂 Go grab a button you deserve it!
An awesome refashion.
Just stopped by to let you know that I featured this on my Round Tuit post this week!
A Round Tuit 217
Thanks again for linking up! Hope you have a great week!
Jill @ Creating my way to Success
That's so cute! I love the shoulder ruffles!