• ABOUT
  • COLLABORATE
  • CONTACT

Life is Beautiful

Motherhood, Sewing, Family

  • SEW
  • HOME
  • PARTY
  • TRAVEL
  • SHARING MY HEART
  • SHOP

Search Results for: featured

How to Make Easy Felt Feather Wing Costume

October 30, 2018~ DIY CRAFT, SEWING


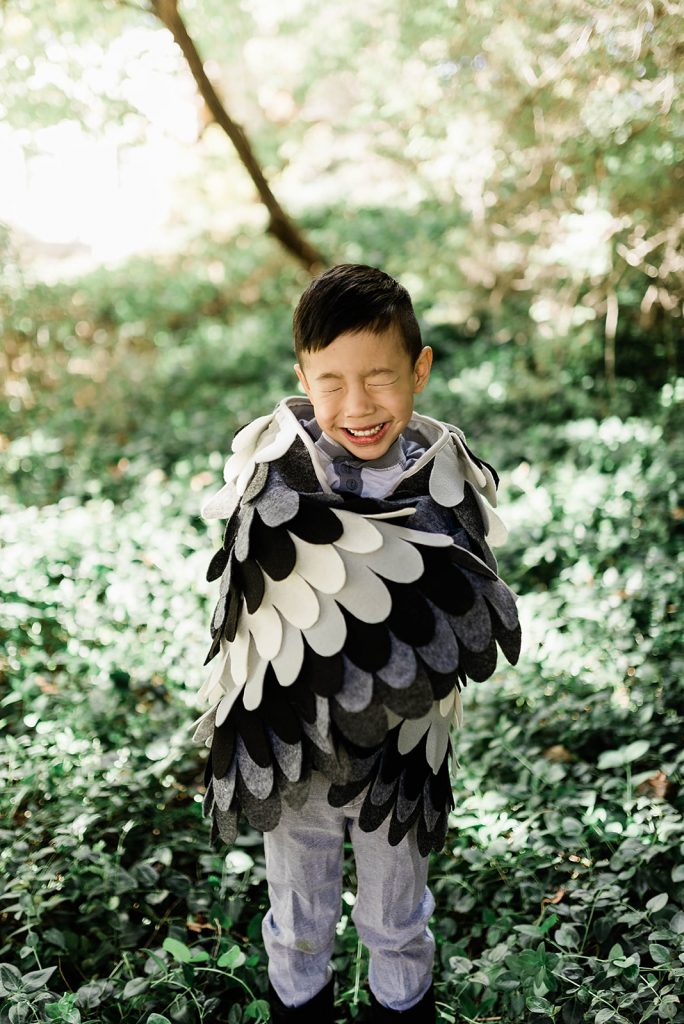
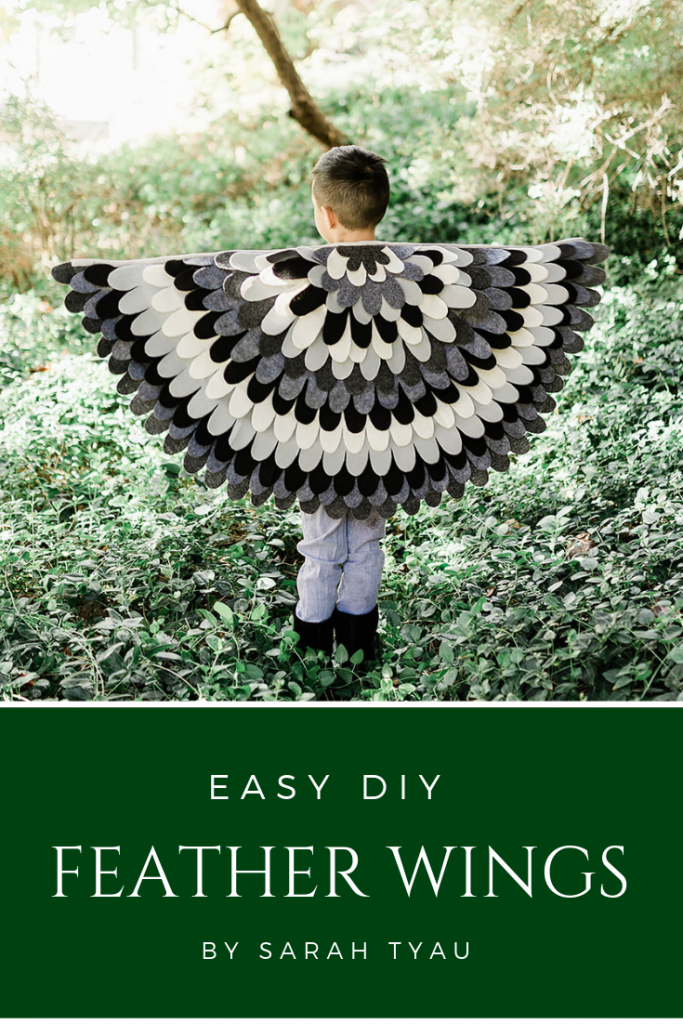
Easy Felt Feather Wing Costume Tutorial

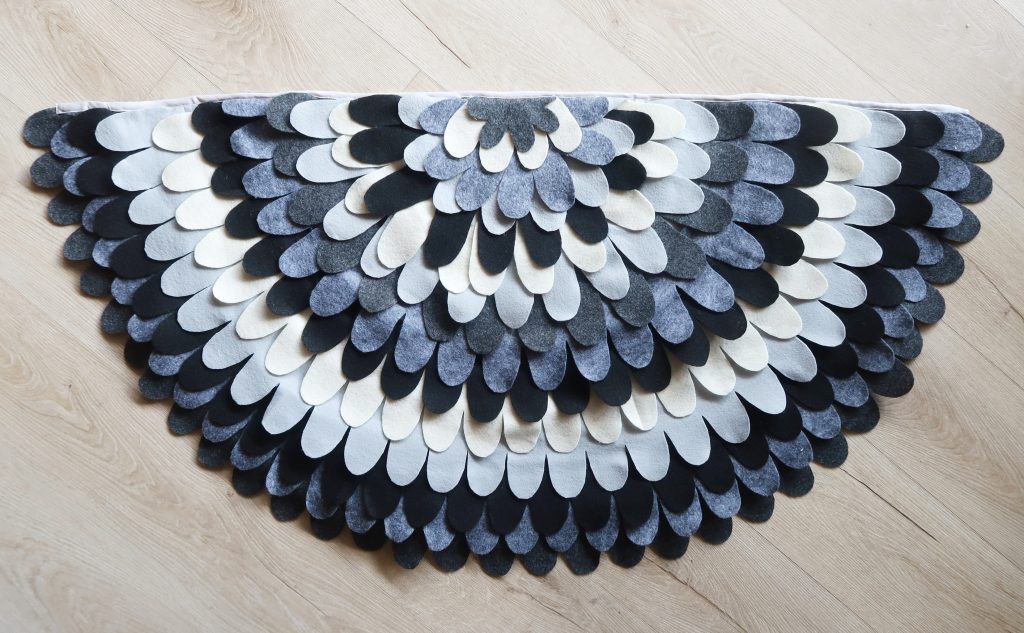
Learn how to make this beautiful feather wing costume in this easy, DIY tutorial.


This DIY was created on behalf of JOANN, all thoughts, ideas and writing are my own.


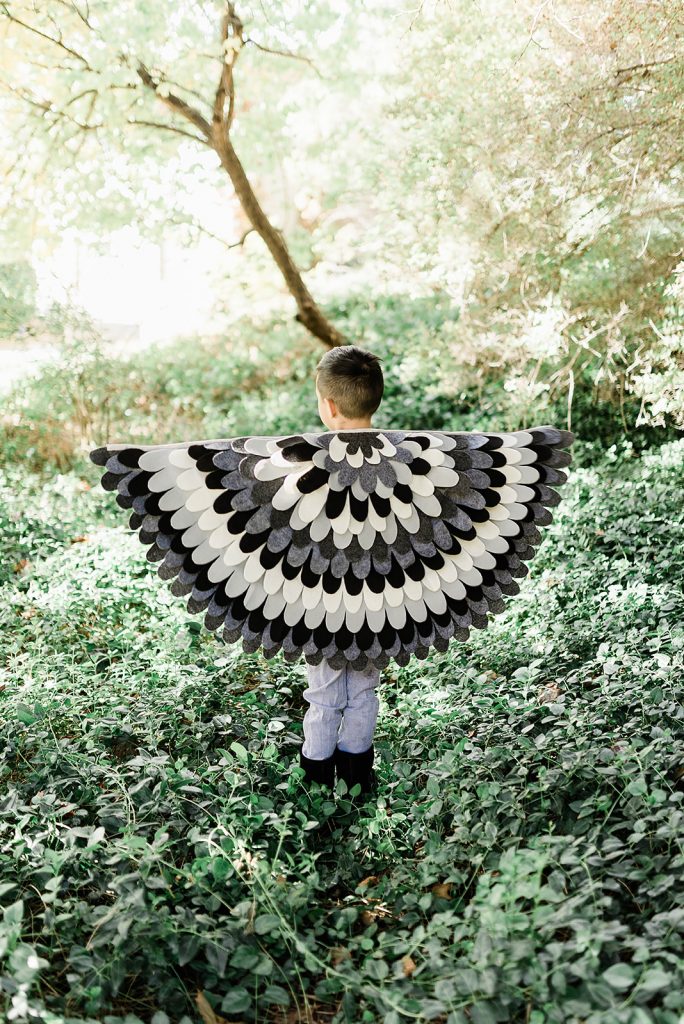
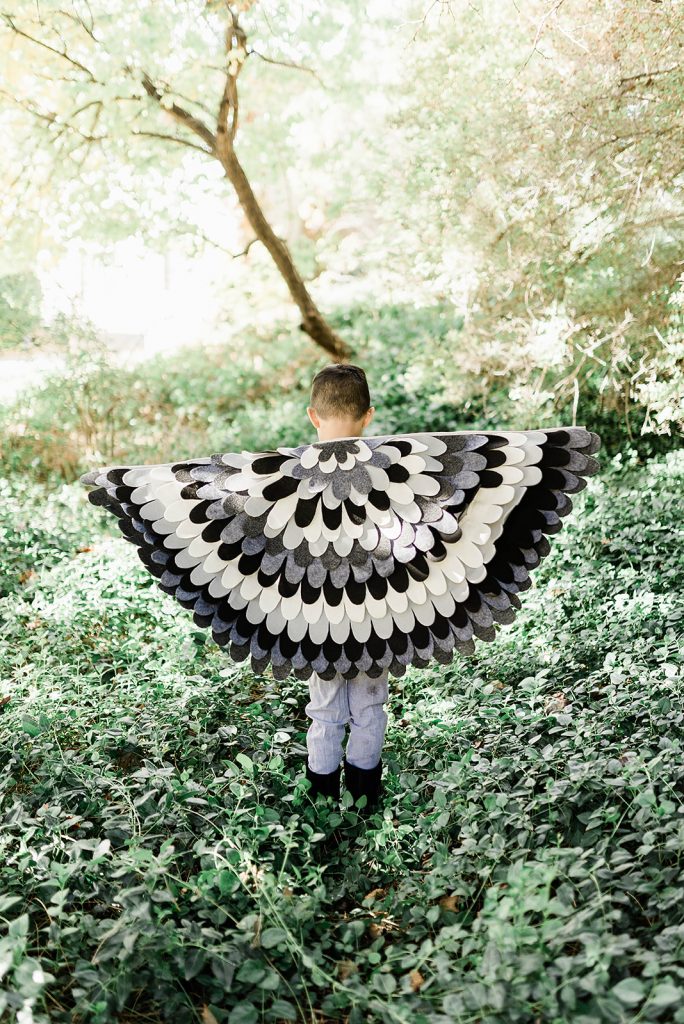
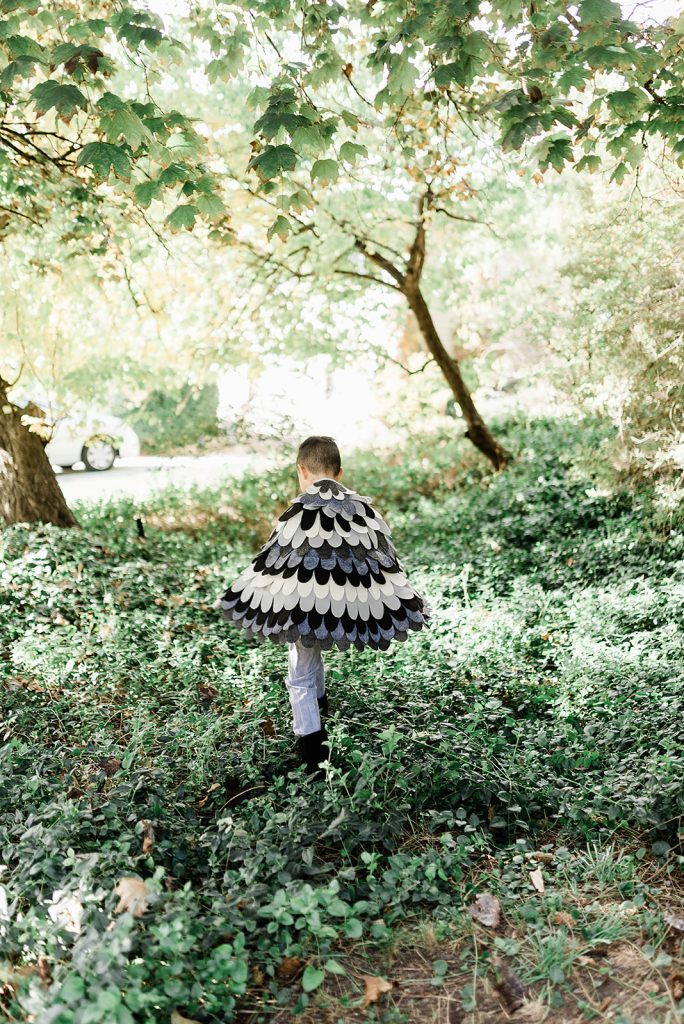
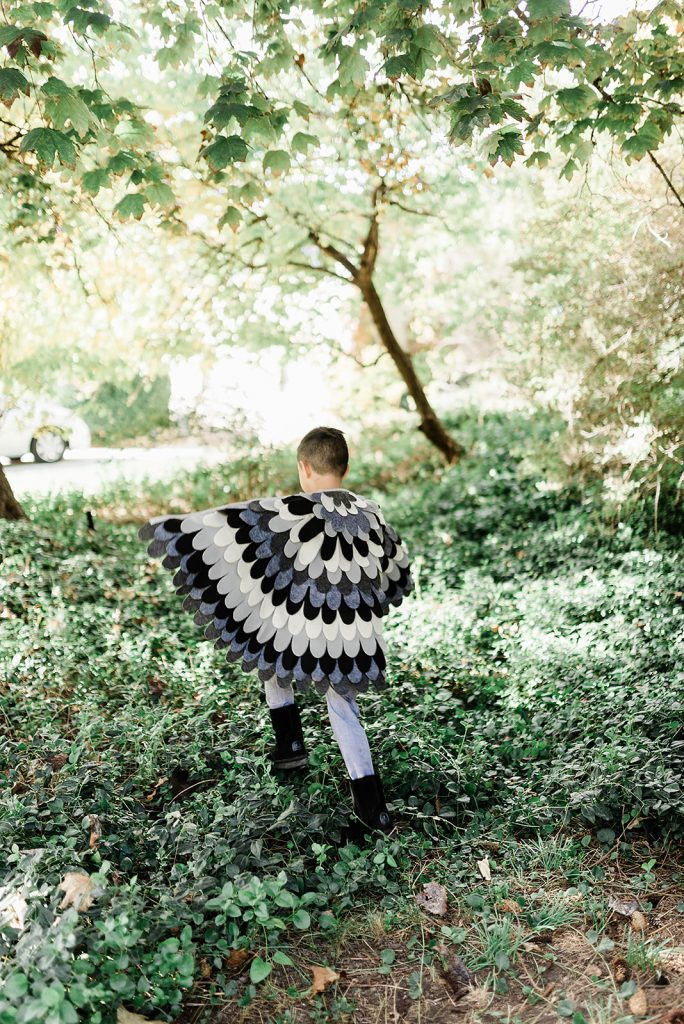
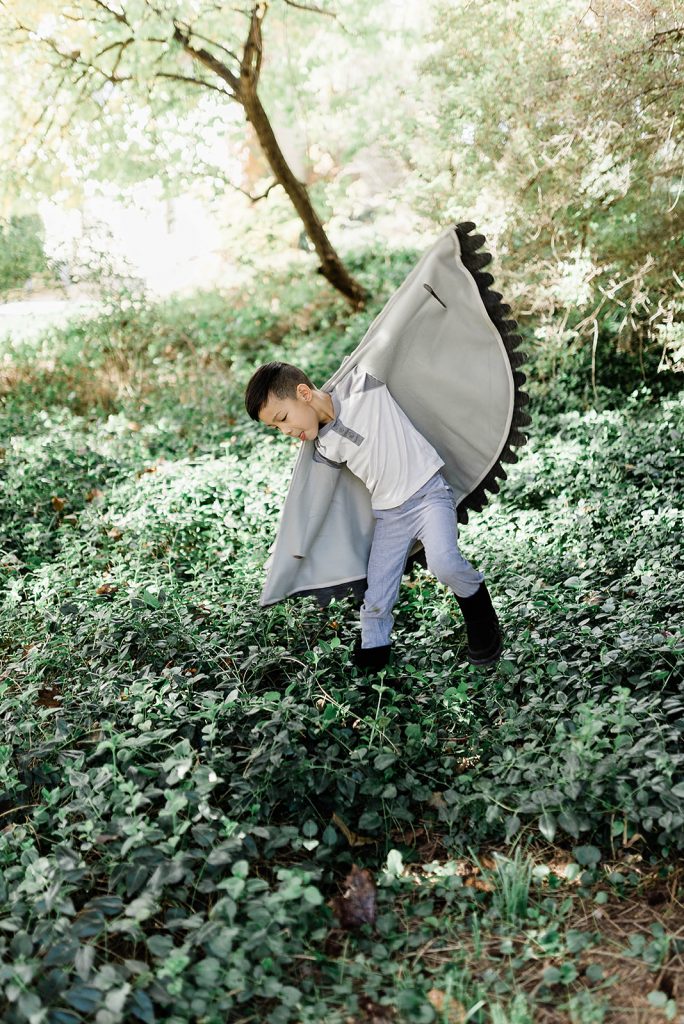
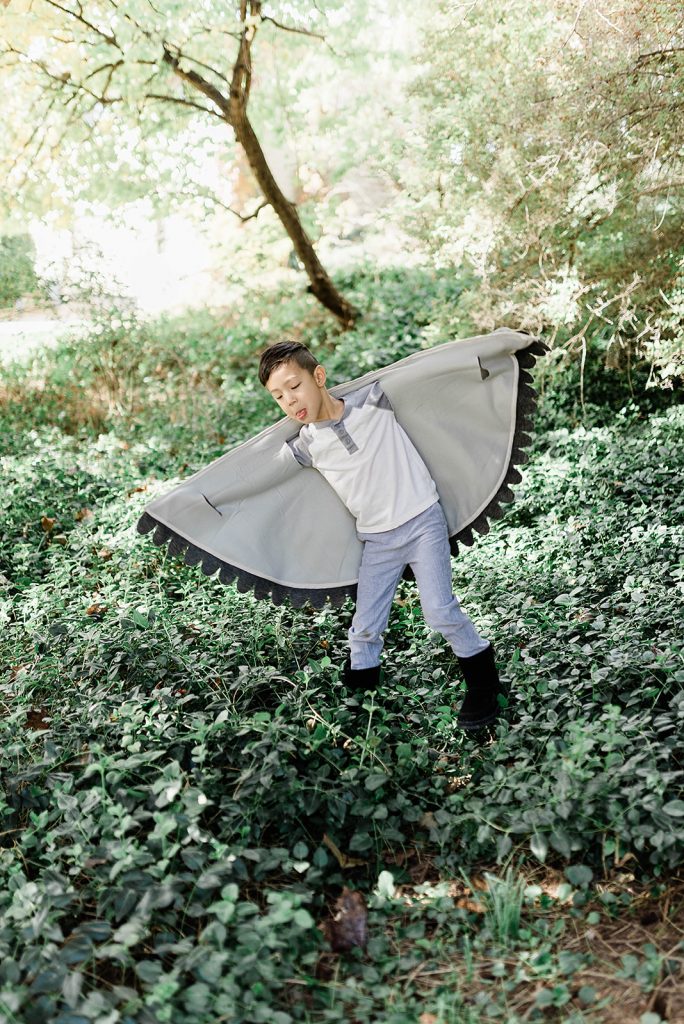
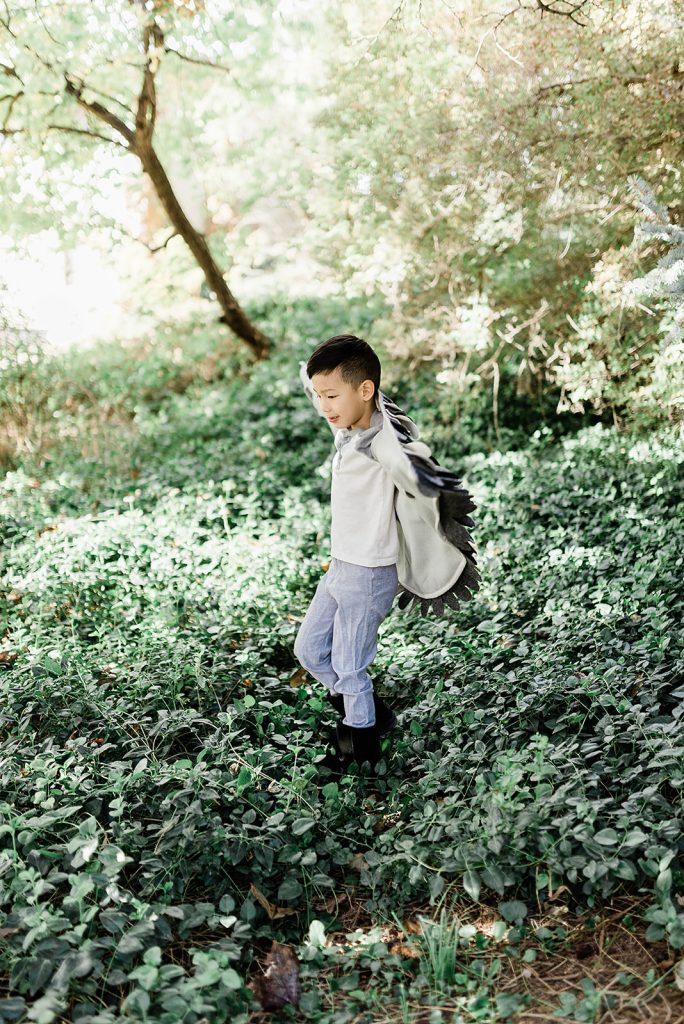
Kids are going to love these feather wings, made from felt fabric from JOANN! These wings don’t have elastic bands but instead has arm holes your little ones can easily slip in and out of, helping them to feel more independent and it also feels like a big blanket wrapped around them!
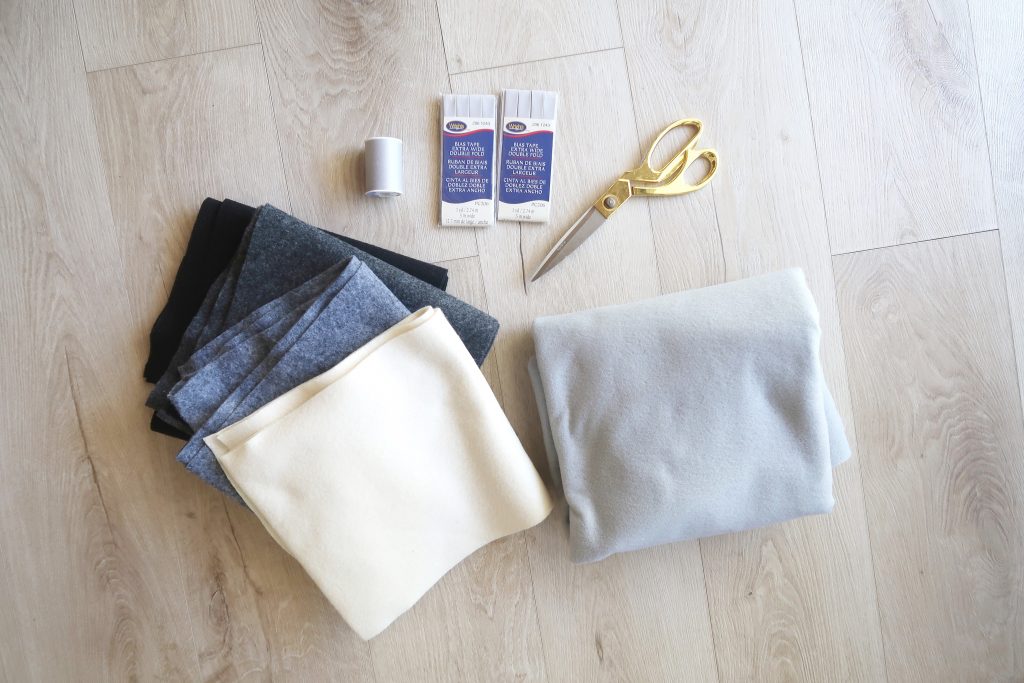
 

Supplies:

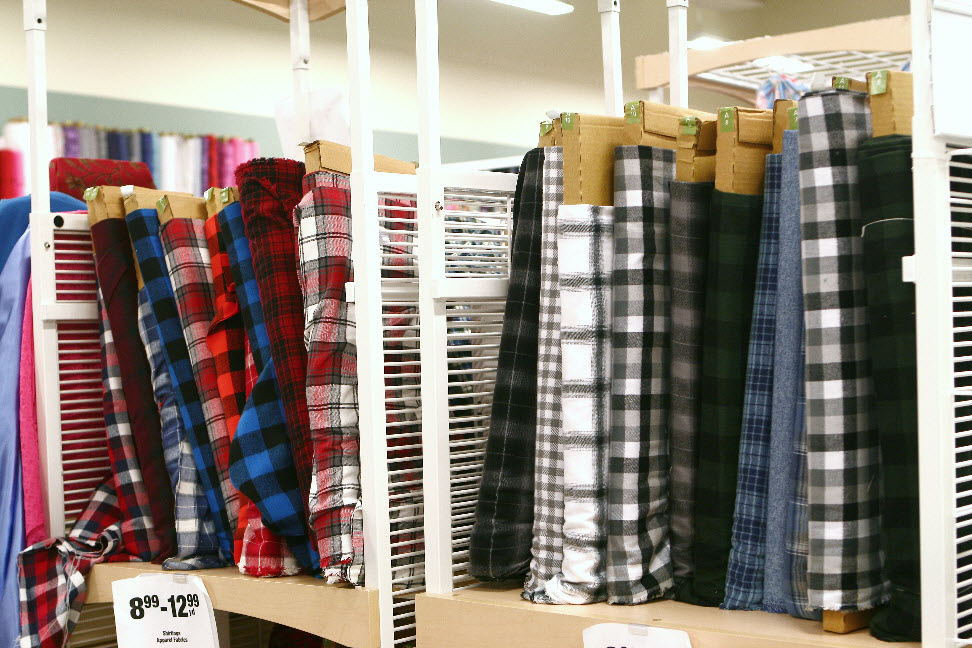
2 yards of base felt

1/4 yard of 4 other colors

scissors

thread

2 pkg. bias tape


Instructions:

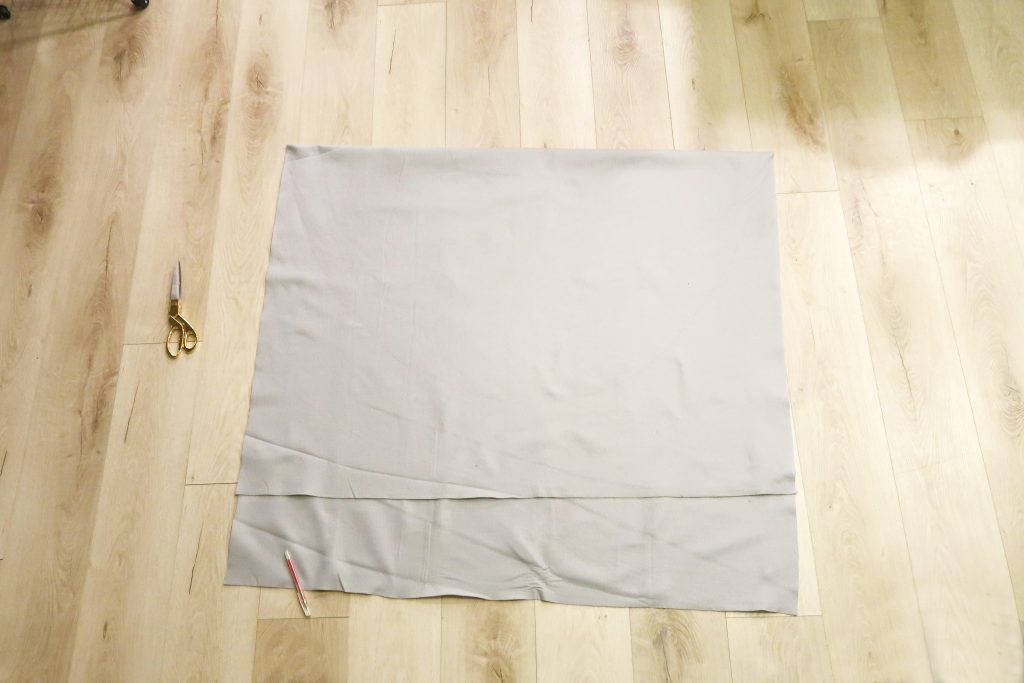
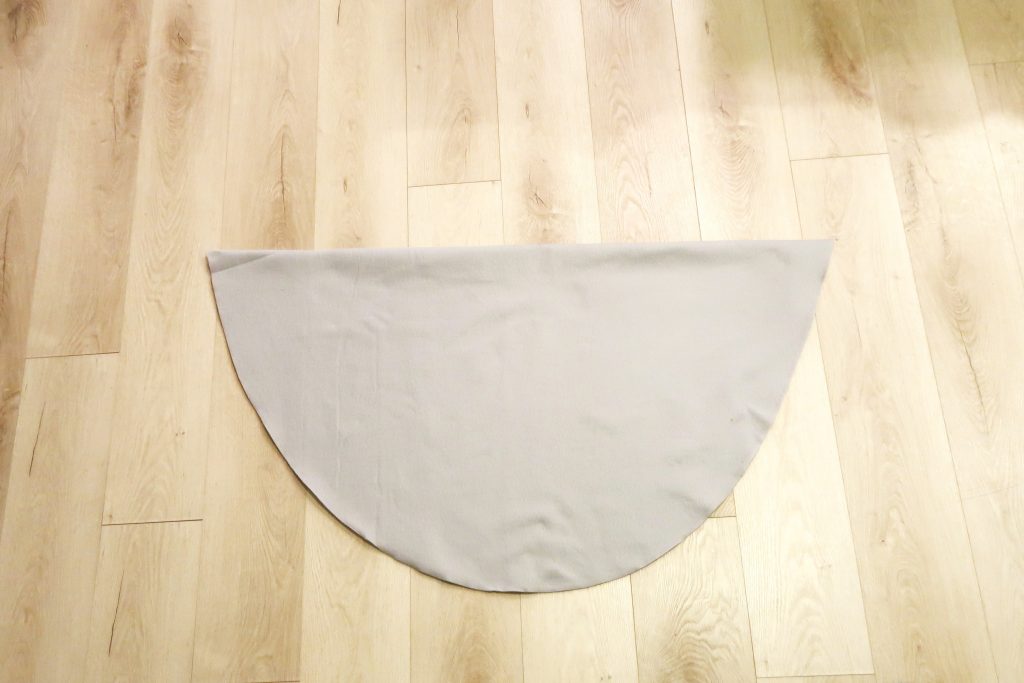
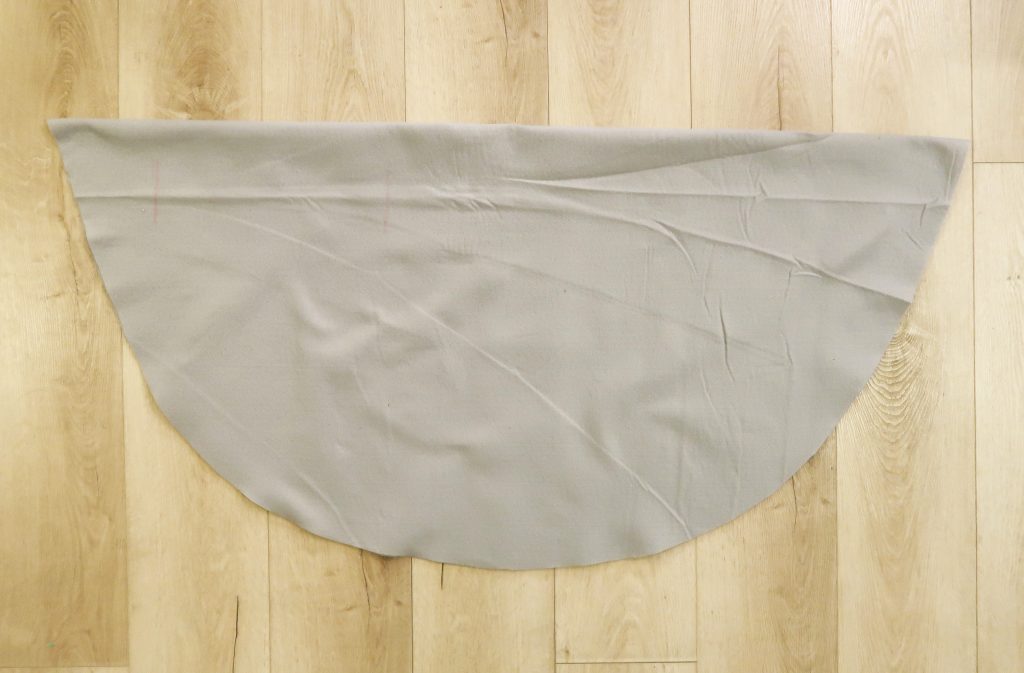
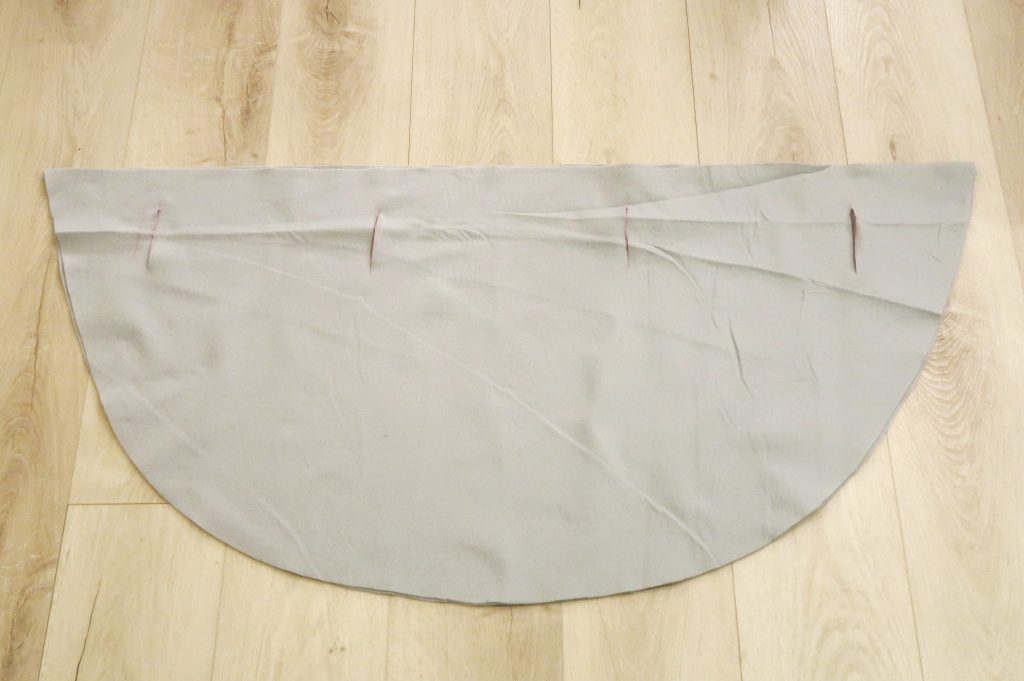
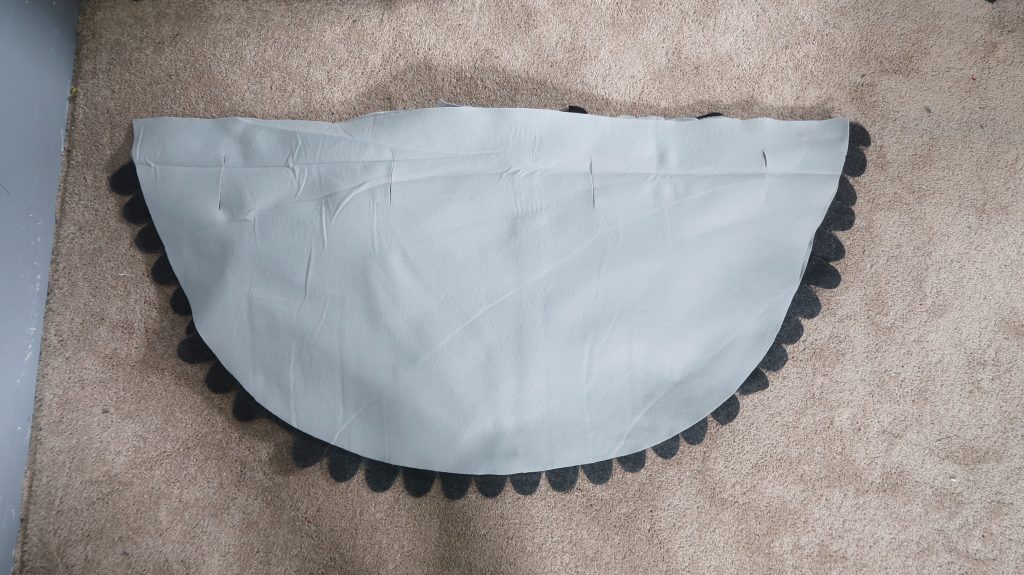
 1. Lay out the 2 yard fabric, folded in half and draw out half a circle.
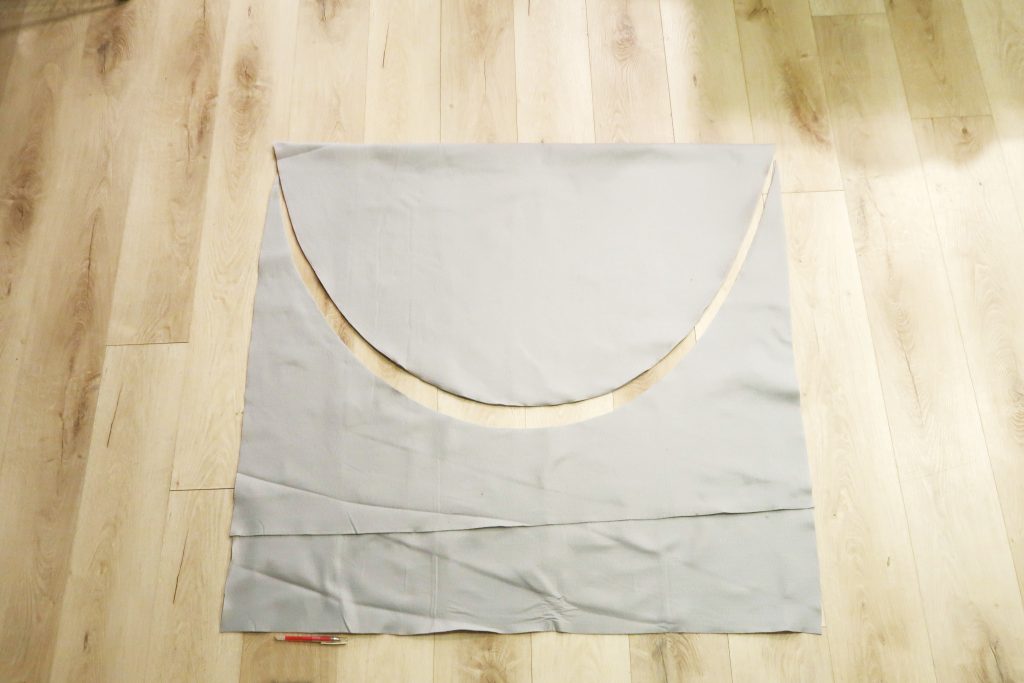
2. Cut the fabric.

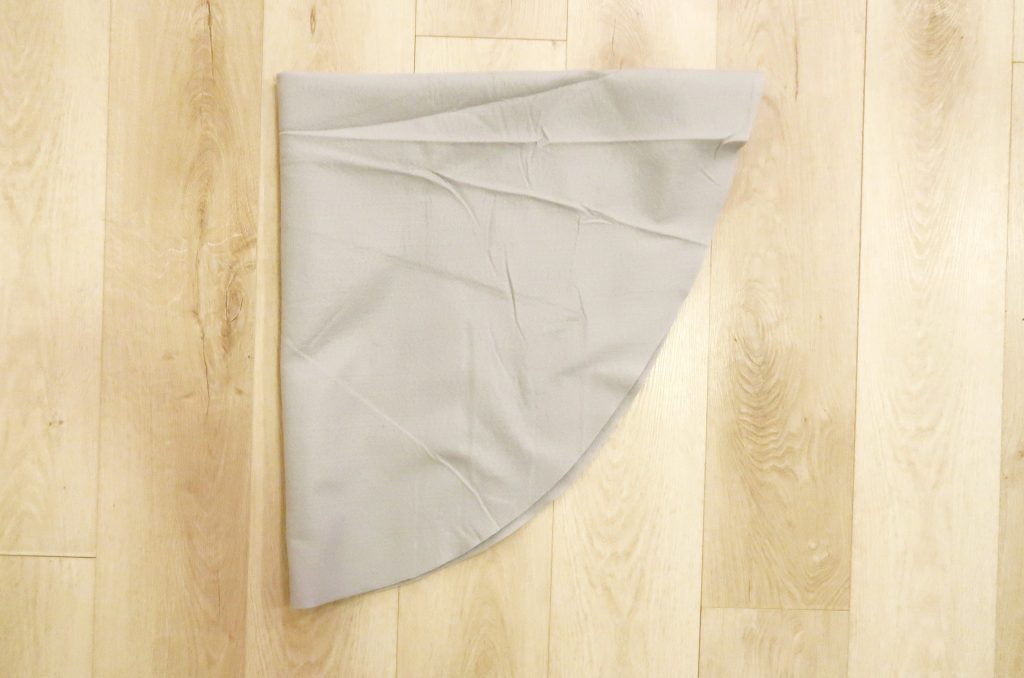
*you can fold it in half to make sure both sides are the same.

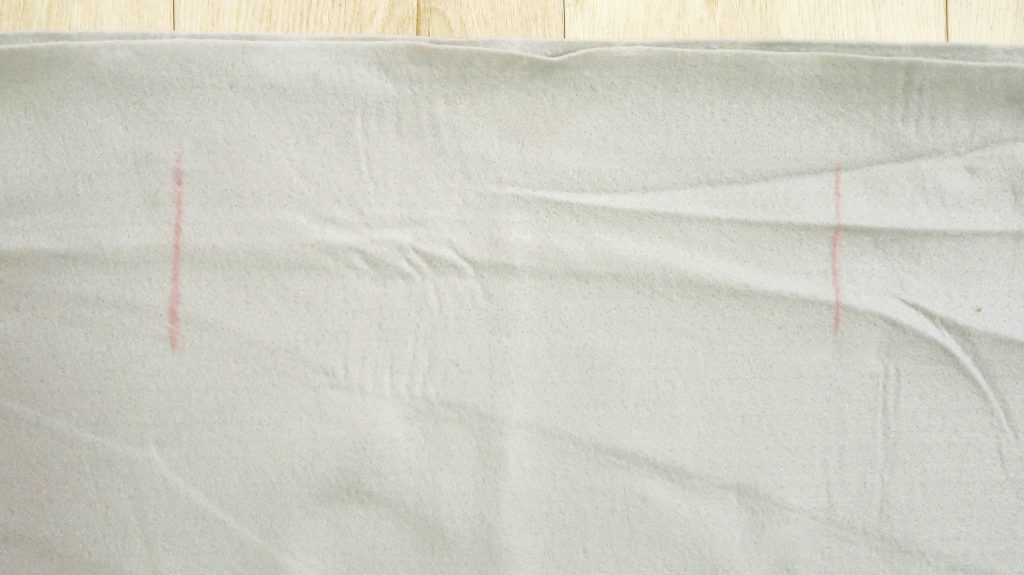
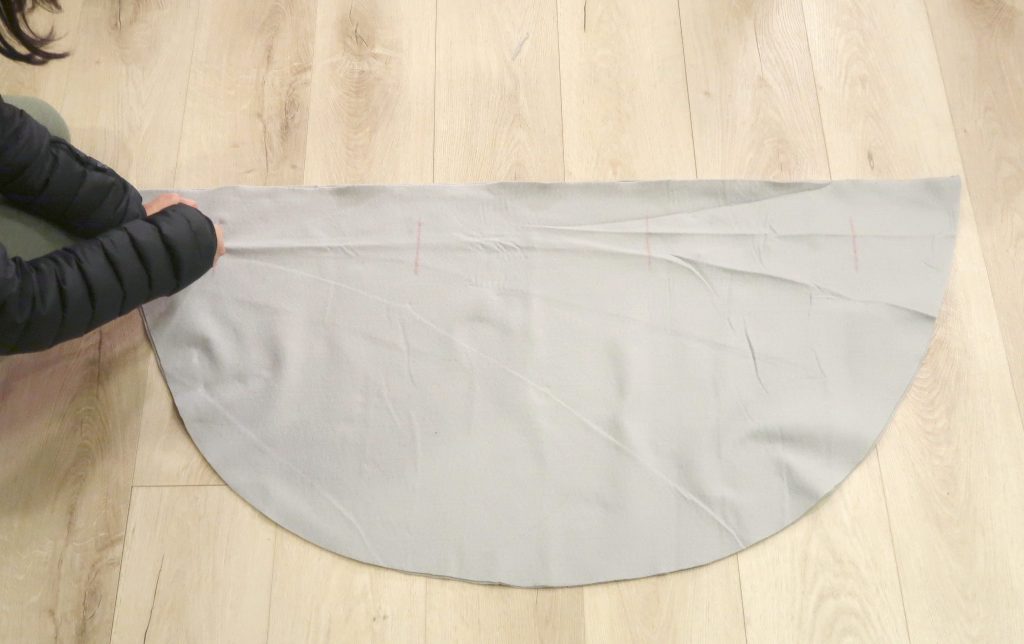
3. Mark the arm holes. The two holes close to the center will be where their arms go in, then the holes to the edge will be the opening for their hands.


4. Cut through the tip of the half circle so it becomes two pieces.

5. Cut open the arm holes.

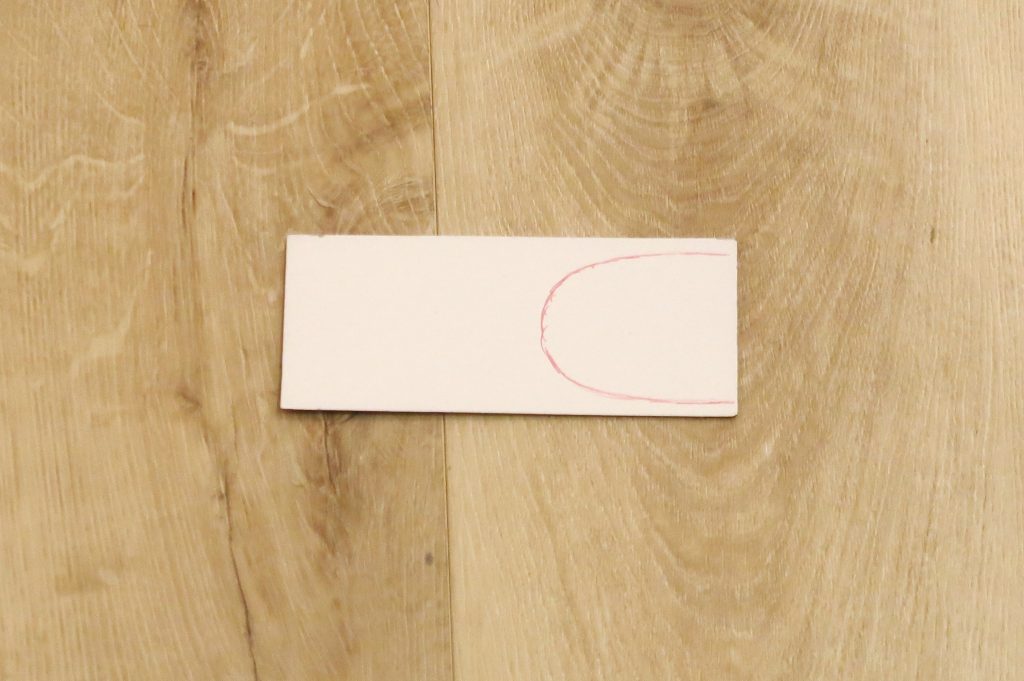
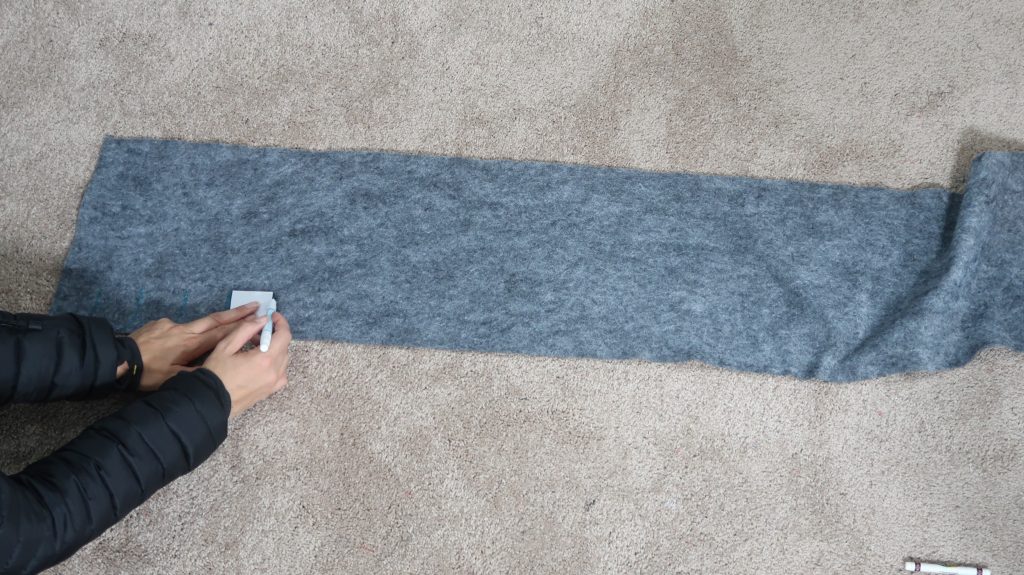
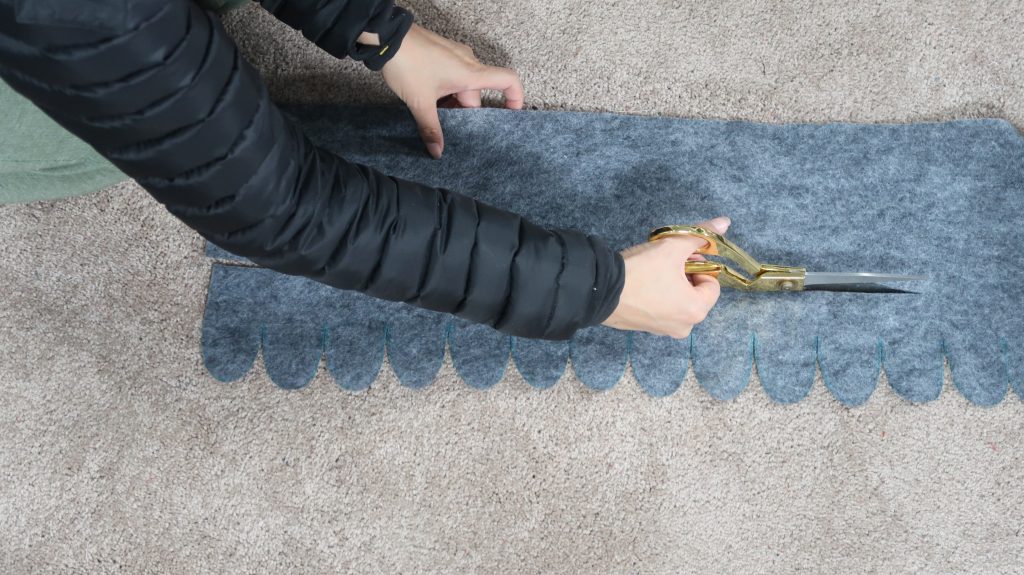
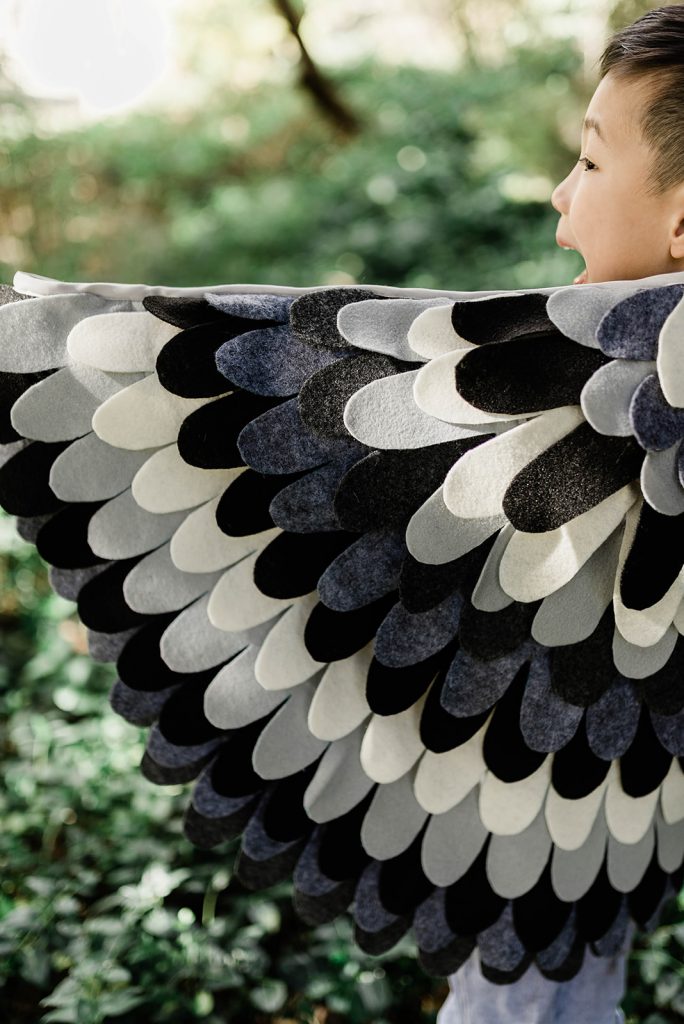
6. Sketch out a feather on a cardboard paper(I used the paper from the bias tape packaging).


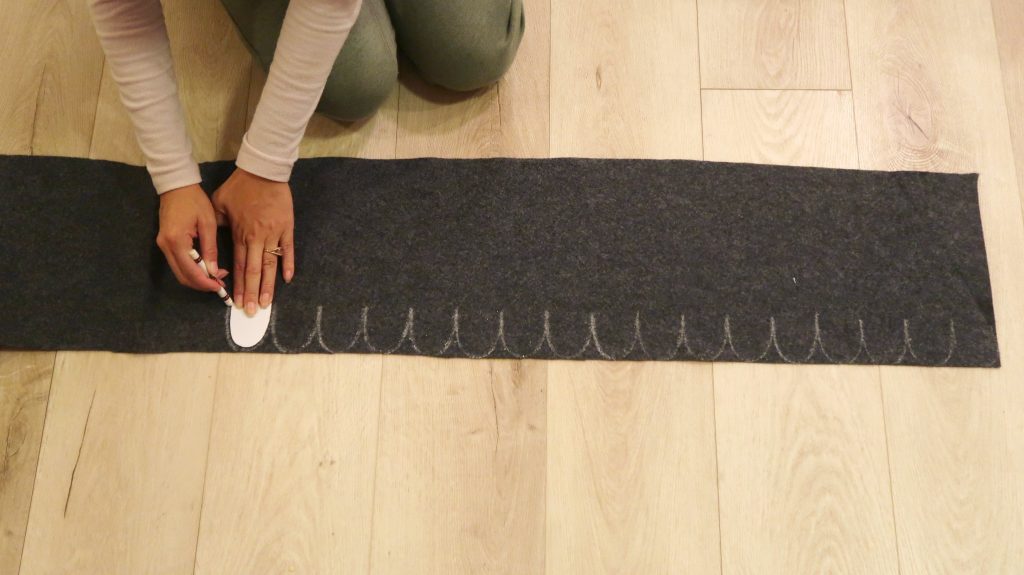
7. Trace the feather cut-out on the felt fabric. I used a white crayon to draw out the feathers.

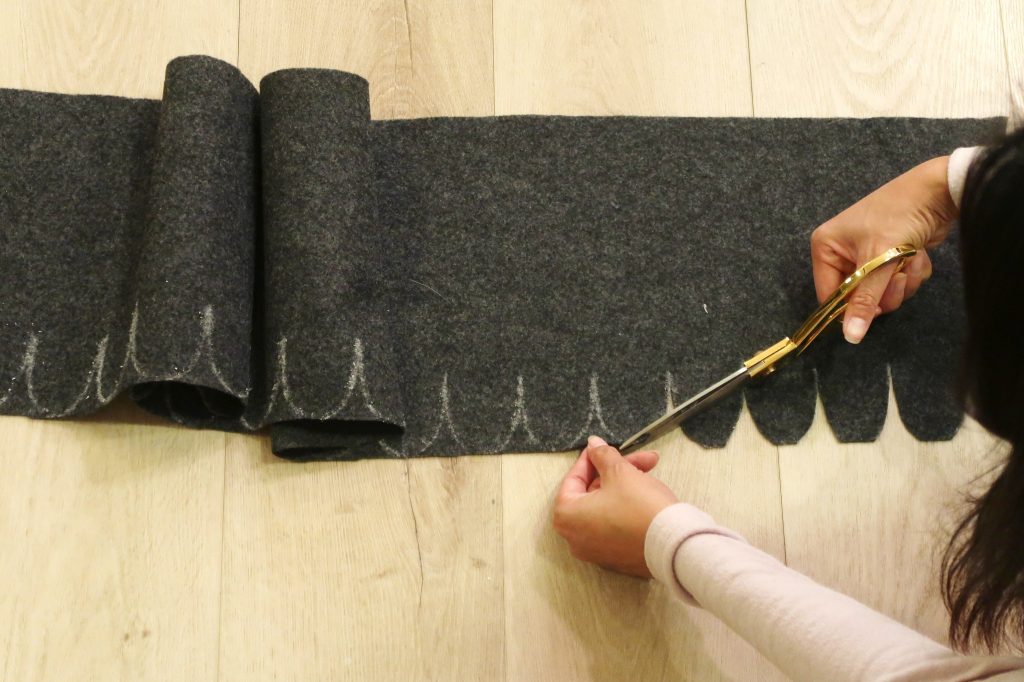
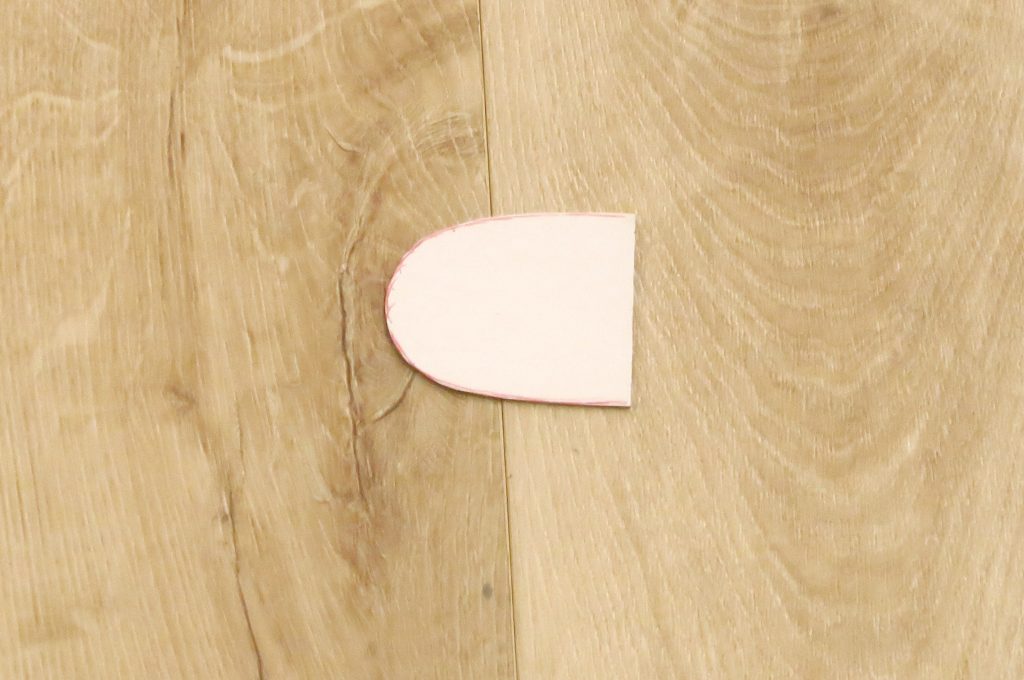
8. Cut the feather design.

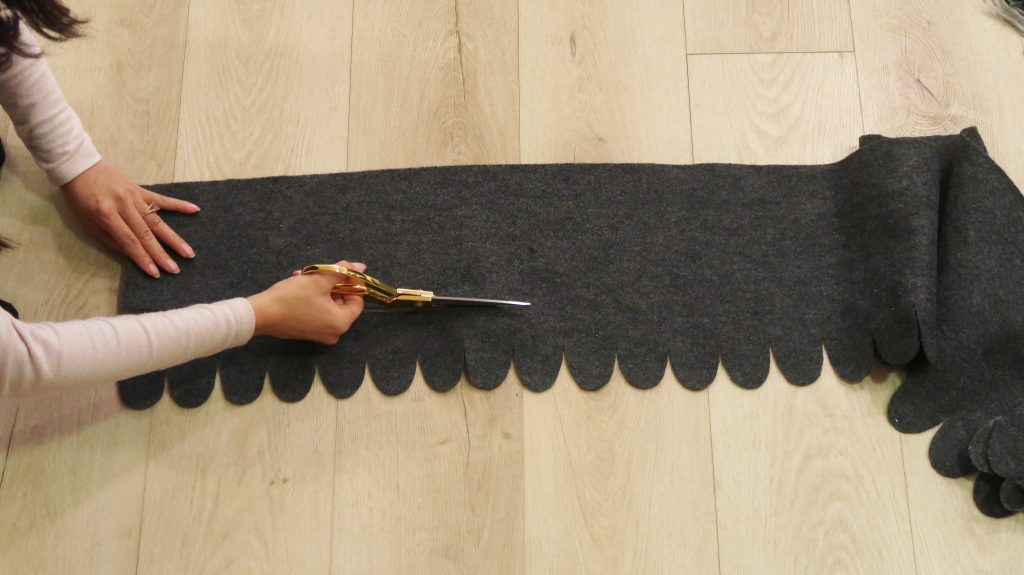
9. Leaving 2-3 inches of space on top, cut out a strip long enough to go across the half circle.


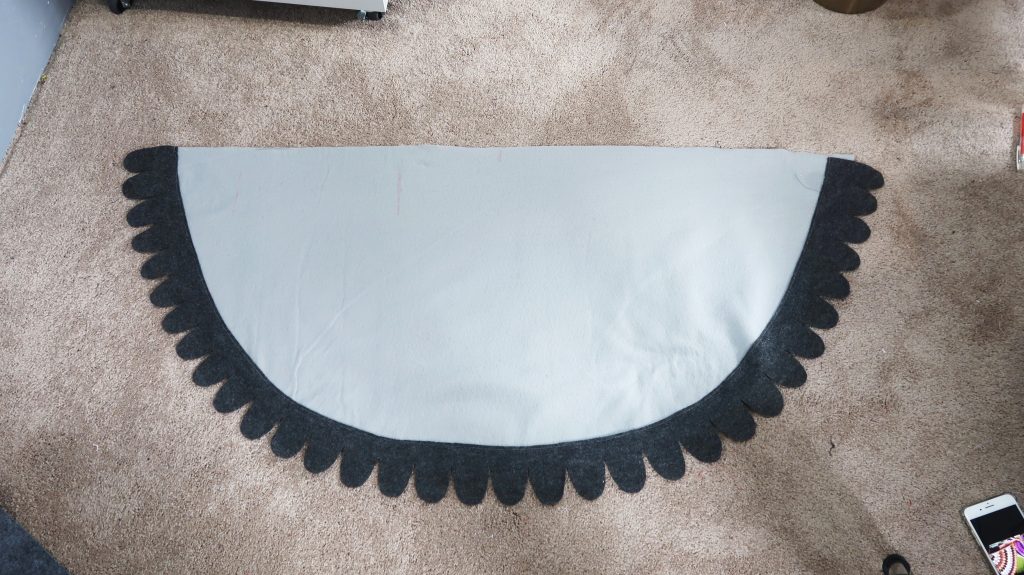
10. Sew the feather strip onto the bottom of the half circle.

11. Repeat until all the half circle is covered with feather strips.

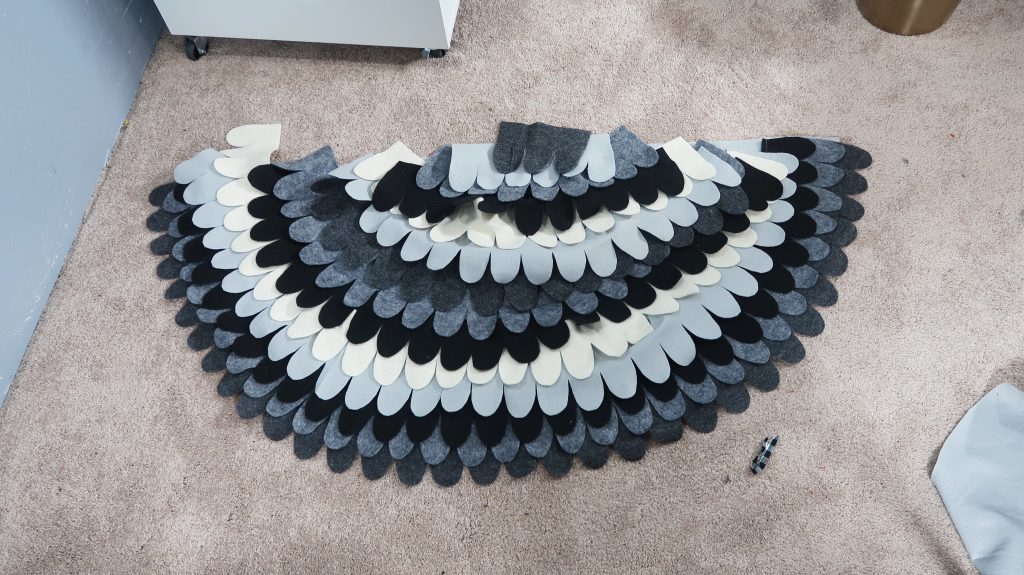
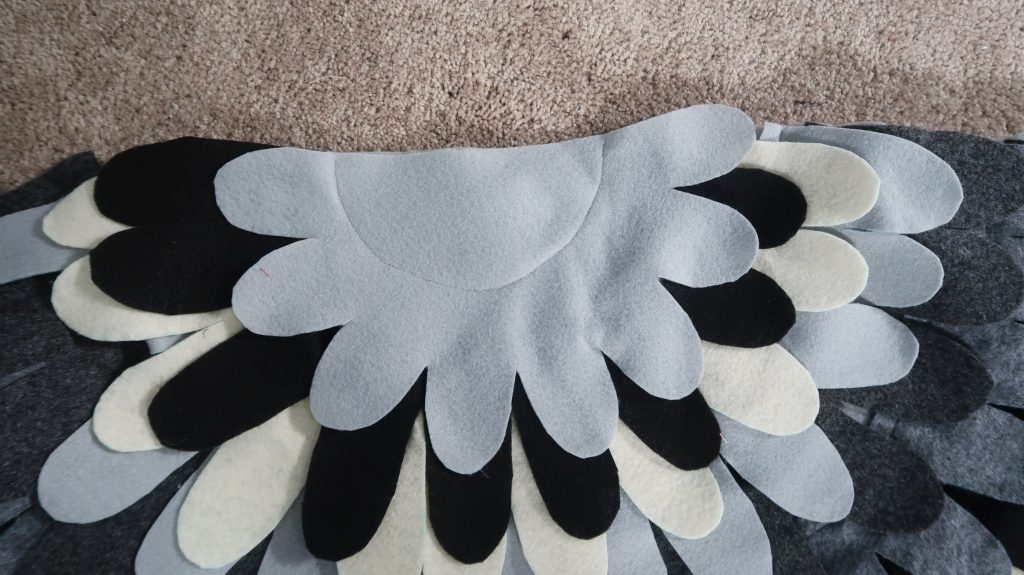
12. The very top feather strip will cover the top like this.

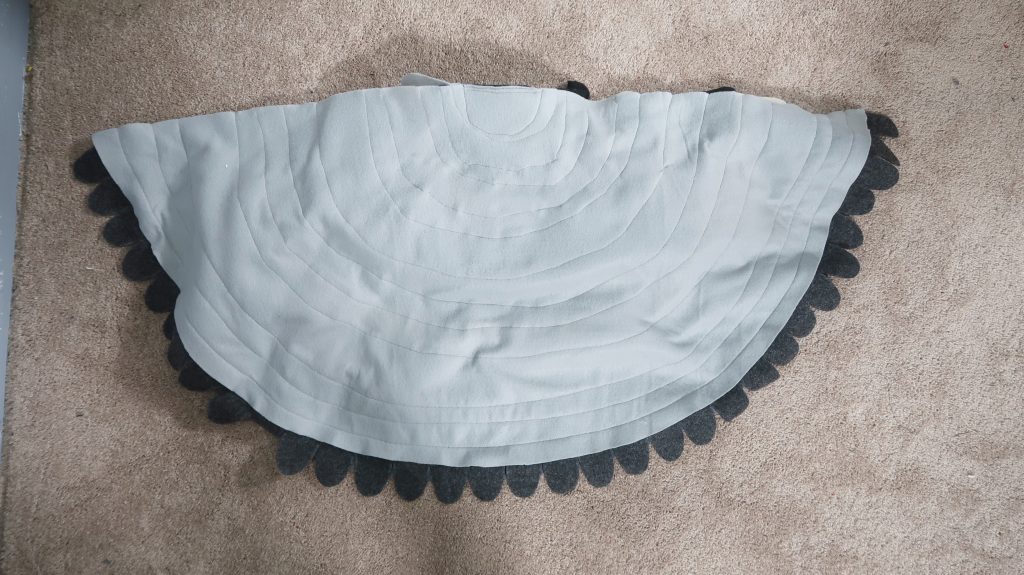
*This is how the back will look. Doesn’t look perfect but it’ll be covered so don’t stress!

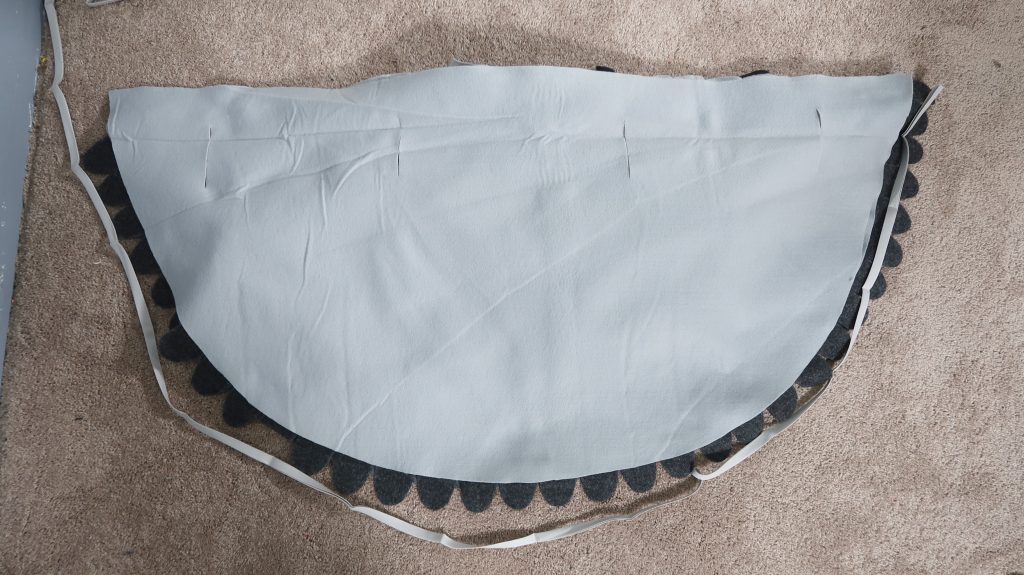
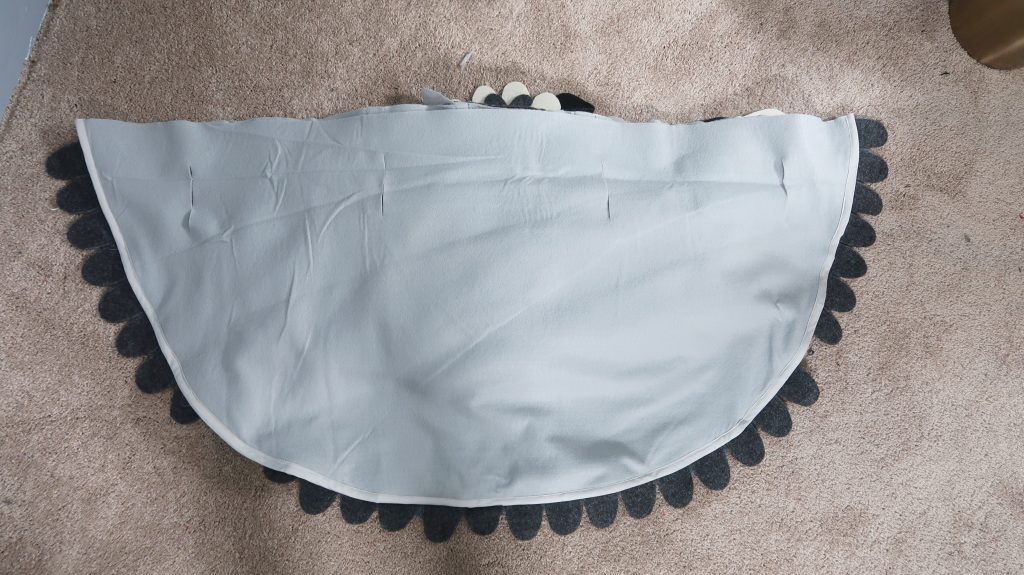
13. Cover it with the other half circle.

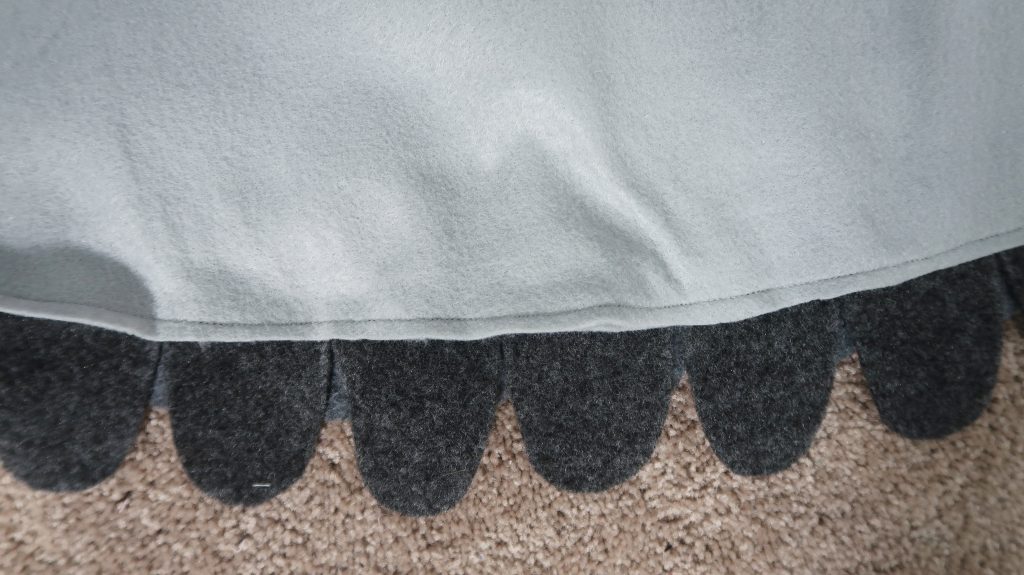
14. Sew the edges across the bottom of the half circle.

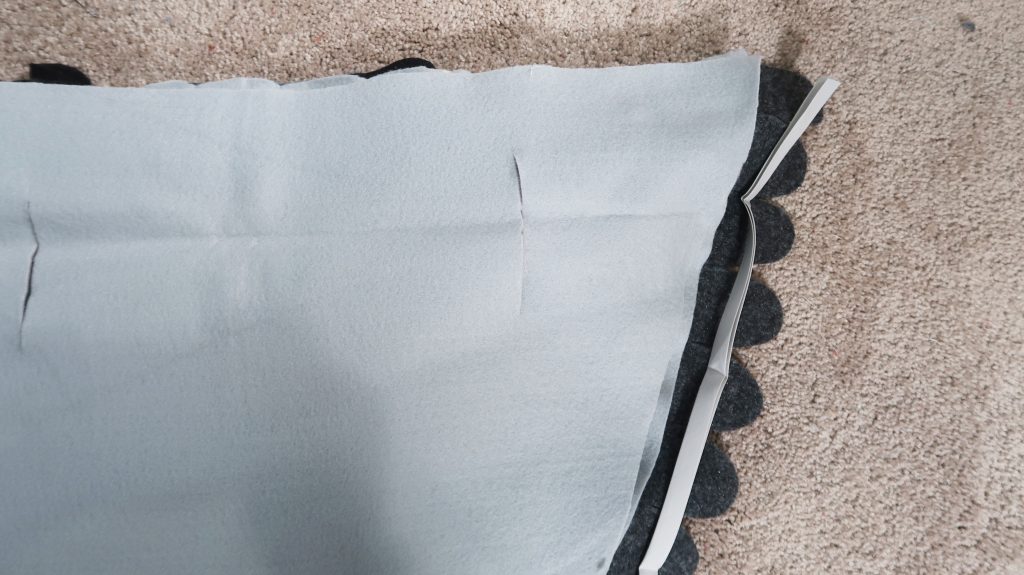
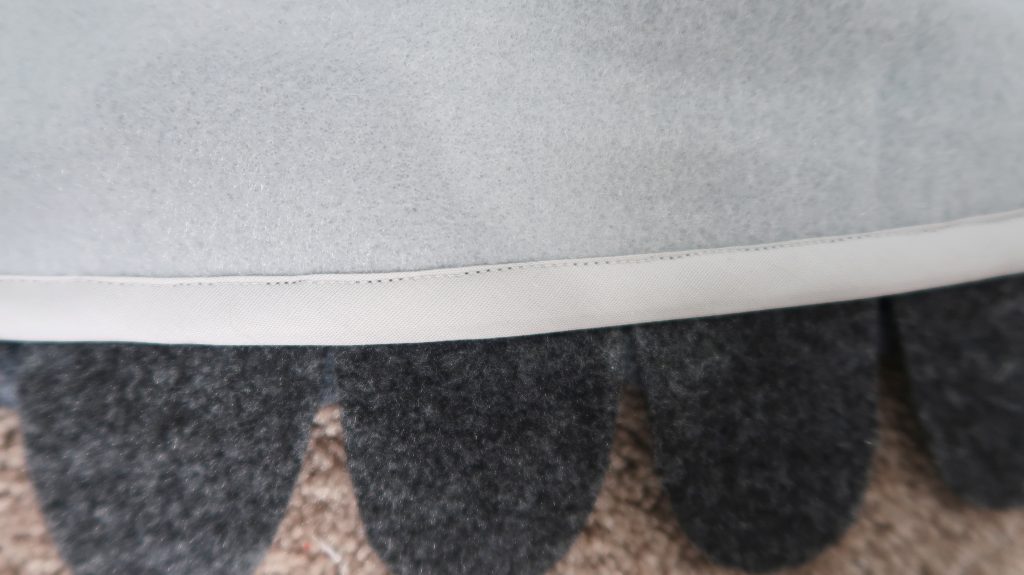
15. Sew the bias tape across the bottom of the half circle.

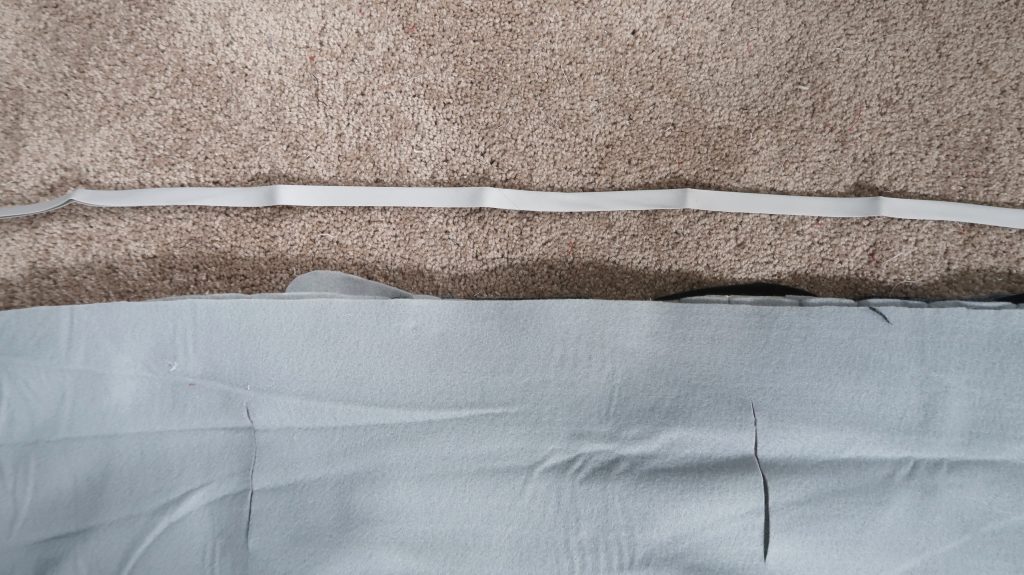
16. Sew the bias tape on the top of the half circle.

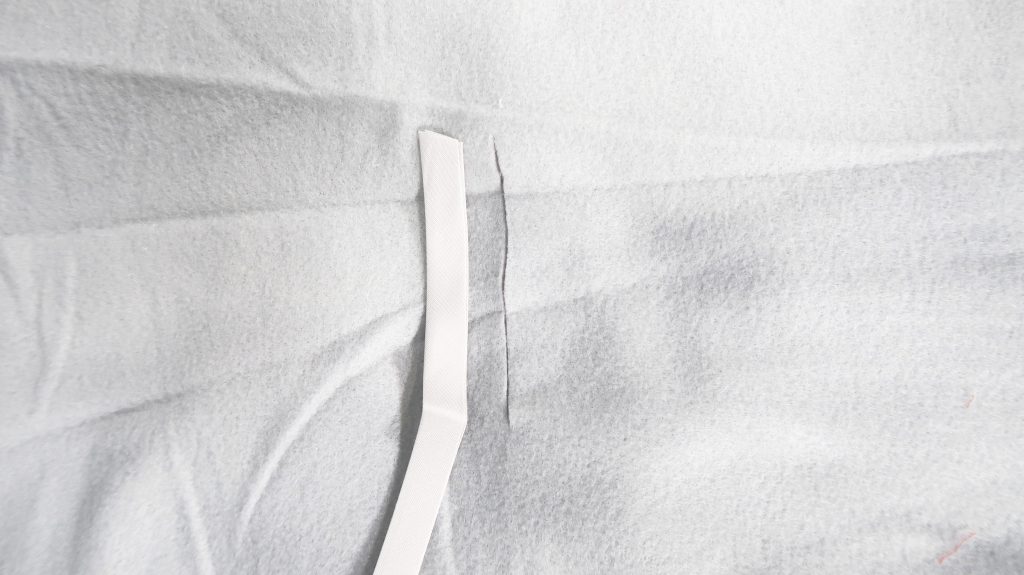
17. Sew the bias tape around the arm holes. OR you can zigzag around the hole if you find the bias tape too difficult.
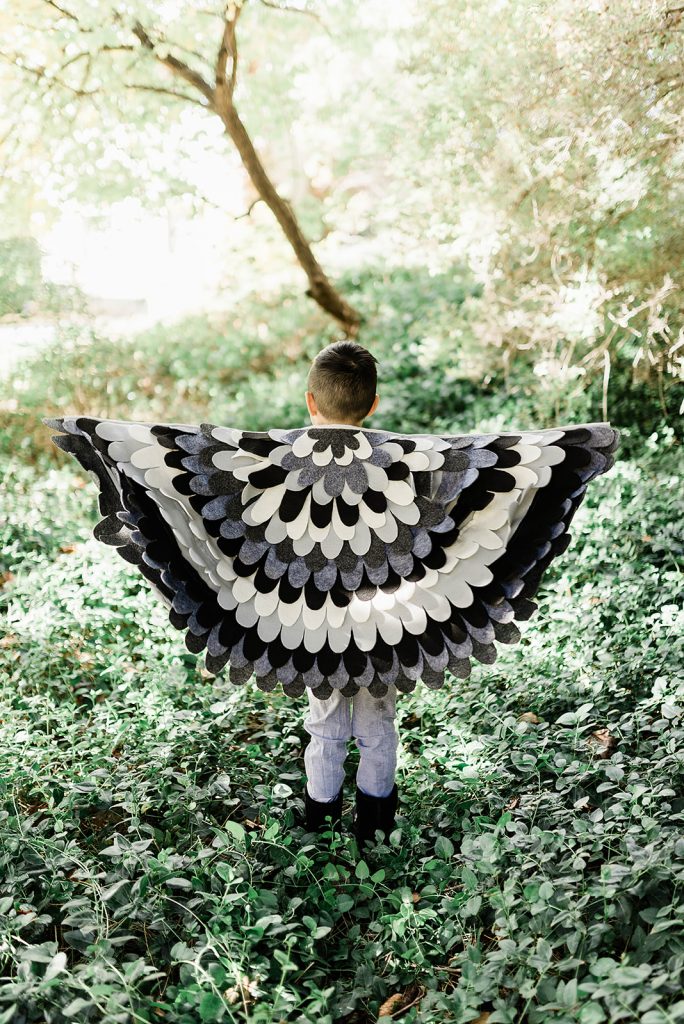
 

And you are done!

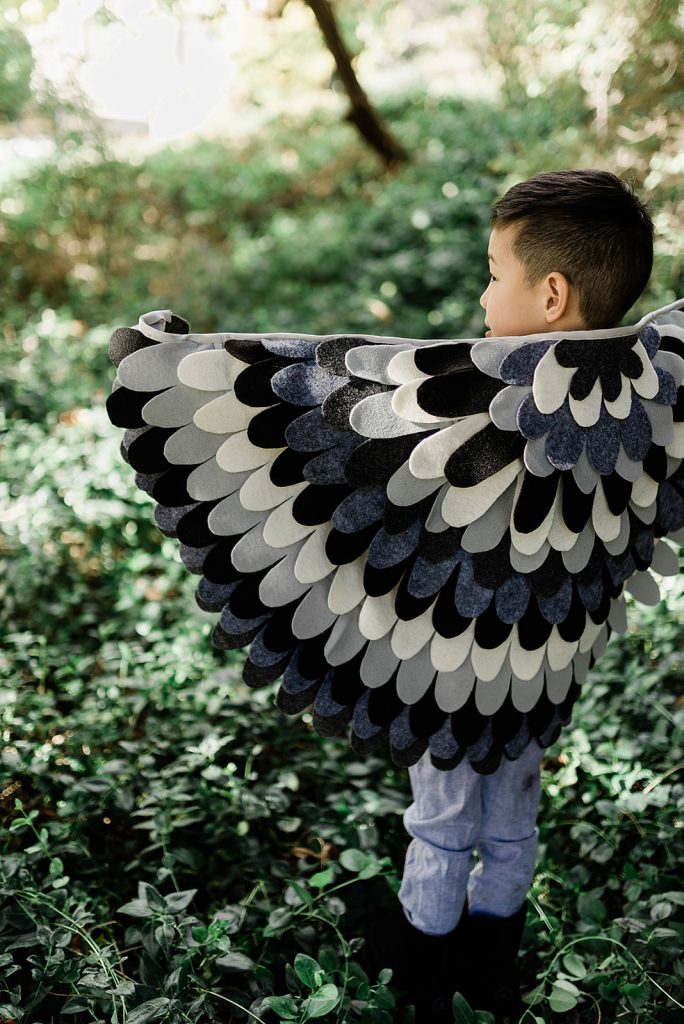
I didn’t have time to put the piping on the armholes in time for the photo shoot but you get the idea.

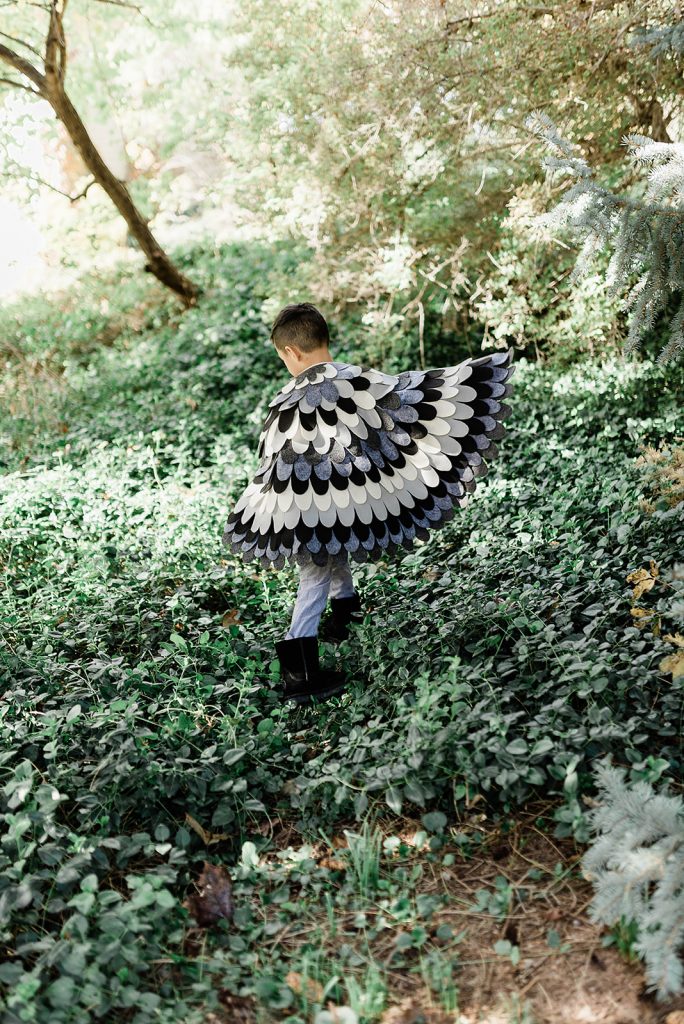
My kid loves it because it’s so easy to slip in and out of and he can hug himself in the wings like a cozy blanket!


Estimated time: 2.5 hours

Budget: $15

Skill level: A confident beginner


What do you think of these wings? Do you like the arm holes for the wings or do you prefer the elastic bands for the arms? Leave a comment below telling me your thoughts!

And if you post a project on your Instagram that’s inspired by my tutorials, tag me at @sarahtyau in both the captions and the photo to be featured on my Instagram stories!


Pin me, share me, I like to get around!

Easy felt feather wings DIY

11

TAGGED: costume DIY, halloween costume, sewing 3 Comments

Refashion Revision: Men’s Shirt to Dress Transformation

October 5, 2018~ Refashion Revision, SEWING


Make sure to follow along on Instagram at @sarahtyau to get sneak peeks and behind the scenes!

This tutorial will be up on my YouTube channel soon, make sure you’re subscribed to be notified!


Men’s Shirt to Dress Transformation


Men's shirt refashion DIY
Make this fall style flannel dress from a large men’s shirt in this DIY transformation.


This DIY was created on behalf of JOANN, all thoughts, ideas and writing are my own.


I’ve had this flannel men’s shirt in my to-sew stash for awhile now. I had initially planned on using this, along with two other flannel men’s shirts and combine it to make a dress for me, but my daughter really liked this fabric and how soft it felt, and asked me if I could make something for her. She’s now almost too tall for me to make a dress for her out of a men’s shirt so I was a little nervous it would be too short for her but the length turned out to be perfect! I probably only have about a year left to be able to make dresses for her from a men’s shirt so I should do a lot more of men’s shirt refashions, don’t you think?

If you want to make one just like this but can’t find a men’s shirt in this fabric, JOANN has this exact flannel fabric in white buffalo check and other great selections of flannel fabrics in a variety of patterns.


So let’s get this tutorial started! Watch the video or scroll down for written instructions.


Supplies

Men’s shirt or 1 yard of flannel fabric

sewing machine

scissors

thread

seam ripper

7 buttons

hand needle 


BEFORE


Instructions

Transform men's shirt 
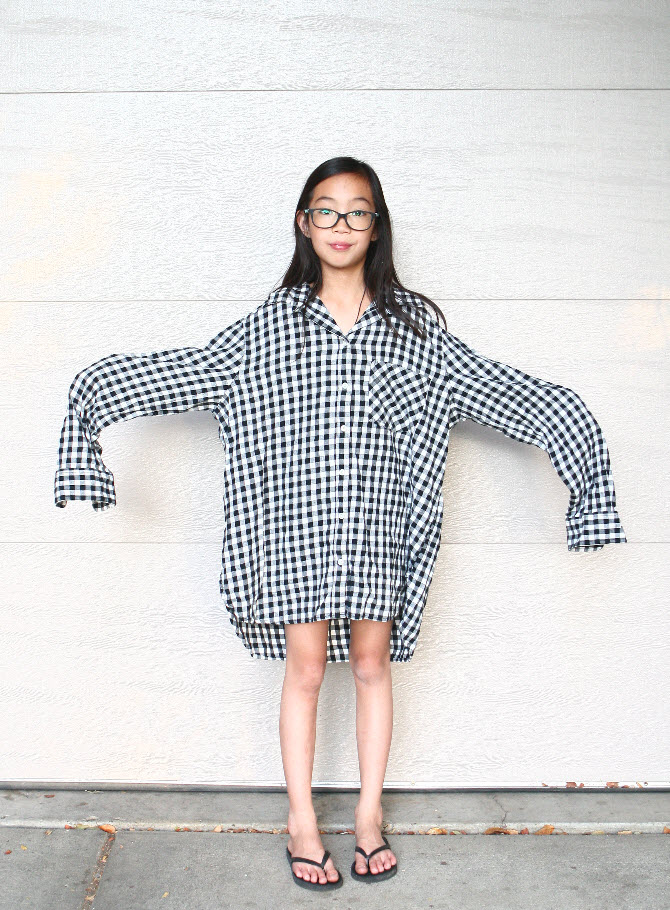
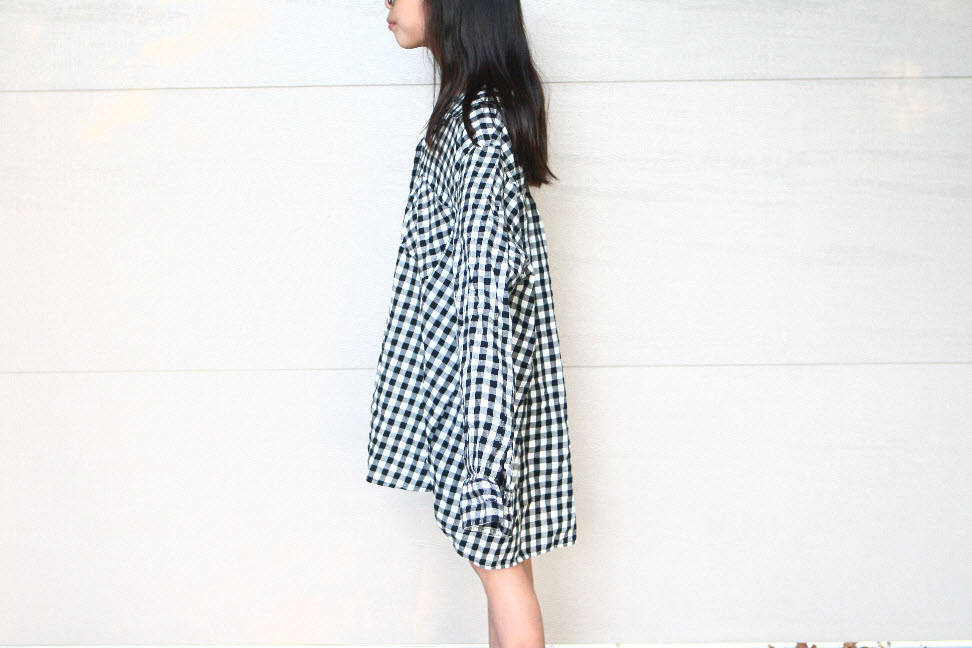
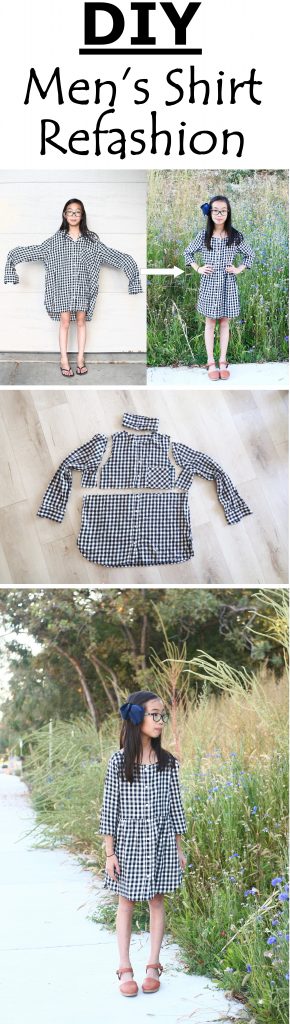
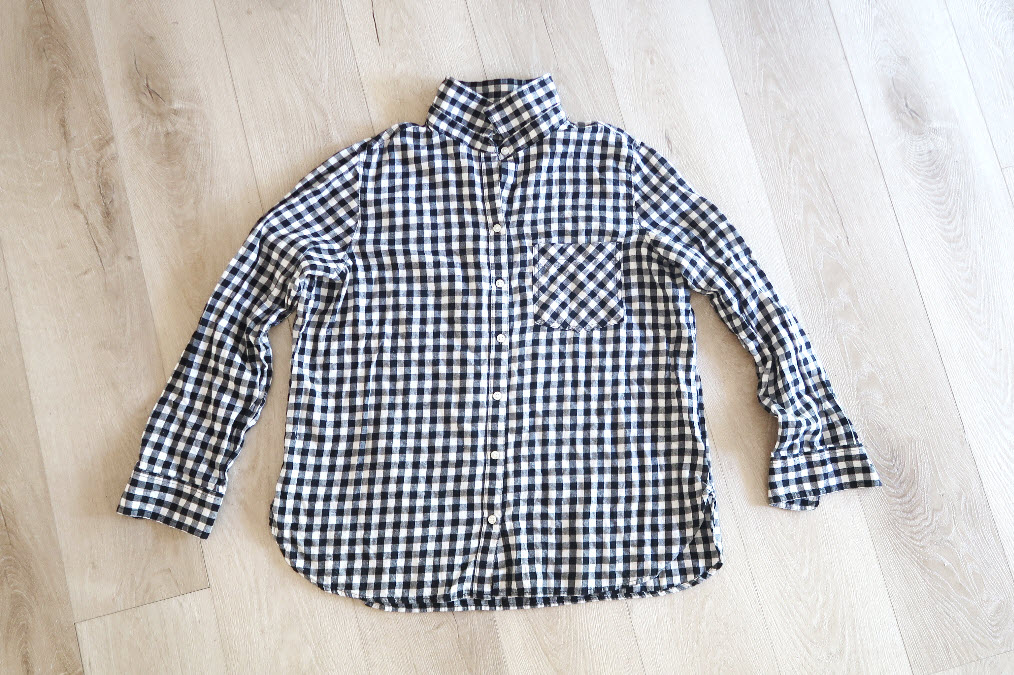
1. Lay out the shirt on a flat surface. Smooth out any wrinkles or folds and make sure the front and the back are aligned.


Transform men's shirt 
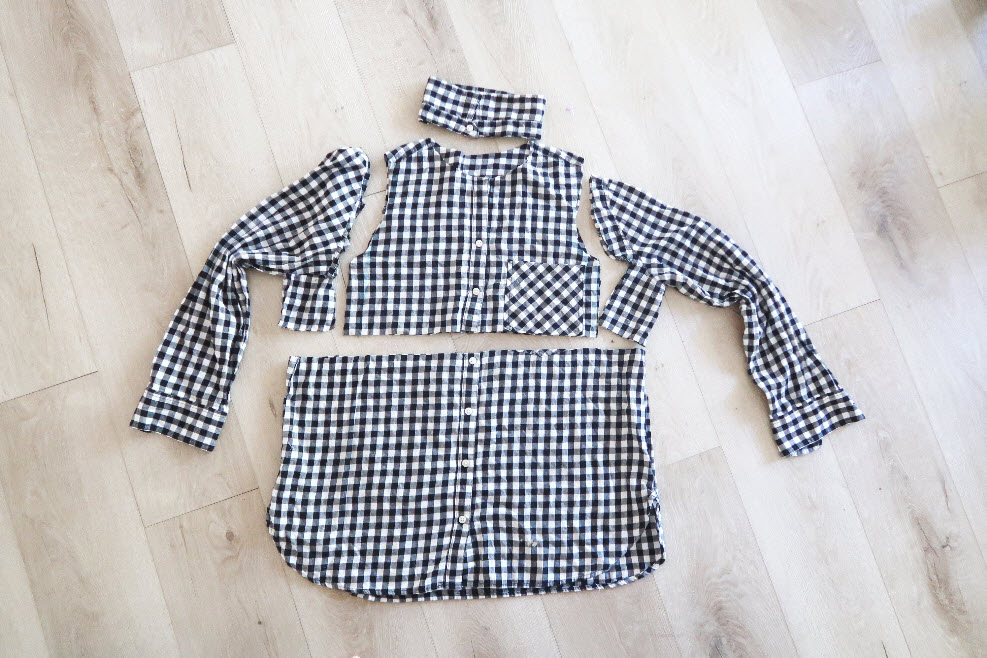
2. Cut the bodice and the skirt of the dress. Using a seam ripper, take the pocket off.


Transform men's shirt 
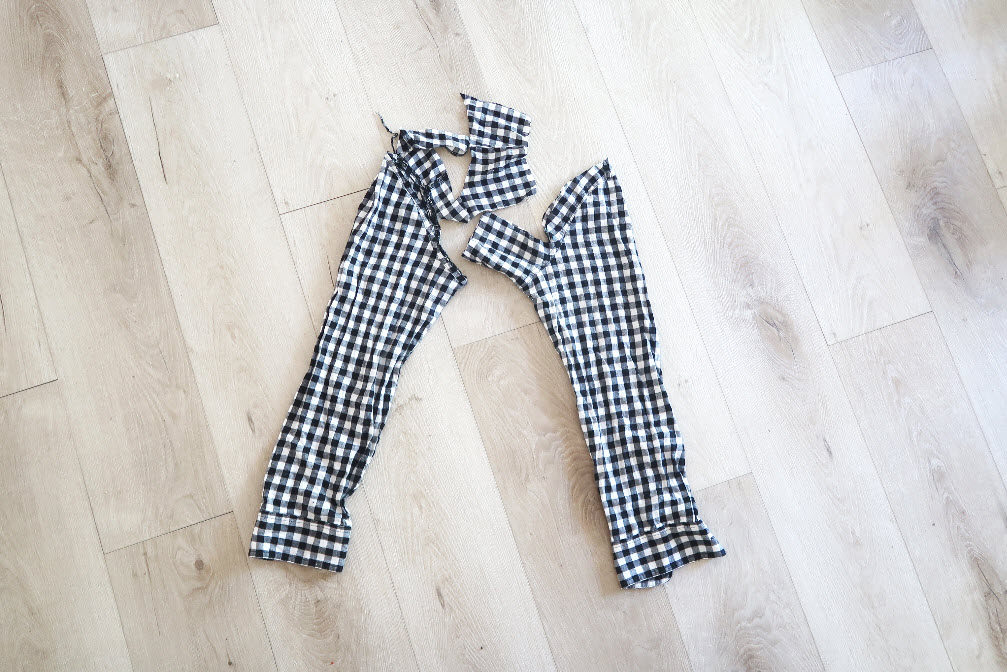
3. Cut a smaller size sleeves out of the original sleeves.


Transform men's shirt 
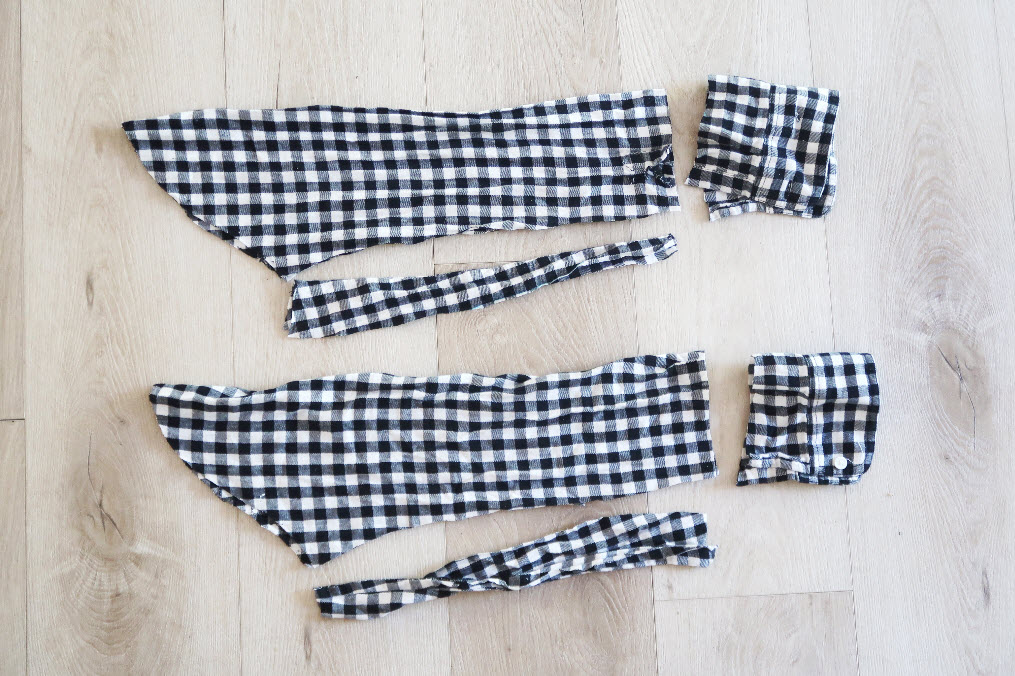
4. It will look like this.


Transform men's shirt 
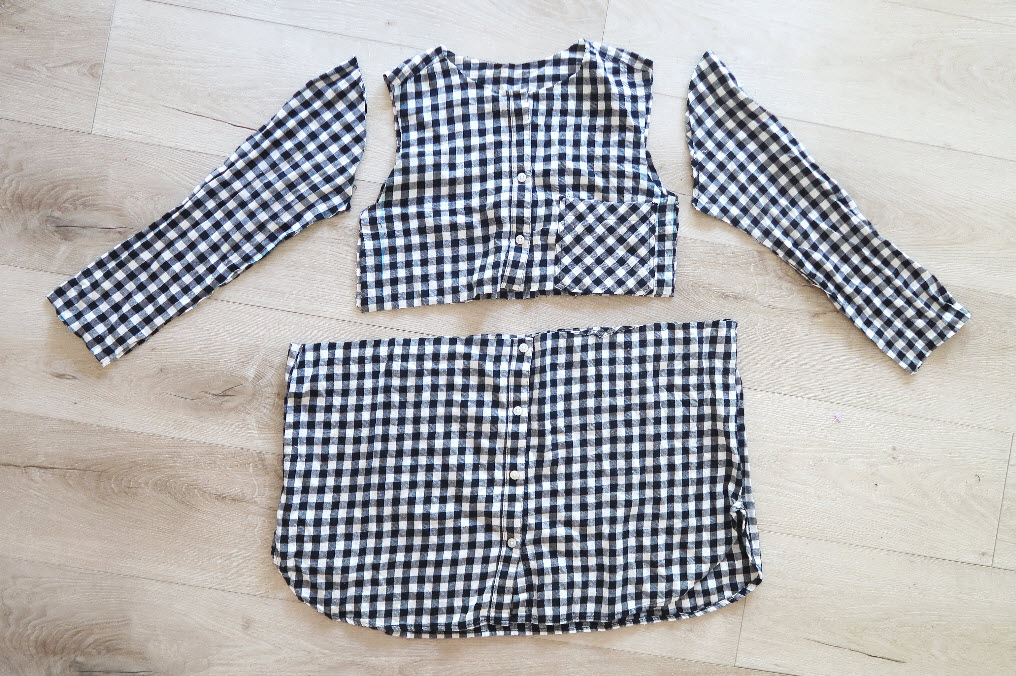
5. Now that we have the bodice, skirt and the sleeves, we are ready to sew!


Transform men's shirt 
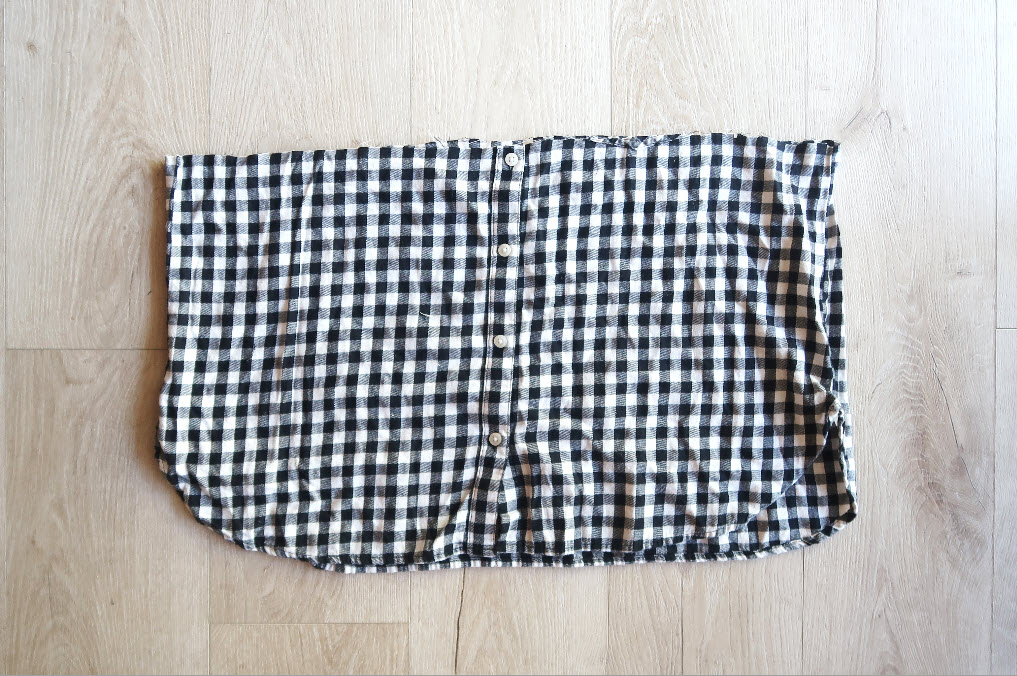
6. Using stitch length 5, sew all the way around the tip of the skirt.


Transform men's shirt 
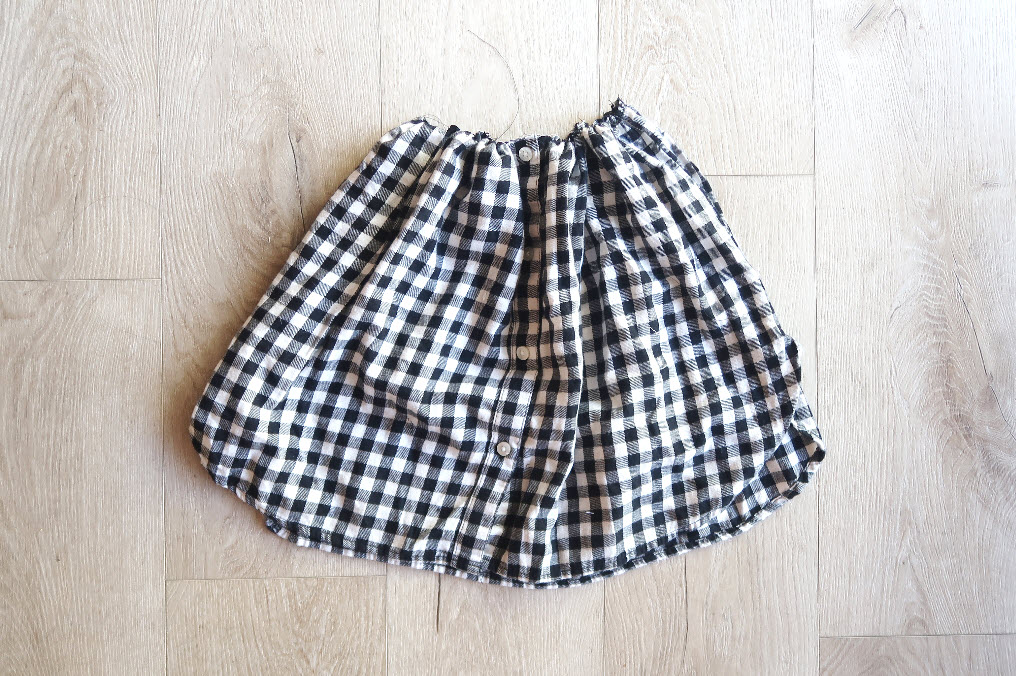
7. Gather the skirt by pulling one side of the thread.

8. Sew the skirt and the sleeves back onto the bodice and hem the edge of the sleeves and the neckline.

Then you are finished!


BEFORE/AFTER

Men's shirt refashion DIY

Men's shirt refashion DIY

Men's shirt refashion DIY

Men's shirt refashion DIY

Men's shirt refashion DIY

Men's shirt refashion DIY

Men's shirt refashion DIY


Estimated time: 1.5 hours

Budget: $5

Skill level: A confident beginner


If you post a project on your Instagram that’s inspired by my tutorials,

tag me at @sarahtyau in the captions and the photo on Instagram to be featured on my Instagram stories!


Men's shirt refashion DIY

Men's shirt refashion DIY

Men's shirt refashion DIY

Men's shirt refashion DIY

Men's shirt refashion DIY

Men's shirt refashion DIY

Men's shirt refashion DIY


Pin me, share me, I like to get around!Men's shirt refashion DIY


8

TAGGED: refashion revision, sewing 4 Comments

BUZZFEED

August 22, 2018~ PRESS


I am so excited that I was featured on Buzzfeed! I have been featured on their site 6 times in the past but it was never a dedicated post about me, usually my one article of DIY refashion was included in articles such as “25 Ways these Anthrologie knock-offs blew our socks off” and so forth.


Click the photo or read the article here “This Woman’s Upcycled Wardrobe Is So Dang Inspring”. Thank you so much Buzzfeed for featuring my work!


This Woman's Upcycled Wardrobe Is So Dang Inspiring

0

TAGGED: PRESS Leave a Comment

FRONT COVER OF ALTERED COUTURE

August 4, 2018~ SEWING


This was back in 2015 but I just realized I never posted about it! I posted on Instagram but I want to also document it here for my own journaling.

Remember when I was so surprised to find my work on the front cover of Altered Couture back in 2011 for their Spring issue? I was on the front cover again for their Spring 2015 issue!


altered couture, seamstress, sewing magazine, magazine feature, sarah tyau

altered couture, seamstress, sewing magazine, magazine feature, sarah tyaualtered couture, seamstress, sewing magazine, magazine feature, sarah tyau

They featured my Tangerine Flicker Dress DIY and Thrift Find to a Peplum Dress DIY.  My work was featured on 8 pages total. Thank you so much for the feature, Altered Couture!

2

Leave a Comment

HOW TO HAVE THICK SKIN Part Two

July 31, 2018~ SHARING MY HEART WITH YOU


Read part one here first before reading part two.


Thick Skin Part Two

sunday best, thick skin, how to have thick skin, asian family, cute asian family, utah family, lds family, mormons

 Even though they protest our #tyausunday photos by wearing paper bags over their heads, I know they’ll thank me one day.


Last week I got a mean comment on a FB video that featured my work, comparing me to another seamstress and how she was way better than I was. As an empath, when I read comments I feel that person’s intent & energy when they wrote it so it affects me initially.

My first reaction was to comment back and say something sassy but reacting is never a good idea. It’s only when you don’t fight the emotion you feel by getting defensive or attacking back, but sit on it instead and accepting the unpleasant emotion, that it then turns into wisdom. Then you can act with that wisdom that you gained, instead of reacting which you most likely will always regret saying or doing.

So as I accepted the present as is, I realized my sewing skills do not define who I am or my value. My level of sewing skills is not stagnant. If I’m not that good, I have the potential to get better! I can take lessons and practice more to improve so there’s no offense taken! My sewing skills are separate from who I am or my worth.

It’s easy to identify ourselves and judge our worth by where we are at in our present moment. But God looks at us and values us by our full potential over the course of our whole life, not just this life but life beyond. And we all have the same, exact potential. That is why we are all truly equal in worth and value.

Part 3 anyone? I have so much more to say on this subject!

8

Leave a Comment

  • « Previous Page
  • 1
  • 2
  • 3
  • 4
  • 5
  • …
  • 9
  • Next Page »
cutmypic
Hello! My name is Sarah and I am so happy to have you here! Here you'll find DIY sewing, DIY home building & decor, honest and vulnerable posts of motherhood and snippets of my family. We are building our dream house and will update you regularly on our whole process from start to finish and I am also starting a mother-daughter sewing series. So I hope you stay awhile!

BLOG ARCHIVES

SEARCH

JOIN THE LIST

- THEME BY ECLAIR DESIGNS - Web Hosting By RFE Hosting -