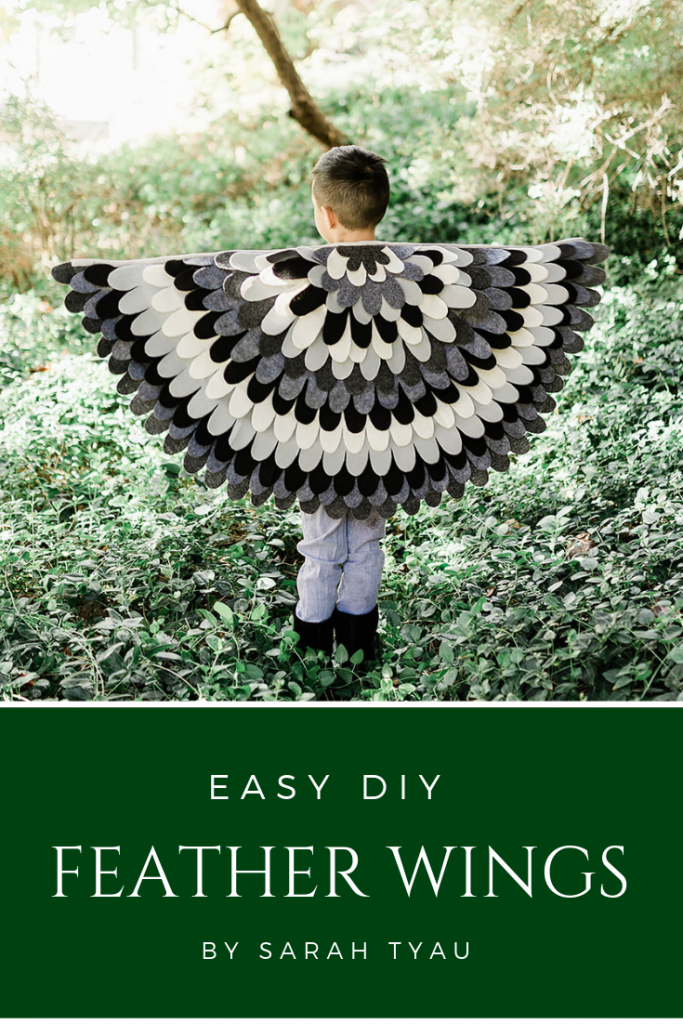
Easy Felt Feather Wing Costume Tutorial
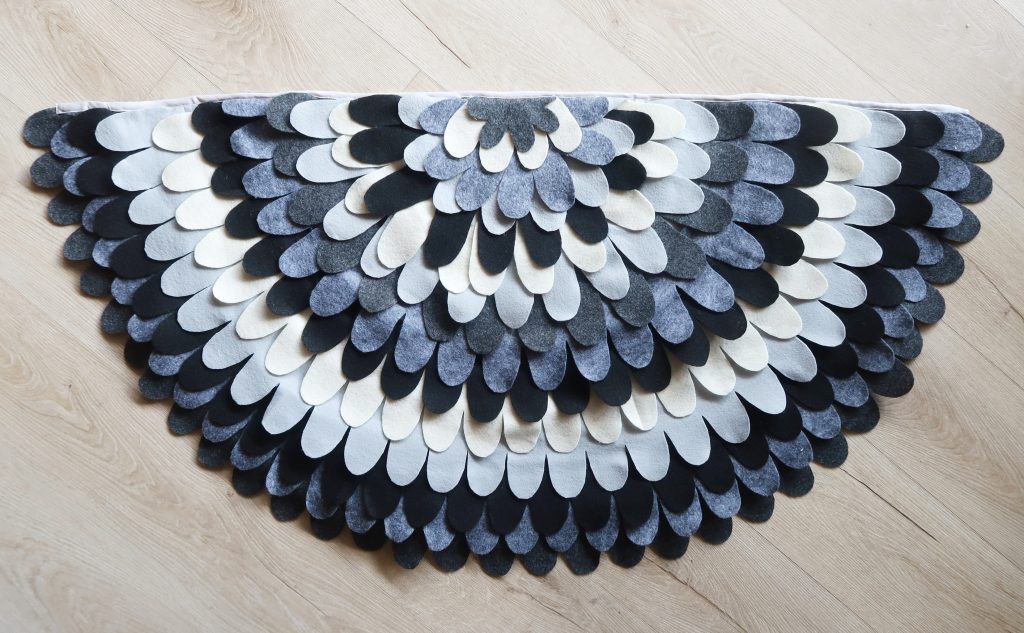
Learn how to make this beautiful feather wing costume in this easy, DIY tutorial.
This DIY was created on behalf of JOANN, all thoughts, ideas and writing are my own.
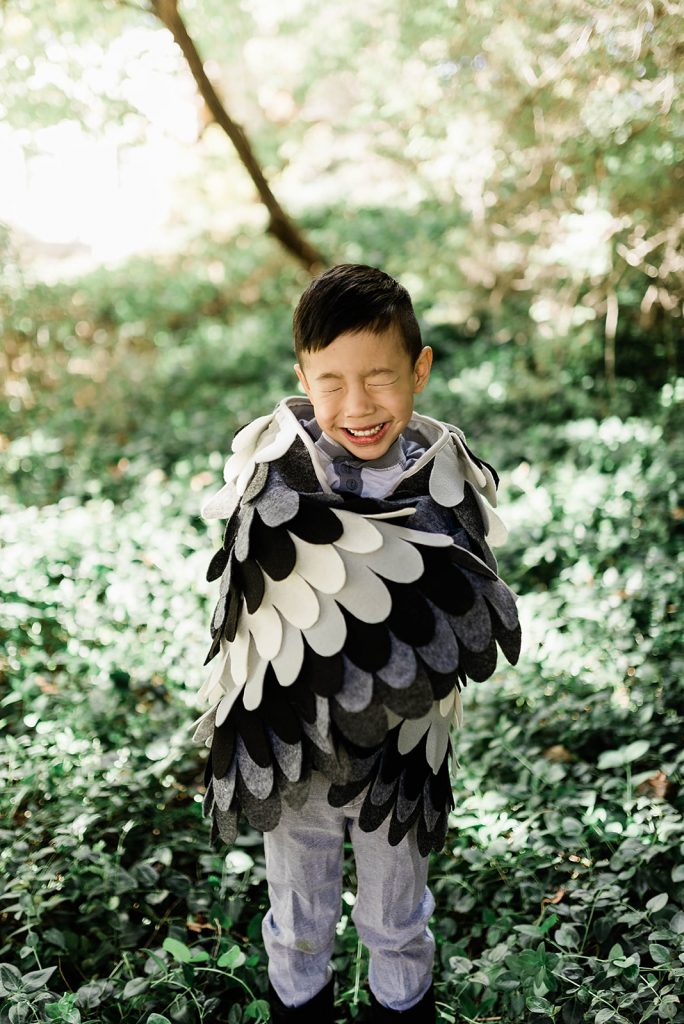
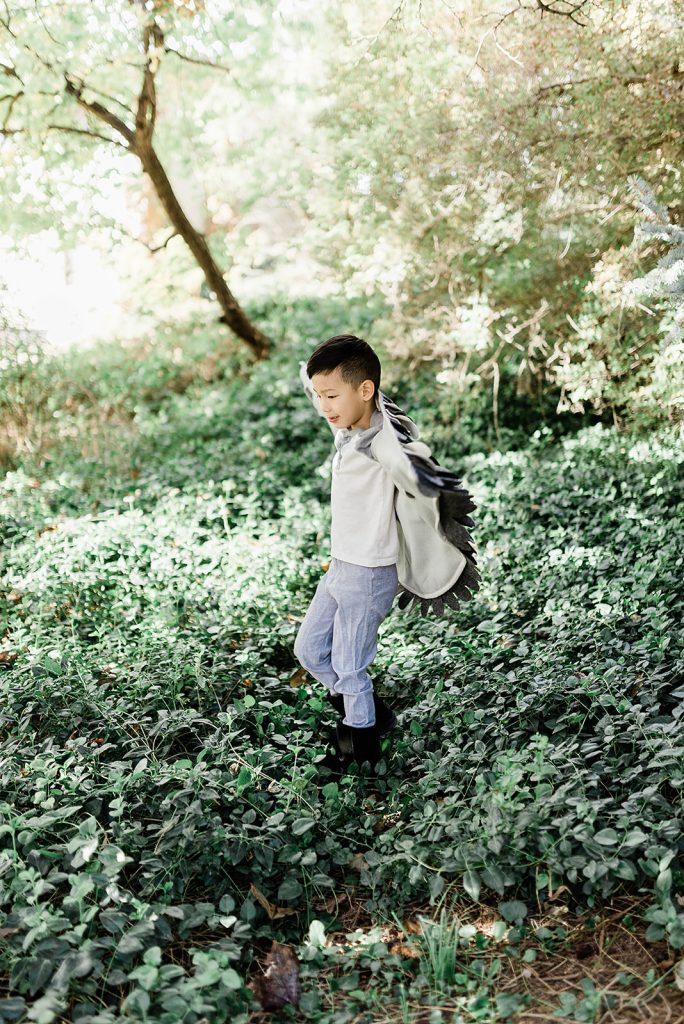
Kids are going to love these feather wings, made from felt fabric from JOANN! These wings don’t have elastic bands but instead has arm holes your little ones can easily slip in and out of, helping them to feel more independent and it also feels like a big blanket wrapped around them!
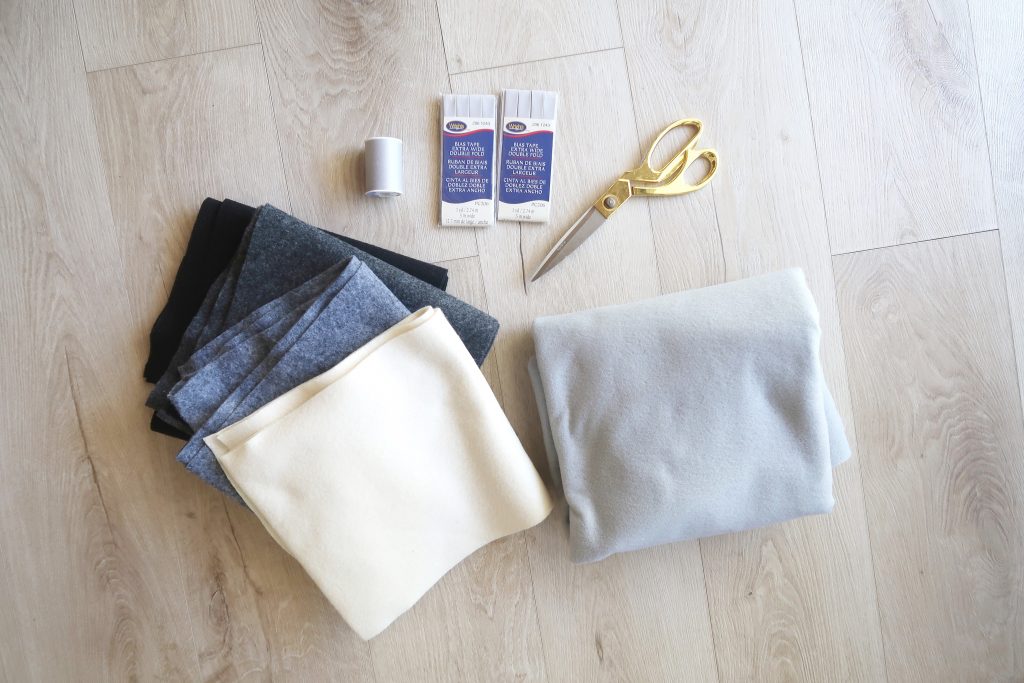
Supplies:
2 yards of base felt
2 pkg. bias tape
Instructions:
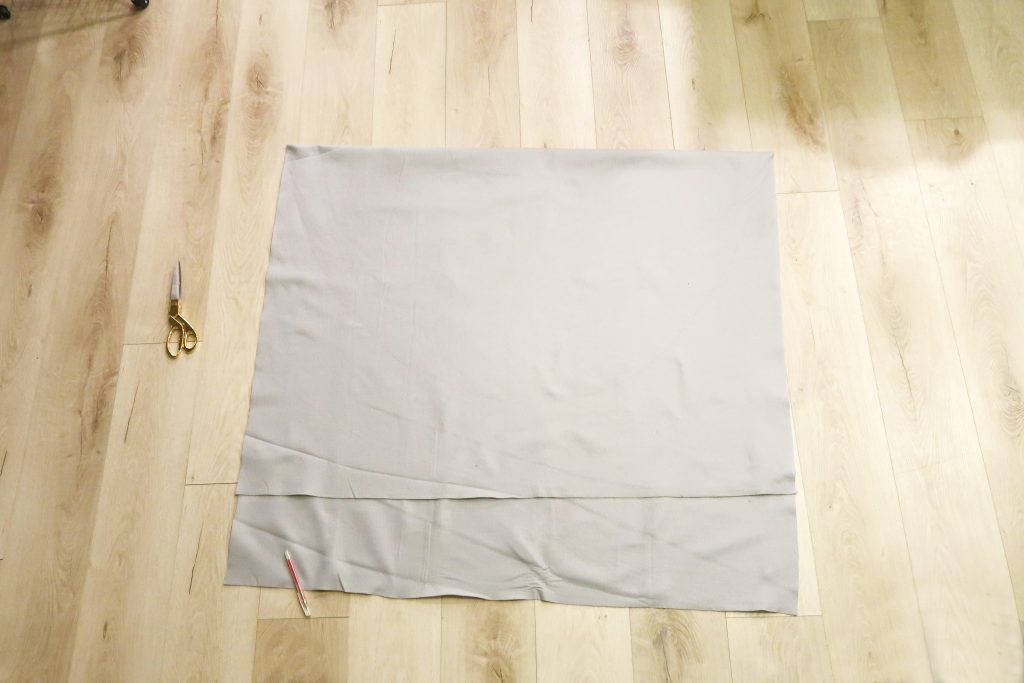
1. Lay out the 2 yard fabric, folded in half and draw out half a circle.
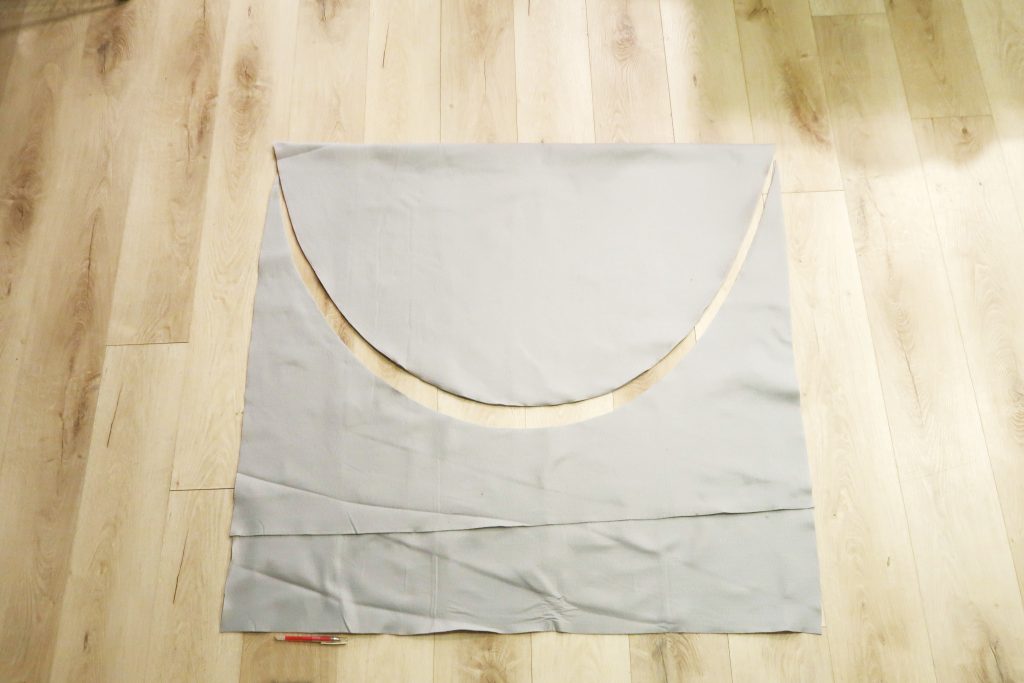
2. Cut the fabric.
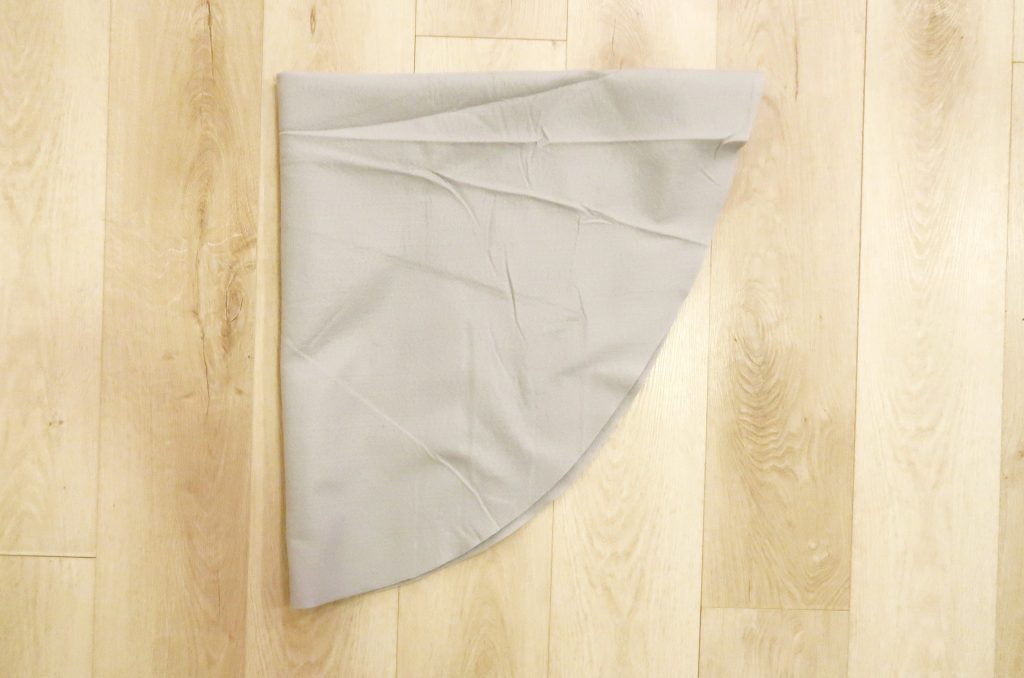
*you can fold it in half to make sure both sides are the same.
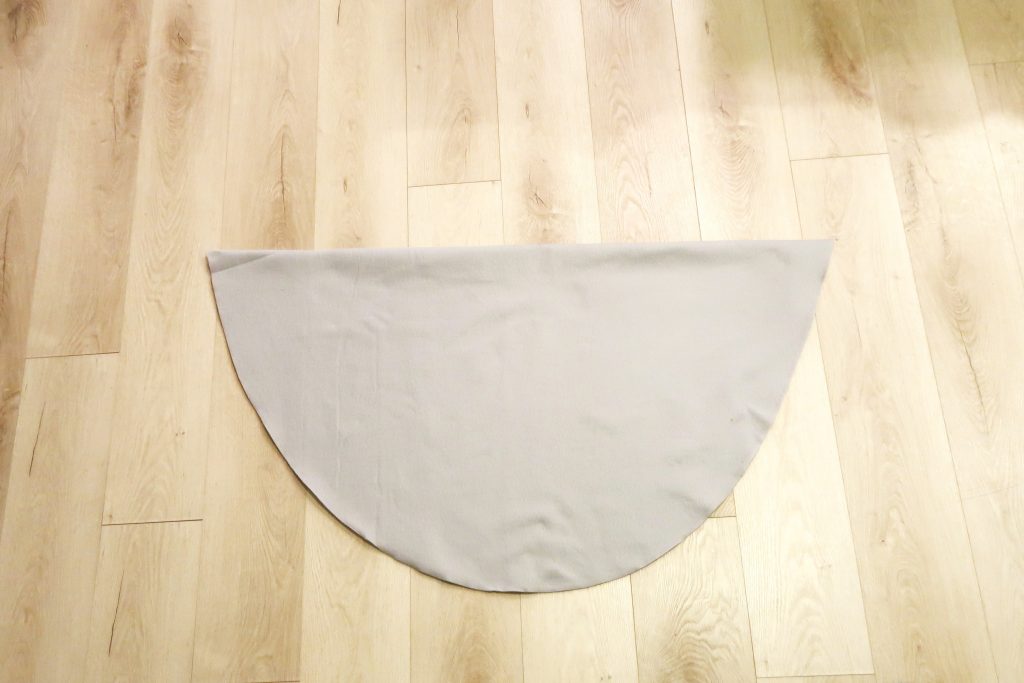
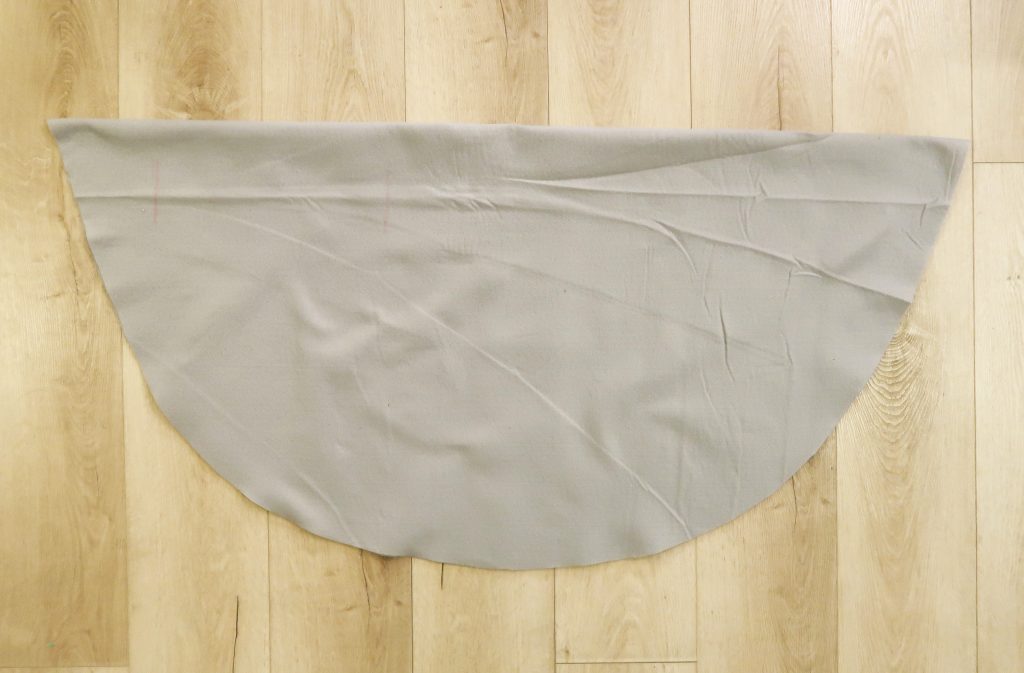
3. Mark the arm holes. The two holes close to the center will be where their arms go in, then the holes to the edge will be the opening for their hands.
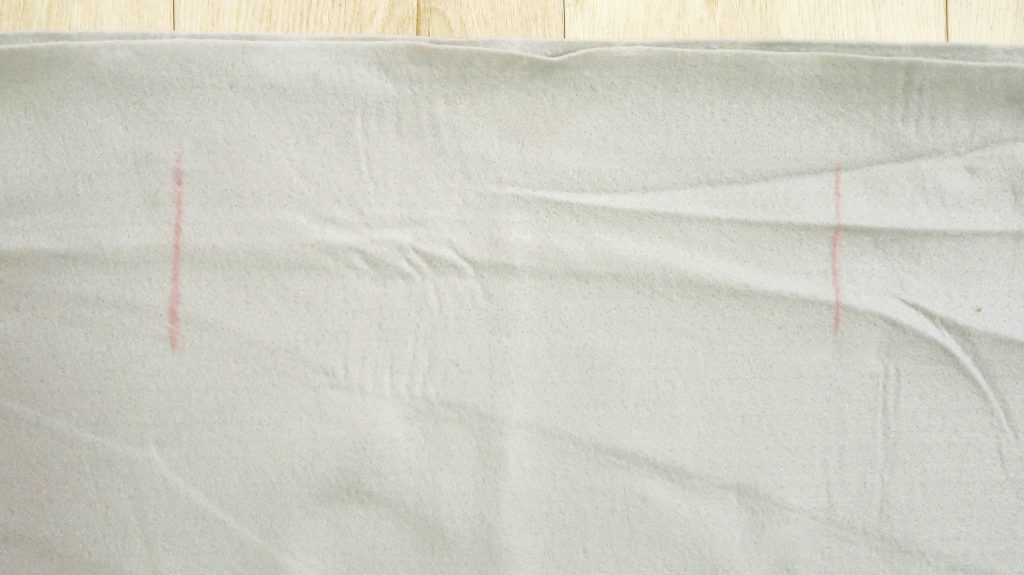
4. Cut through the tip of the half circle so it becomes two pieces.
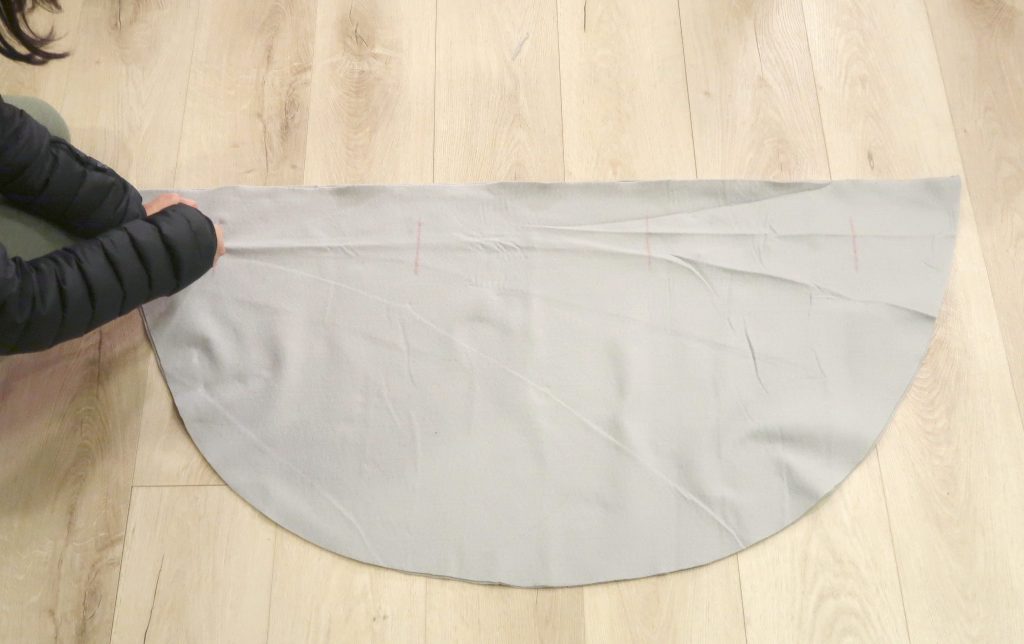
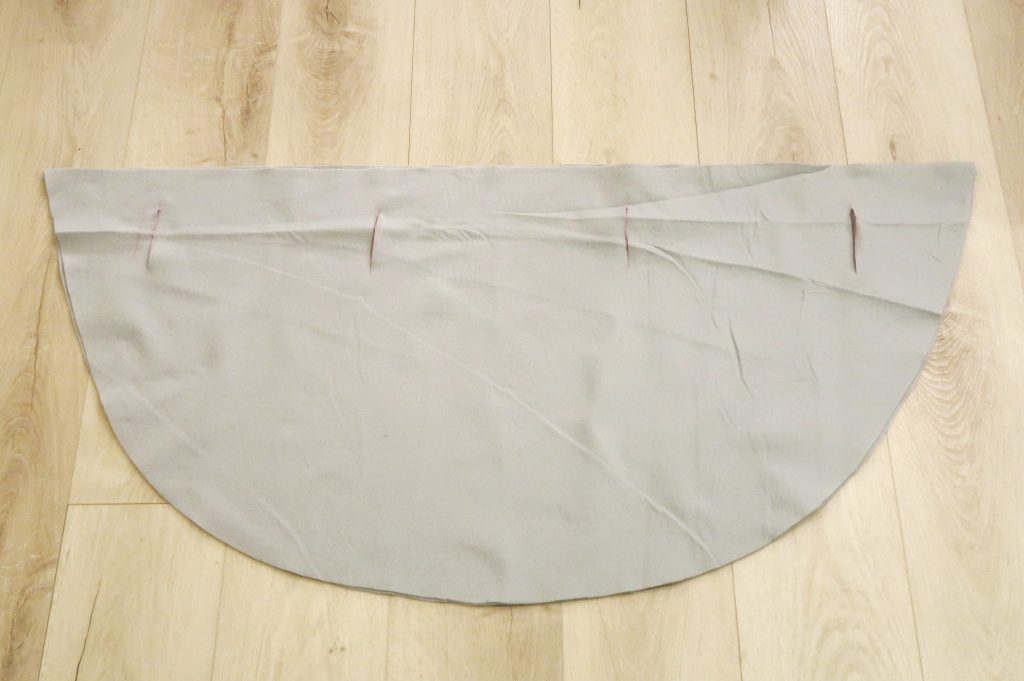
5. Cut open the arm holes.
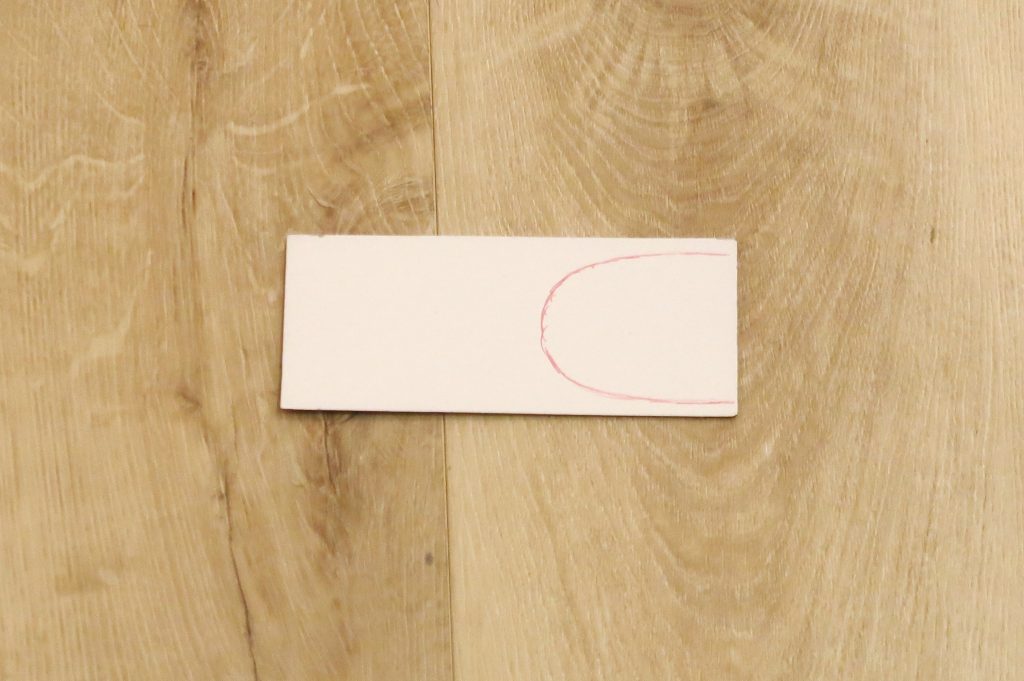
6. Sketch out a feather on a cardboard paper(I used the paper from the bias tape packaging).
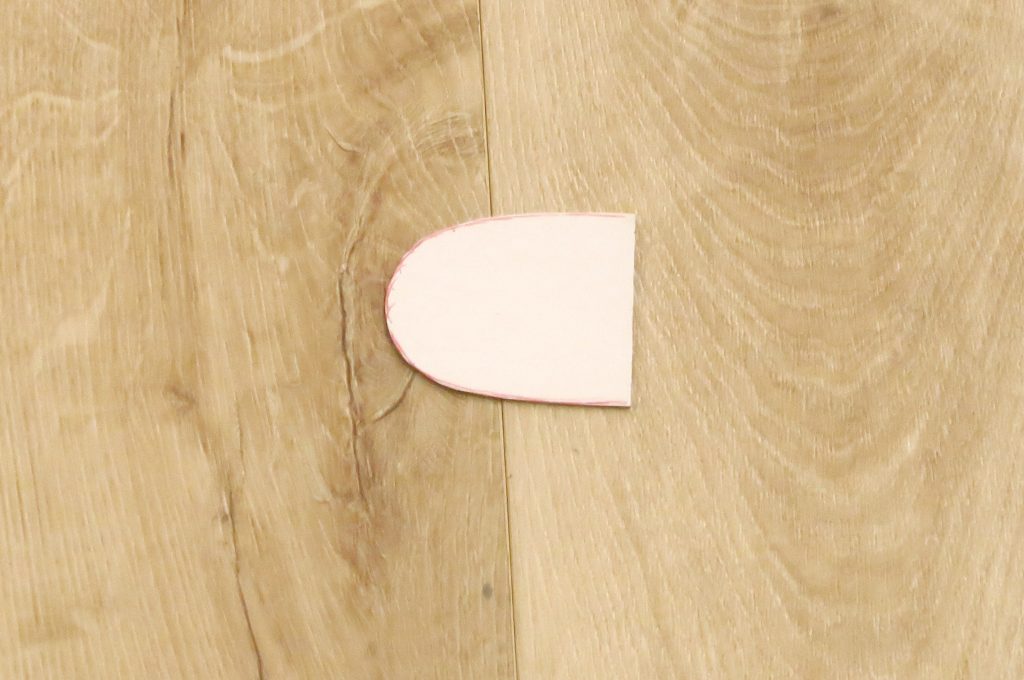
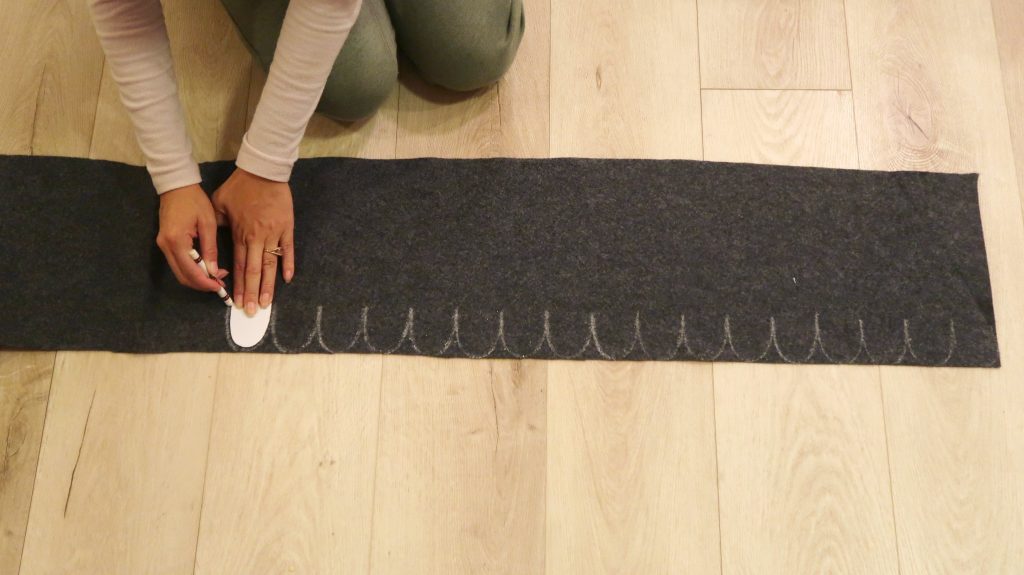
7. Trace the feather cut-out on the felt fabric. I used a white crayon to draw out the feathers.
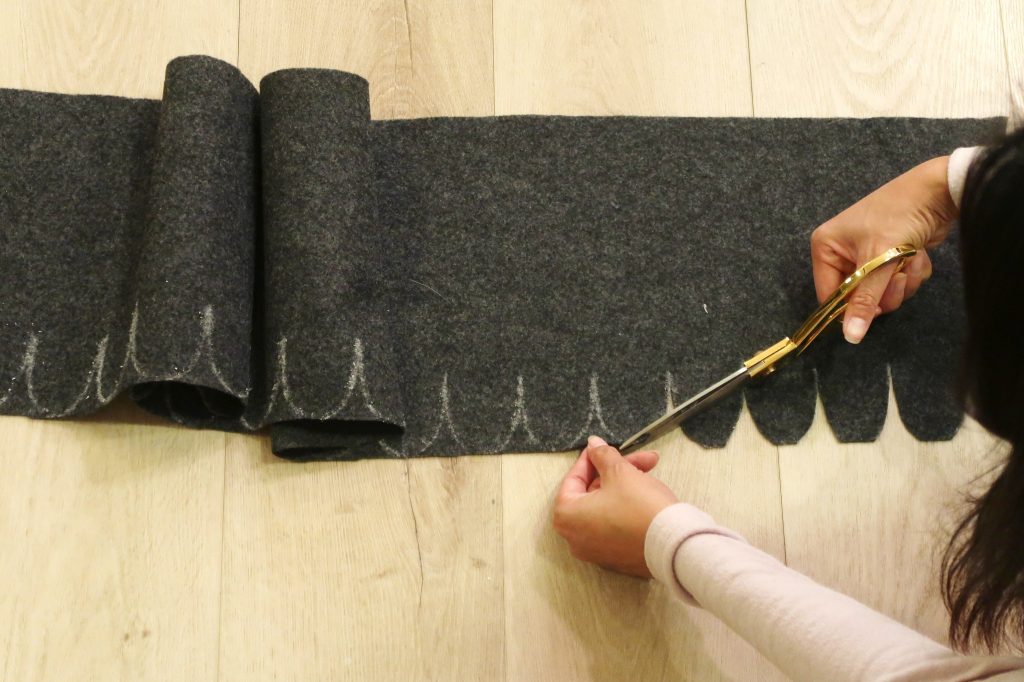
8. Cut the feather design.
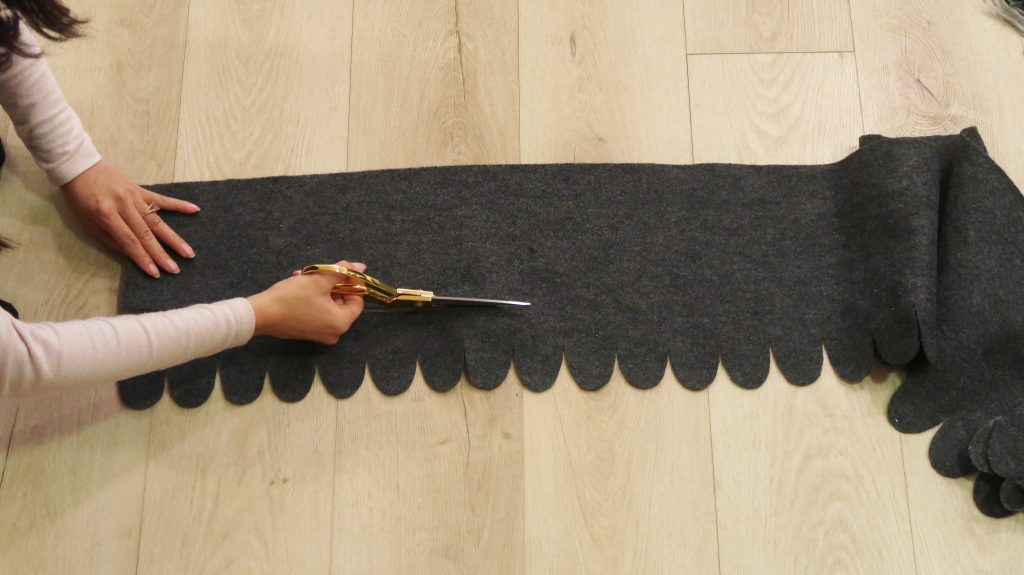
9. Leaving 2-3 inches of space on top, cut out a strip long enough to go across the half circle.
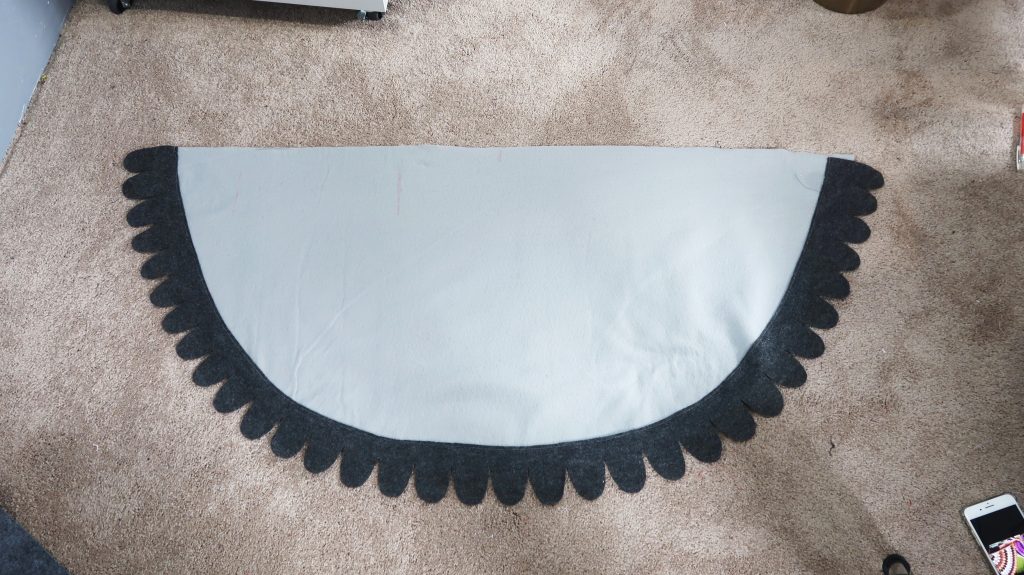
10. Sew the feather strip onto the bottom of the half circle.
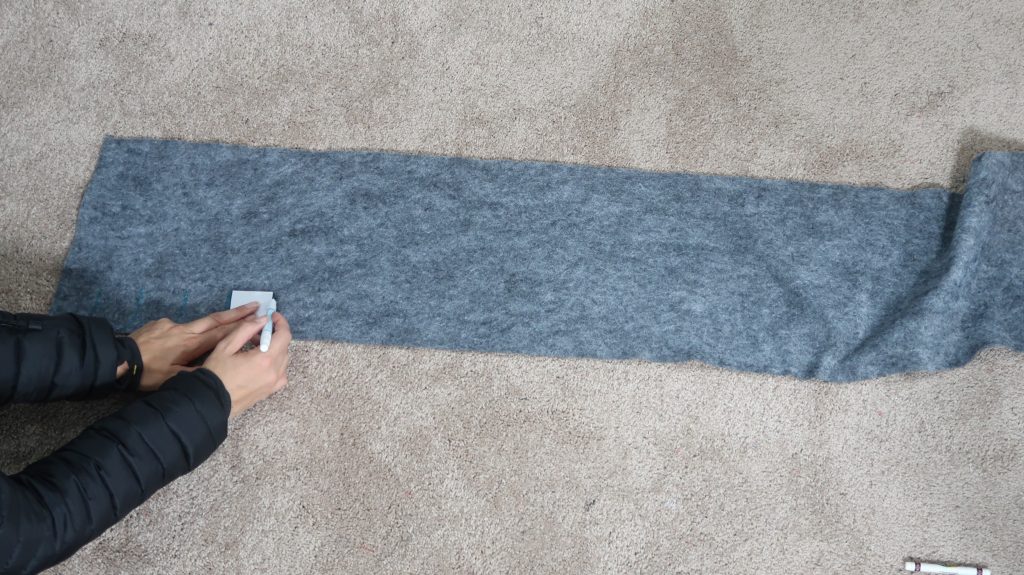
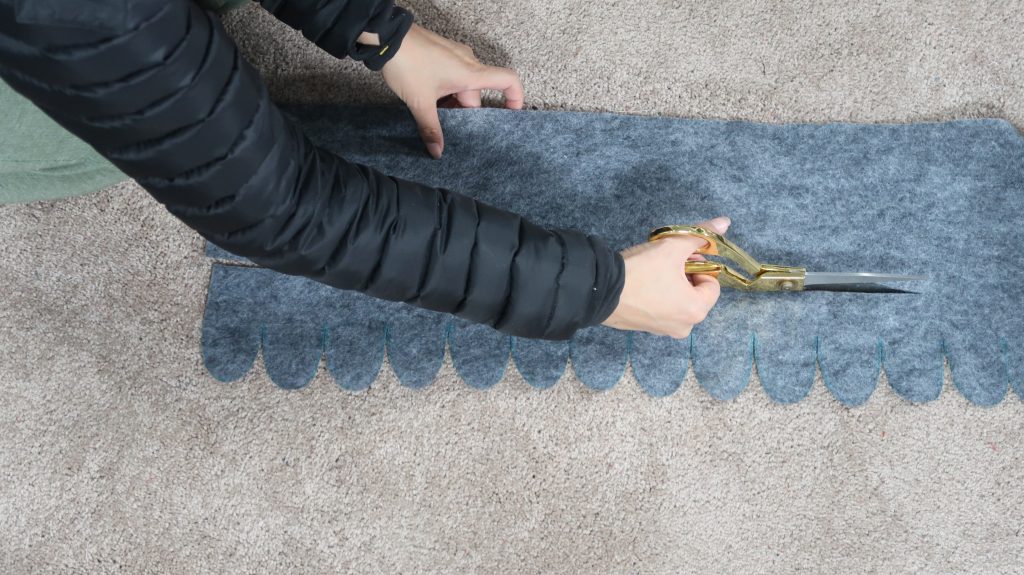
11. Repeat until all the half circle is covered with feather strips.
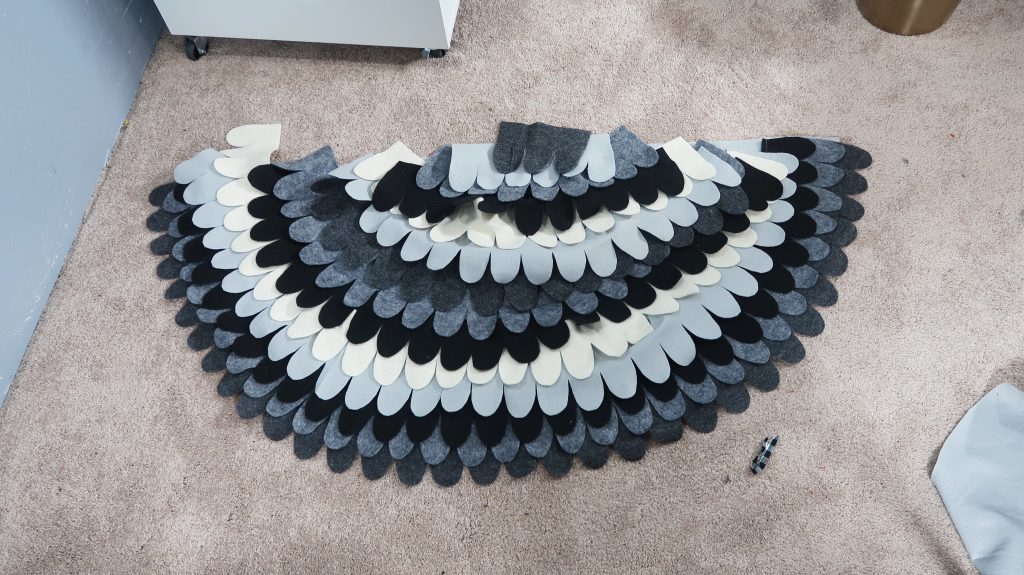
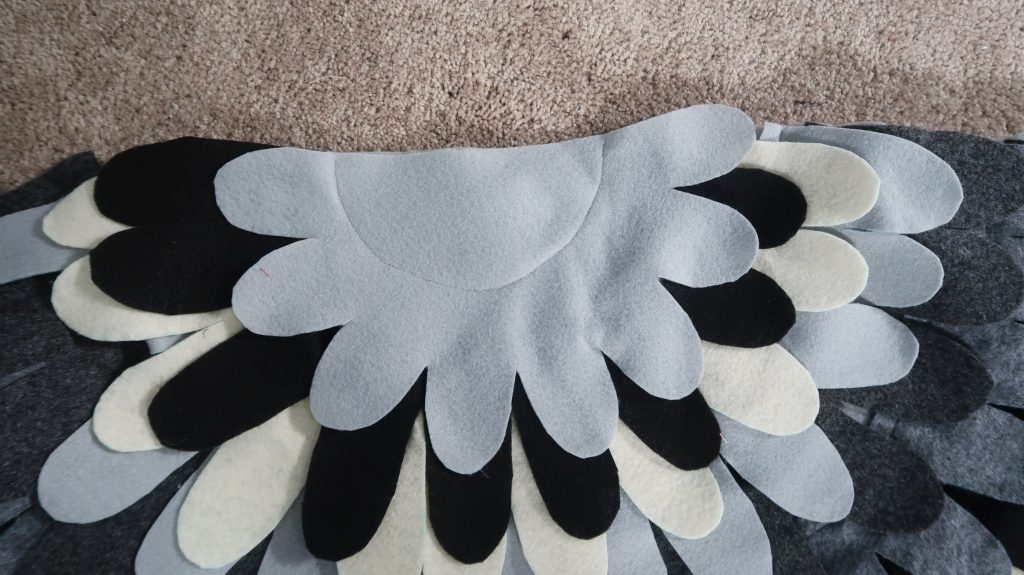
12. The very top feather strip will cover the top like this.
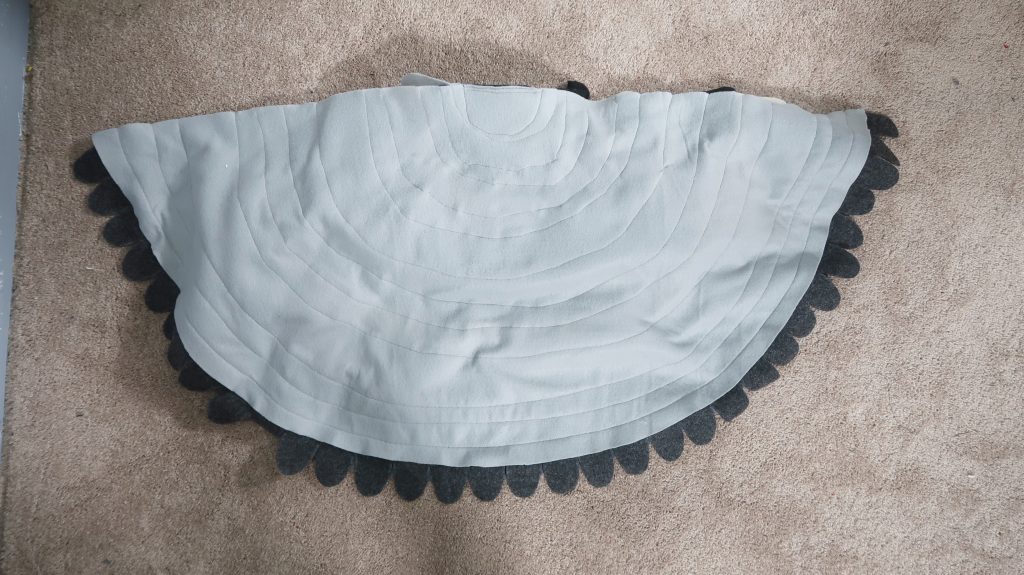 *This is how the back will look. Doesn’t look perfect but it’ll be covered so don’t stress!
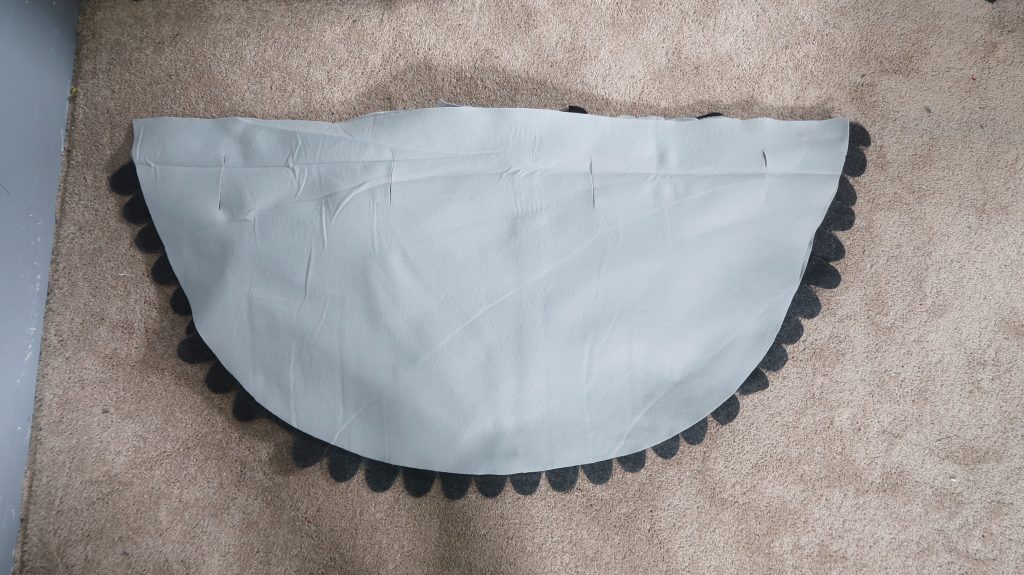
13. Cover it with the other half circle.
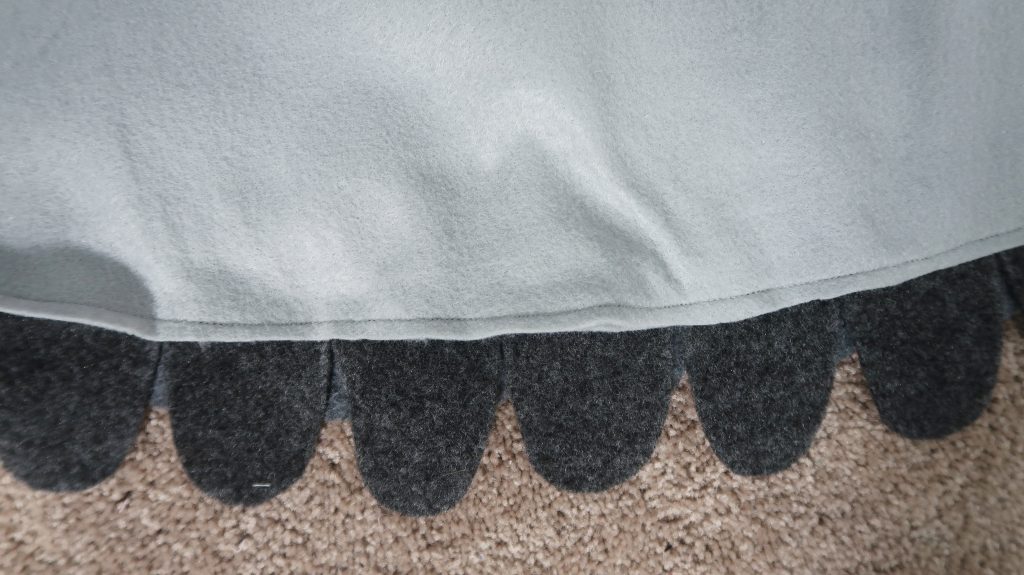
14. Sew the edges across the bottom of the half circle.
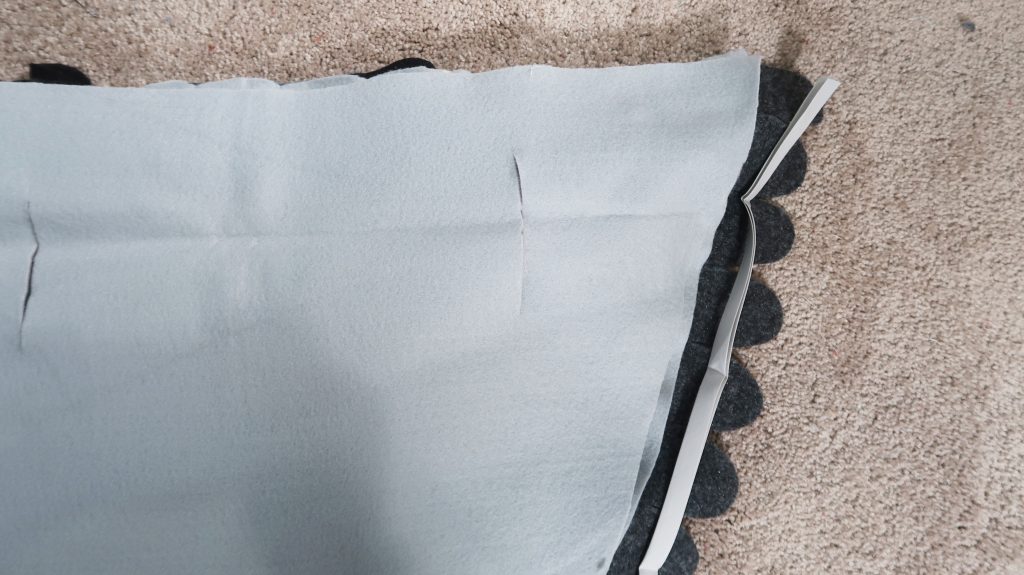
15. Sew the bias tape across the bottom of the half circle.
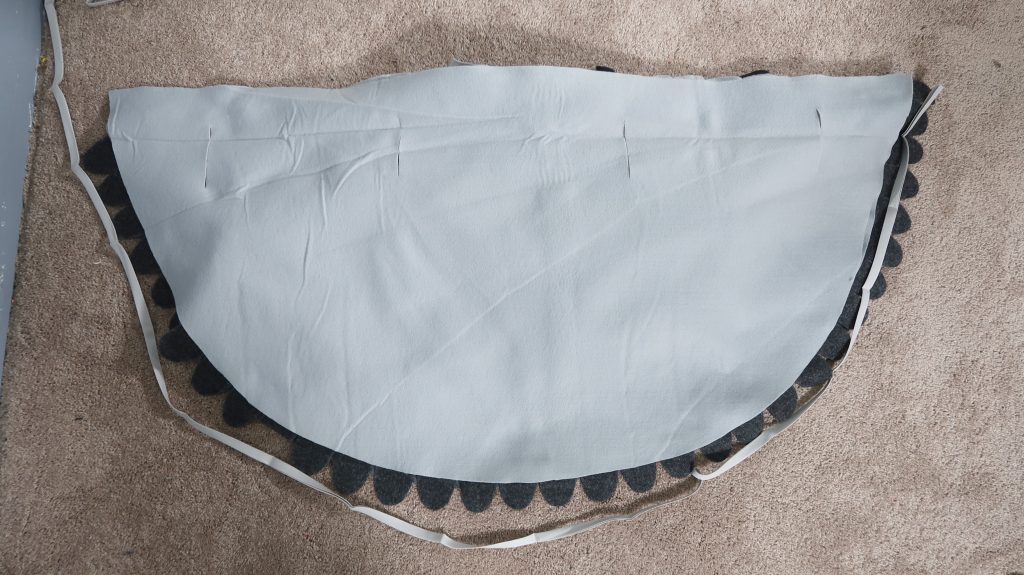
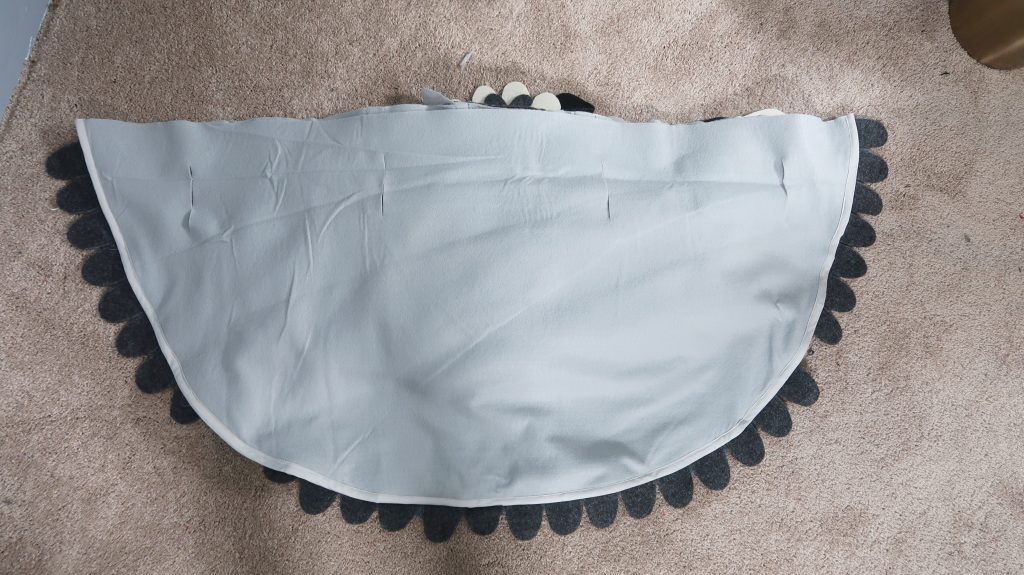
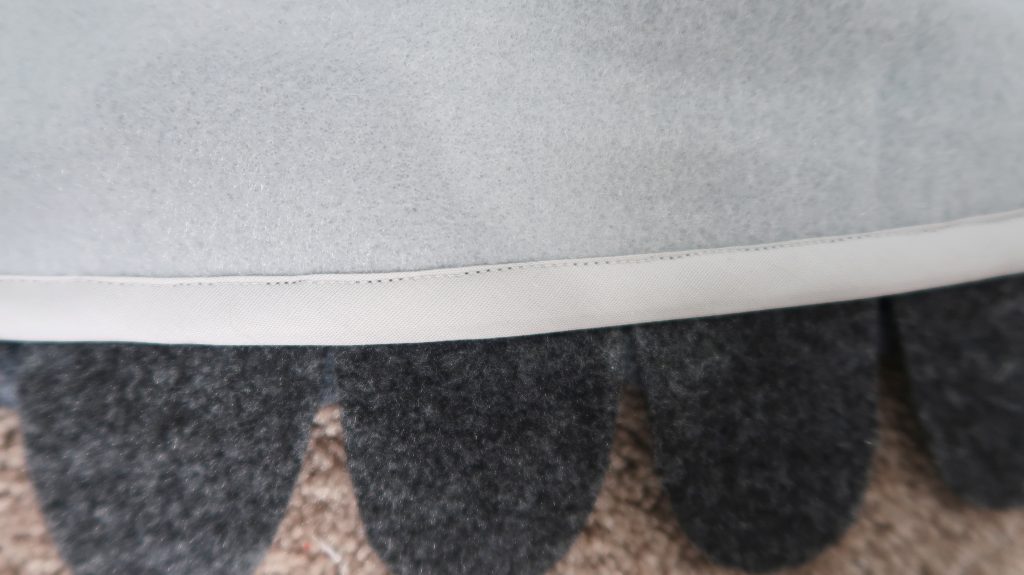
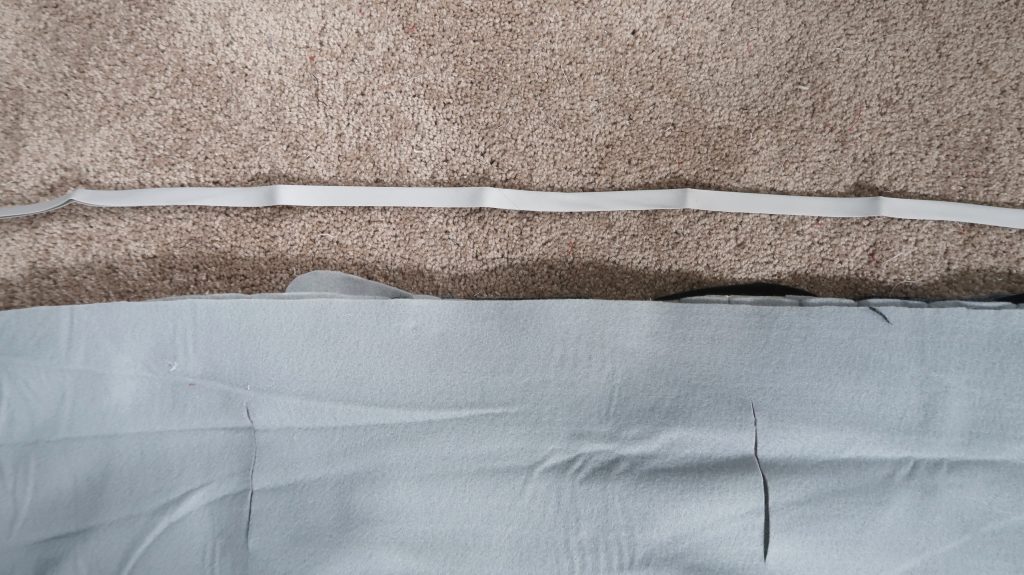
16. Sew the bias tape on the top of the half circle.
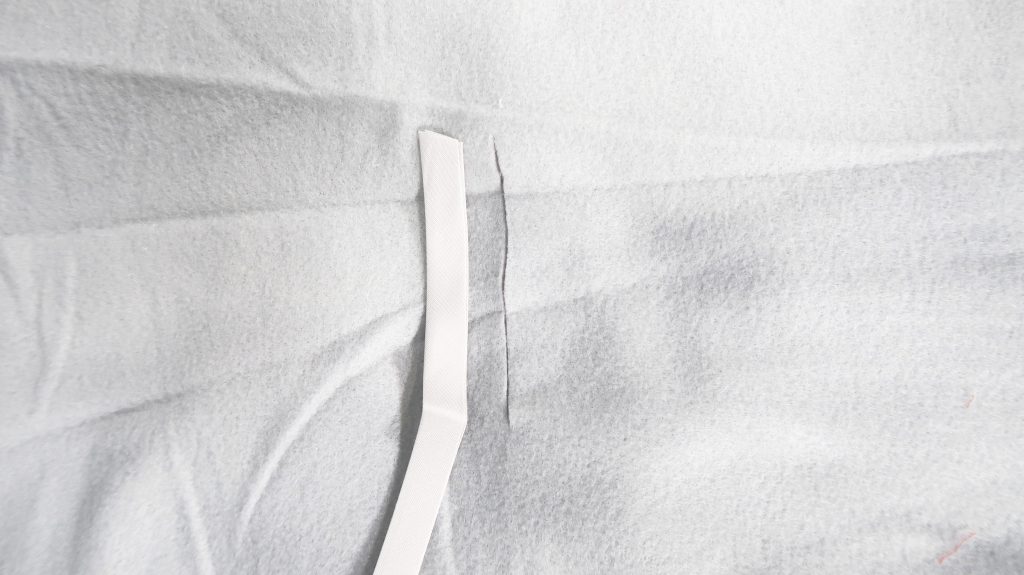
17. Sew the bias tape around the arm holes. OR you can zigzag around the hole if you find the bias tape too difficult.
And you are done!
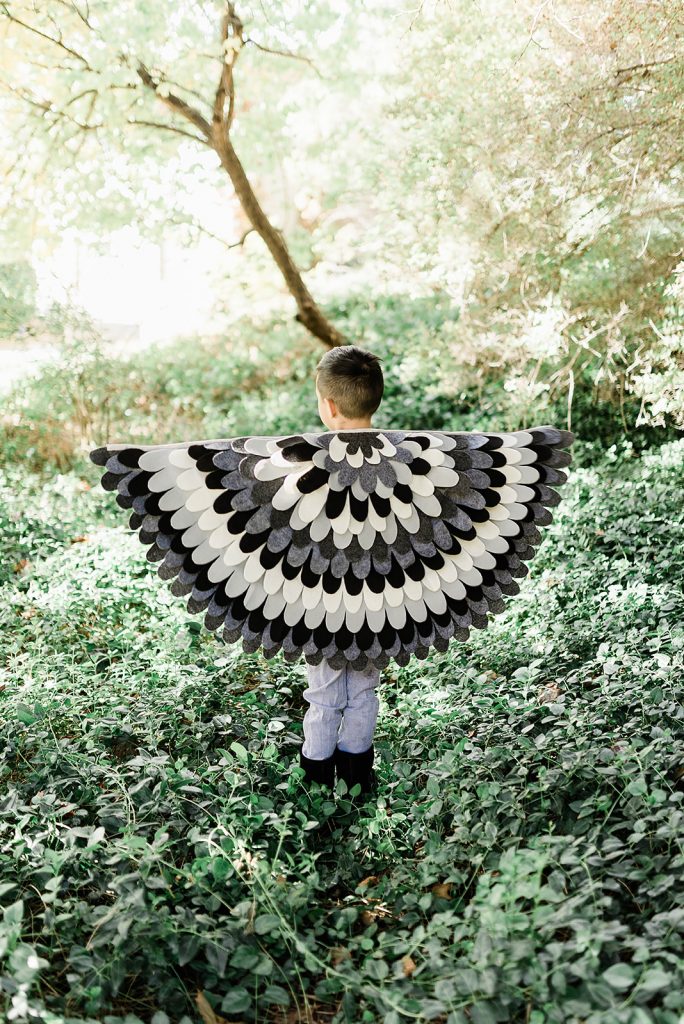
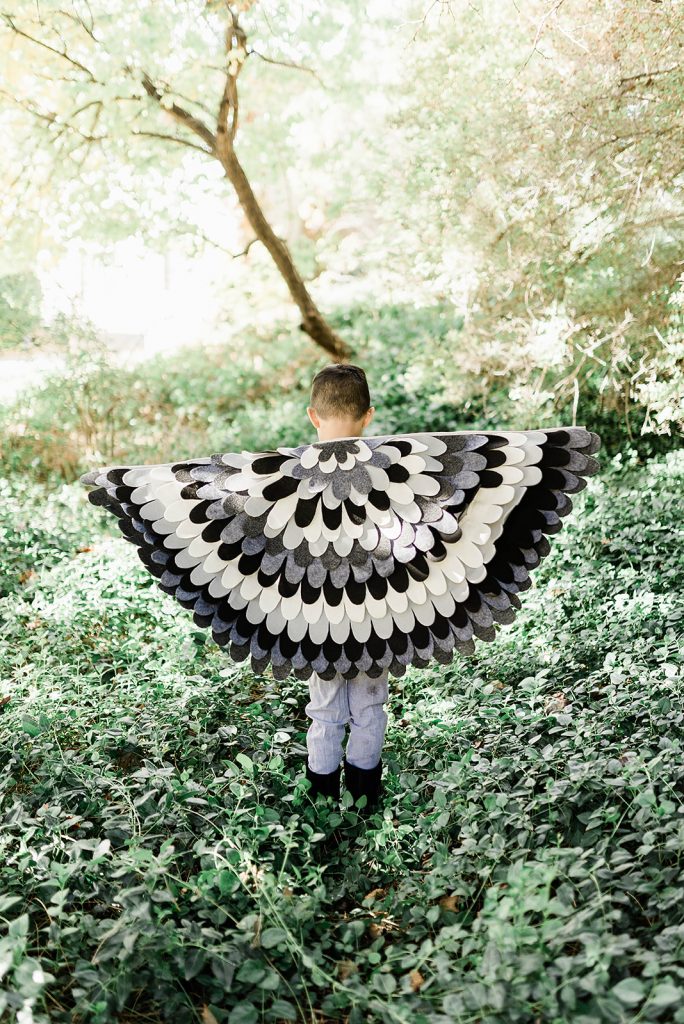
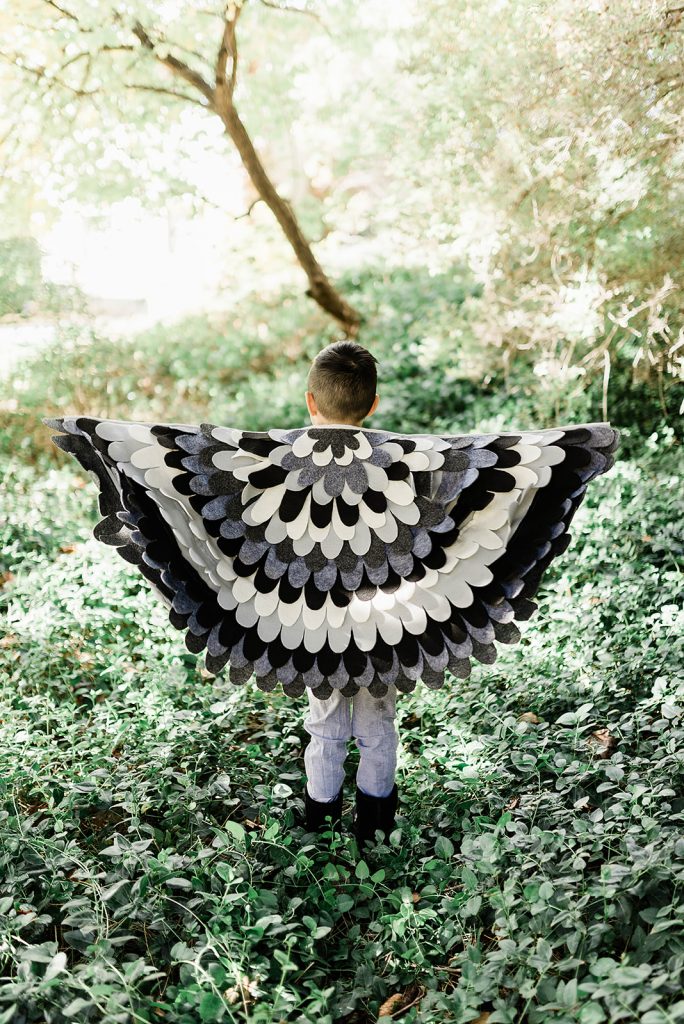
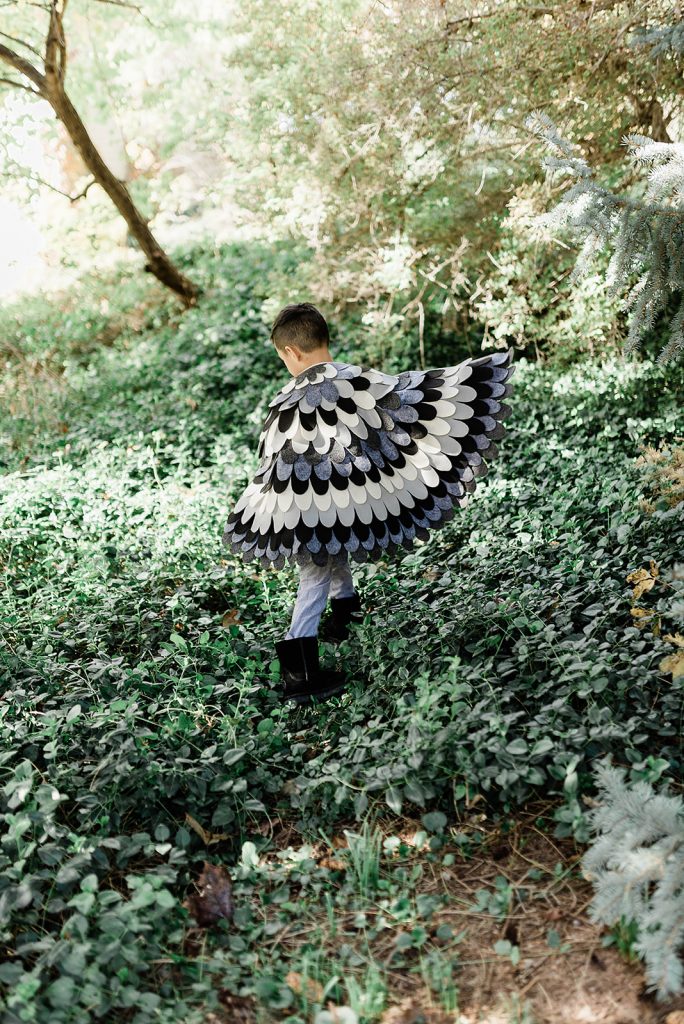
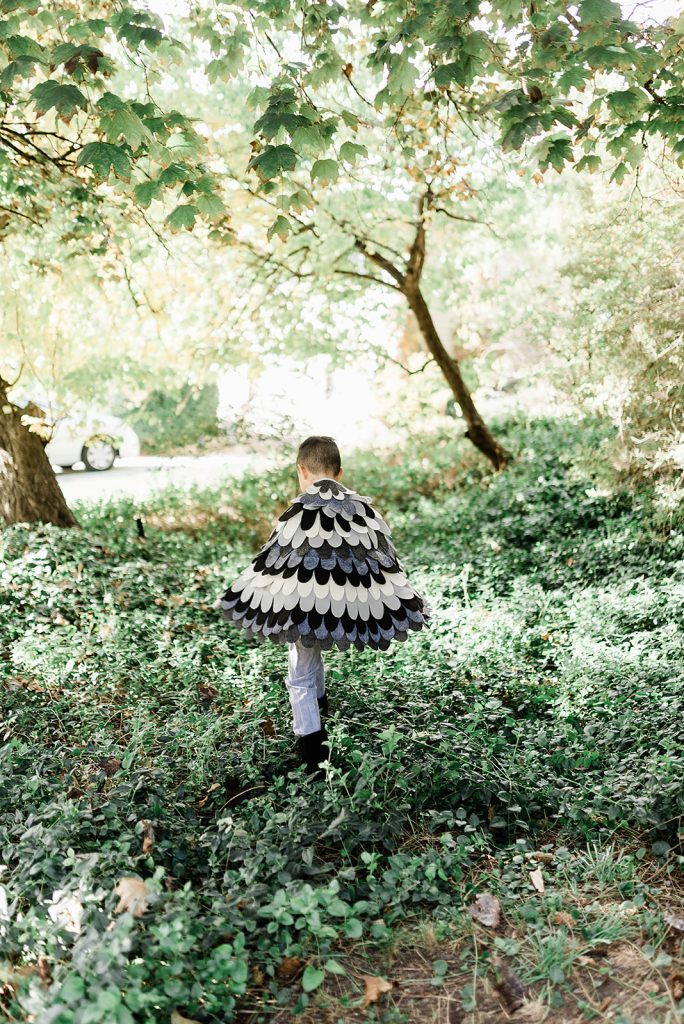
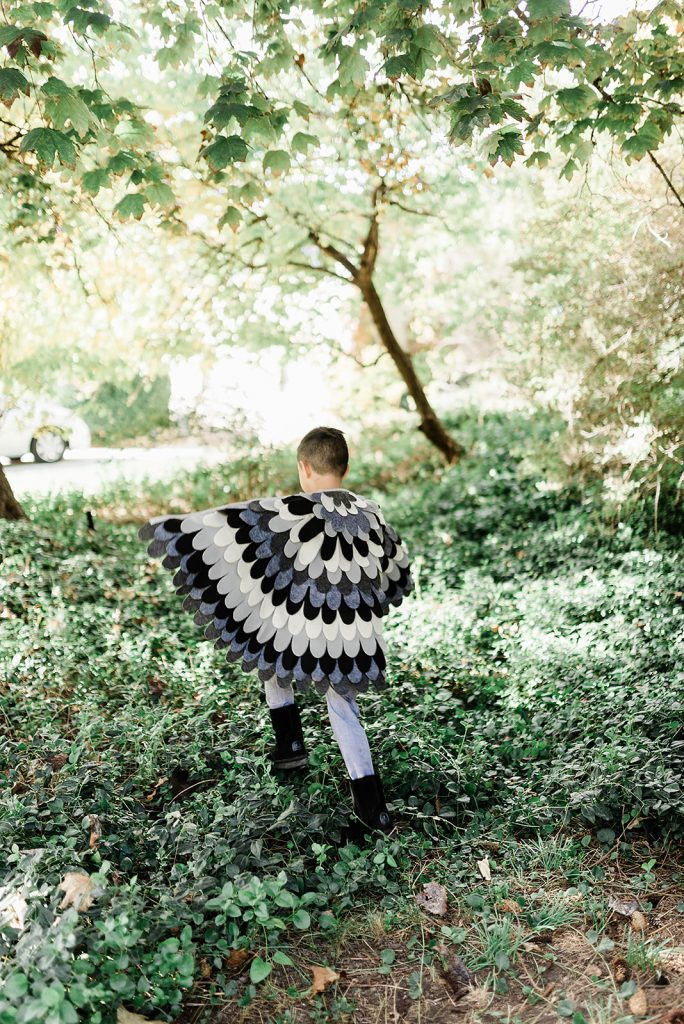
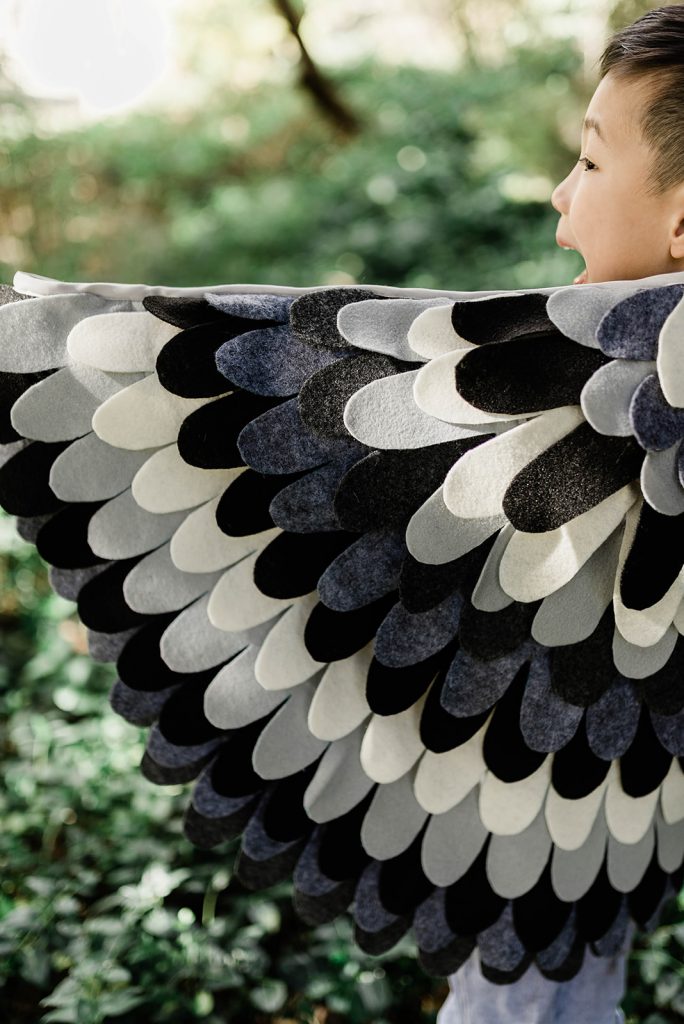
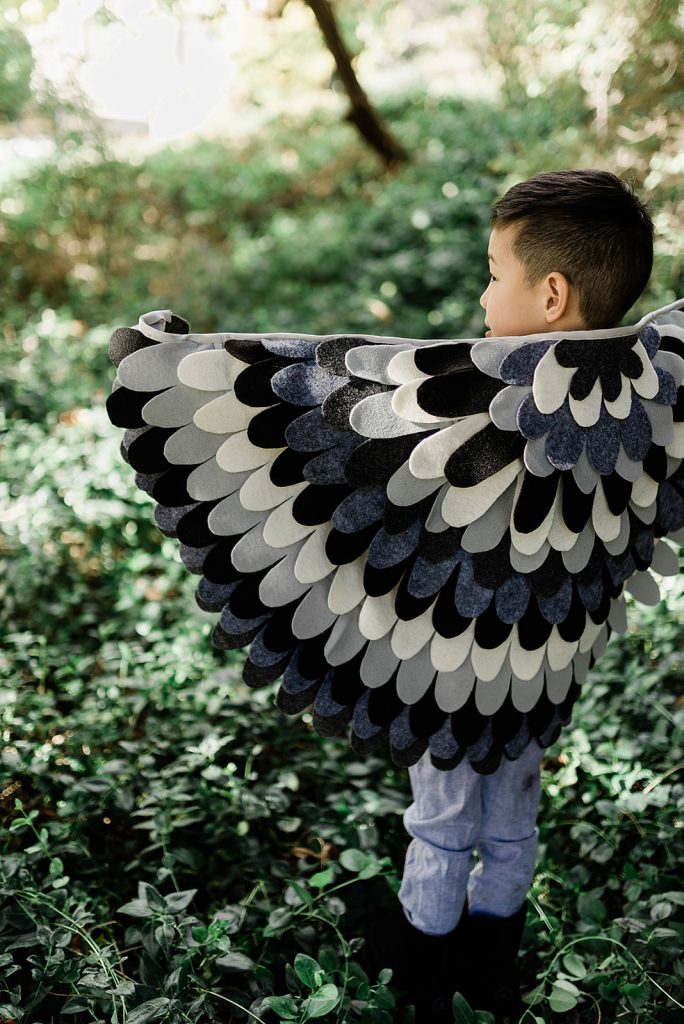
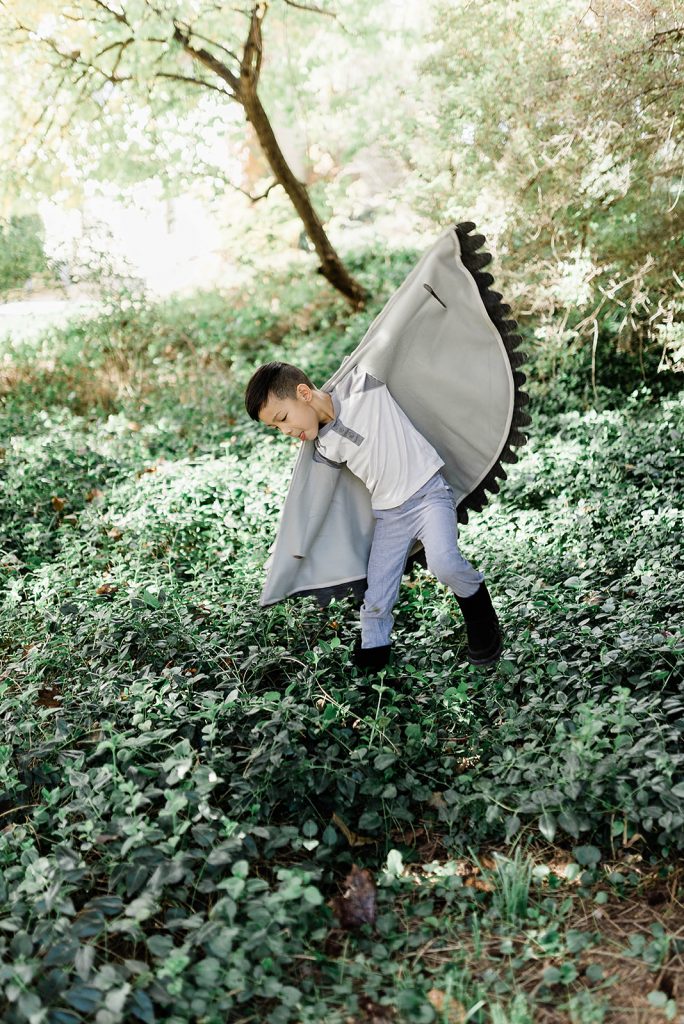
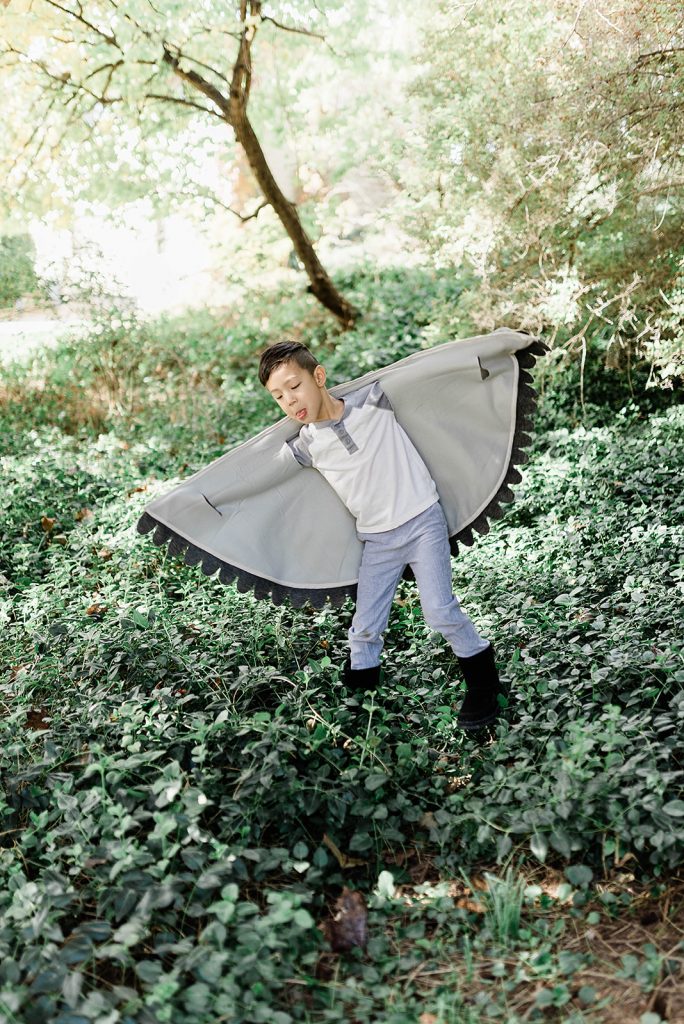
I didn’t have time to put the piping on the armholes in time for the photo shoot but you get the idea.
My kid loves it because it’s so easy to slip in and out of and he can hug himself in the wings like a cozy blanket!
Estimated time: 2.5 hours
Budget: $15
Skill level: A confident beginner
What do you think of these wings? Do you like the arm holes for the wings or do you prefer the elastic bands for the arms? Leave a comment below telling me your thoughts!
And if you post a project on your Instagram that’s inspired by my tutorials, tag me at @sarahtyau in both the captions and the photo to be featured on my Instagram stories!
Pin me, share me, I like to get around!
