• ABOUT
  • COLLABORATE
  • CONTACT

Life is Beautiful

Motherhood, Sewing, Family

  • SEW
  • HOME
  • PARTY
  • TRAVEL
  • SHARING MY HEART
  • SHOP

Sunday Best with a simple DIY alteration

October 21, 2013~ SEWING

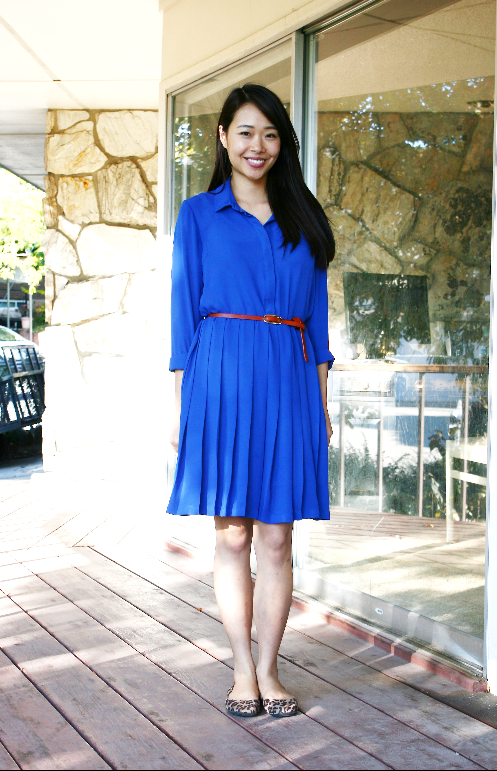
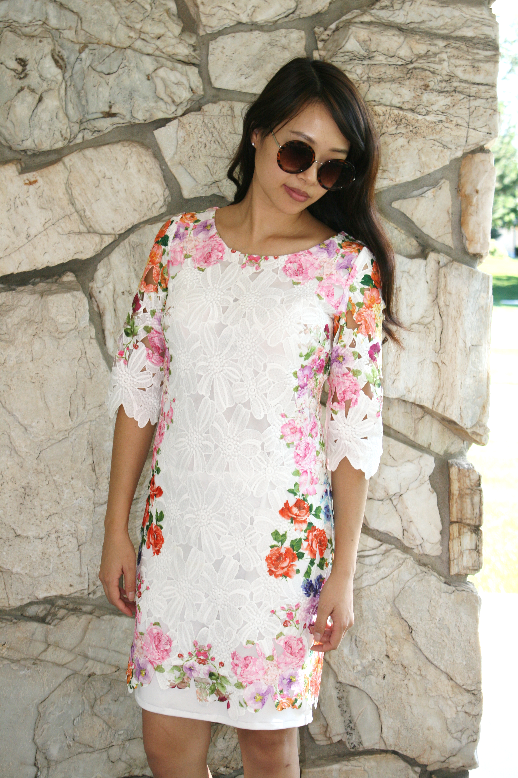
My favorite color right now is royal blue, and you know how much I love pleats, so I had to get this royal blue pleated dress(buy it here)!  It came a couple inches below my knee however and it was not flattering, so I altered it to a shorter length.  
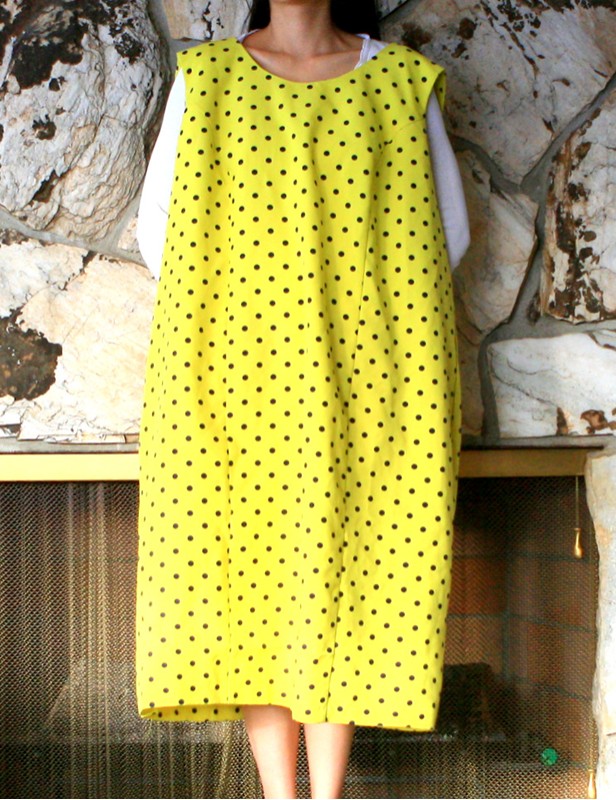
BEFORE:
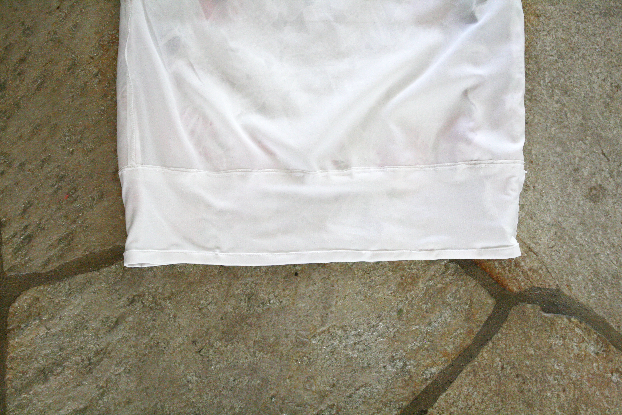
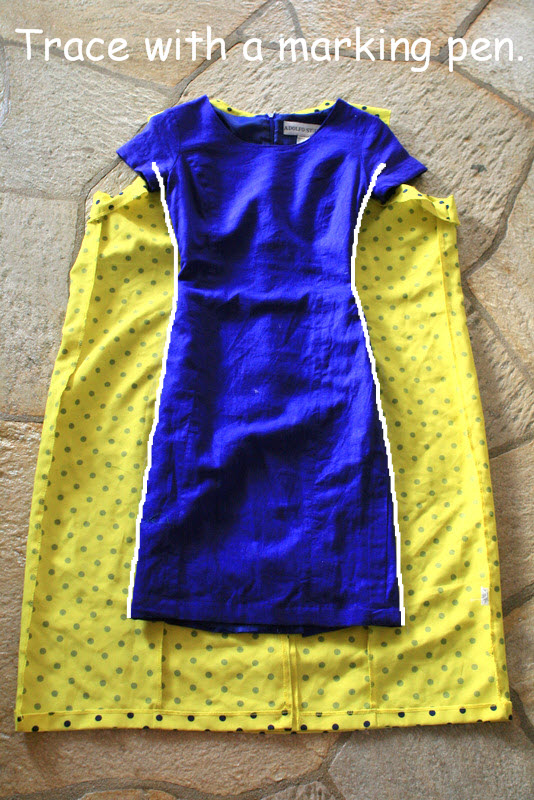
I cut the dress at the seams where the shirt and the skirt meet.
then I cut 3.5″ off the shirt and sewed back on the skirt.  So simple!
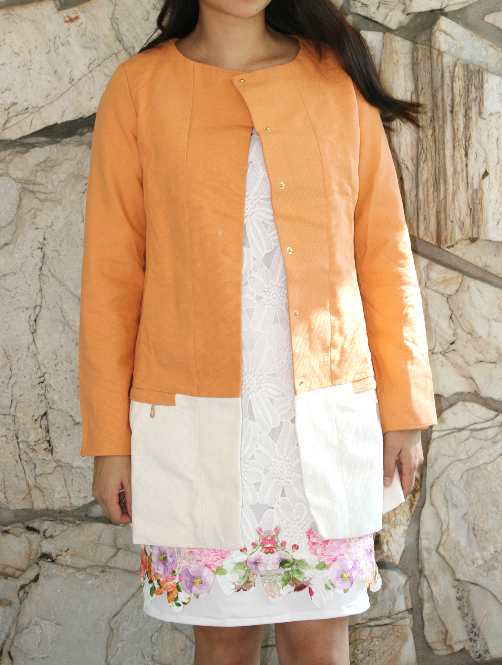
AFTER:
Jay photo bombing on my photo shoot.  Somebody please tell him to stop, he won’t listen to me.
What you’ll need:

-Dress
-Matching thread
-Sewing machine or thread & needle
-Scissors
Directions:
1.  Cut the dress at the seams where the shirt and the skirt meet.
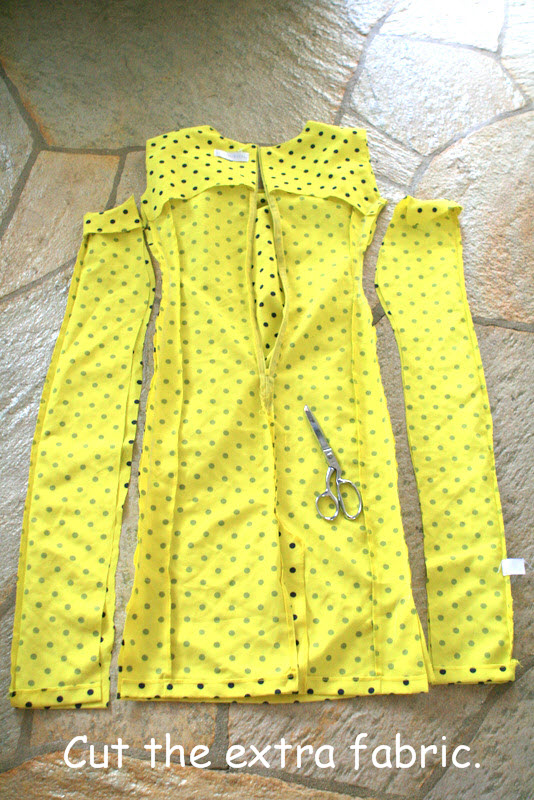
2.  Cut 3.5″ off the bottom of the shirt.
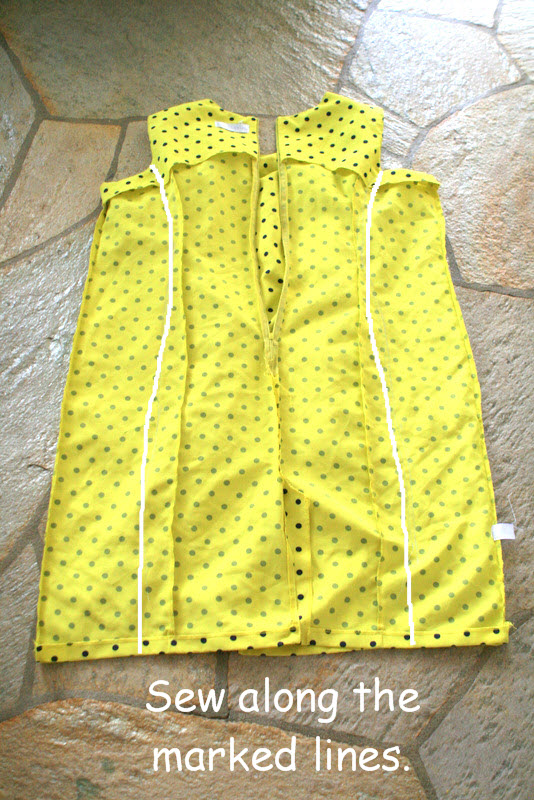
3.  With the right sides together, sew the skirt back onto the shirt.
Estimated Time:  15 minutes
Skill Level: a confident beginner
Price: $0.00
I also have a question for you, my wonderful readers.  I taught a few classes at my church on how to alter/DIY your clothes several months ago and everyone seemed to really like it. People would bring  their clothes that are too big, outdated and want to update, or clothes that were too small but the fabric was too pretty to throw away, etc, and I would give them ideas or simple instructions on how to fix it.  Would you be interested in doing something like that with me?  You’d simply snap a photo or a video of your clothing item(you wearing the item if it’s an alteration issue) and email it to me, and I will email you with a detailed tip/instructions/ideas.   You can even send me an after picture of your finished result and I can post it on the blog!  Let me know if that sounds fun, and I’ll start a regular series.
0

TAGGED: alterations, DIY, DIY tailoring, sunday best 19 Comments

Sunday best

September 16, 2013~ Etc.

As a stay at home mom, the only times I actually have the reason to dress up, or time and energy to try to look decently nice is on Sundays when I go to church.  I LOVE dresses so I have plethora of dresses(more than any other clothing item I own) but Sundays and occasional weddings are the only chances I get to wear them really, which is a bummer because I feel like I don’t put them in good enough use!  So I’m going to try to wear dresses more often, and if I’m a little over dressed sometimes, oh well, who cares? I will also try to start a weekly post called “Sunday Best” to take pictures of my Sunday outfits.  
I found this pretty dress online, and I knew it’d be just a tad too short for me since I’m LDS and I wear garments, otherwise I personally think it’s a great length(shhh, don’t tell my LDS peeps I said that ;), but I knew I could do something about it.  
Before:

I debated between getting fuchsia fabric or white fabric to use to lengthen the dress, and decided to go with the white in the end.  I wanted the floral details to be the main focus of the dress and using fuchsia fabric would’ve distracted from that.  
I flipped the dress inside out and attached a 4″ width white fabric to the bottom lining of the dress.  Then hemmed the bottom of the white fabric I attached by folding it twice in 1/2″ width.  That’s it!  
(don’t look too closely, my bobbin’s been giving me problems and the stitches were looking terrible!)
After:

outfit thanks to: jacket: sheinside(buy it here) | floral dress: choies(buy it here)
I have two more dresses that I want to alter, one dress I want to lengthen, the other dress to add sleeves, so stay tuned!  If I can manage to find some time with my crazy, hectic life with three kids, that is.  Raising three kids is kicking my butt right now.
0

TAGGED: DIY, DIY tailoring 12 Comments

Ninja Turtles

June 12, 2013~ Etc.

Ever since Jay showed the girls an episode of Ninja Turtles, one of his favorite shows he watched when he was a little boy, the girls have been obsessed.  So Jay went shopping with the girls to the fabric store and got his crafty skills out to make them a Ninja Turtle costume.

He’s had some experience making the Ninja Turtle costume before, when he won the best overall group costume at our Single’s ward Halloween party back in 2006.  He came up with the costumes and made all of them using a hot glue gun!  I think he just wanted an excuse to wear those green tights if you ask me. 😉

**This is Jay and I just wanted to clarify that Sarah failed to mention that she was also in that same 2006 Halloween Costume Party with her group of friends as Snow White and the 7 dwarfs and we actually beat their costumes for best group costume! And yes, real men wear tights! COWABUNGA DUDE!!!

0

TAGGED: DIY, Jay's DIY 8 Comments

DIY: thrift dress to origami peplum dress

November 19, 2012~ DIY DREAM HOUSE

I was a part of the Refashionista series with I am momma, hear me roar blog(check it out here), and this is the project I submitted.  I went to the thrift store twice and went to a bunch of stores, hoping to find something I can refashion but had no luck!  Discouraged, I went through my “I need to work on this…some day” file, and decided to go along with this dress I picked up this past Spring.  
I purchased this dress at a thrift store for $4.  At first glance I cringed a bit, but saw the potential with the beautiful neon green/yellow color and the polka dot fabric, so I brought it home with a goal to make it not cringe-worthy.


INSTRUCTIONS:
*not pictured, but cut the bottom length of the dress as well and hem the bottom.
and you’re done!
AFTER:
dress: thrift(DIY’ed) | colorblock t-strap heels: oasap 
Estimated time: 2.5 hours
Budget: $4
Skill level: intermediate to advanced

The peplum design was inspired by this skirt. 
I did another thrift dress to a peplum dress here.  
27

TAGGED: DIY, DIY tailoring, refashion 43 Comments

All ready for Halloween

October 29, 2012~ Etc.

Our girls being part Chinese, we thought we’d embrace the culture and dress up in our heritage this year, which includes Achilles too!
I used this pattern, except I didn’t print it, I just roughly traced the pattern with a marker while looking at it on my phone.  And turns out… I did it wrong.  There’s a front and back separate patterns but on the phone it only showed the back pattern.  So I used two of the back patterns only, oops!  But it works, and I can’t wait to take him to his first trick or treat!
0

TAGGED: achilles, DIY 10 Comments

  • « Previous Page
  • 1
  • …
  • 6
  • 7
  • 8
  • 9
  • 10
  • …
  • 27
  • Next Page »
cutmypic
Hello! My name is Sarah and I am so happy to have you here! Here you'll find DIY sewing, DIY home building & decor, honest and vulnerable posts of motherhood and snippets of my family. We are building our dream house and will update you regularly on our whole process from start to finish and I am also starting a mother-daughter sewing series. So I hope you stay awhile!

BLOG ARCHIVES

SEARCH

JOIN THE LIST

- THEME BY ECLAIR DESIGNS - Web Hosting By RFE Hosting -