before i get to my DIY project, I have 2 updates.
first is, with receiving over 150,000 page views last month and highs of over
12,000 page views per day, i’ve decided to take in sponsors! i’d love to sponsor
you so please email me for rates at: sarahmchoi{at}gmail.com
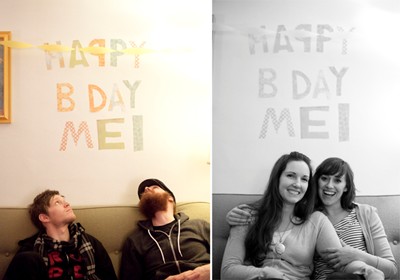
and one of my DIY’s was used for a window display at Lily & Iris, a
bridesmaid dress boutique, designed by Mood Events & Production. can you
guess which one it is?
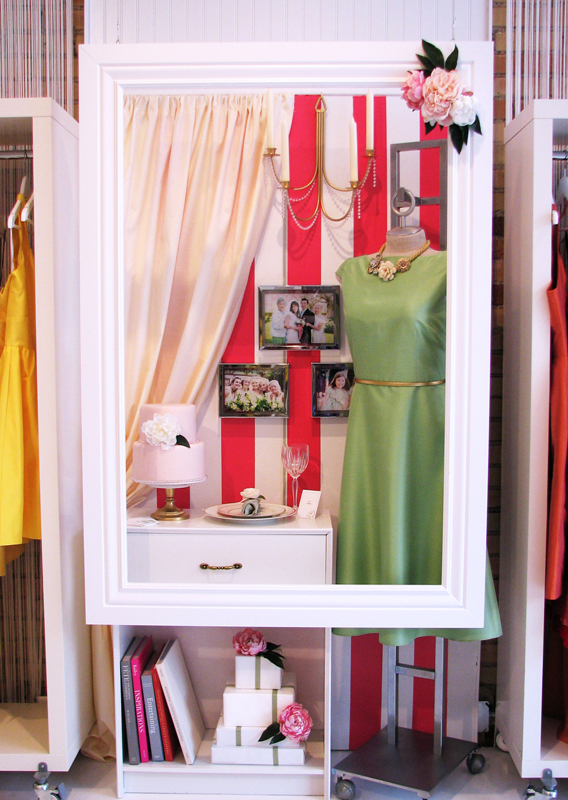
photos taken from salt lake bride & groom

isn’t it exciting?
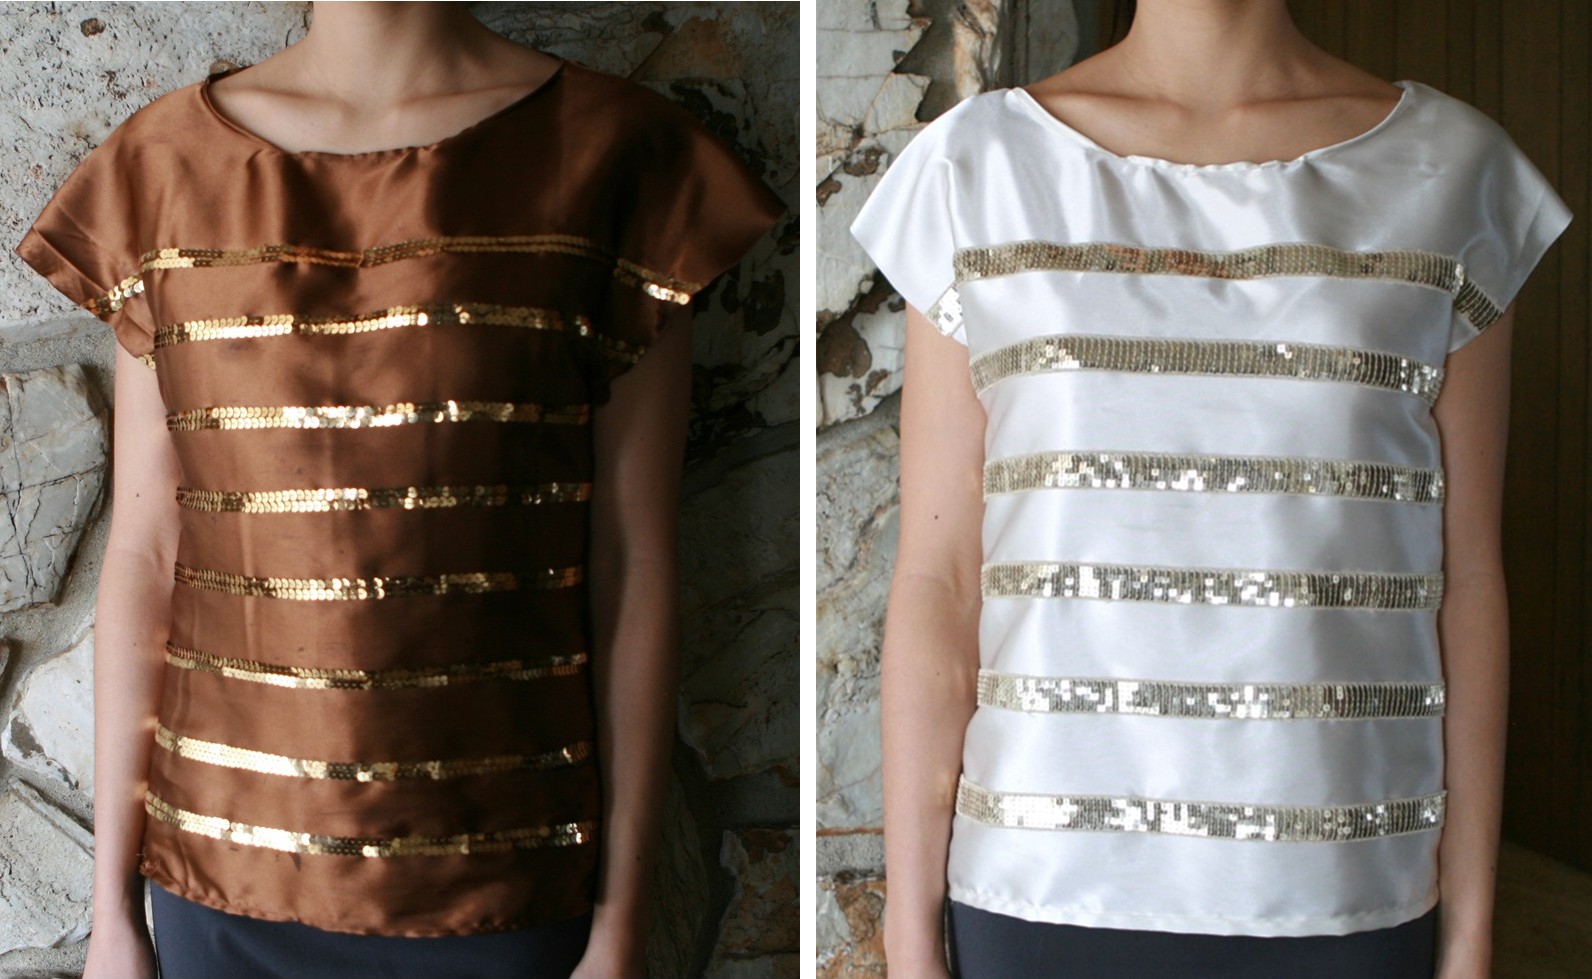
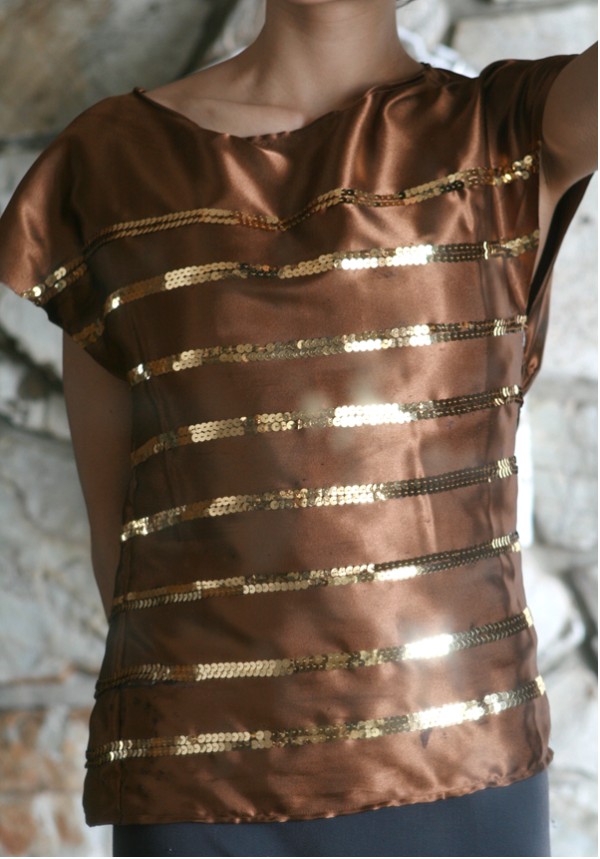
and now on to my DIY project this week:
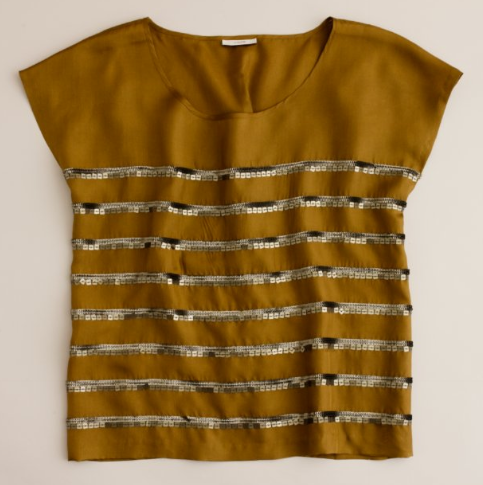
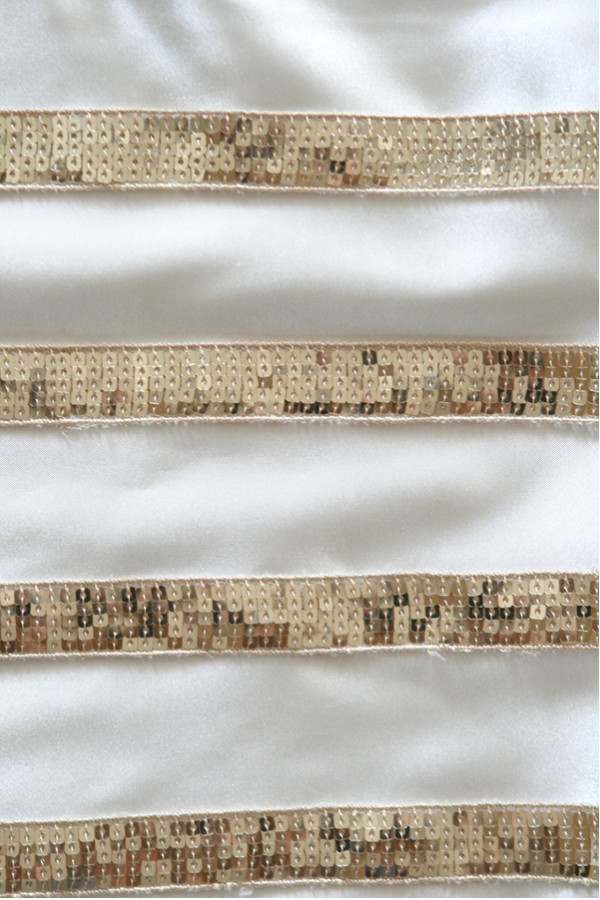
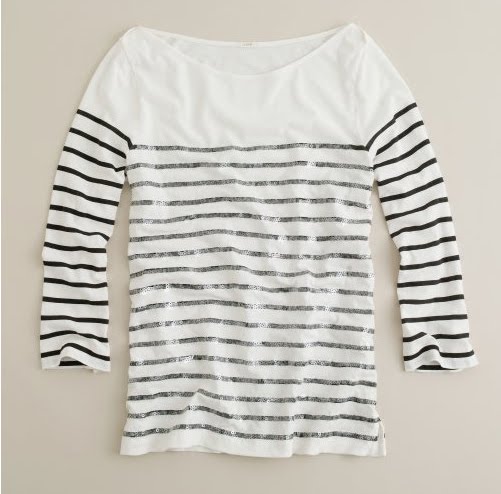
inspiration: squeezebox top from anthropologie $48

picture from an anthropologie review blog.
i think i literally gasped when i saw this top online. i instantly fell in love and knew i had to have it!

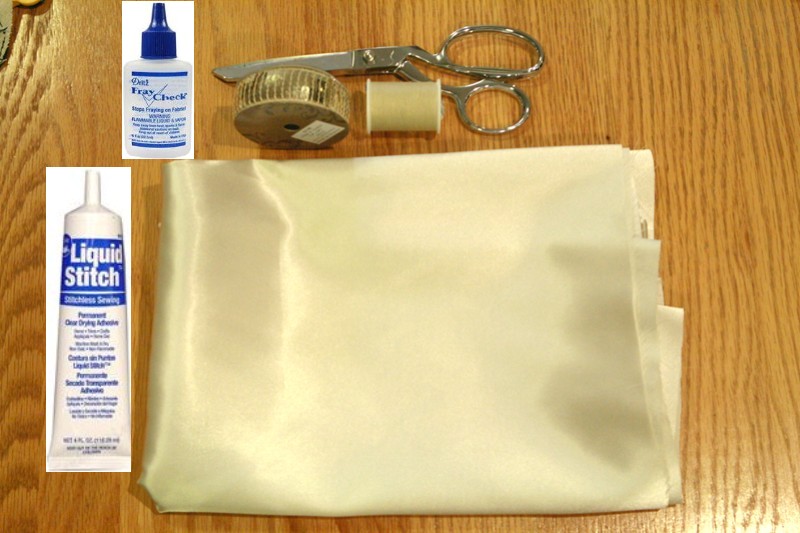
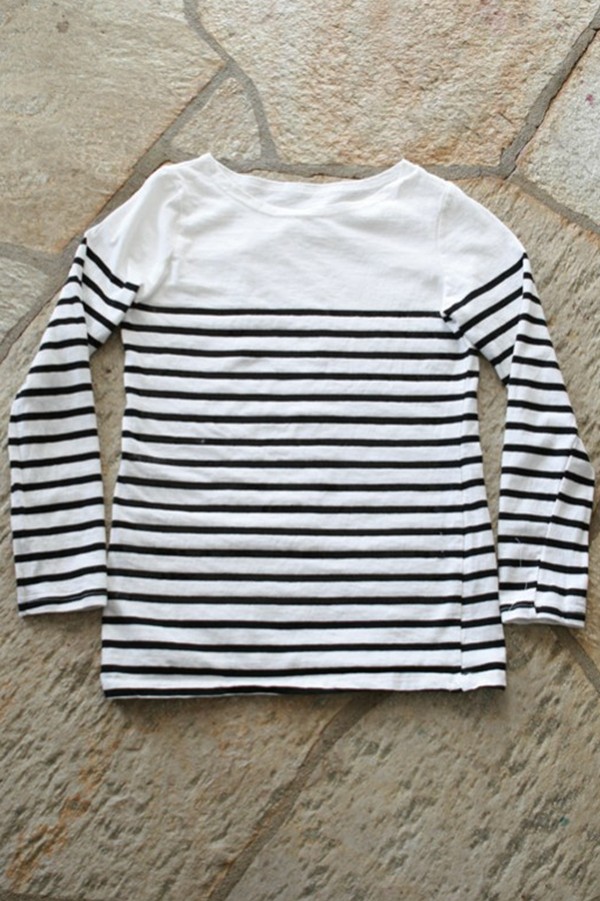
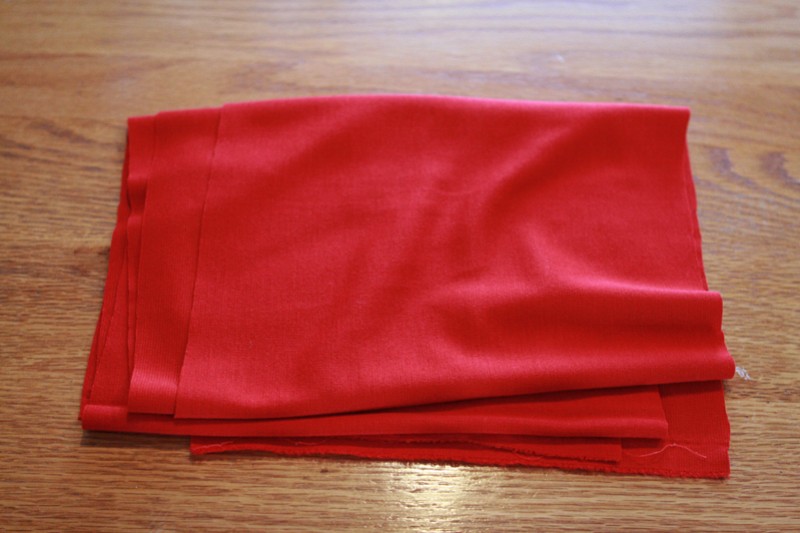
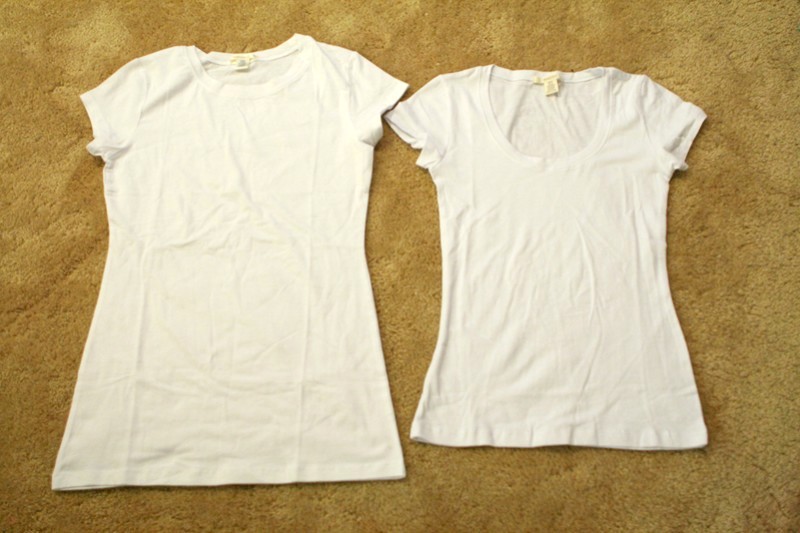
i bought 2 white shirts, one in xs which is my size and one in large. i got the large shirt in round neck for more fabric while i got the xs in a scoopneck.
you’ll need:
2 shirts
scissors
matching thread
pins
estimated time: 1-2 hrs.
project cost: very reasonable(mine was $8 for both shirts)
skill level: advanced beginner to intermediate

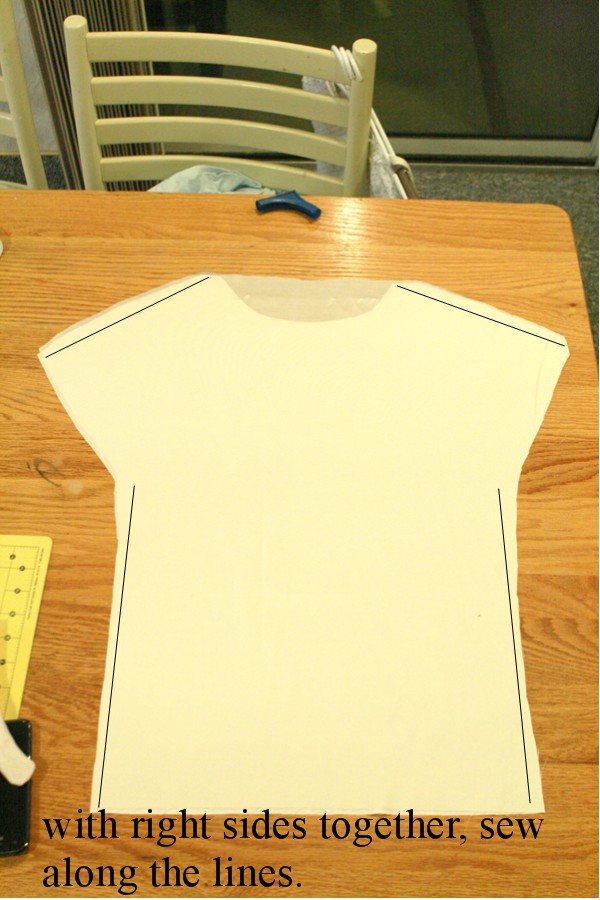
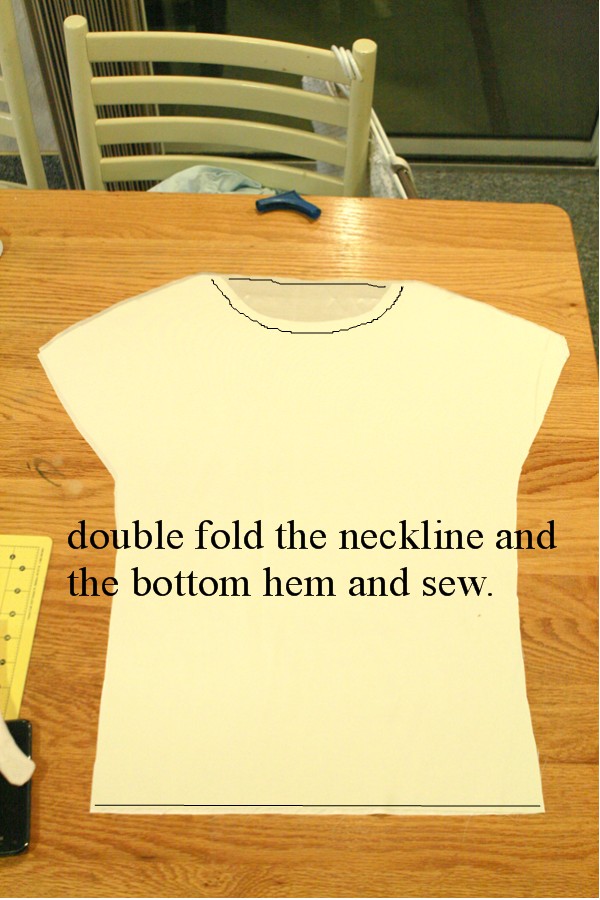
1. take the large shirt and cut it into two pieces, a front and the back piece.
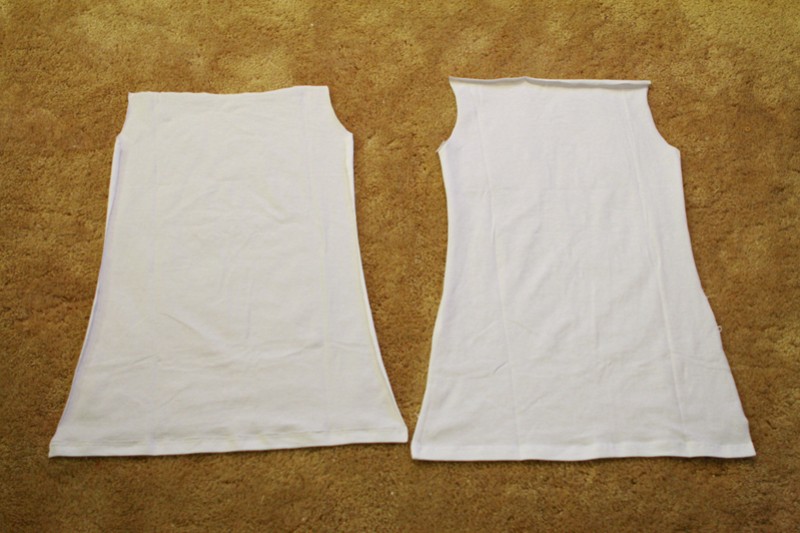
2. cut the arms and the neckline off so it’s closest to a rectangle shape.

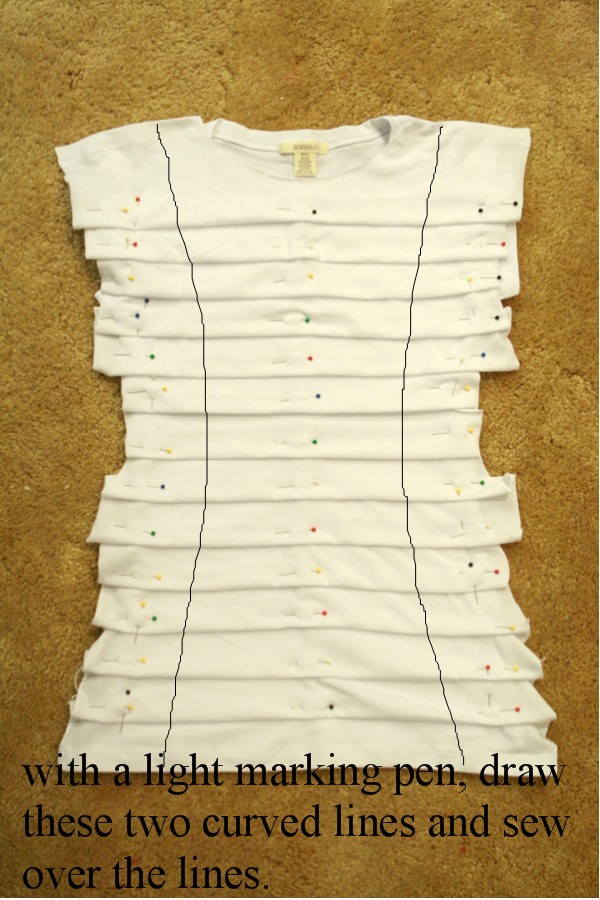
3. take one of the piece and begin making the pleates.
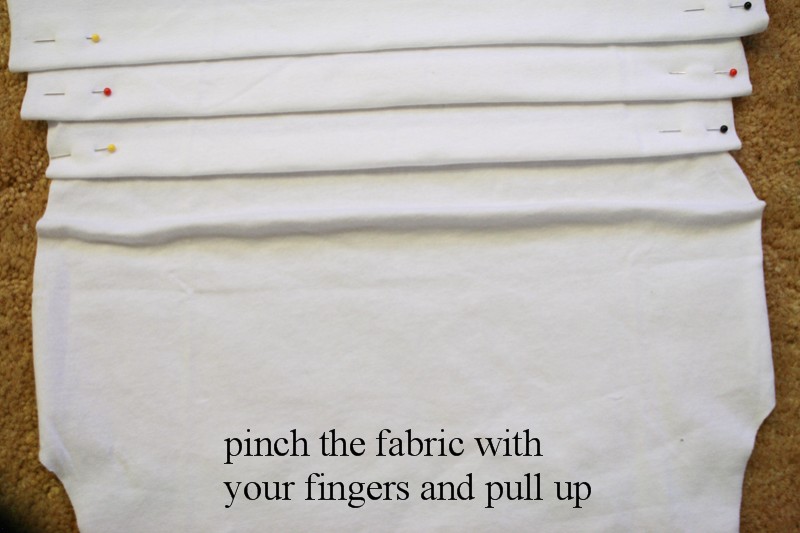
4. (instruction written above)
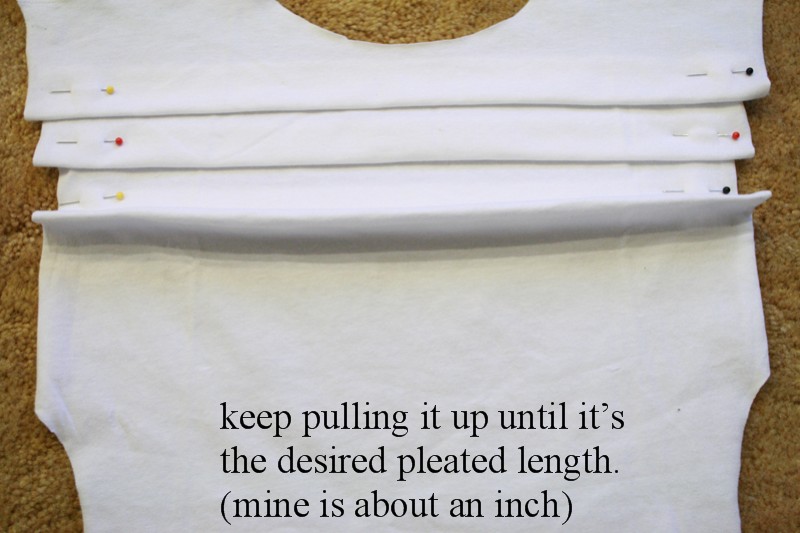
5.

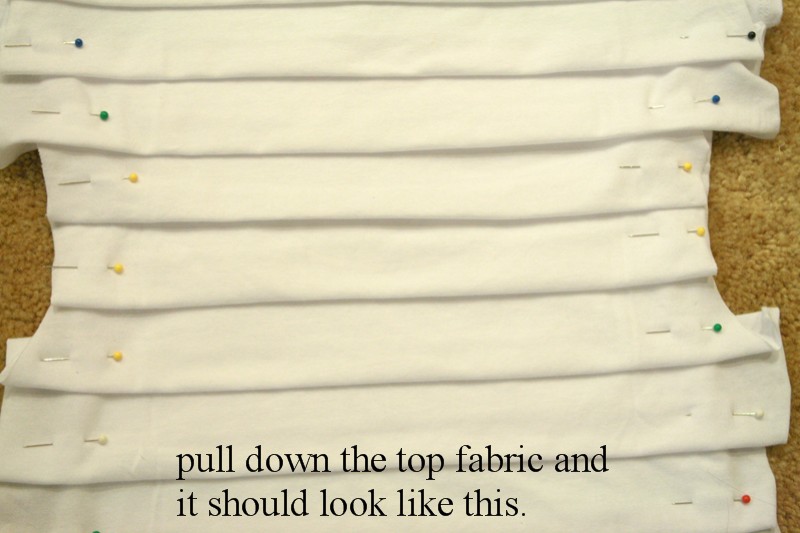
6.
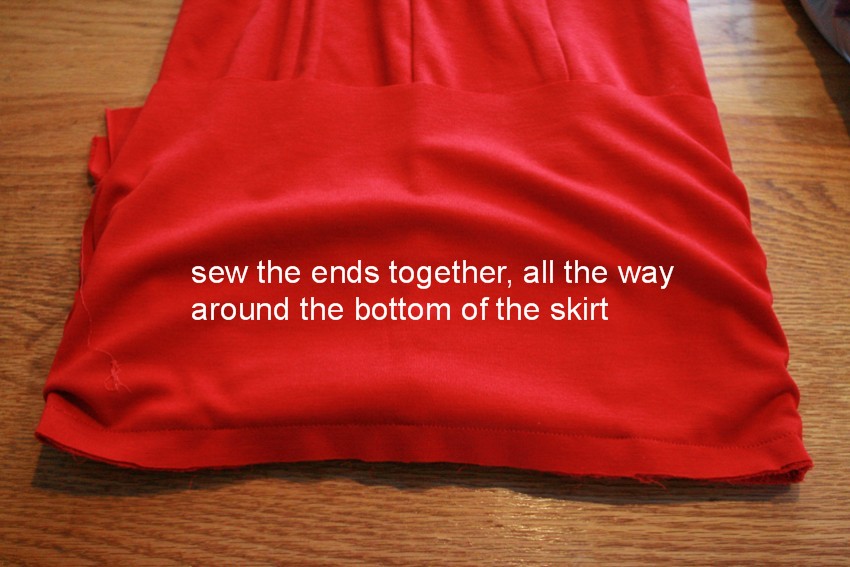
and then with the bottom pleated part

7.

8.

9.
10.
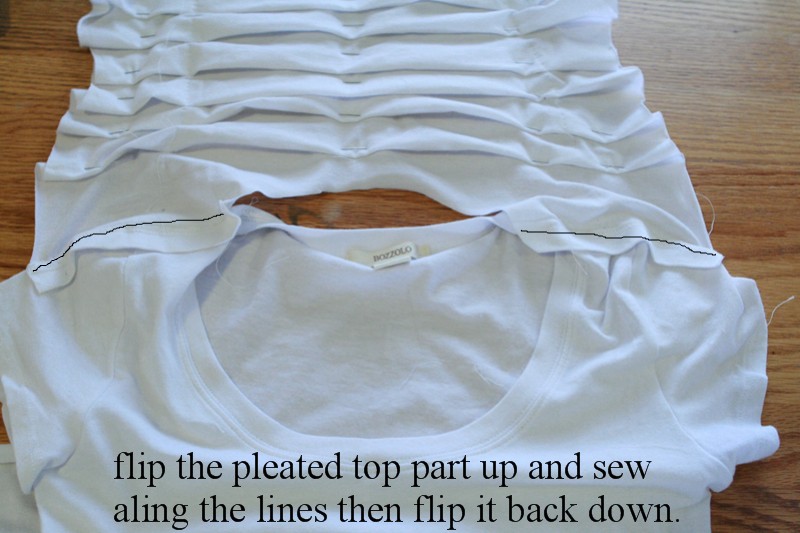
11. oopsie, mispelling. it should be “along” instead of “aling”. 😉

12.

13.
14.

15.
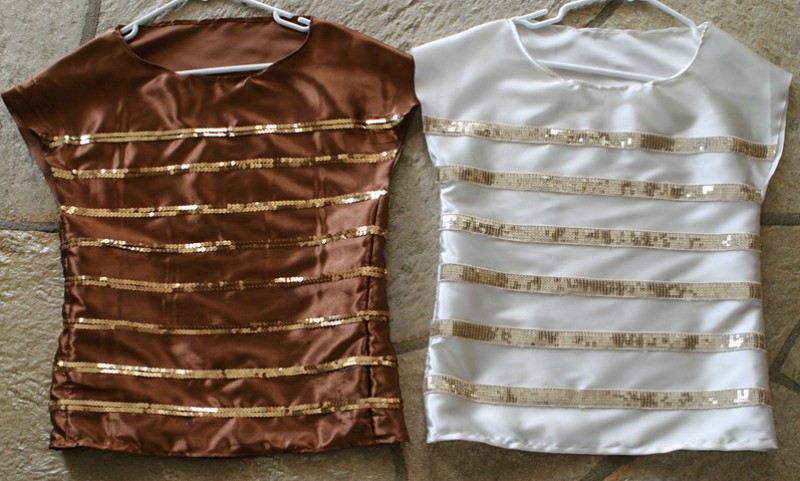
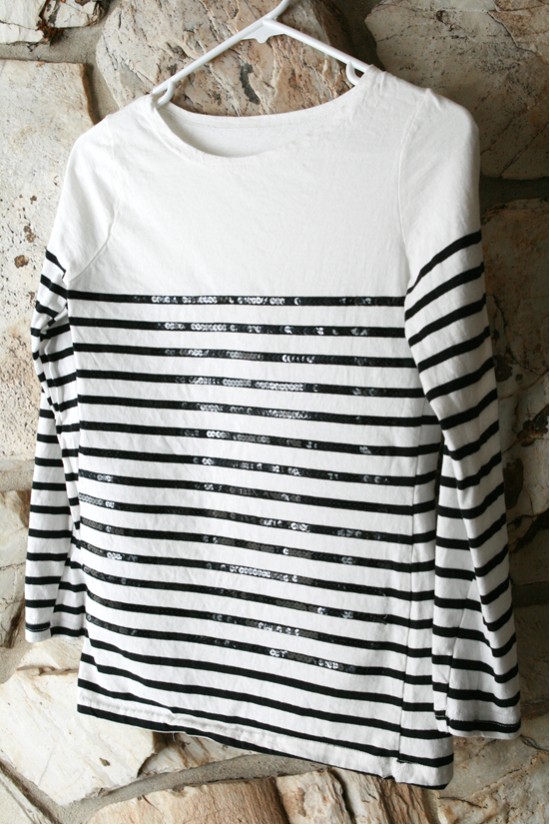
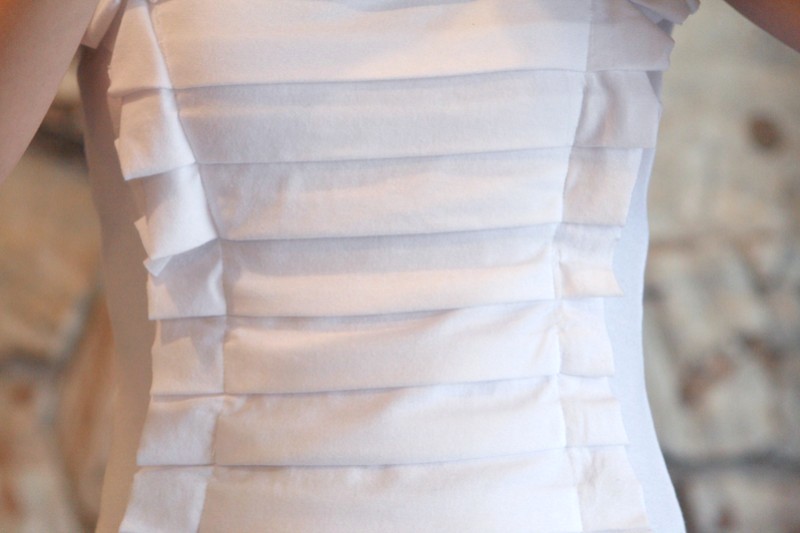
and you’re finished! TA-DA!!!


 |
I saved over $40!