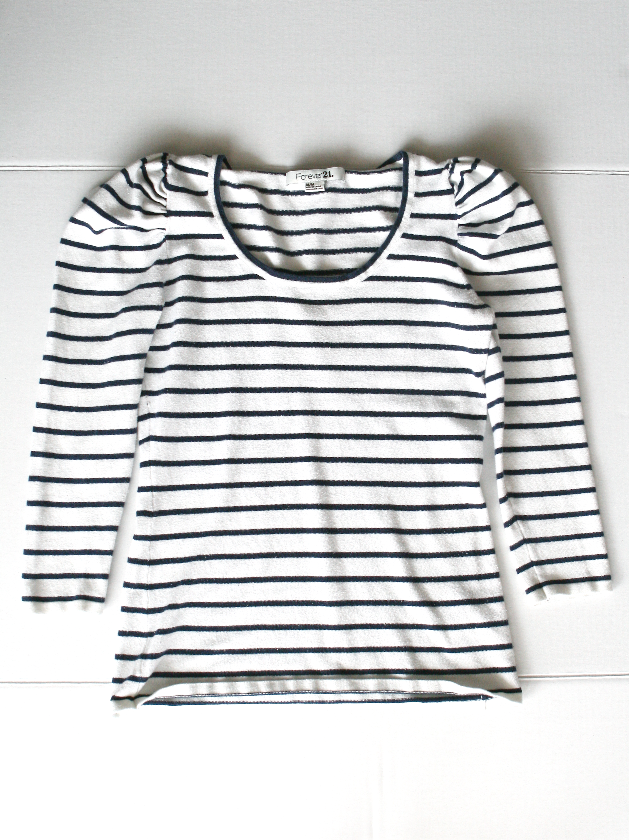
This post is in collaboration with Deseret Industries. They’re one of my go-to’s for my DIY refashion projects since there’s one within a few miles of my home. I went to the store looking for a solid color holiday sweater to refashion but found this striped sweater instead, there were so many options! They had plenty of solids and patterned sweaters so if you’re wanting a sweater to refashion like mine so you can wear it to your holiday gatherings, you’ll be sure to find one at Deseret Industries.
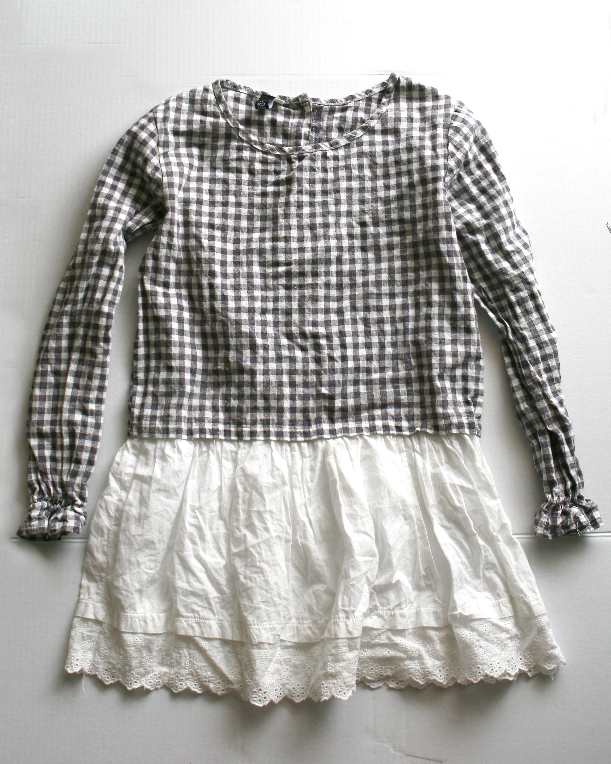
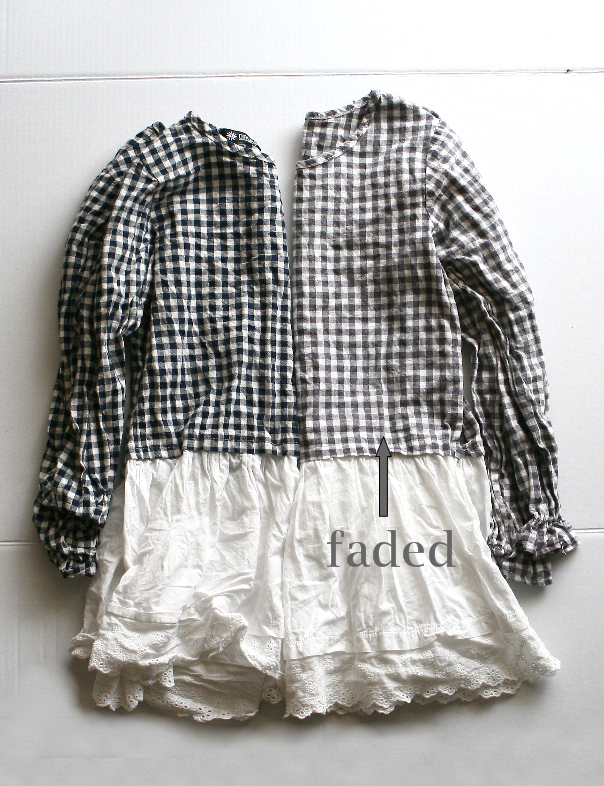
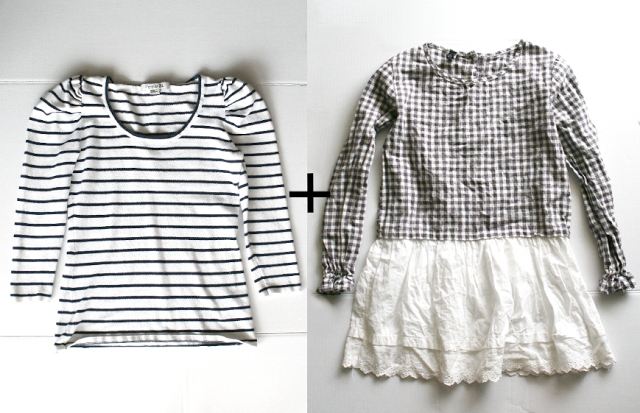
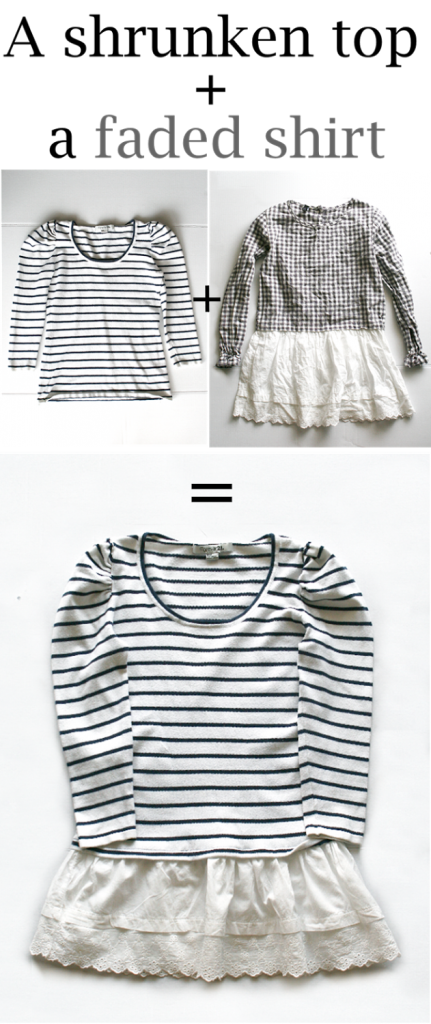
This top is a little too short to my liking, and the top below got bleached so the gingham print is all faded now. It was suppose to be a navy blue gingham print. I saved the top because I knew I could use the white lace on the bottom for a future project!
the comparison of how the top is suppose to look vs. the bleached faded color.
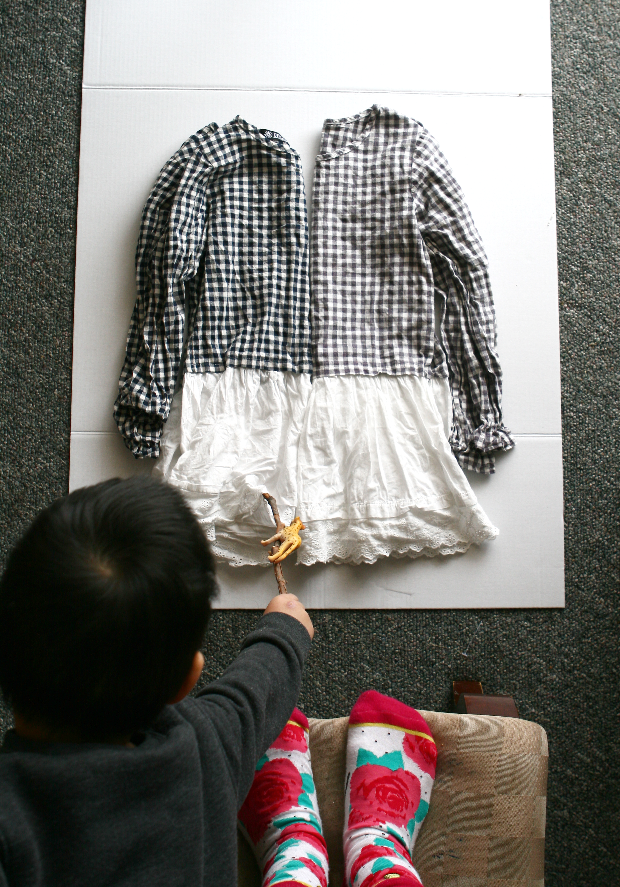
#momslife this is the behind the scenes of my photo shoot taking place. It just makes sense that the cheetah would try to climb down from the branch onto the shirt, doesn’t it? 😉
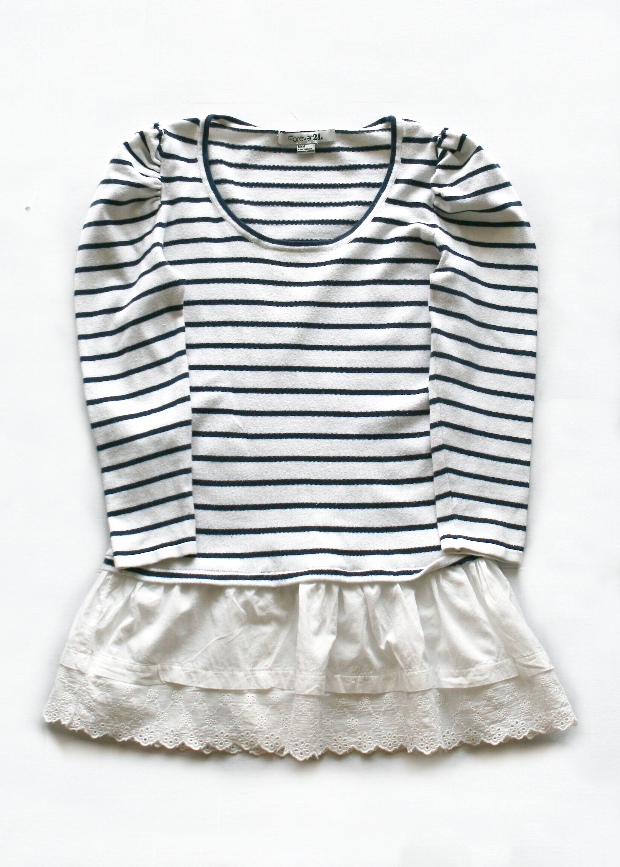
AFTER
My Outfit:
Top: DI-find DIY
Jeans: 7 for all mankind
Boots: ilse jacobsen
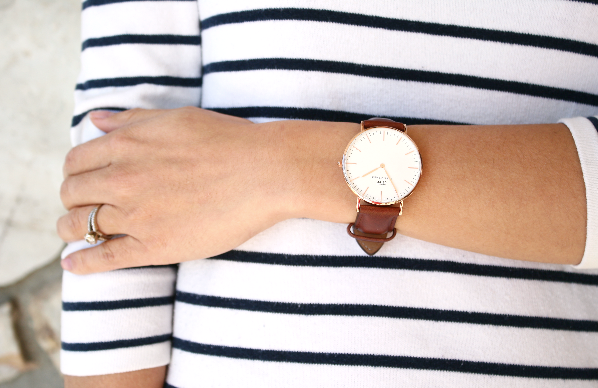
Watch: Daniel Wellington
What you’ll need:
-Two sweater/tops
-matching thread
-needle or sewing machine
-scissors
Instructions:
1. Took 2″ off the striped top on the bottom. Then hemmed the bottom.
2. Cut off the bottom lace part of the gingham top. cut 3″ off from the top of the lace to get it to the length I desired.
3. Sew the white lace unto the bottom of the striped top.
Estimated time: 25 mins.
Budget: $3.00
Skill level: A confident beginner
Pin & Share!







Love the end result! I’m glad you could reuse that lace section, it is a very pretty detail to have on a top 🙂
Away From The Blue Blog
great dIY! MAKES ME THINKING TO ADD SOME LACE DETAILS TO MY USUAL TOPS, AND IT LOOKS SO EASY TO DO.. tHANK YOU FOR SHARING! 🙂
This is so cute, I love this shirt