“Hello Mrs. Sarah,
One of the many things I love about your blog is how you buy something so much bigger than your actual size and make it so much smaller. How do you make your clothing “smaller”? I really struggle with that! I started sewing a couple of years ago but I have never been really good at alterations. If there is anyway you could tell me how you do what you do? I would love to know! I don’t have money to by those high end looks but if I knew how I could find the time!” -M.B- I don’t know about you but I’ve tried on clothes in the dressing room many times and said, “ah, only if this was bigger here, smaller here, tighter here, looser here…” but now that I tailor my own clothes all the time, even if it doesn’t fit right, I don’t sigh and wish, I just buy it and fix it so it fits just right.
And I think every woman should know how to tailor their own clothes, because instead of saying “oh I wish my body was smaller here, bigger here.” to fit certain type of clothing that you try on, you can say instead, “I don’t have to conform my body to a certain size, I make the clothes conform to me.” and it helps to have a better body image and self confidence when you wear a clothing item that fits you like it was made for your body that fits perfectly and accentuates the positive.
i’ve struggled with very poor body image and hated my body for many years and that is why I’m more passionate about this and the reason why I want to have my own clothing line one day. to help women have positive body image and accept and love the body that they have instead of wishing and waiting. but we can talk about my business concept later. on black friday, my friend rachel and I went to nordstrom rack, and I SO badly wished I had bought more than just one groupon! because even though some didn’t fit right, I saw the potential once it was tailored. here are some things I’ve tailored this past weekend.
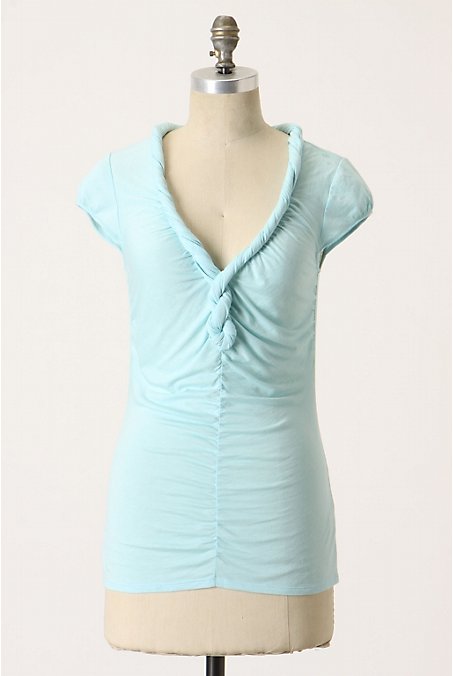
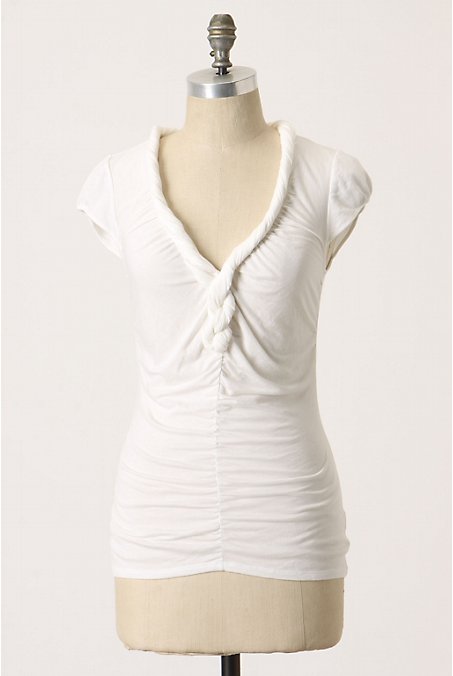
before:
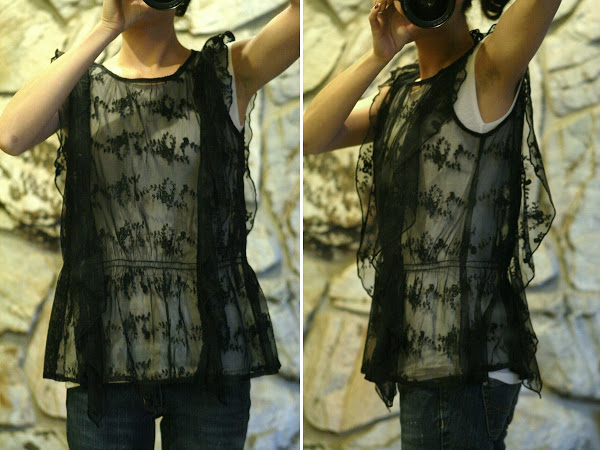
a black lace top that’s a little baggy.
 after:
  before:
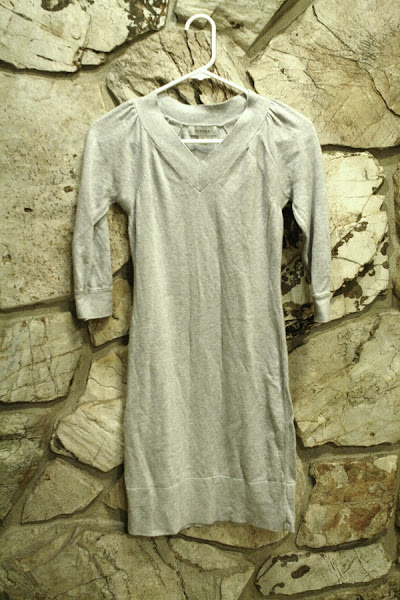
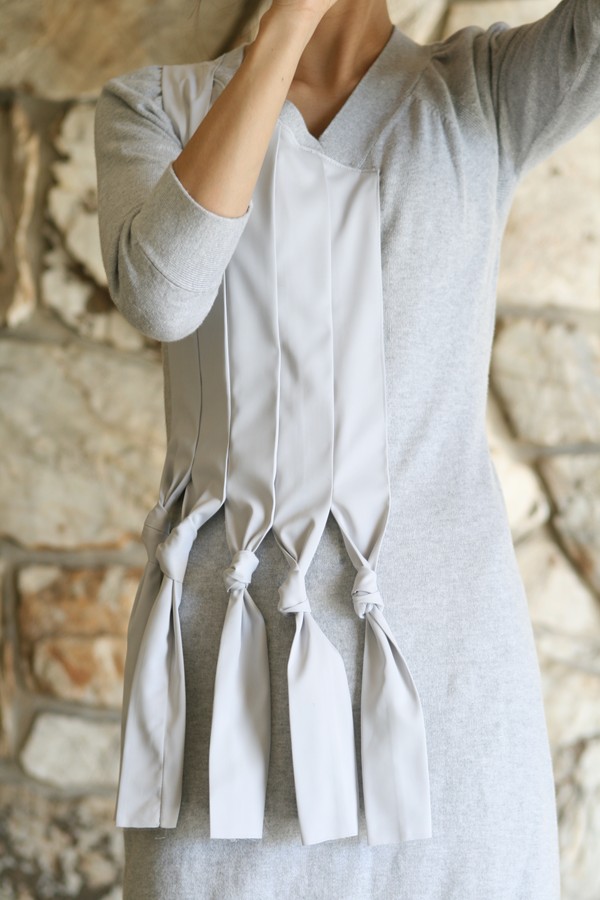
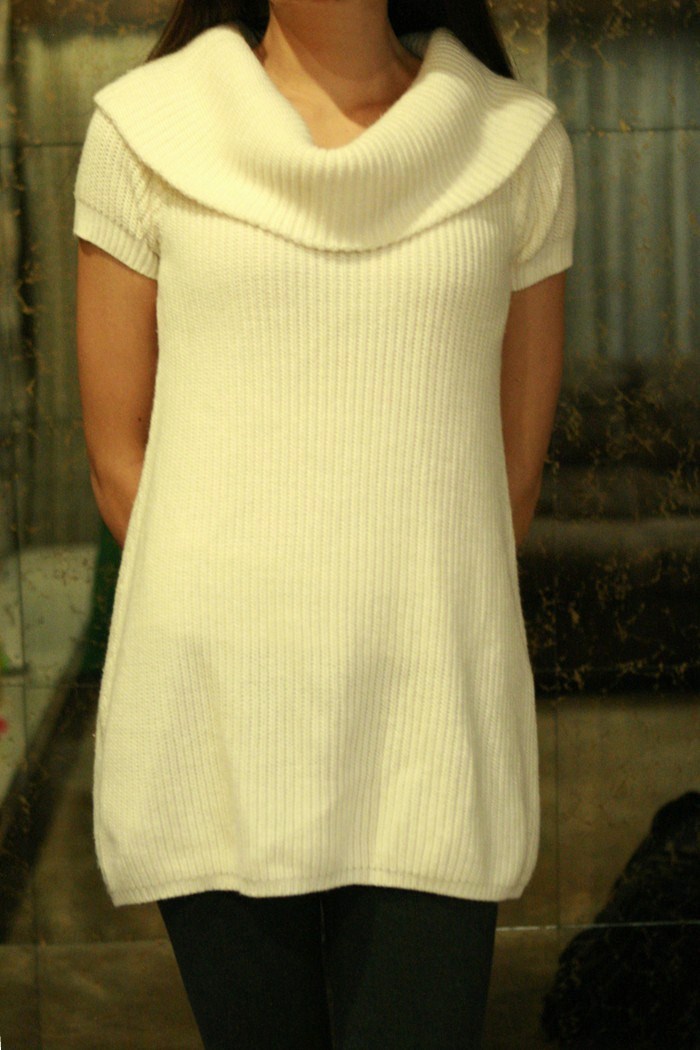
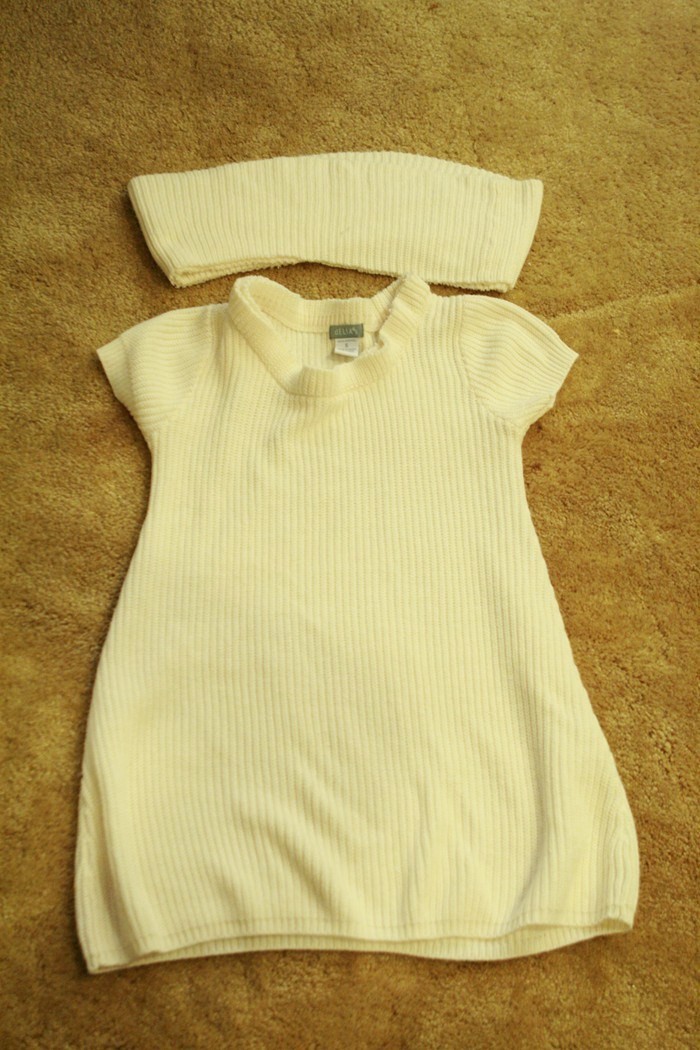
  a grey t-shirt dress that’s too big.
 after:
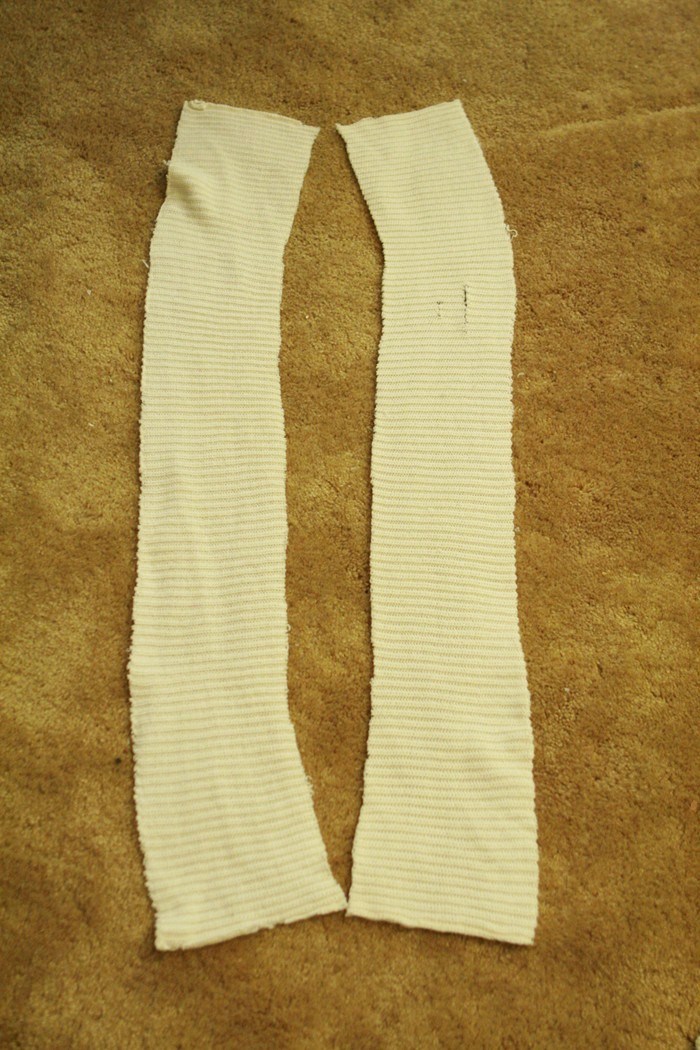
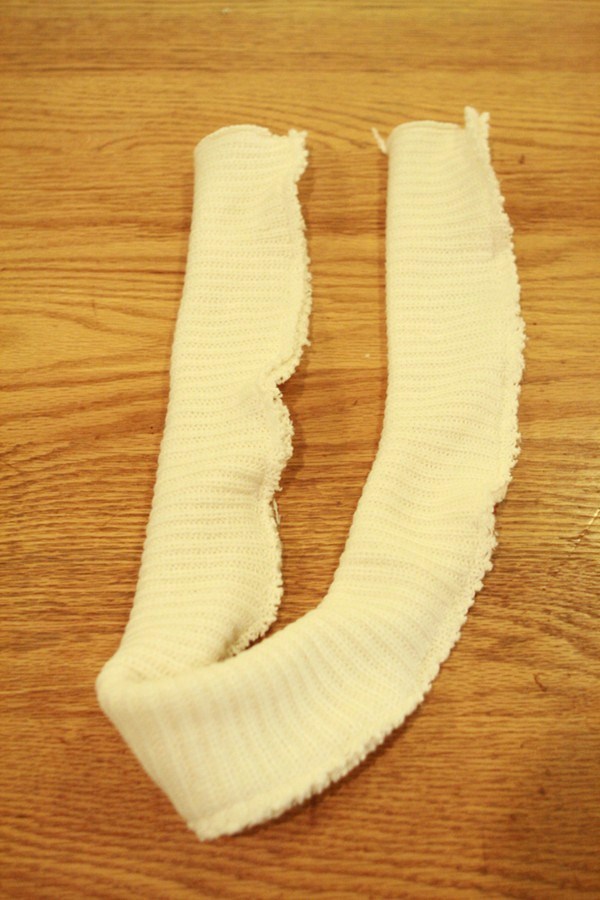
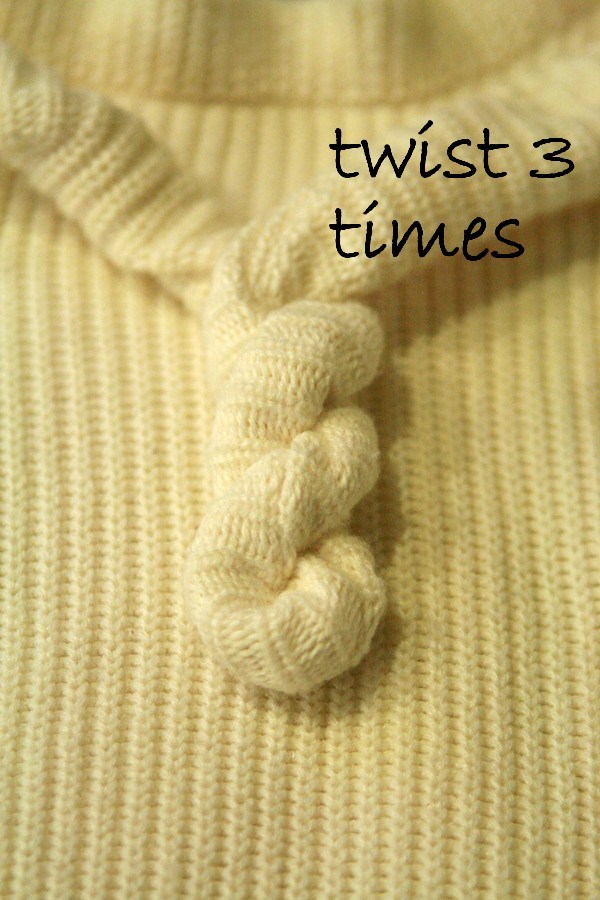
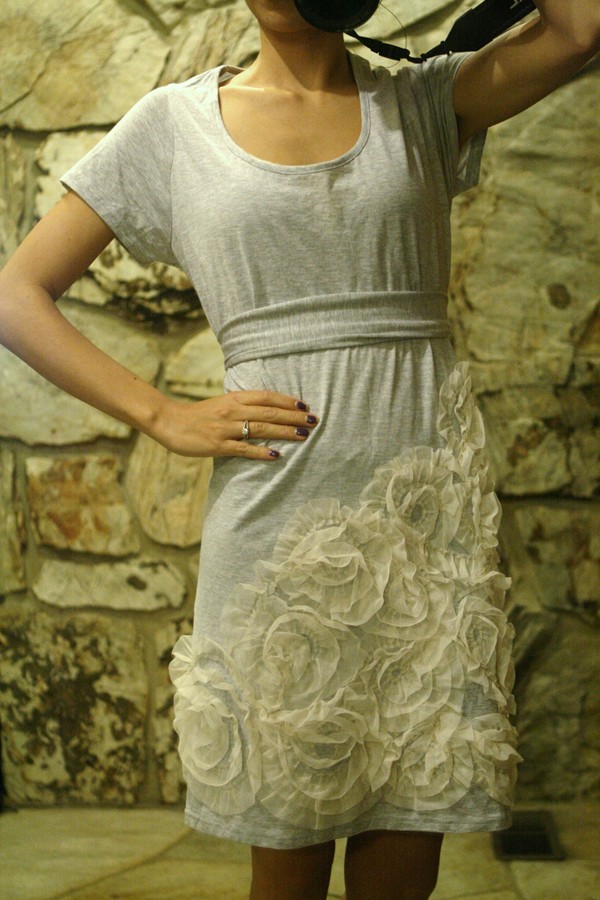 I sewed the middle of the back of the dress from the neckline to the bottom hem of the dress and used the extra fabric from the back as a tie. I could have sewed the sides but then the flowers on the side would’ve been sewn over so that is why I tailored the back instead.
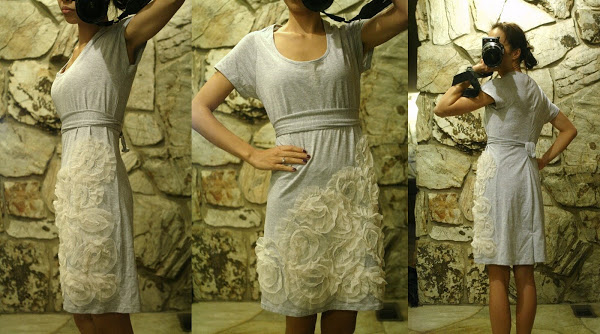
you can enlarge the picture to look at the back of the dress in more detail.
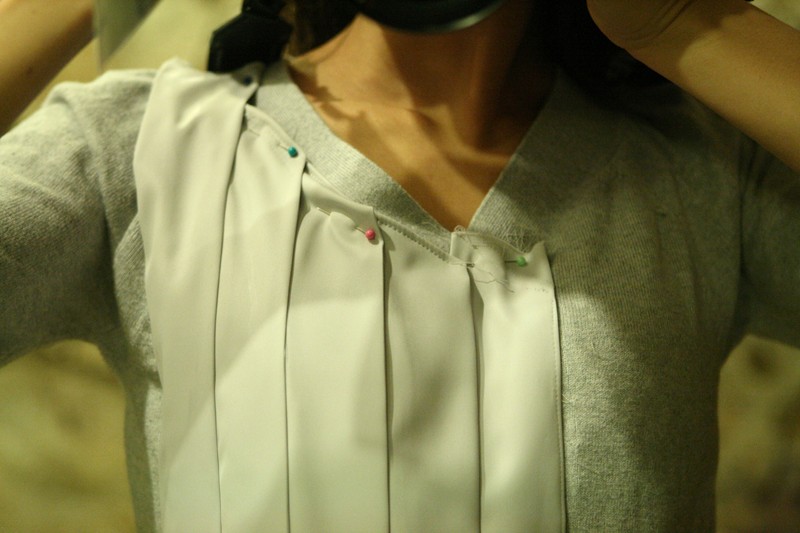
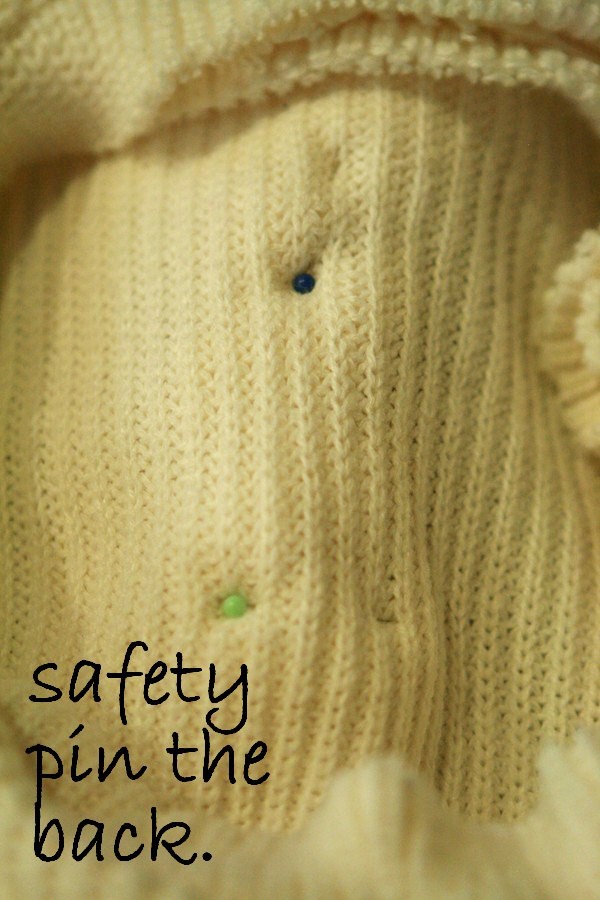
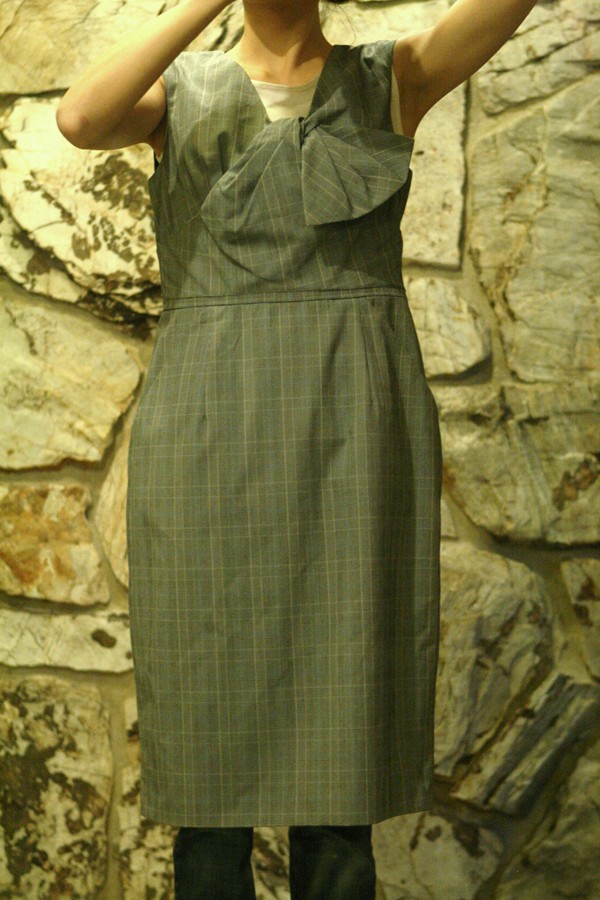
before:
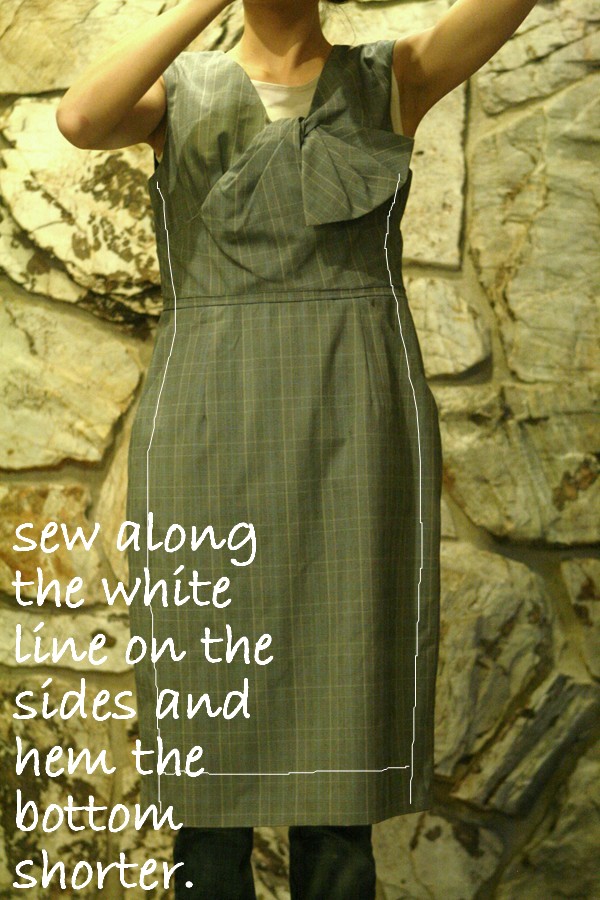
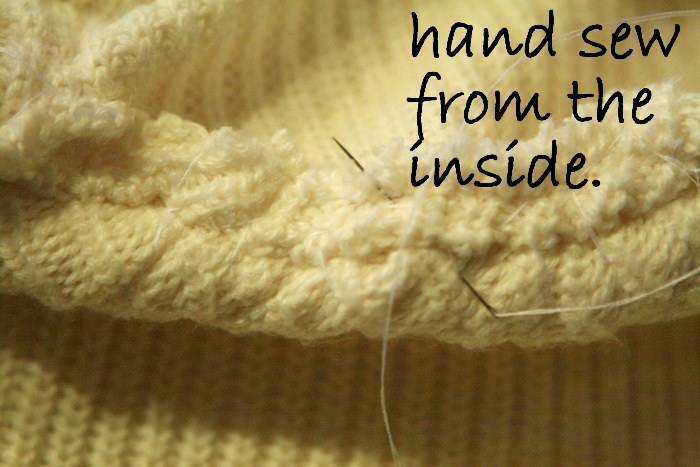
 *and just to clarify, when I say sew along the white lines, I mean from the inside out.
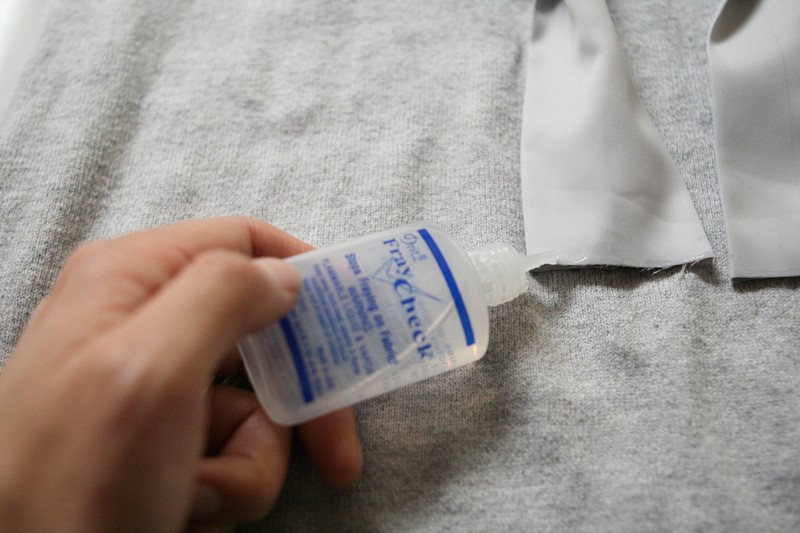
and this dress was possible to sew the sides since it was a back zipper dress. if it was a side zipper, it would’ve been harder to tailor, and you would have to tailor it from the back middle part like I did with the light grey dress above. that’s how I do it anyway. I hope I helped in some way in answering your question M.B! I’ll have more tailoring DIY’s and tips next week. I usually post my DIY projects on Monday but from now on, I think I’ll post them on Tuesday.
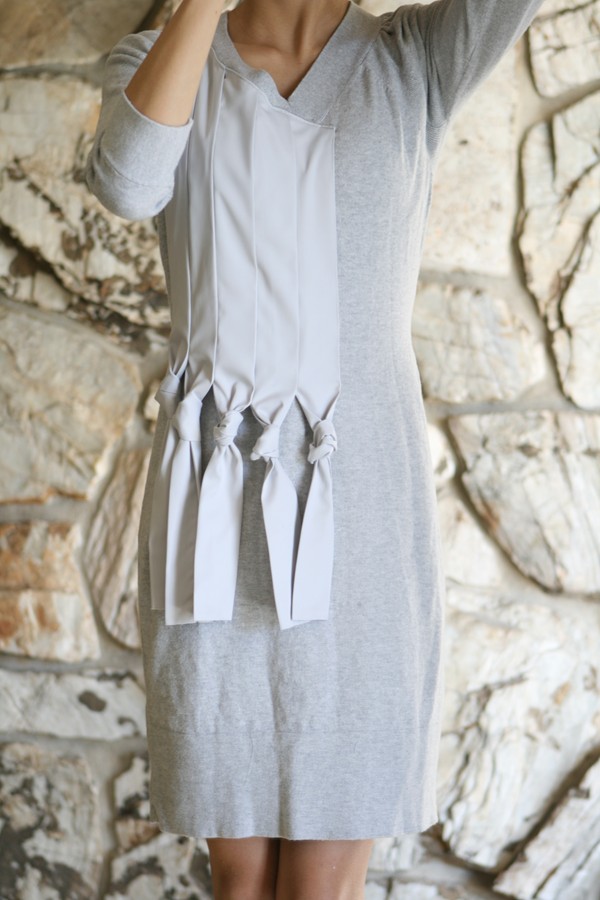
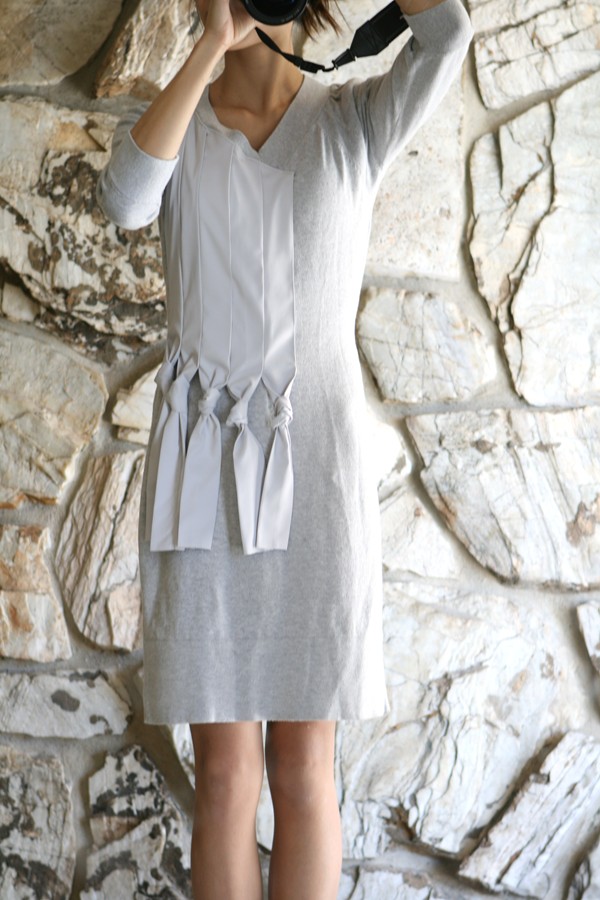
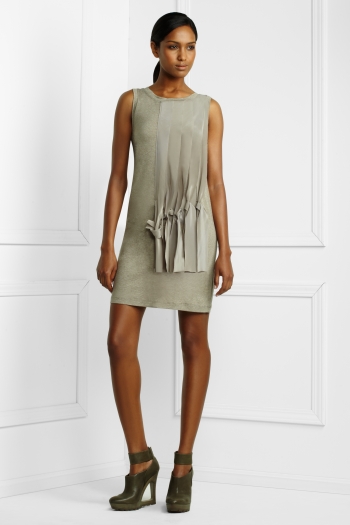 BCBG Maxazria knotted panel dress