• ABOUT
  • COLLABORATE
  • CONTACT

Life is Beautiful

Motherhood, Sewing, Family

  • SEW
  • HOME
  • PARTY
  • TRAVEL
  • SHARING MY HEART
  • SHOP

girls’ tulle skirt and modestifying a short dress

February 14, 2011~ SEWING

i have two happy news.  i was featured in a great craft blog called u-create and i made it to the top 10 knock-off contest.  to be honest when i looked at the other top 9, my exact thoughts were, “oh crap! the other ones are so good and mine sucks!” i felt a little embarrassed i’m not gonna lie! haha, don’t worry i’m not sad by any means, i was just in awe at how amazing the other 9 were and how much time they’d spent on their projects while mine took like an hr.  i kept thinking what other project i could’ve submitted instead but what’s done is done and i’m honored to be in the top 10.  and the winner gets chosen by votes but i’m not asking you to vote for me, i know i won’t make it, i just want you to check out the other 9, you will be blown away! i think my favorites are the wedding dress and the BCBG dress.

for this week’s DIY, i made two things.
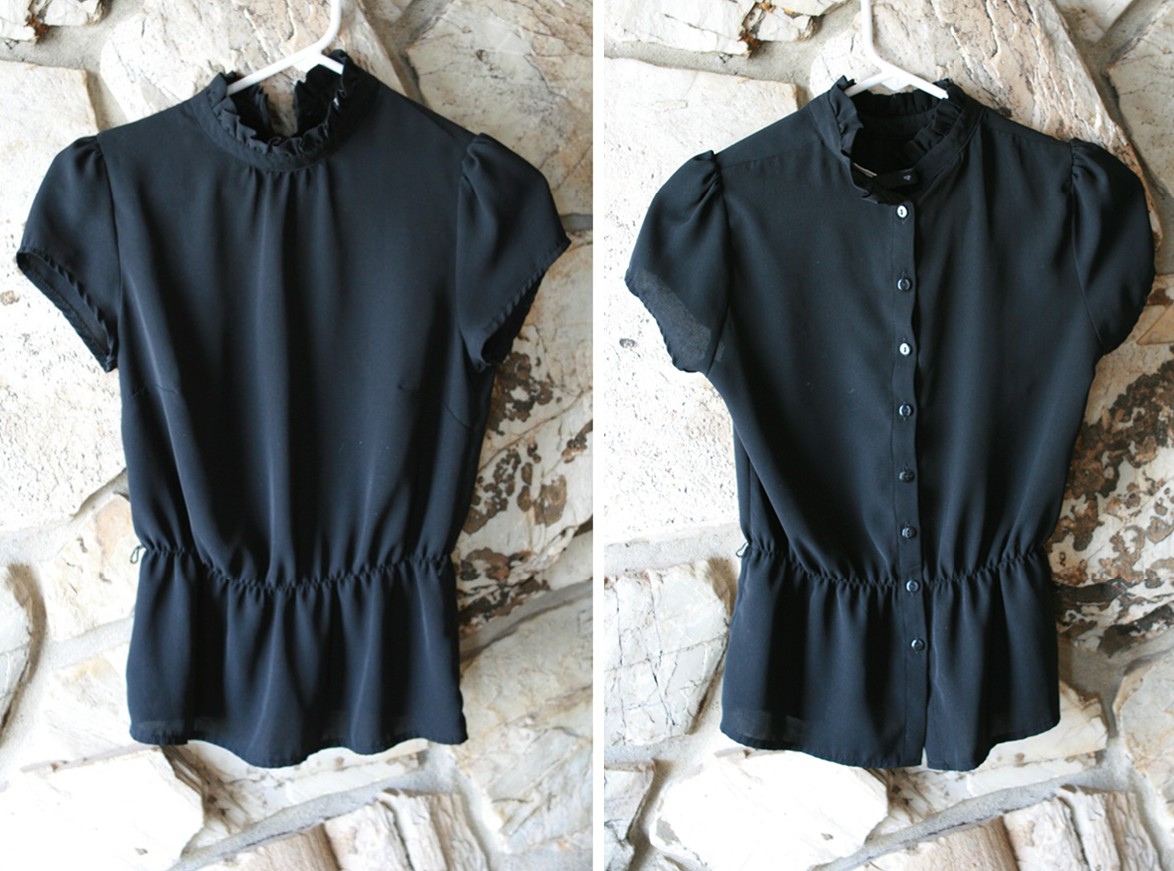
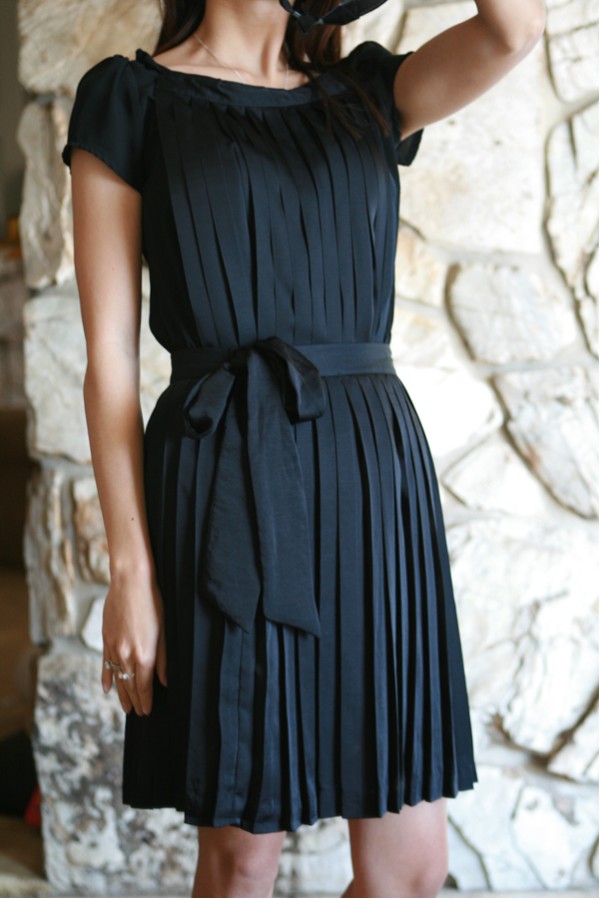
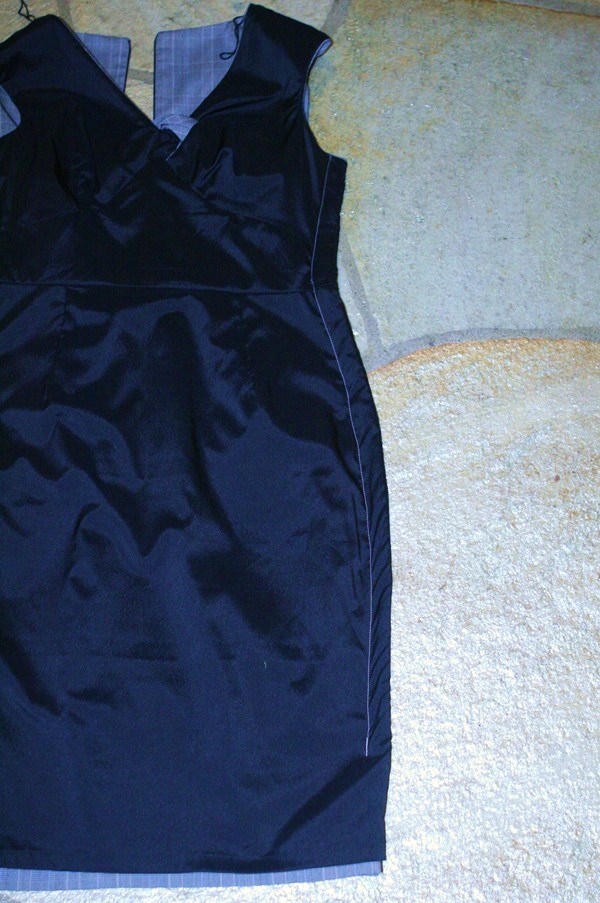
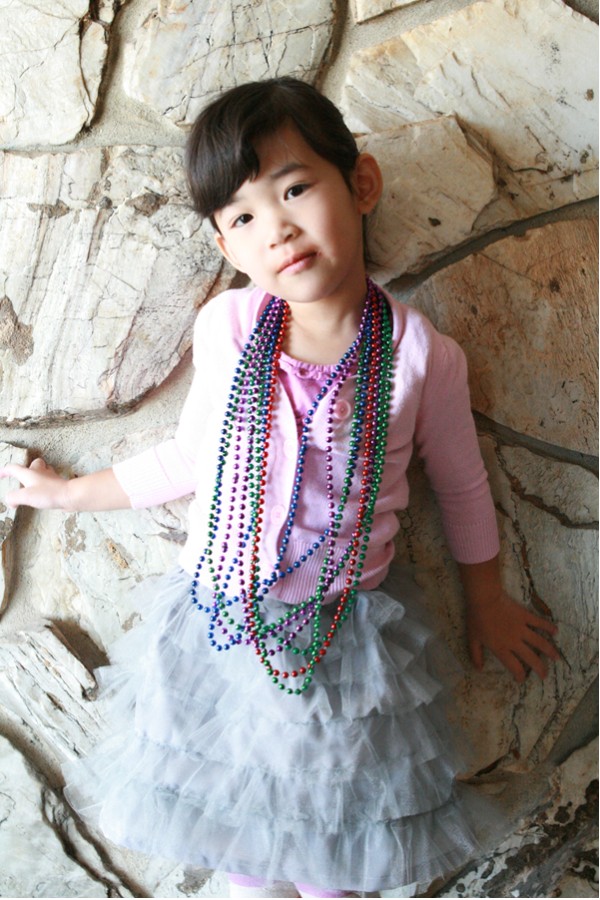
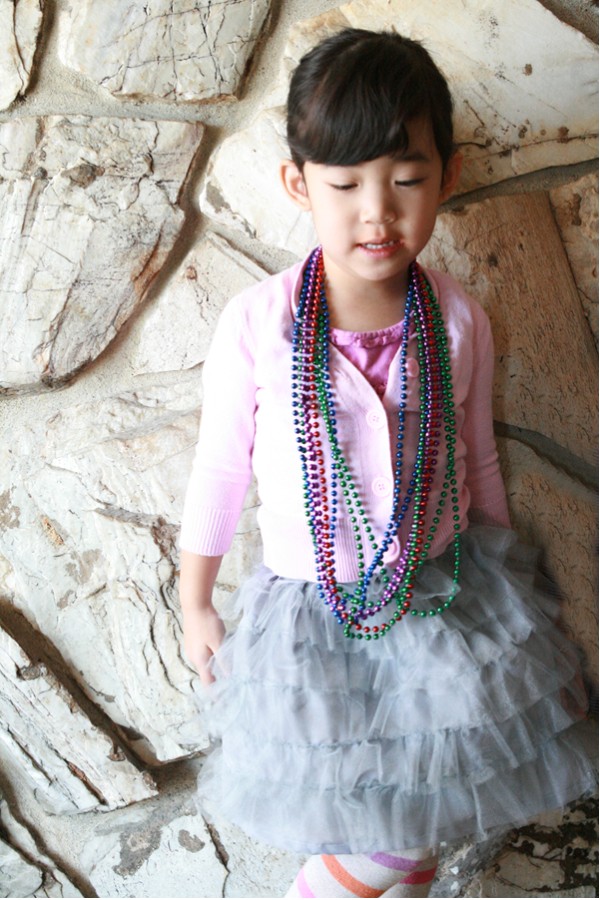
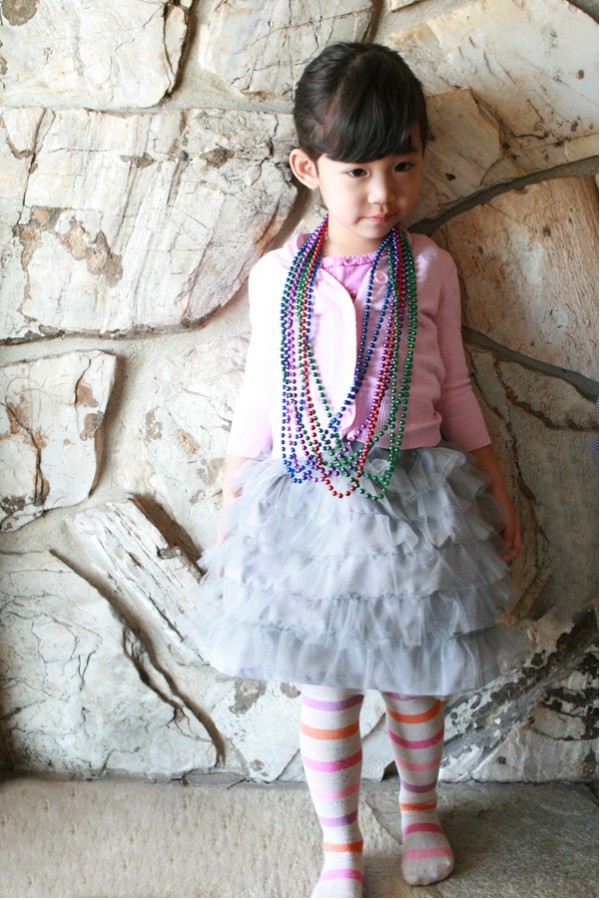
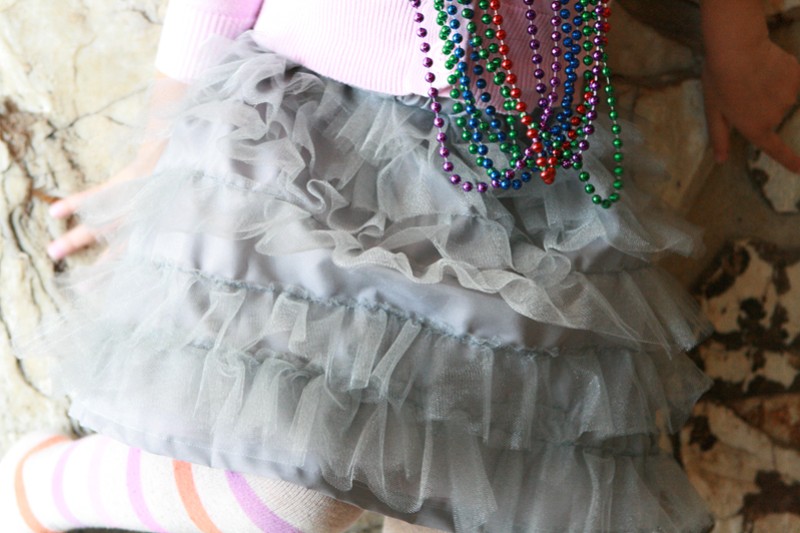
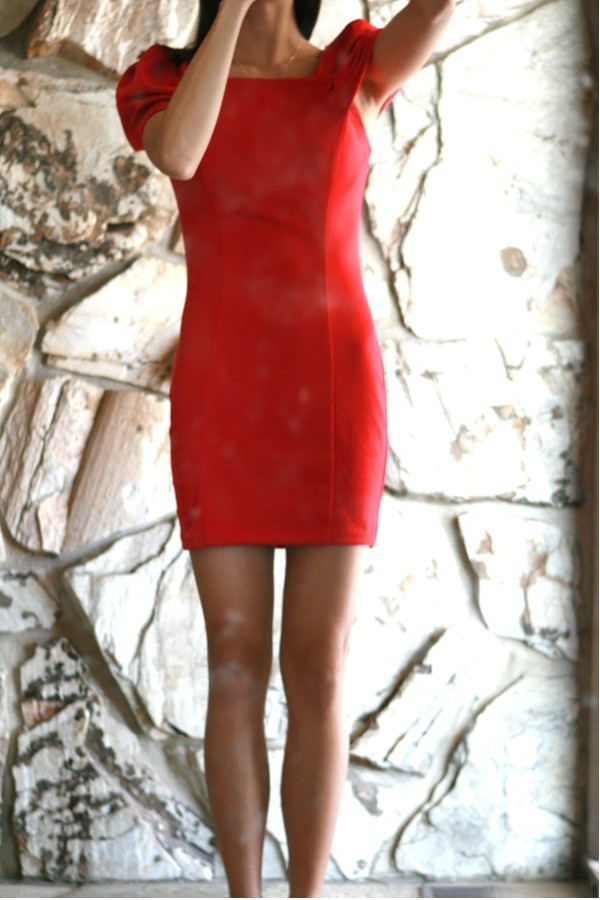
 i made a tulle ruffle skirt for my girl and modestified a short dress.
she’s been wearing these necklaces everyday.
i wish i could say the same about the skirt but she doesn’t like it actually
because she says, “it doesn’t spin around like a princess.”  🙁

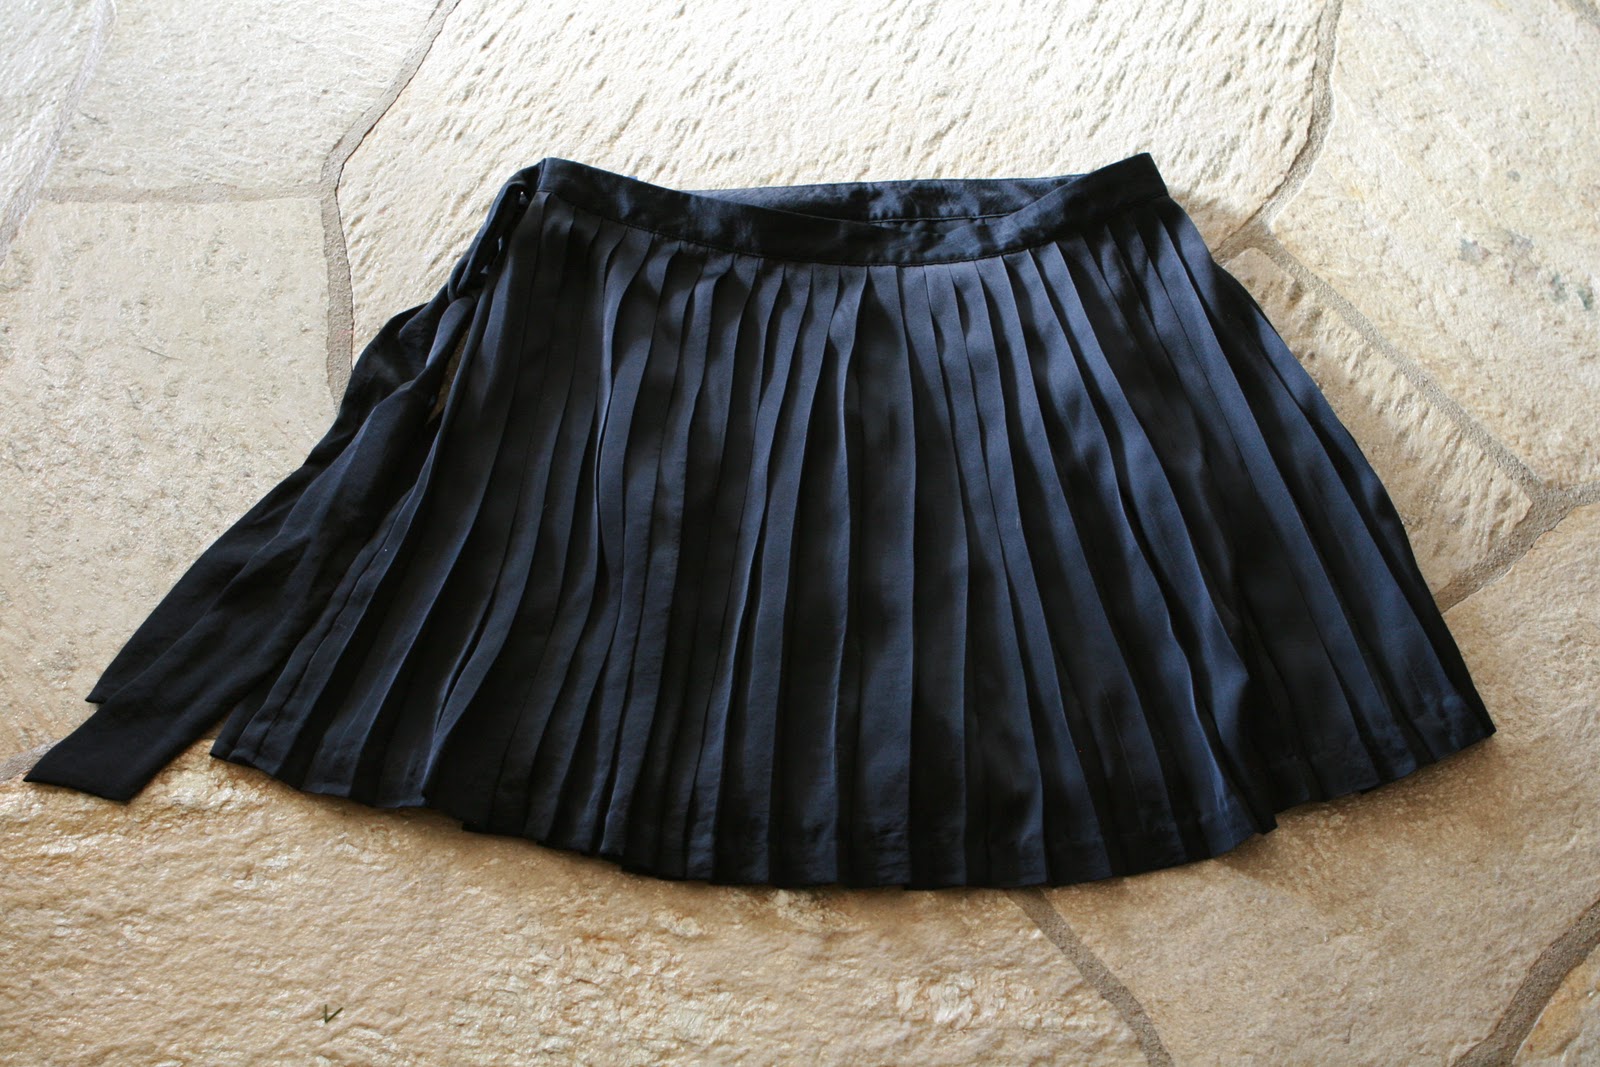
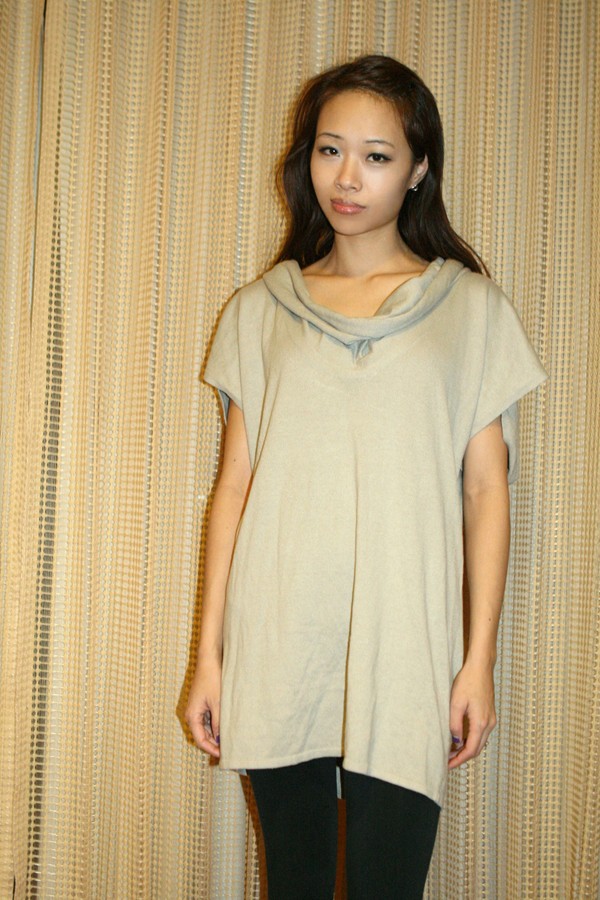
on to my 2nd project

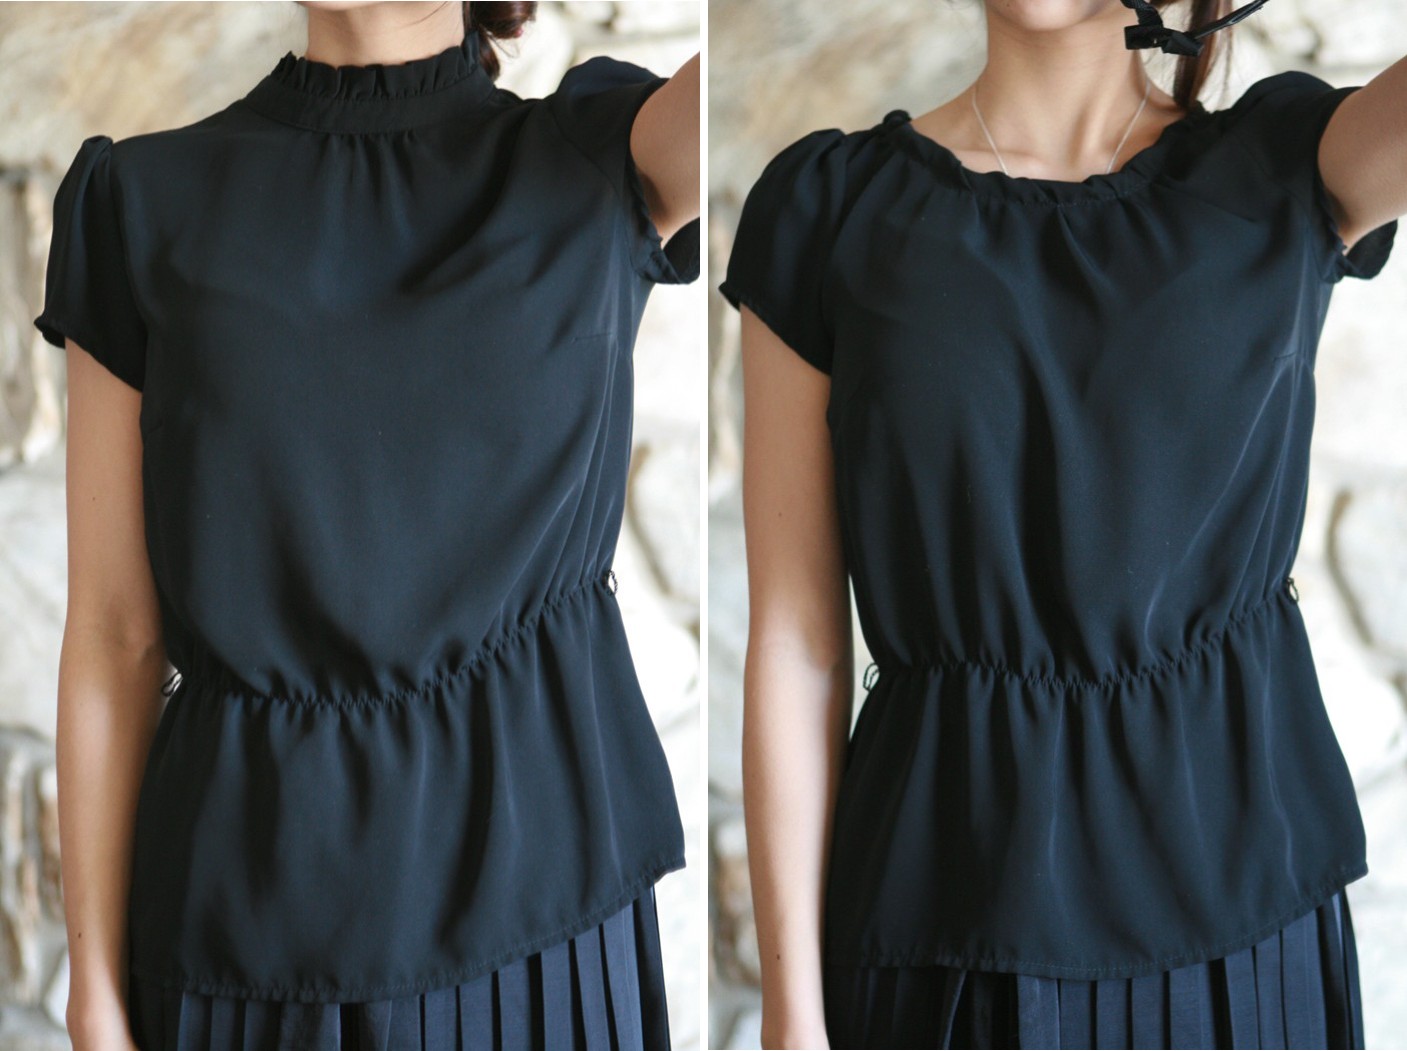
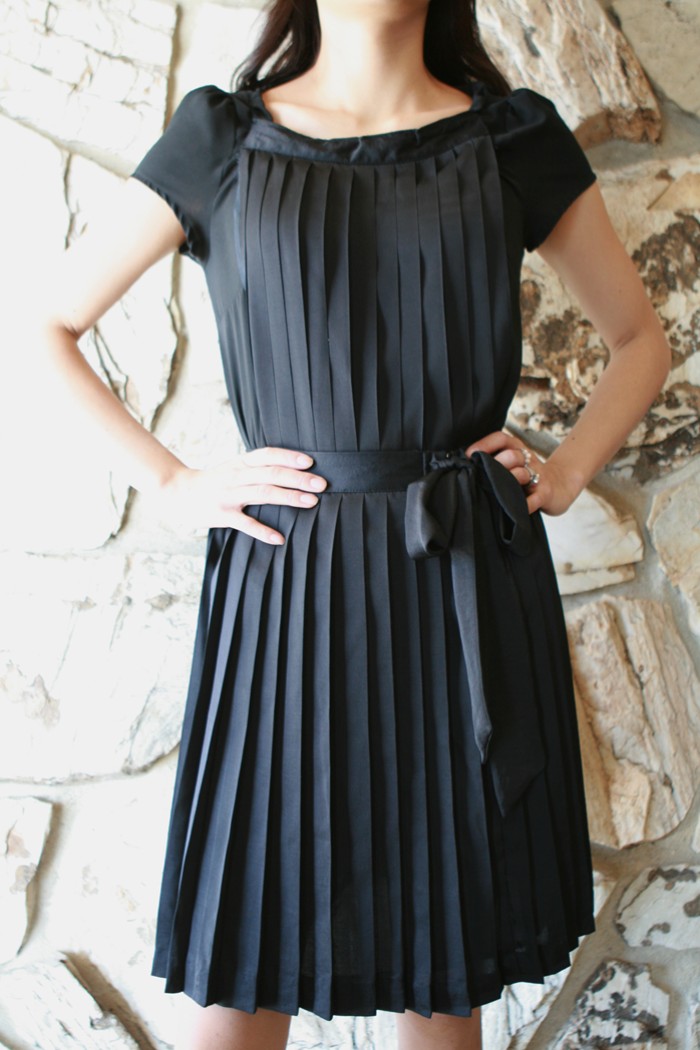
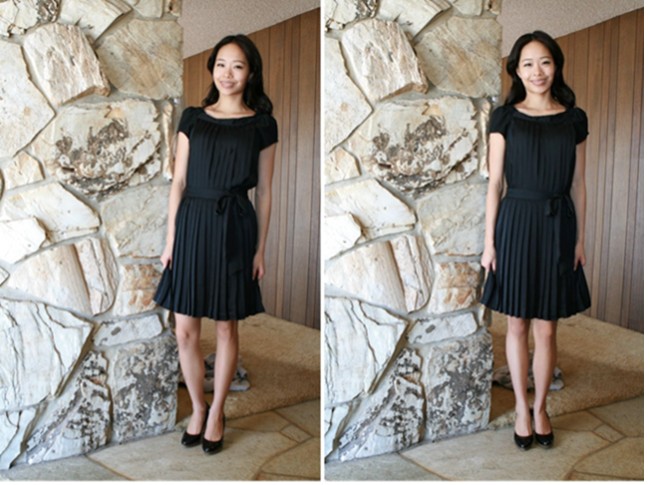
before the dress was modestified and before the mirror was cleaned. 😉

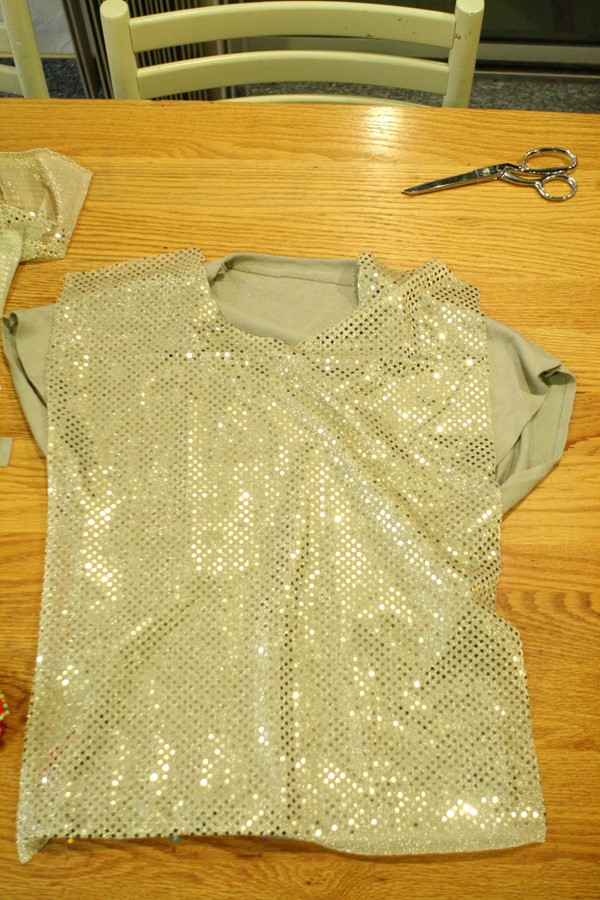
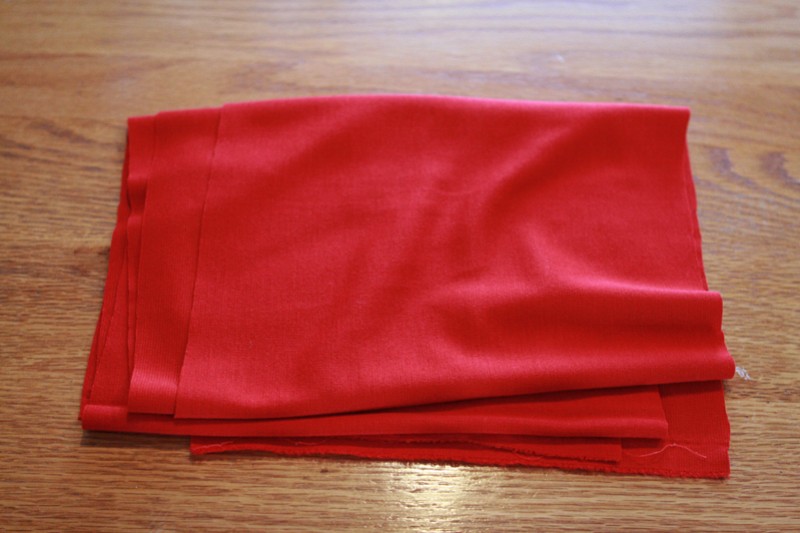
 bought fabric from joann’s
(i didn’t have the dress with me (which i don’t recommend) so i just bought it hoping it was the same color and i was lucky enough to have it be the same exact fabric and color!)

1. unpick the seams on the bottom of the skirt.  
2. lay the fabric on top of the dress so the ends meet.  
the right side of the dress and the right side of the fabric are together.
3. sew the ends together all the way around the bottom of the skirt. 

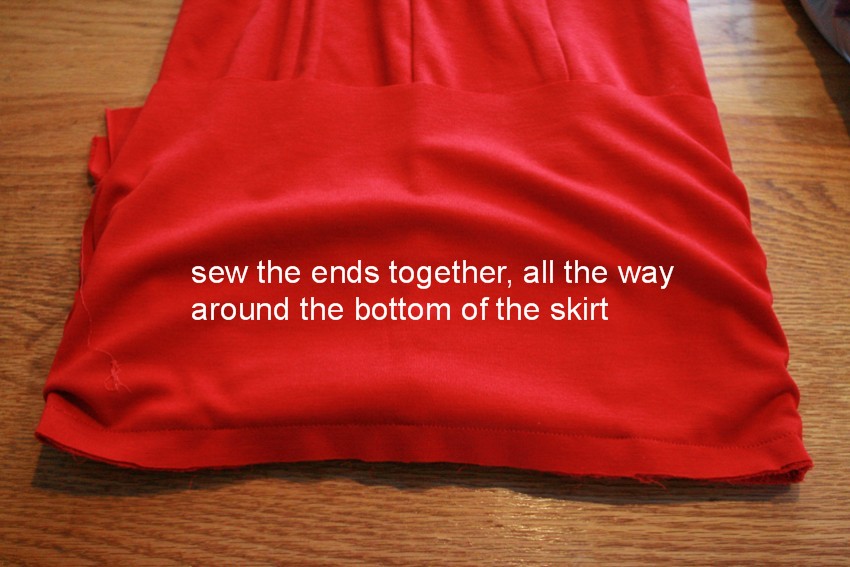
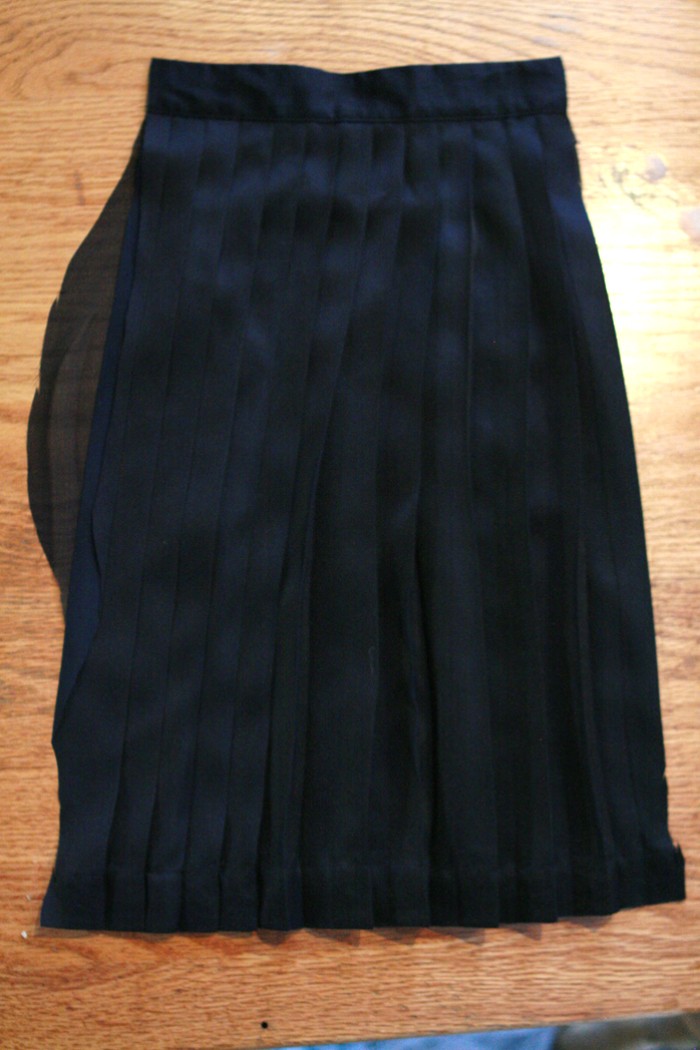
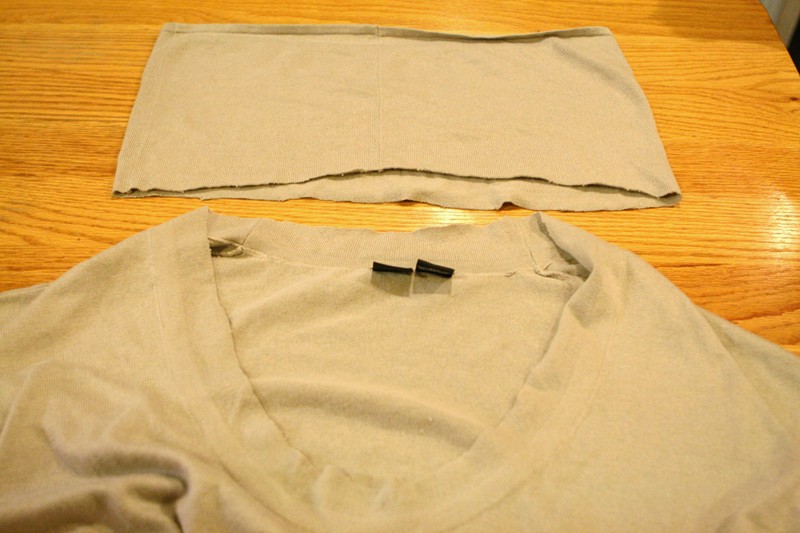
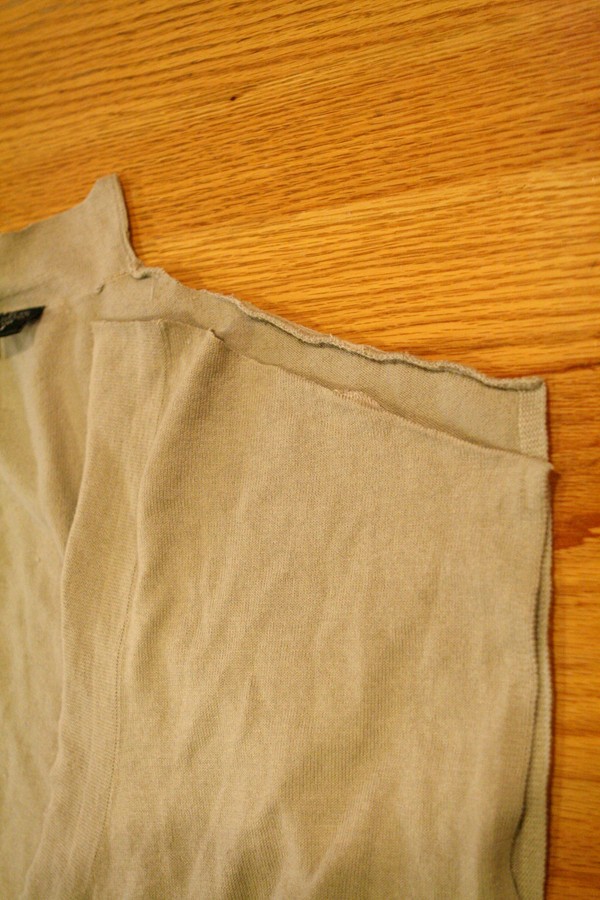
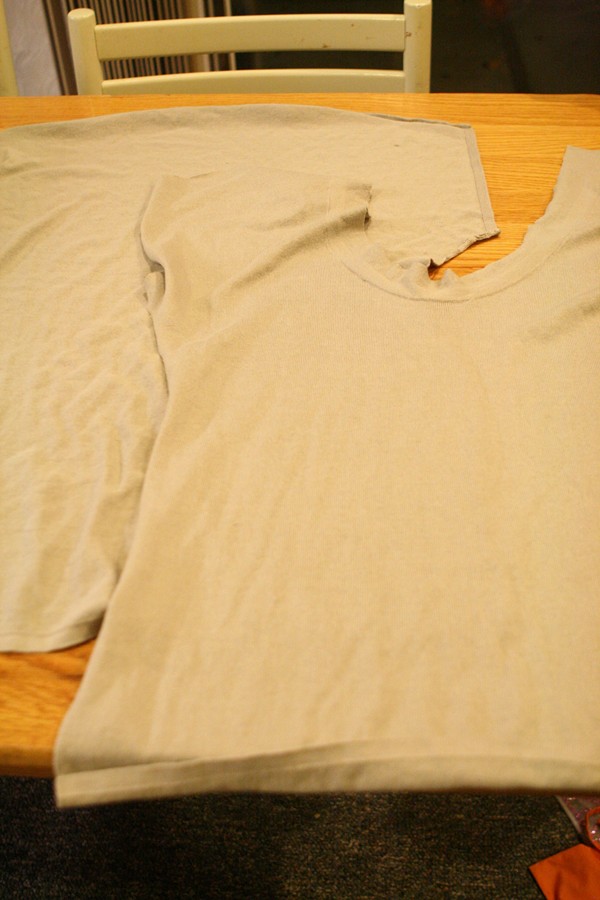
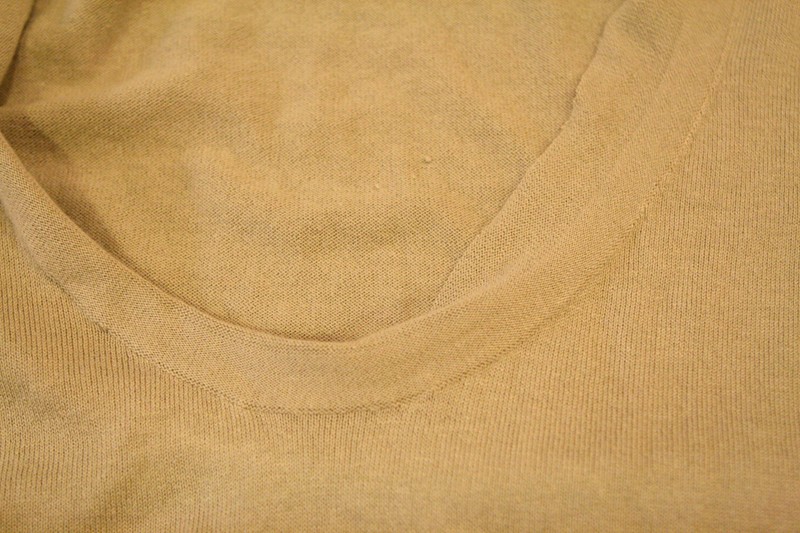
4. pull the sewed fabric down and hem the bottom of the newly-length dress.
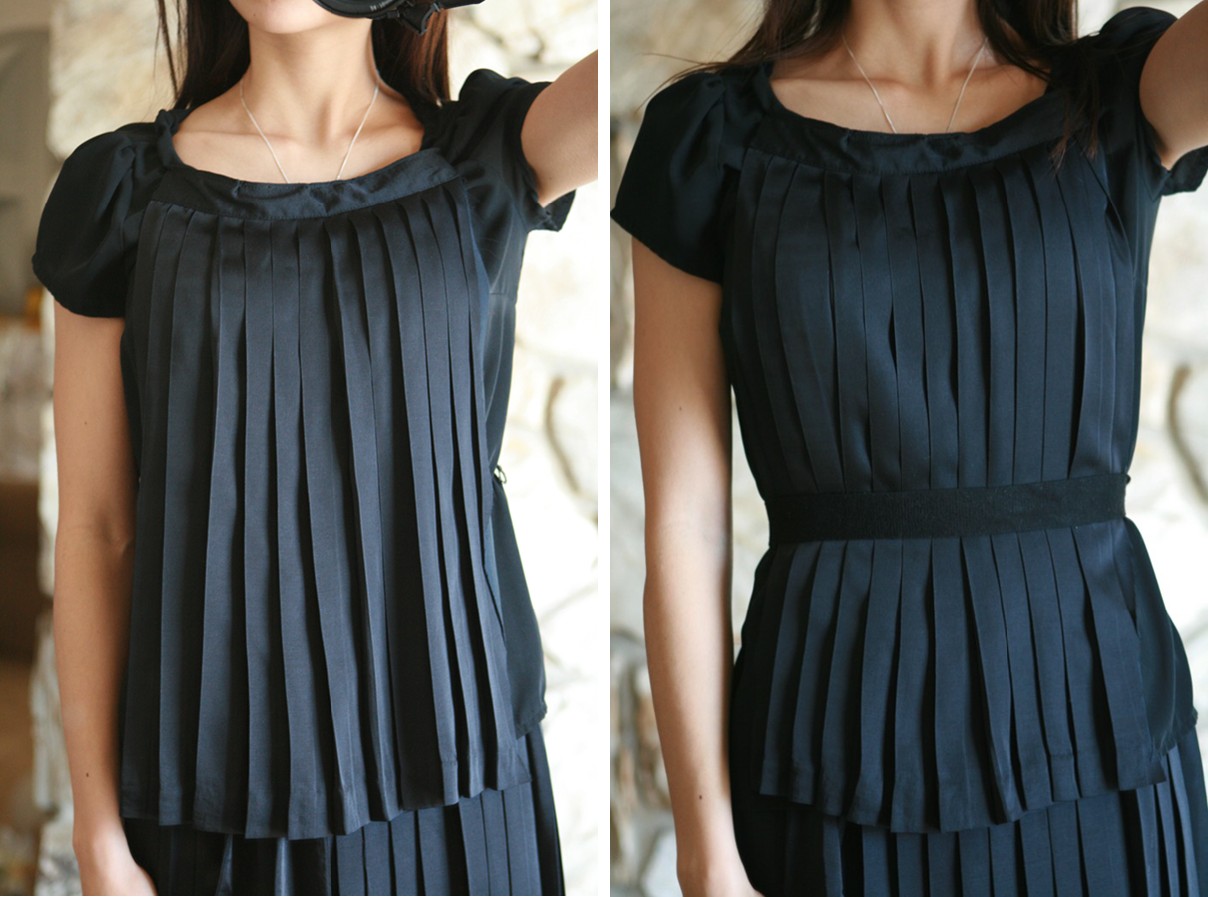
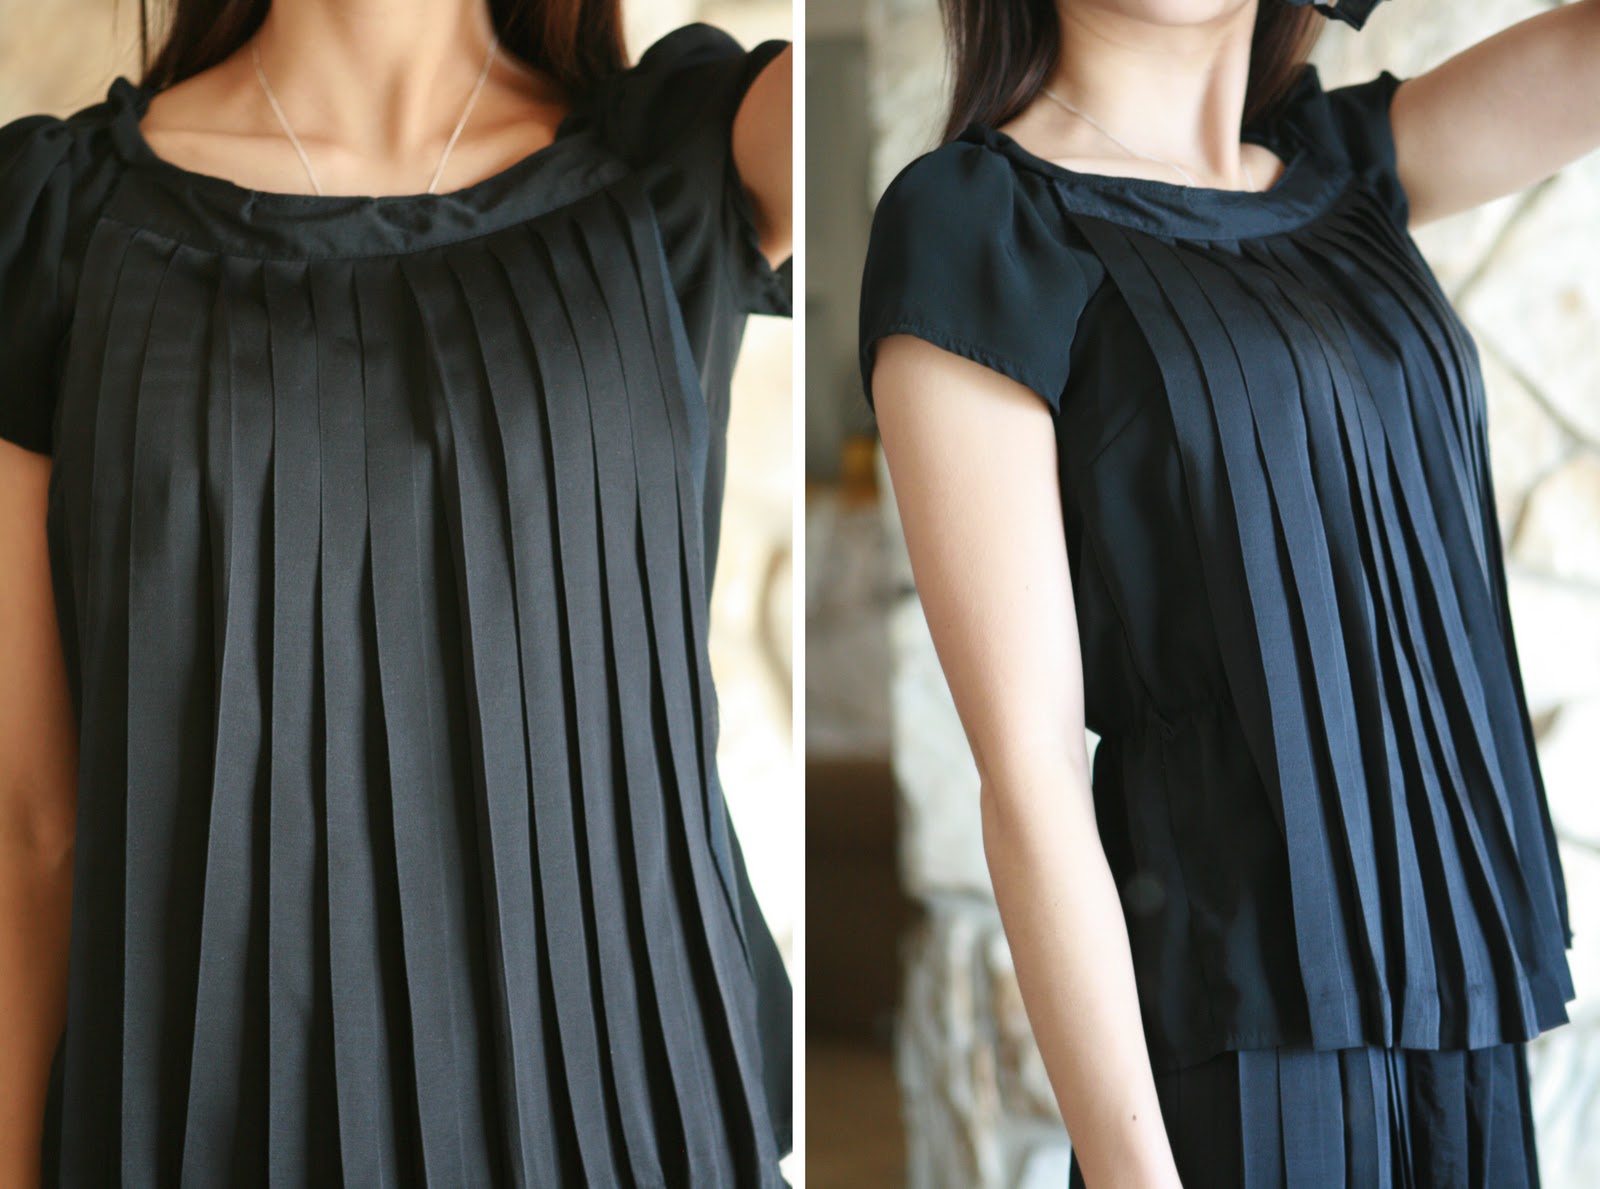
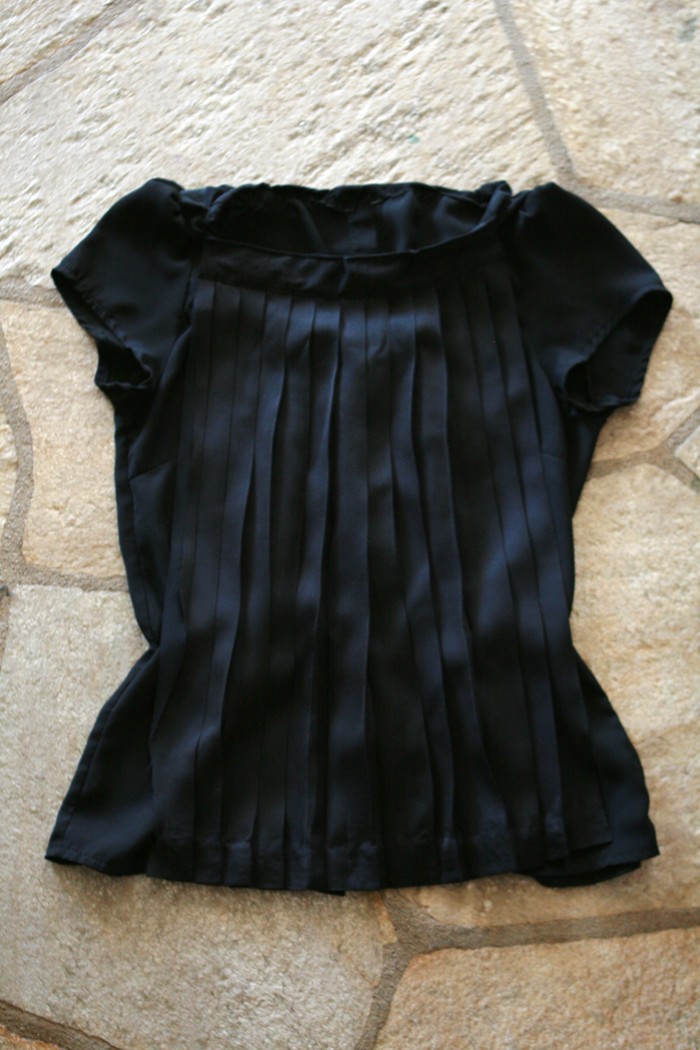
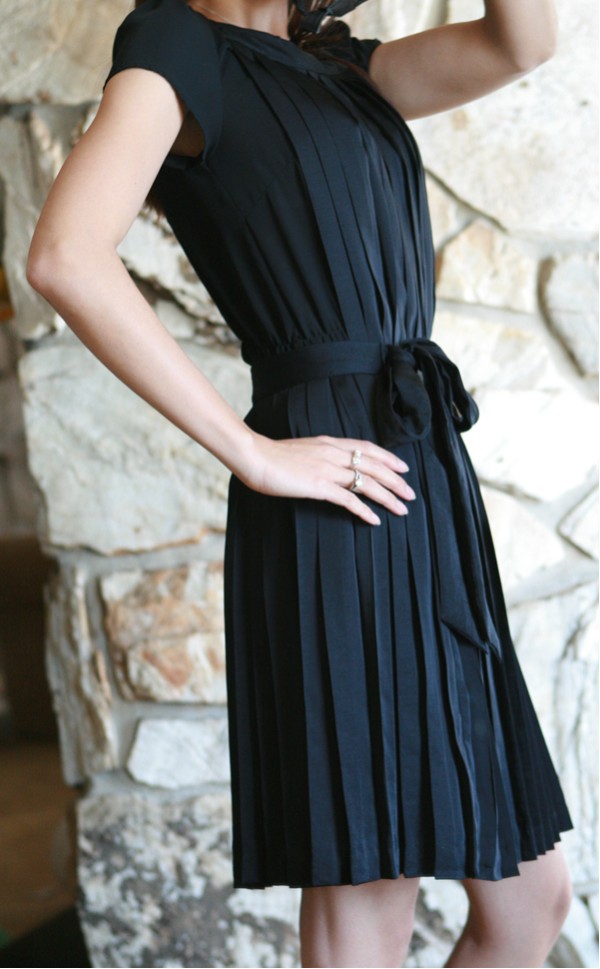
after:

i recommend ironing it too which i didn’t do(i hate ironing!).
it would flatten the hem and make it less noticeable i think.

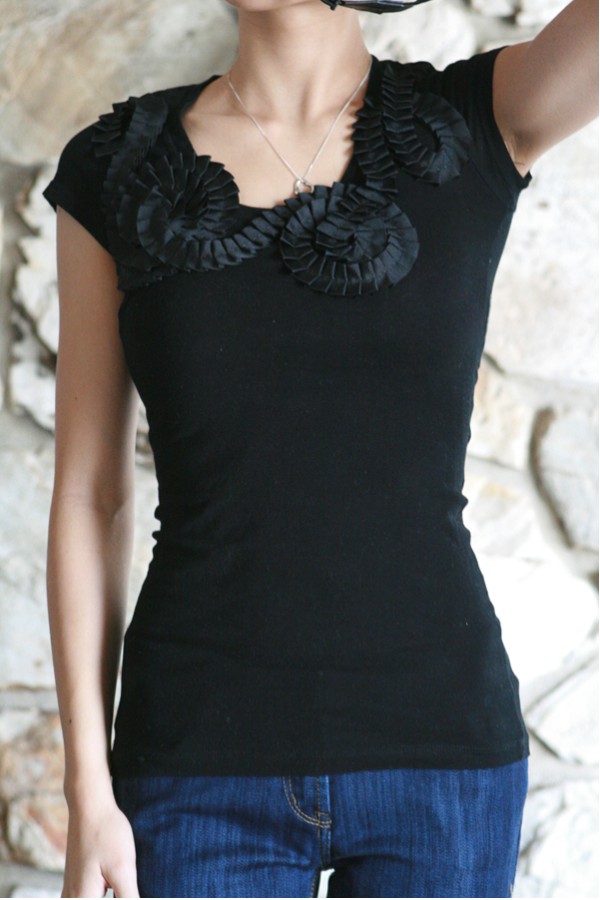
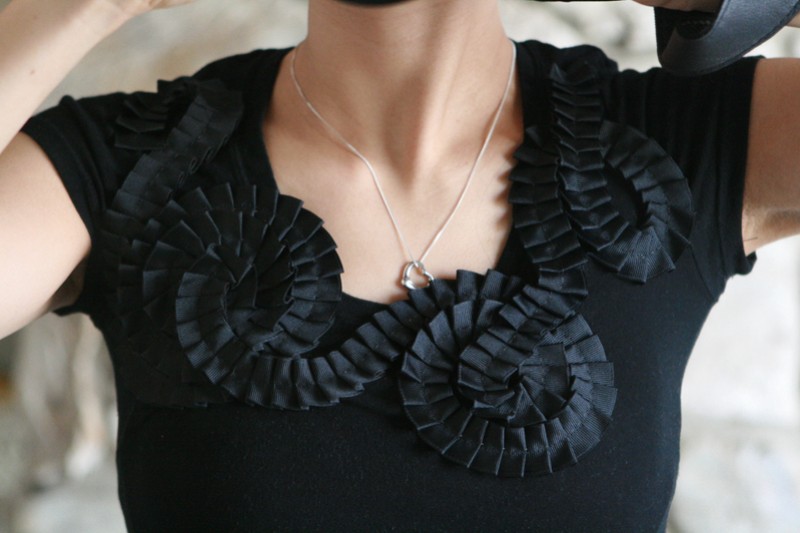
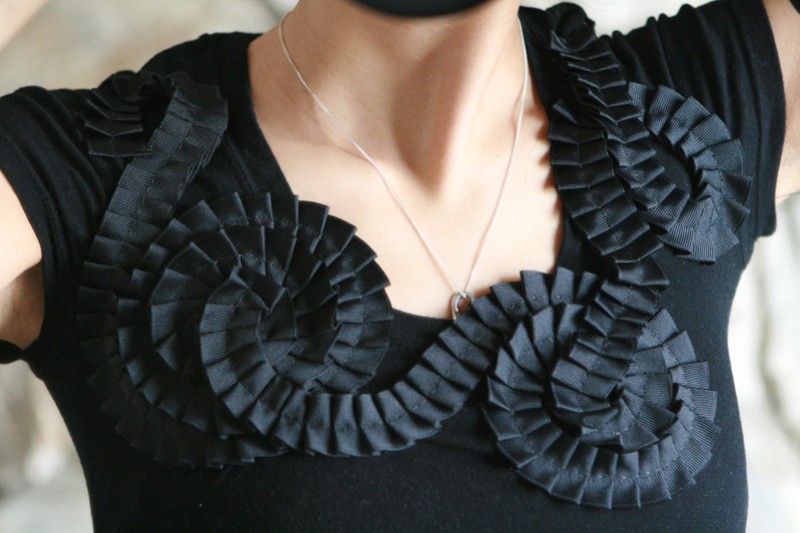
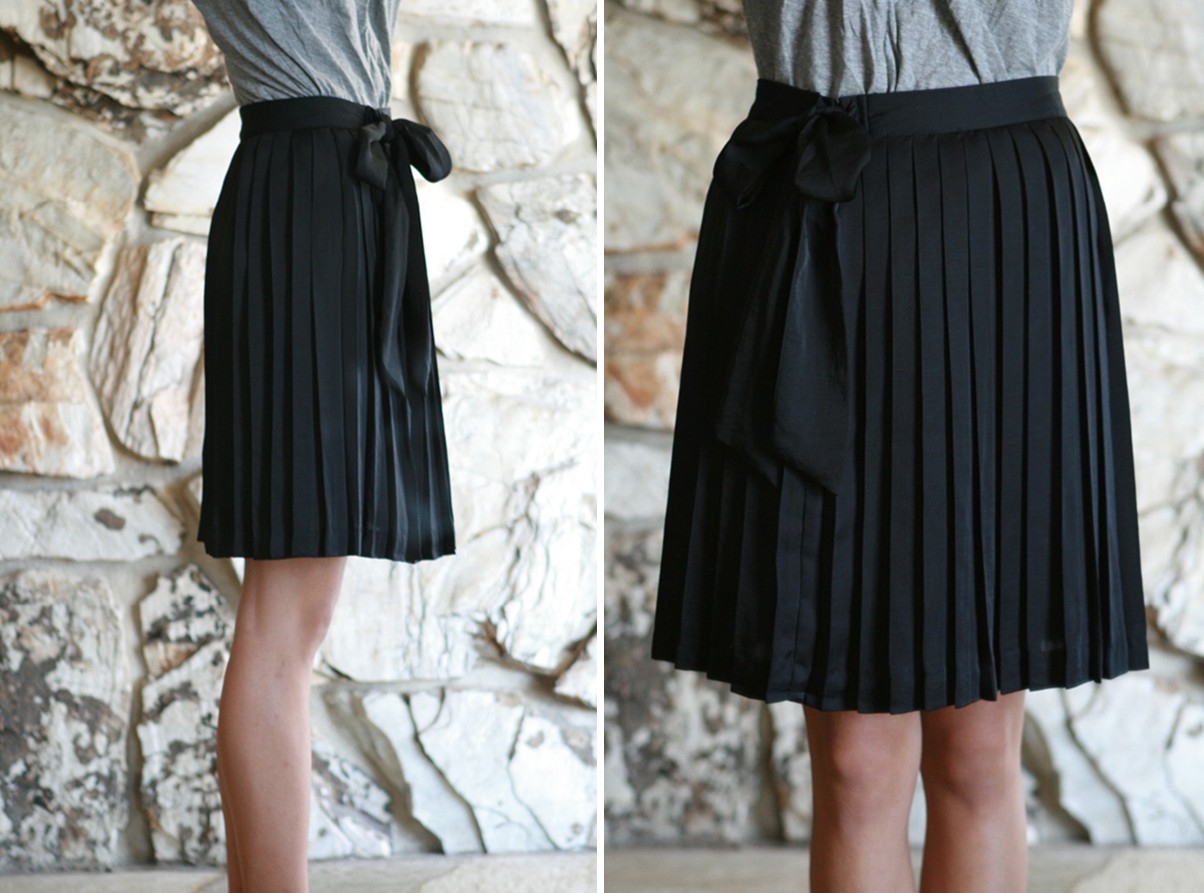
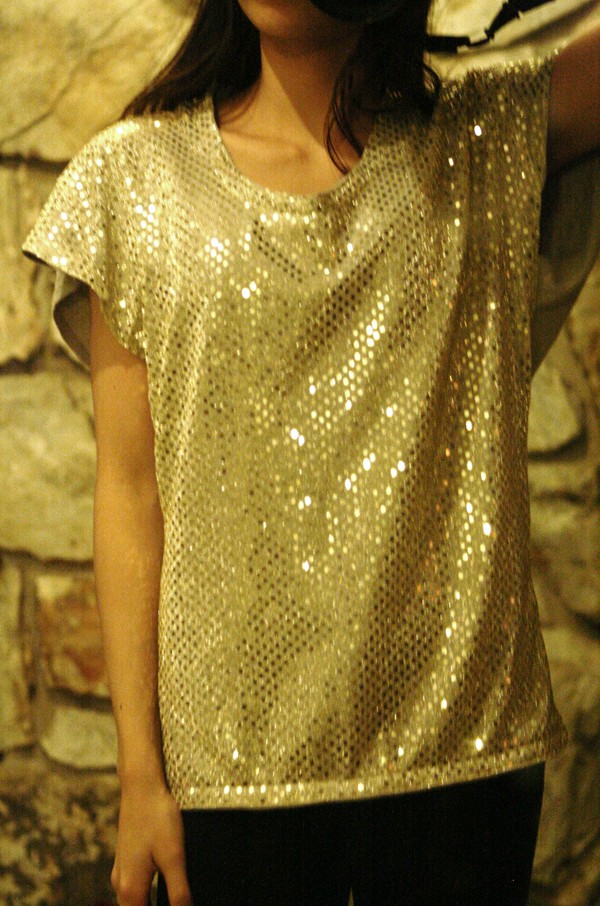
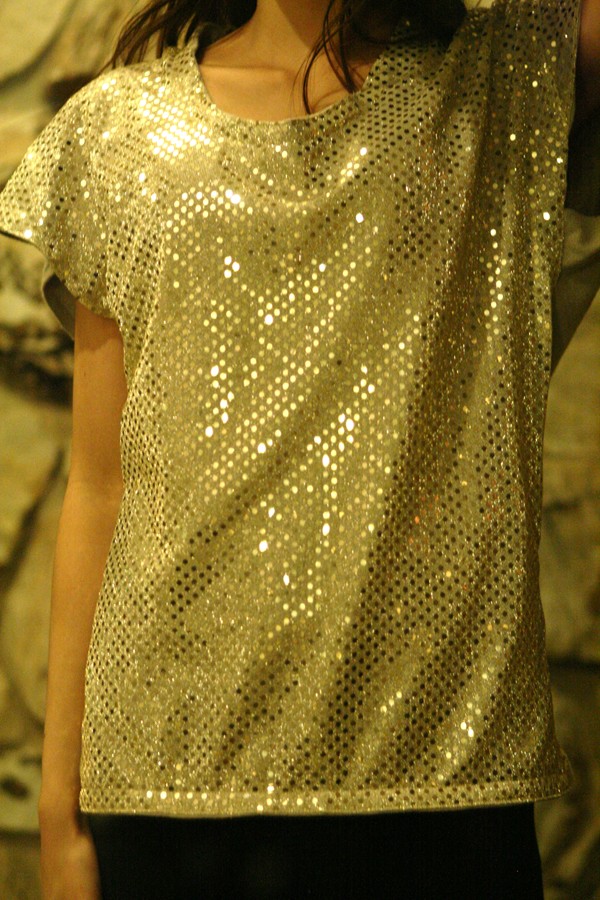
and i paired it with red lips, leopard heels and a bracelet and
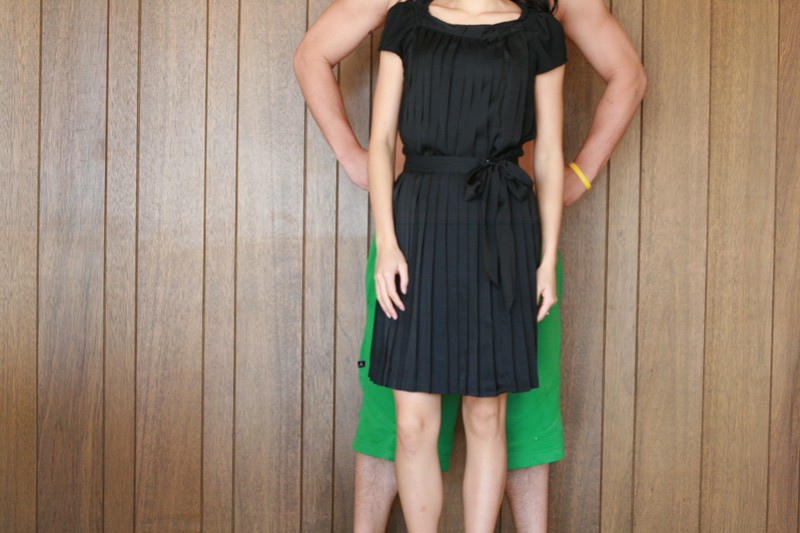
wore this to a valentine’s dance this past saturday.

happy valentine’s day everyone!
♥♥♥
project budget: very low priced
estimated time: 15 mins.
level: beginner
0

TAGGED: DIY, modestify 27 Comments

black ruffle around me top

February 7, 2011~ SEWING

i had this black cotton scoopneck shirt.
and bought a pleated trim from hobby lobby for a little over $2.00
you’ll need:
1 3/4 yards of black pleated trim
a plain black shirt
black thread
pins
scissors
after playing around with the trim with different designs:

project budget: very low priced
estimated time: 30 mins.
level: beginner
directions:
1. put the shirt on first.  (i tried pinning the ruffles first and then tried it on but my chest stretched the fabric and the design was no longer the same.)
2. as you make the trim pattern, pin it as you go.  play around with different designs as you please.  or just follow my design. 🙂
3. sew right in the middle of the trim onto the shirt.  there should already be stitches there, just sew over it. sew it the right side so you can see the trim as you sew.
i call it a “ruffle around me top”.  
7

TAGGED: DIY 70 Comments

unexpected pleated top DIY

January 31, 2011~ SEWING

this DIY project came very unexpectedly and you’ll see why!
i bought this skirt in XL from GAP for $10.  i bought it in XL since that was the only size left
and because i can’t say no to pleats since that’s my obsession right now.
so i bought it in hopes of altering it. 
to alter, i put it on, pinched one side and roughly measured with my eyes
 how many inches i needed to take off.
and now i got a skirt that fits me perfectly!
then i starred at the extra fabric i cut off the skirt
and thought i didn’t want this precious pleated fabric to go to waste!
so i just starred at it for a few minutes thinking what i could do with it.
then i rummaged through my closet looking for a black top and found this
a black top from h&m i got 6+ yrs. ago.
i don’t think i’ve ever wore it because the neckline reminds me of a pilgrim or something.
but i love the button detail in the back.
so i cut off the neck part and folded it several times and sewed it.
the after:
more modern looking right?
then i sewed the pleated fabric in the front along the neckline.
the before/after:
wear it plain or with a tie.
and my favorite:
wear it with my black pleated skirt!

i don’t know about you but doesn’t it look like a dress instead of a top/skirt combo?
oh yes.  that’s my husband making trouble as always.
don’t know why i look so awkward but i was happy with the unexpected result. yay!
0

TAGGED: DIY 76 Comments

Anthropologie uninterrupted ruffles tank DIY

January 24, 2011~ SEWING

my inspiration: uninterrupted ruffles tank from anthropologie.
 original price: $58.
and i got this picture from some random blog i googled to show you how it looks on. 
i hope she doesn’t mind.
from my closet:
a white cotton top from GAP i got years ago.
white lace ribbon from wal mart for around $2.

1. i cut the ribbons by roughly estimating how long it should be by looking at the inspiration.
2. using stitch length 5 i sewed the tip edge of the ruffles and gently ruffled it.  for a ruffle tutorial click here.
3. i pinned the ruffles like the picture above.
4. then sew!

the after:

i saved over $60!

*and i just wanted to mention that this was the very 1st project i’ve done EVER where i didn’t mess up and didn’t need to use the seam ripper! WOO HOO, HOORAY, HALLEJUAH!!! when i realized this when i got done, i seriously grinned so big.  you would think by how much i sew i would be a better seamstress but no.  but i hope this is the first of many more to come with no mess-ups!

0

TAGGED: Anthro DIY, DIY 42 Comments

altering tips and twelfth street by cynthia vincent

December 6, 2010~ SEWING

i know i said i might start posting my DIY’s
on tuesdays instead of on mondays but
i just got too excited to post this top and couldn’t wait!
twelfth street by Cynthia Vincent $395

sequins are all around us especially during this holiday.
i think they’re so much fun but it’s usually very pricey and
will it be just a fad that lasts ’till just the end of this year?
so while i don’t mind spending a little more money on
something that is classy and will sustain many trend changes,
i don’t like to buy or spend money on something that is very trendy.
(this top wasn’t my inspiration, i just looked up a sequin top
right as i was about to post this top i’d already made.)
in my closet:
an oversized cowlneck sweater top.
do you like my “before” sad & unenthusiastic picture?
and i bought 1/2 yard of gold sequin fabric from JoAnn’s for $3.00

cut the cowlneck part off of the neckline. leave 1″ extra on the neck seamline.

cut the front and back so it’s 2 seperate pieces.

like this.

fold that 1″ extra seam you left on the neckline underneath and sew.

then i forgot to take pictures. my apologies. put the 2 pieces right sides together and cut according to your size and sew it back to a shirt.
lay the sequin on top
cut along the seams all the way around including the sides, bottom, neckline and the shoulders.
then pin it all the way around and sew all the way around.
*the fabric wasn’t wide enough to cover the end of the sleeves so i had to make a little patch afterwards.
after:

keep in mind the flash was used for picture taking
and it doesn’t show off the sequins as much.
it looks a lot prettier in real life.


it cost me $3 to make!
some other tips on altering:
*i’ve been asked if i pin the sides when altering. i don’t. i just try it on, pinch the sides and estimate how many inches to take off, then take off the shirt, flip it inside out and sew the estimated amount.
*but for a more accurate way, i would recommend laying out a top/dress you have that you want to mimic the shape of and put it on top of the soon-to-be altered garment and outline it with a marking pen. when cutting the fabric, leave around an inch for sewing.
*follow the outline of the seams. if it’s not just a specific area you need to alter like the bust but not the waist, then do what you gotta do. but if it’s generally big and you need to make everything smaller, follow the outline of the seams that’s already there like this picture below. this dress i altered was big in general so i altered about an inch and kept that inch distance all the way from top to bottom.
0

6 Comments

  • « Previous Page
  • 1
  • …
  • 24
  • 25
  • 26
  • 27
  • 28
  • …
  • 31
  • Next Page »
cutmypic
Hello! My name is Sarah and I am so happy to have you here! Here you'll find DIY sewing, DIY home building & decor, honest and vulnerable posts of motherhood and snippets of my family. We are building our dream house and will update you regularly on our whole process from start to finish and I am also starting a mother-daughter sewing series. So I hope you stay awhile!

BLOG ARCHIVES

SEARCH

JOIN THE LIST

- THEME BY ECLAIR DESIGNS - Web Hosting By RFE Hosting -