Red Holiday dress using the Vogue pattern V9267
Once in awhile, I make clothes from scratch, instead of refashioning. See what I made for my Holiday dress this year!
This DIY project was created on behalf of JOANN.
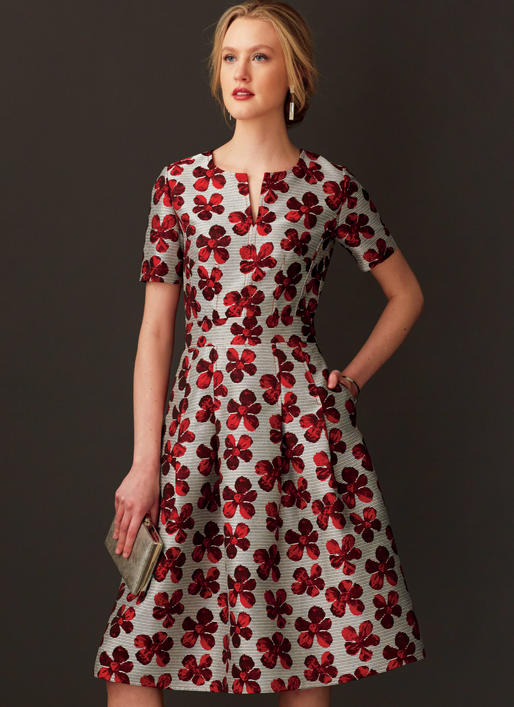

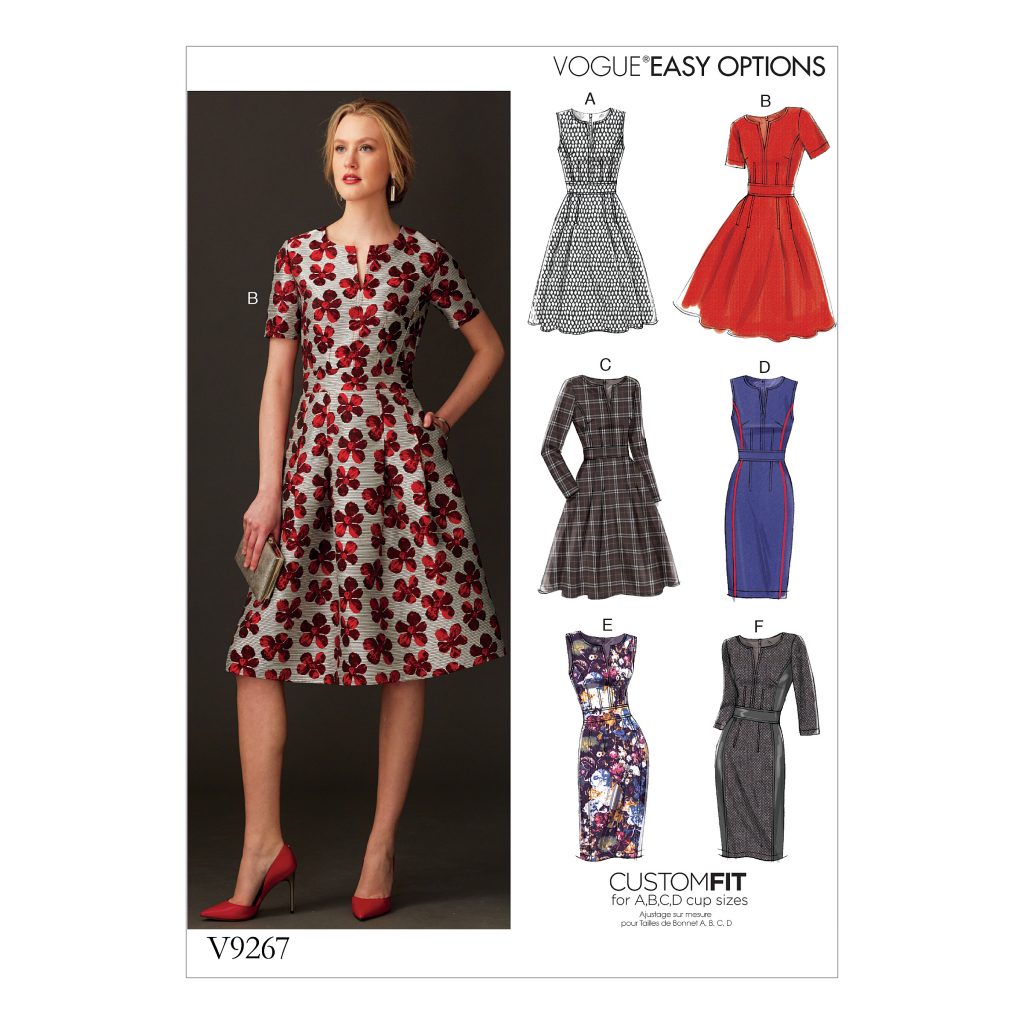
I wanted to make a classic red dress that I could wear for Christmas this year and found the most perfect pattern and fabric from JOANN. I also wanted the dress to be versatile enough to wear for other special occasions such as Valentine’s and the 4th of July, as well as to church or weddings, or wherever I fancy. When I saw this Vogue pattern, I knew it would be perfect for what I had envisioned.
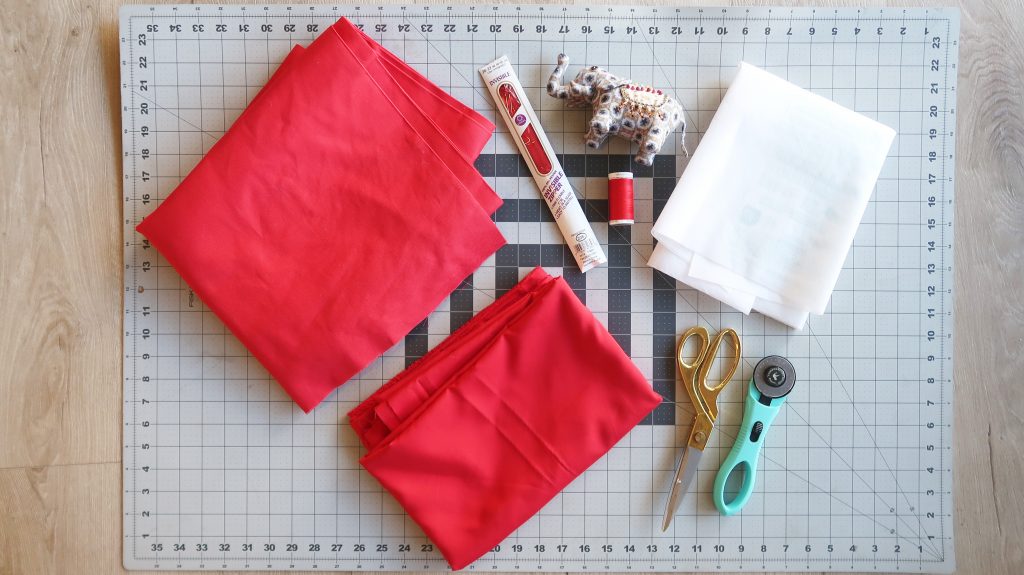
Supplies:
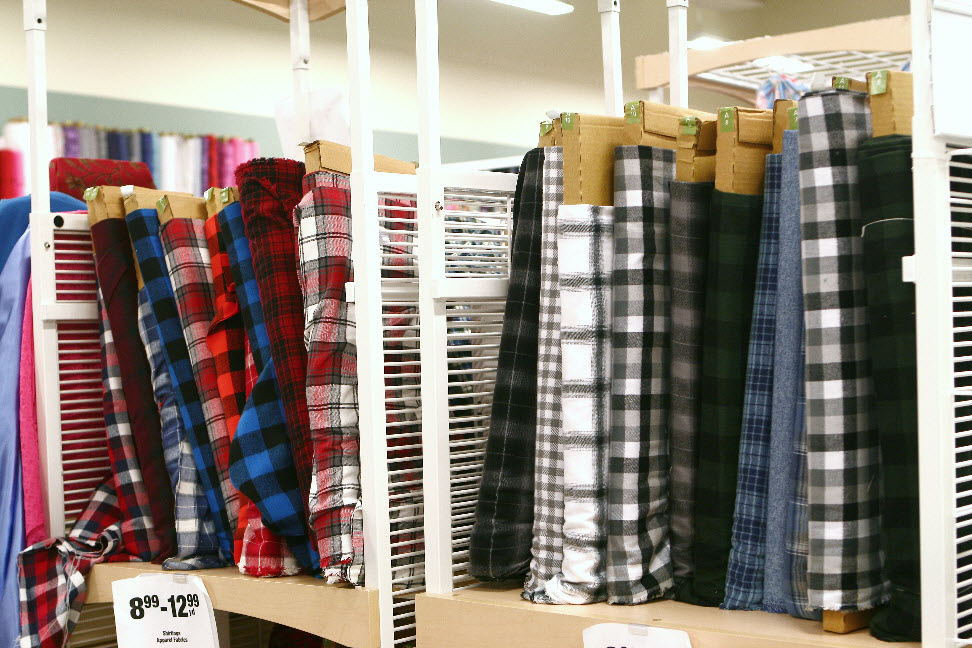
2-2 1/2 yard of fabric(mine is from the outdoor fabric section)
*optional: cutting mat and rotary cutter
The pattern was well designed and it’s a beautiful pattern. My only problem was with the arm hole pattern. I cut the pattern and followed instructions perfectly but when I tried it on, the arm opening was so tight and small, I couldn’t even lift up my arms. So I had to seam-rip the sleeves, then I cut the arm hole opening a lot wider to match the length of the sleeve opening. This part took me a good extra 45 mins. so if you use this pattern, be aware. Make sure the arm hole opening matches with the sleeve opening.
Other than that, I really enjoyed following this pattern, it’s been a very long time, I would say at least 5 years since I sewed a dress from scratch using a pattern and surprisingly, I loved every process! Refashioning doesn’t require as much precision and detail as a dress like this so I learned a lot and I plan on sewing a lot more with patterns.
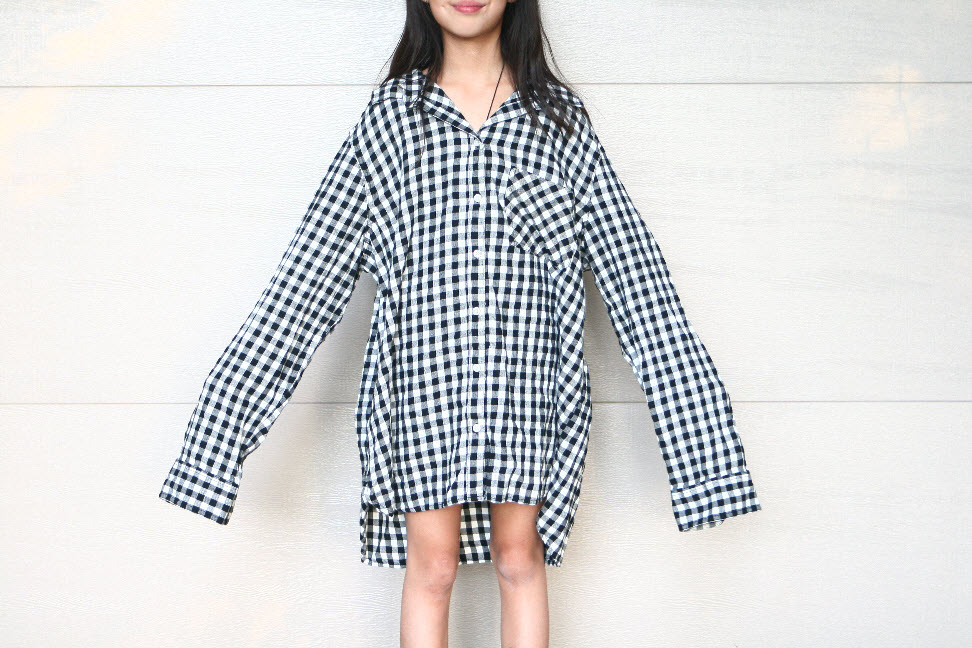
So here is the dress! The dress is a cherry red color but in these photos it looks more orange-red.


Estimated time: 5-6 hours
Budget: $30-$40
Skill level: Intermediate
Let me know what you think of this dress! As I stated in the supplies, I bought this fabric from the home decor section since I wanted a heavier, thicker material for this dress. I am excited to wear this to church for our Christmas program!
If you post a project on your Instagram that’s inspired by my tutorials, tag me at @sarahtyau in both the captions and the photo to be featured on my Instagram stories!
Pin & share!


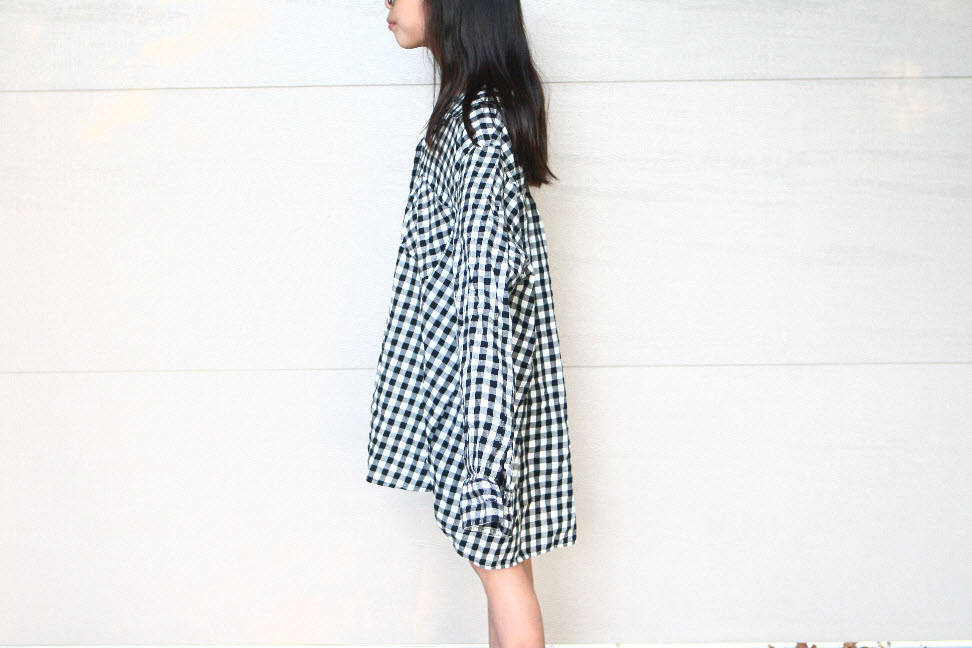
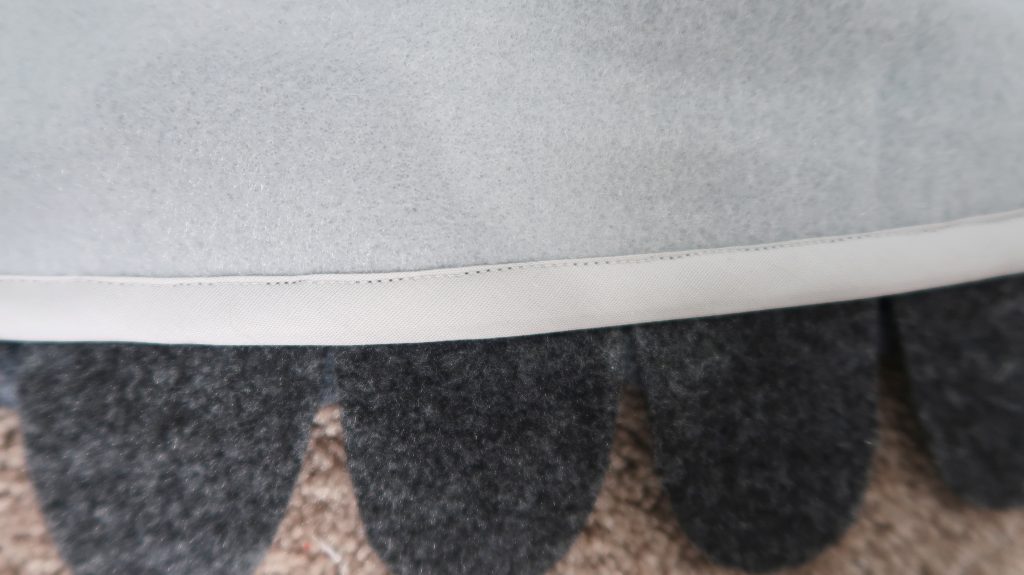
 *This is how the back will look. Doesn’t look perfect but it’ll be covered so don’t stress!
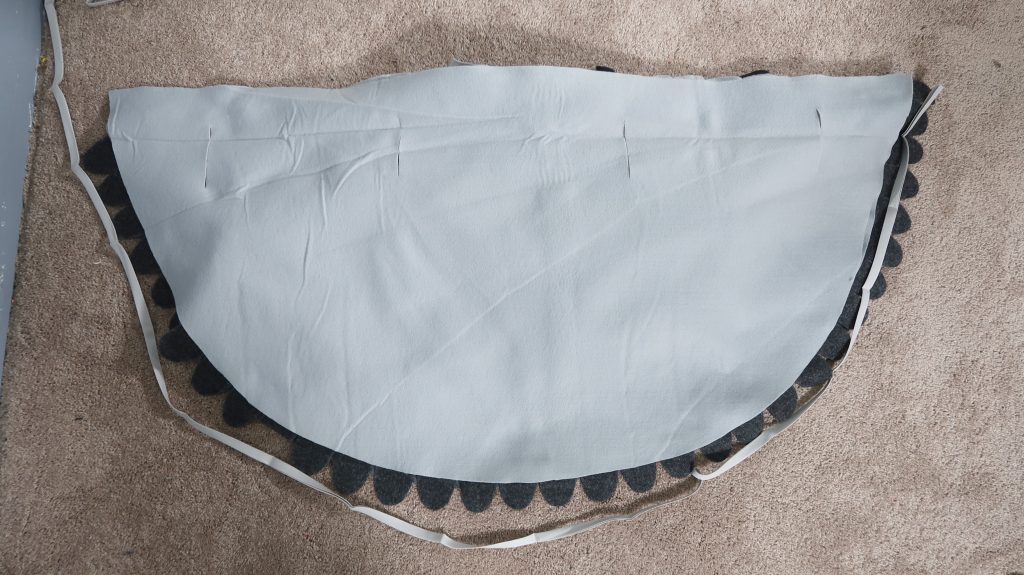
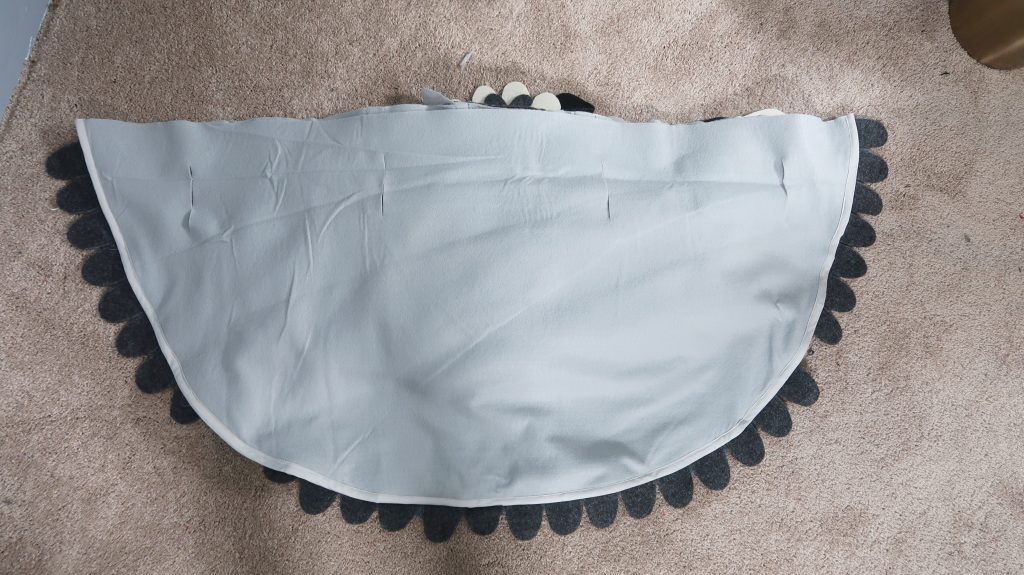
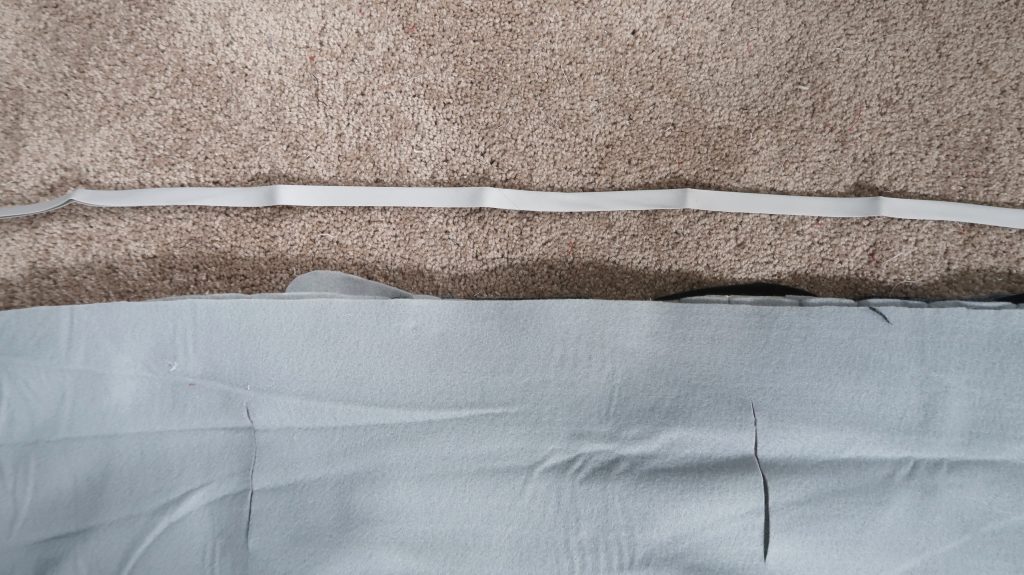


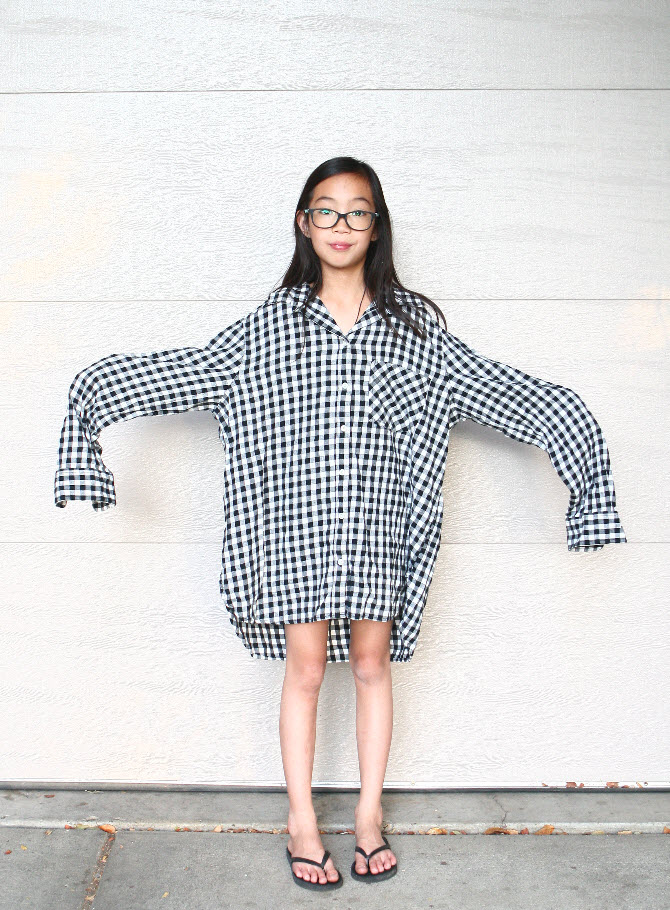
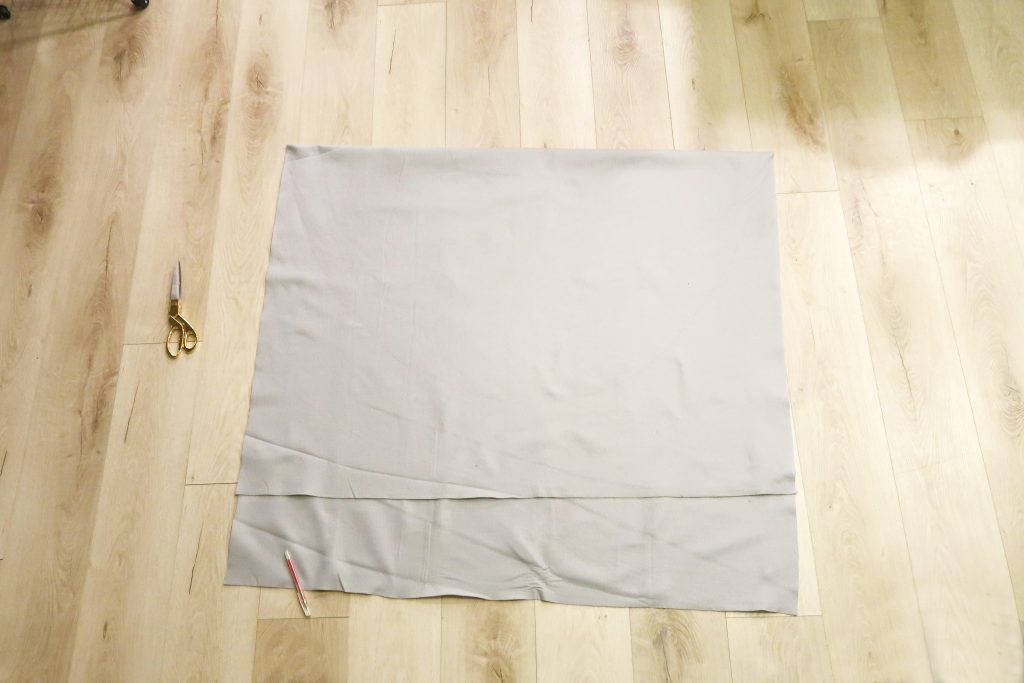
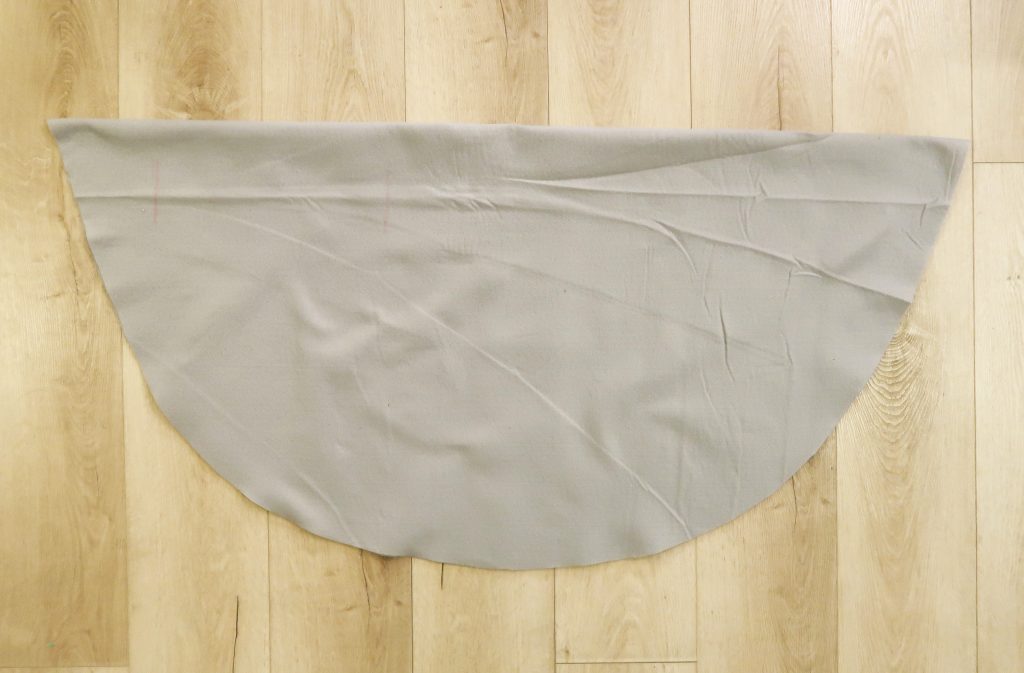
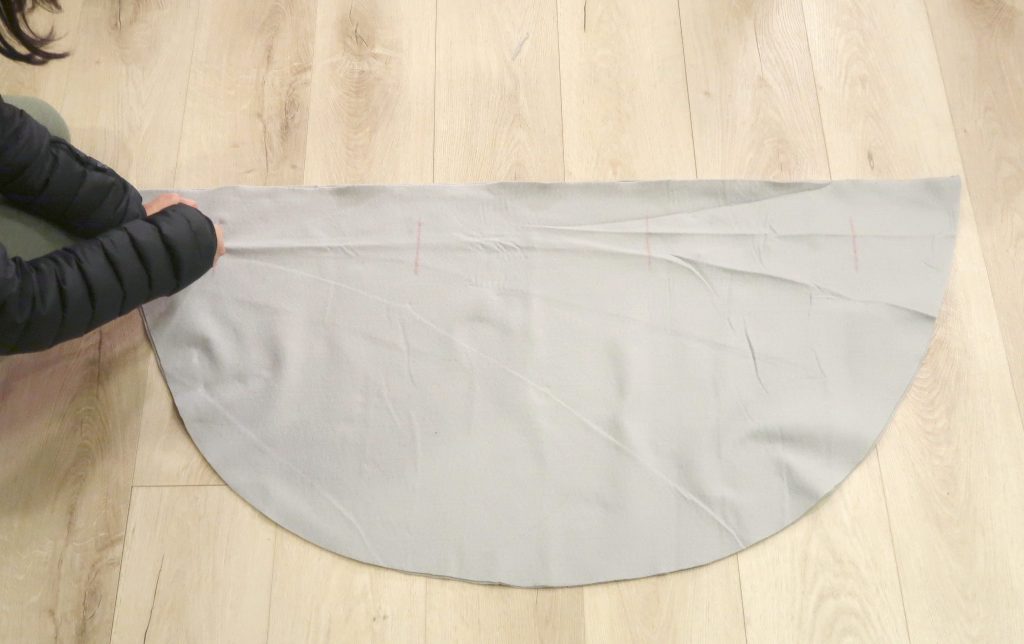
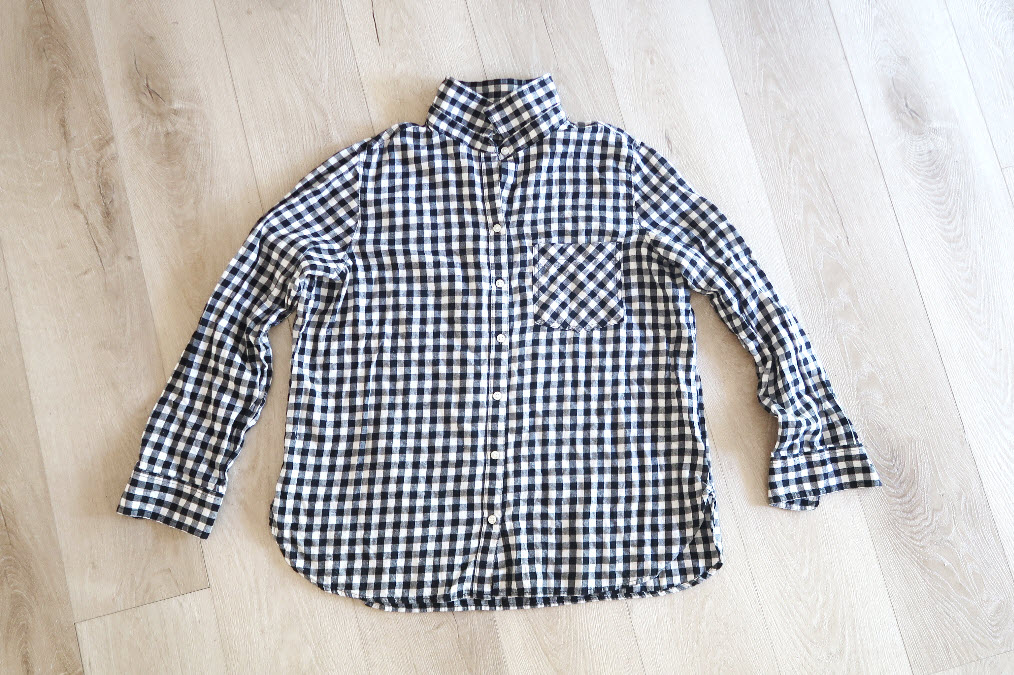 1. Lay out the shirt on a flat surface. Smooth out any wrinkles or folds and make sure the front and the back are aligned.
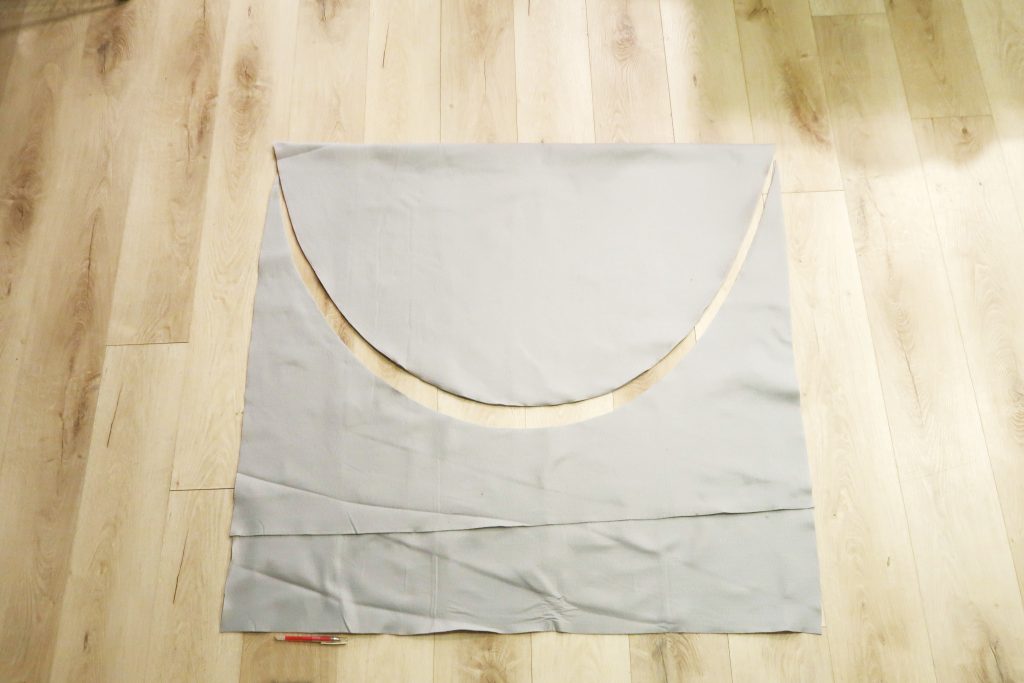
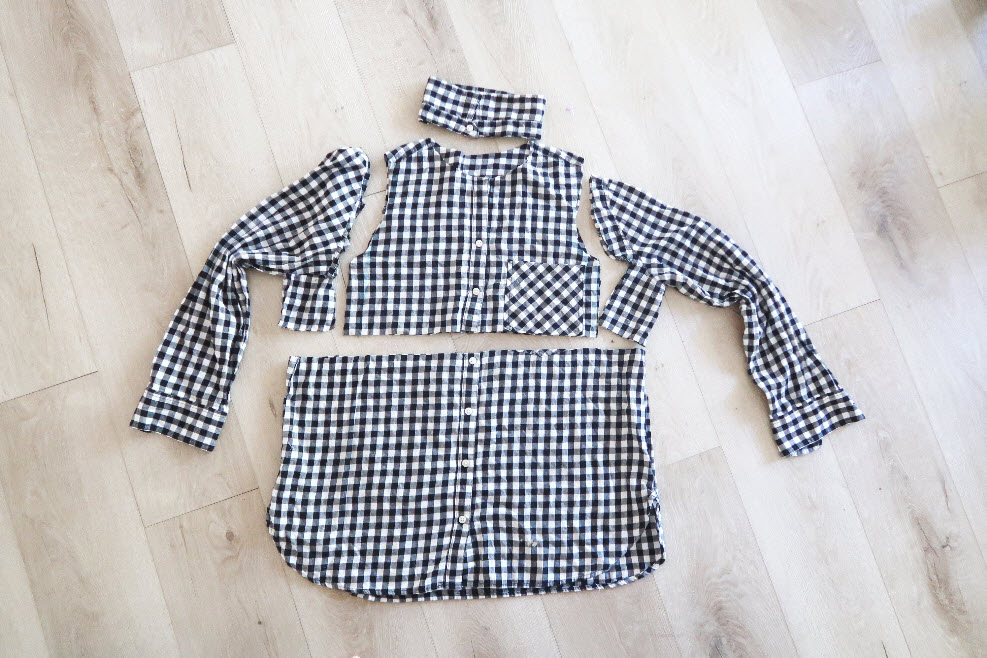 2. Cut the bodice and the skirt of the dress. Using a seam ripper, take the pocket off.
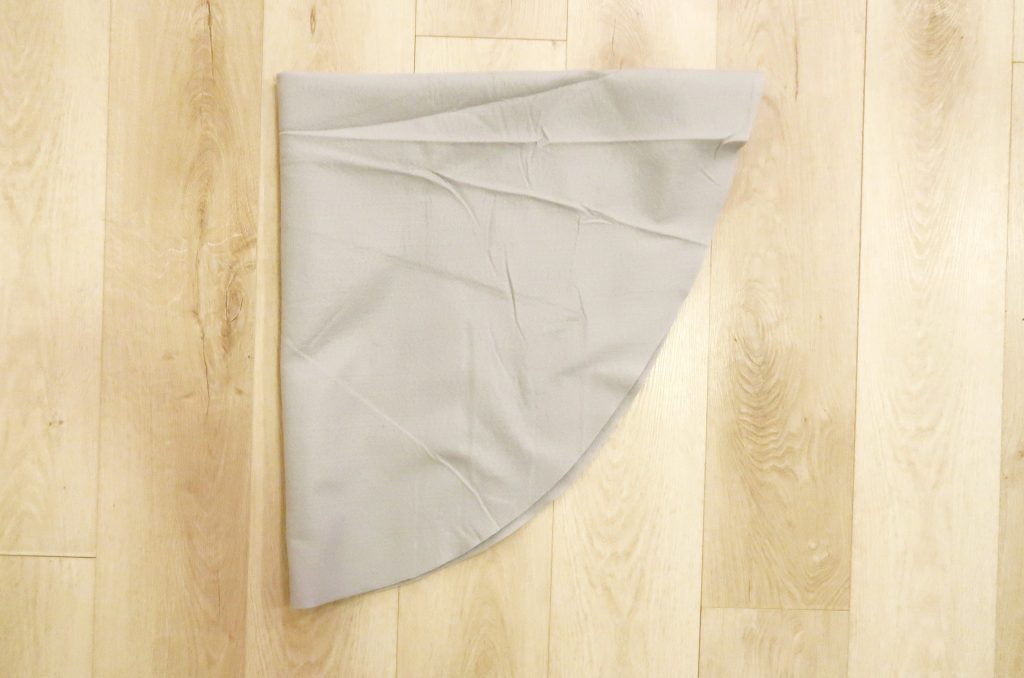
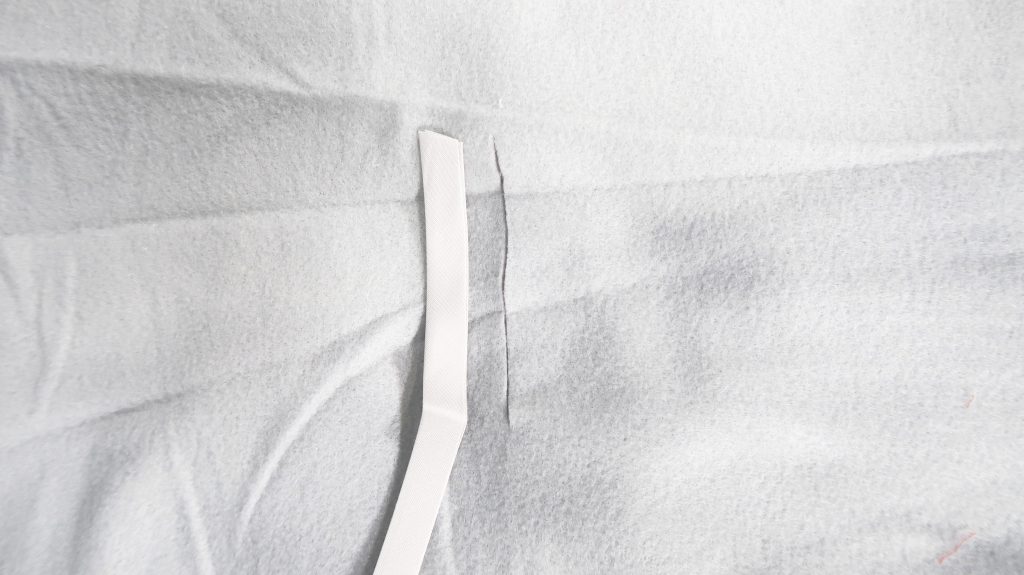
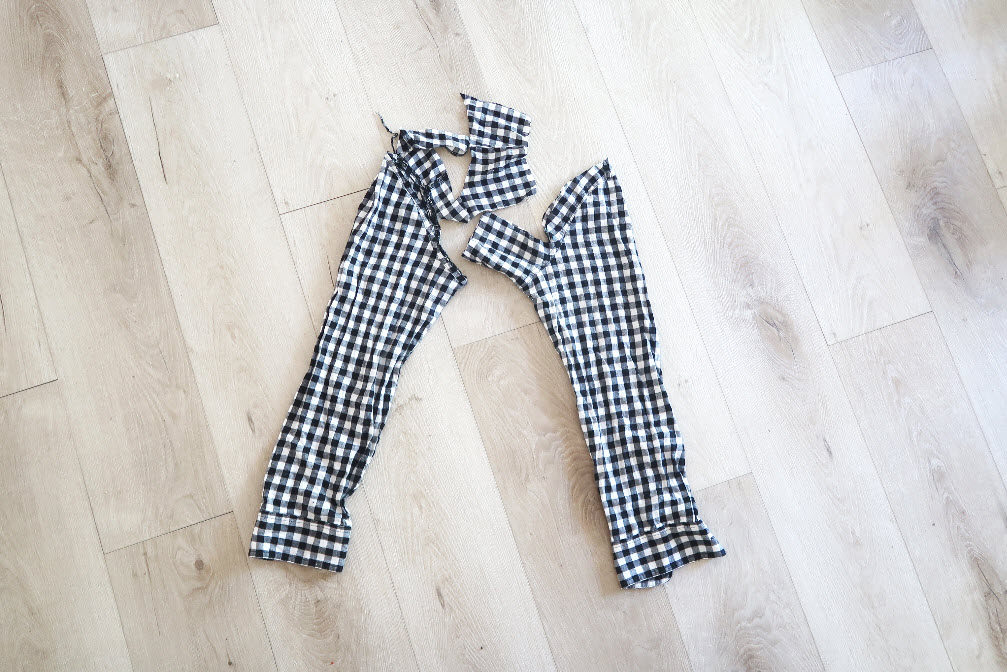 3. Cut a smaller size sleeves out of the original sleeves.
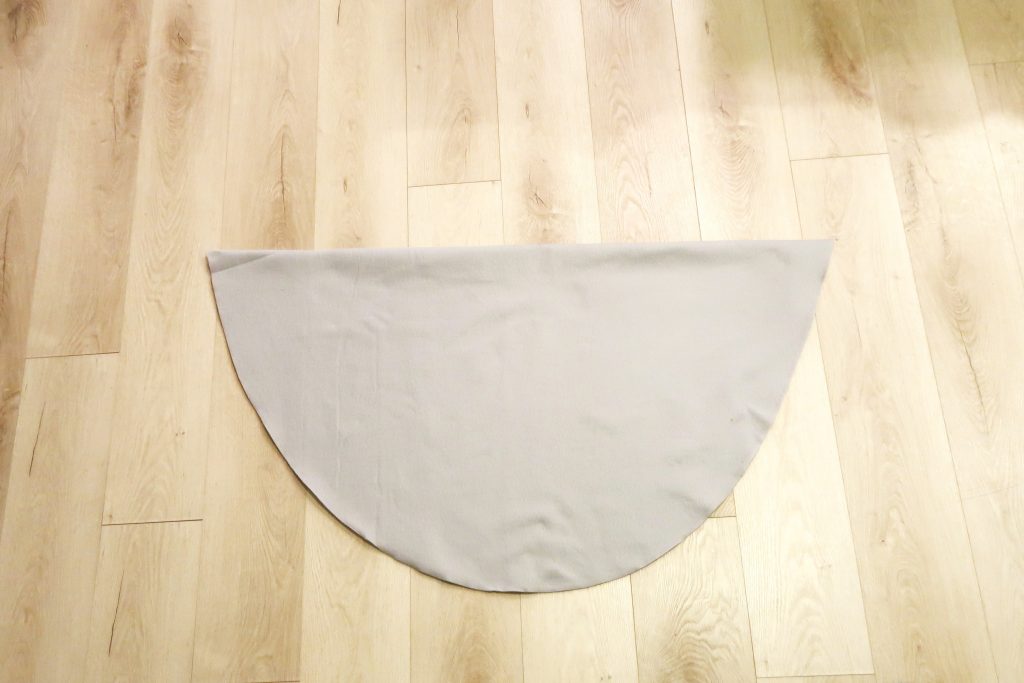
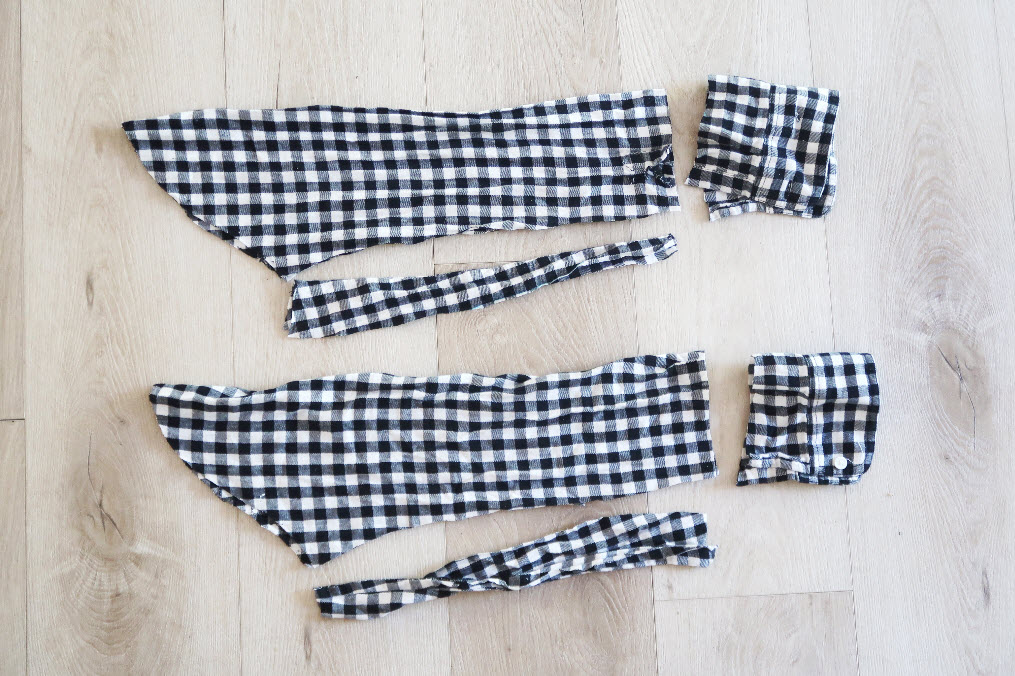 4. It will look like this.
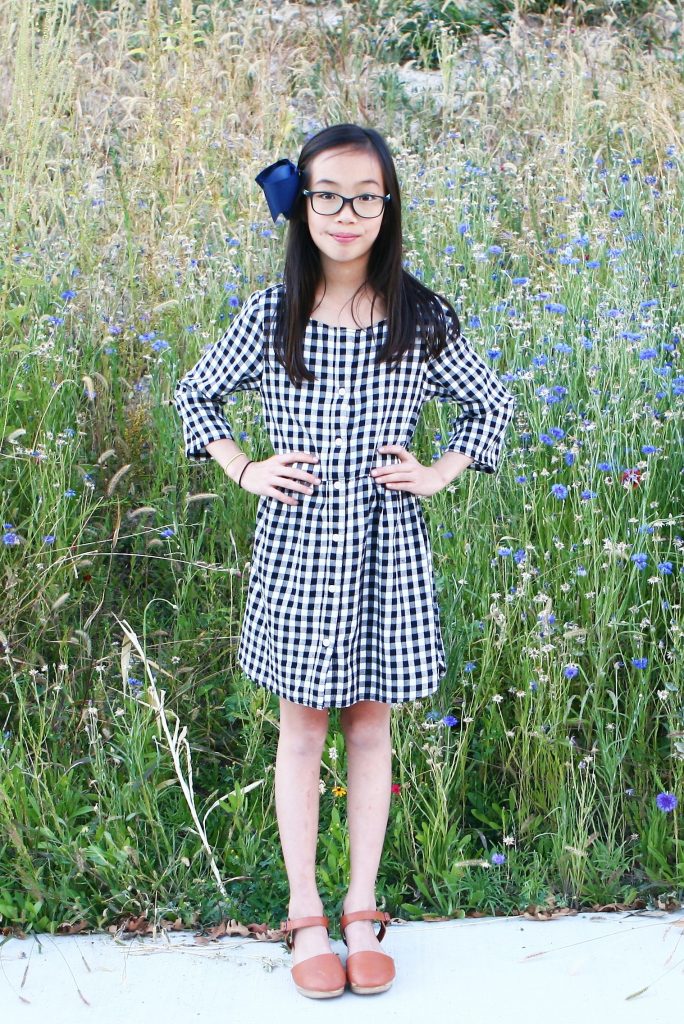
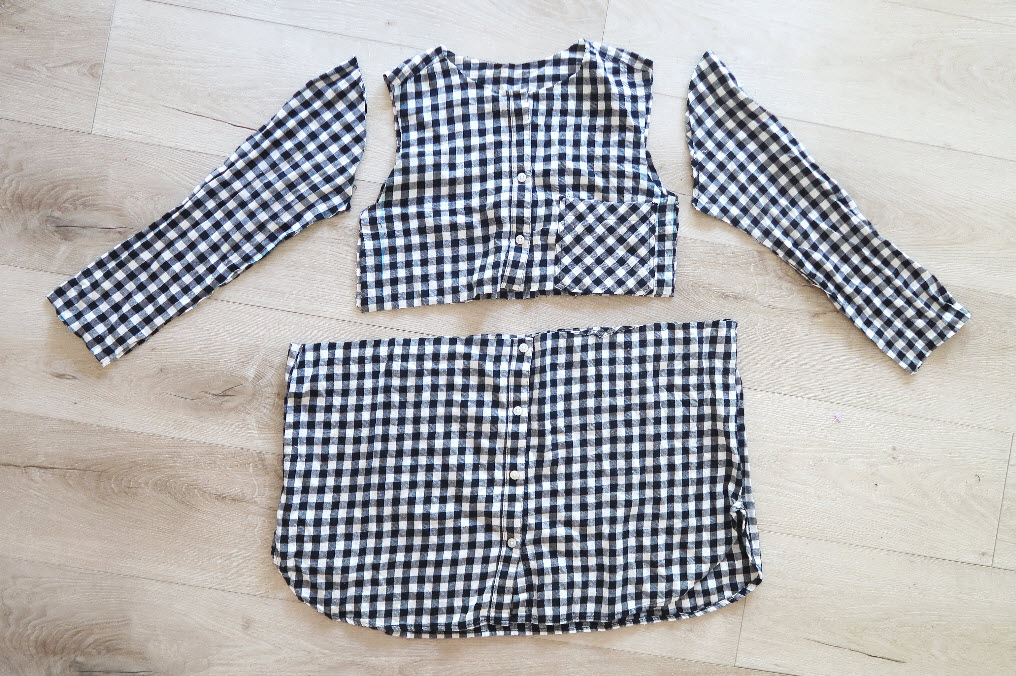 5. Now that we have the bodice, skirt and the sleeves, we are ready to sew!
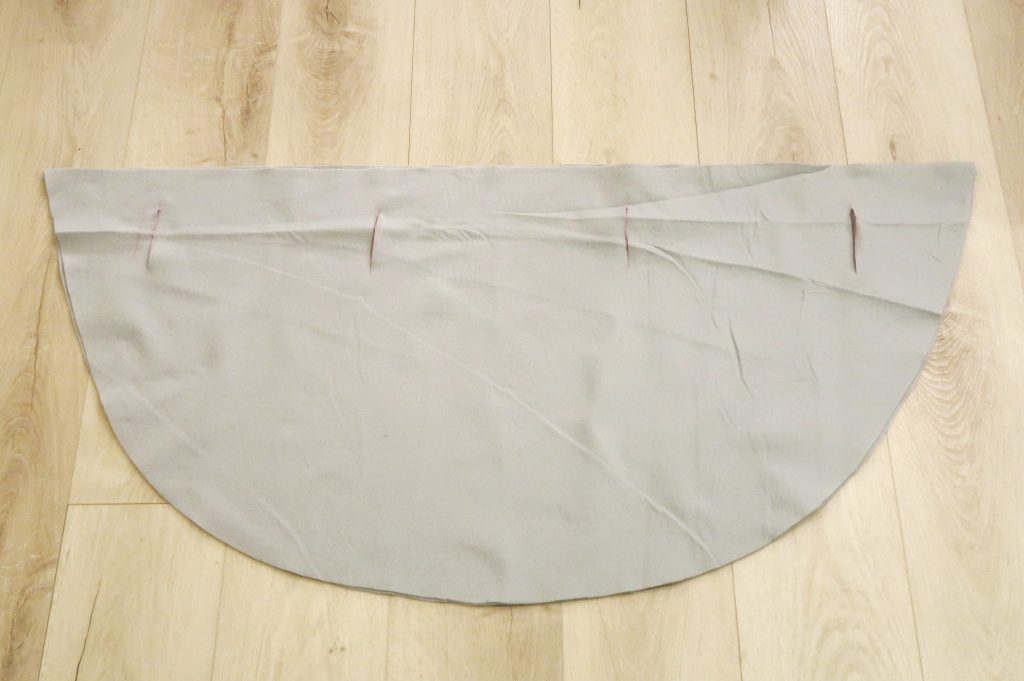
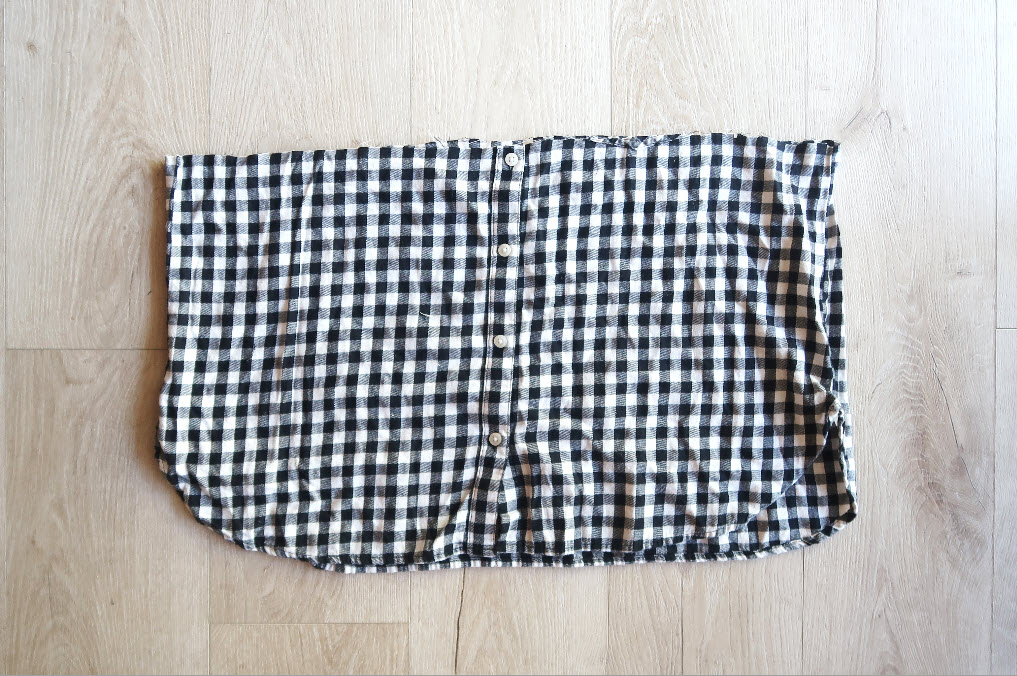 6. Using stitch length 5, sew all the way around the tip of the skirt.
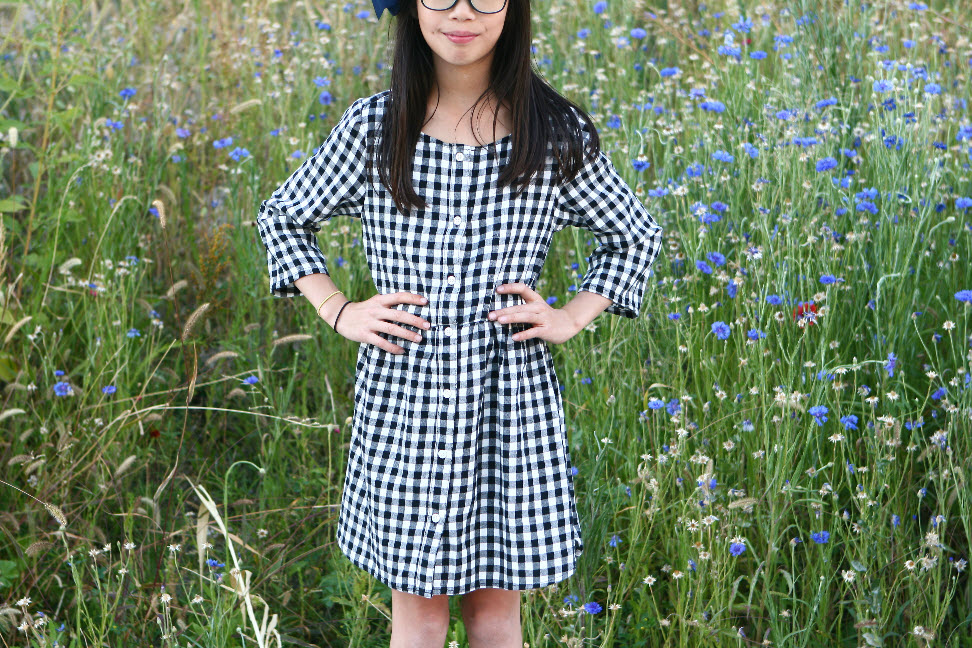
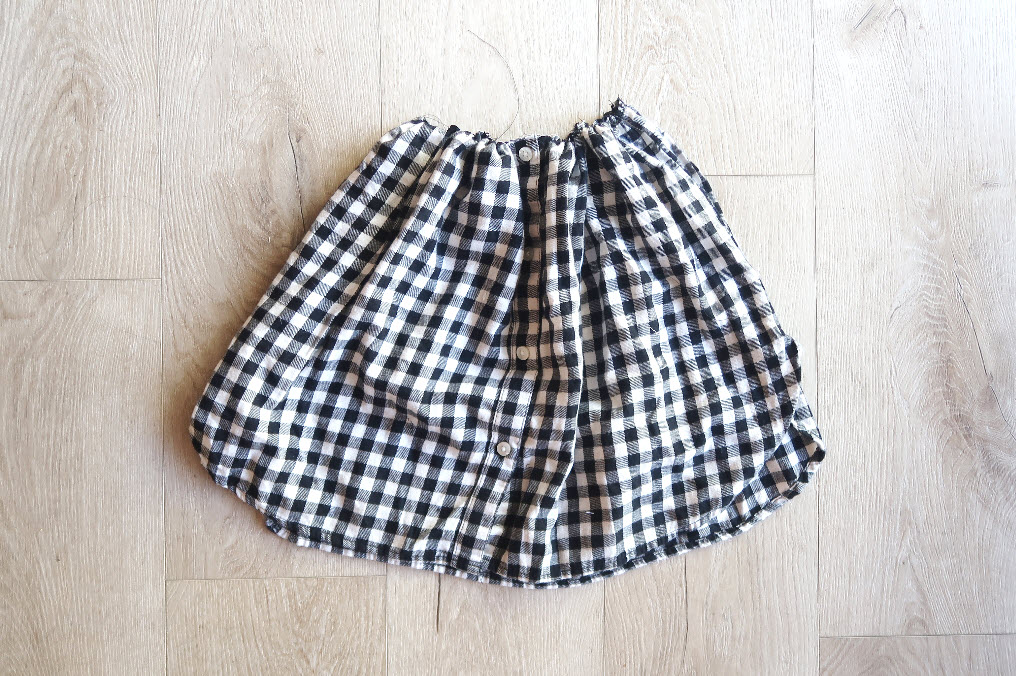 7. Gather the skirt by pulling one side of the thread.