• ABOUT
  • COLLABORATE
  • CONTACT

Life is Beautiful

Motherhood, Sewing, Family

  • SEW
  • HOME
  • PARTY
  • TRAVEL
  • SHARING MY HEART
  • SHOP

giveaway winner+design contest+J.Crew DIY project

October 25, 2010~ SEWING

in case you missed my saturday’s post

my dress made it to the top 15 for the dress design contest!!!  i can’t believe the old skirt i found in my mom’s closets even made it to the top 15 because the 14 other designs are really great.  but of course i’m so happy and grateful!!!  so if you’d like, you can vote for my dress #9 by voting here.  voting ends monday, nov.15th.

thank you for all your support, you guys are awesome!

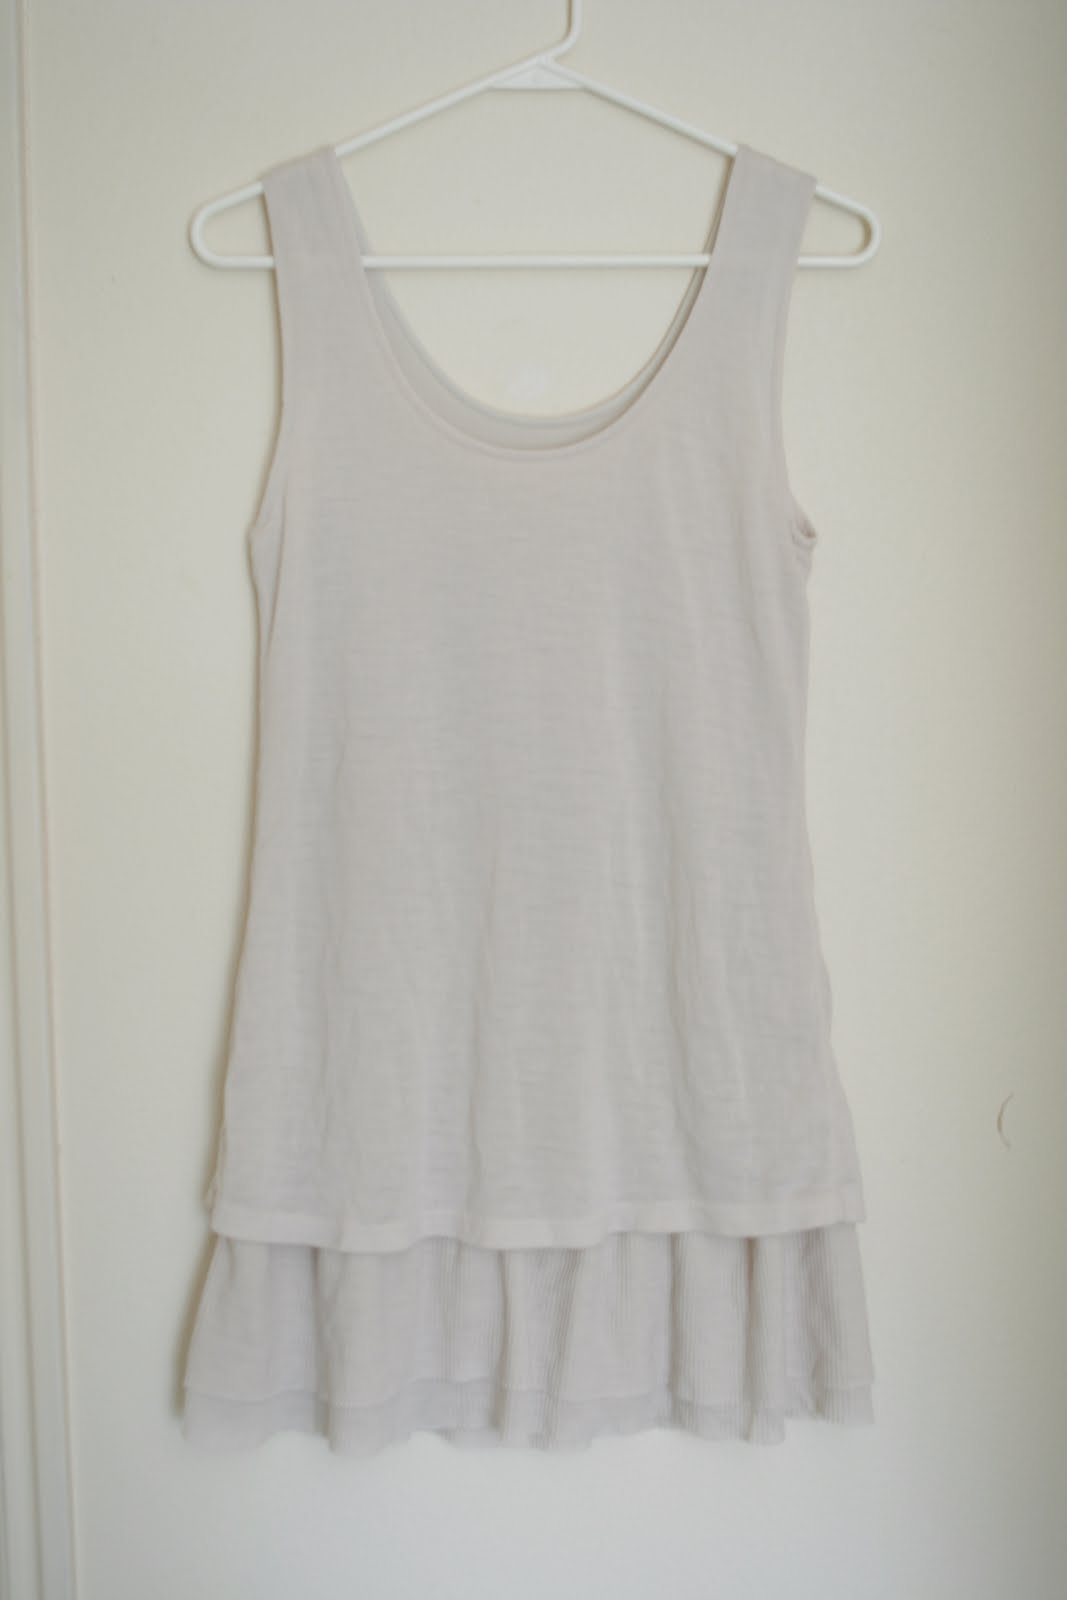
onto my DIY project for this week:

my inspiration.
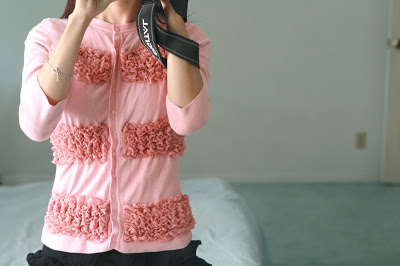
J.Crew ruffled flower top. (from the girls’ section)

in my closet I found:

a long baggy top

and a gray silk tank top, leftover from this top I made. 

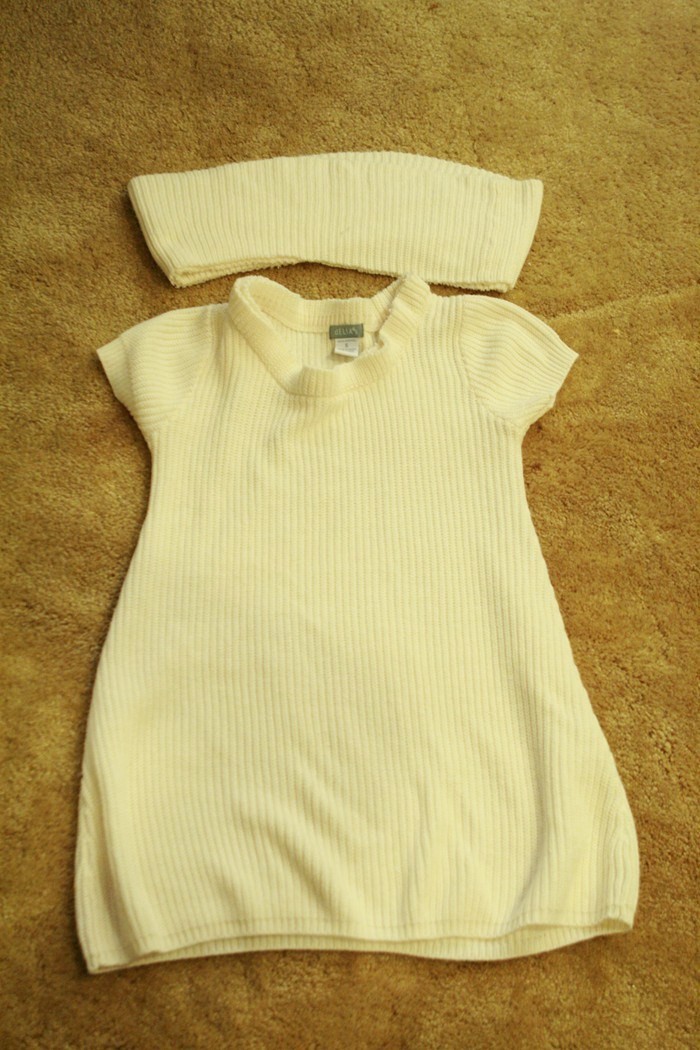
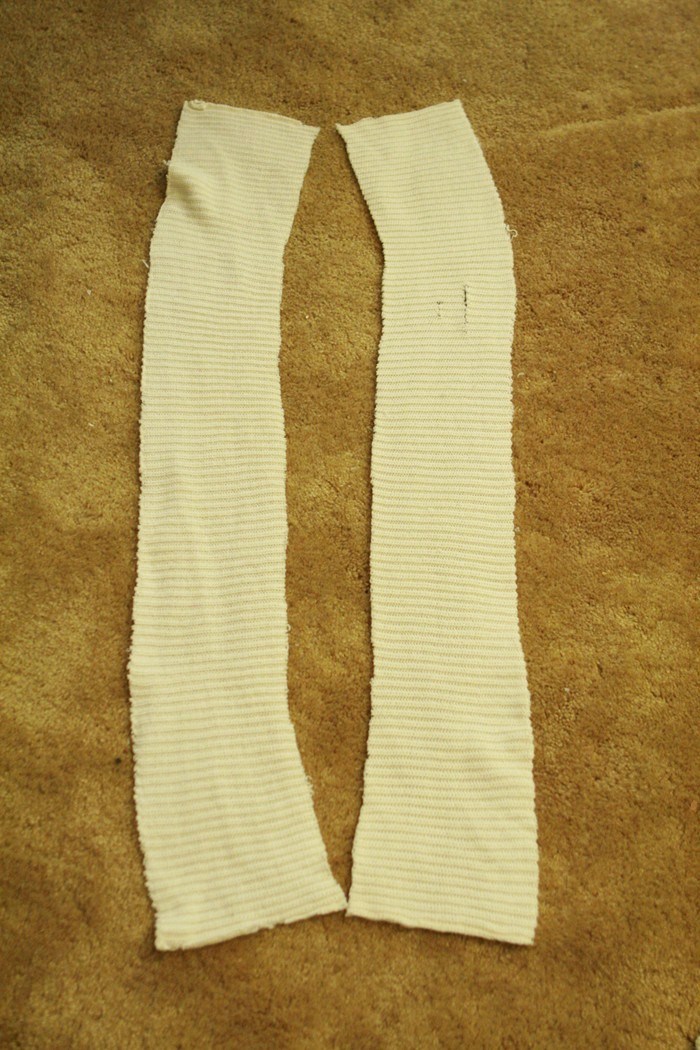
1. Cut five of 2″ thick strips from the tank top. 2. mark where you want the flower to be. 3. sew the strips in stitch length 5. 4. it should look like this. 
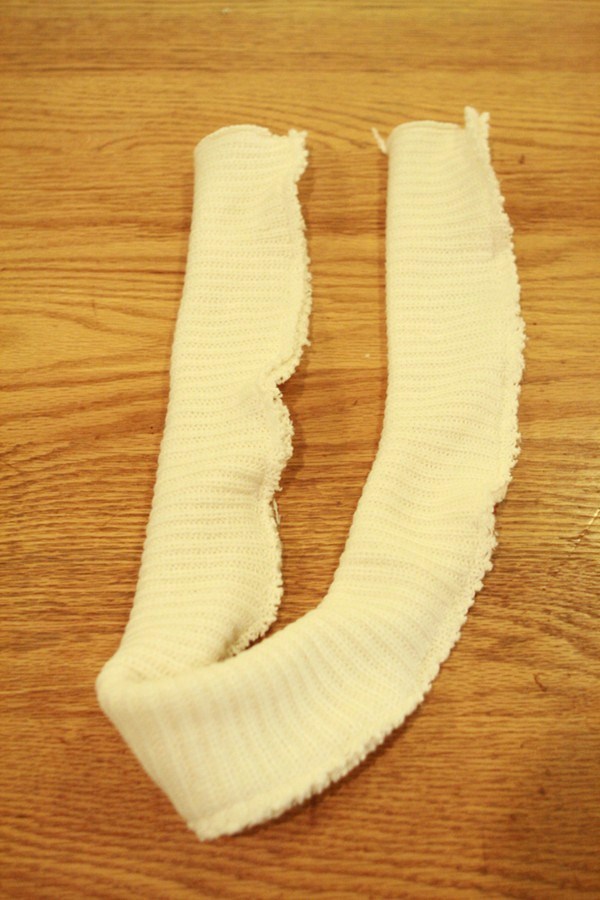
5. pull just one of the two strings while pulling the fabric the opposite way. 6. it should ruffle like this. 
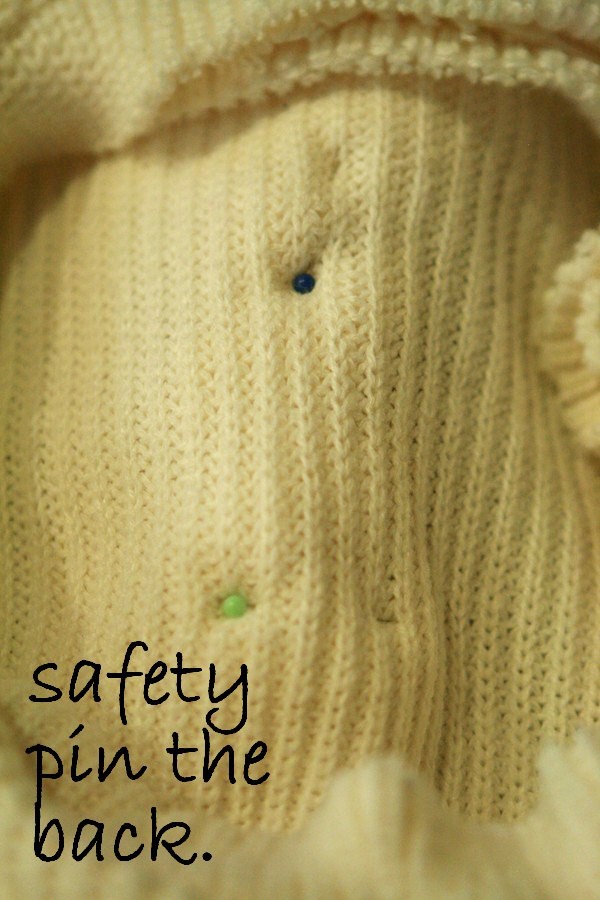
7. place the ruffle on top of the shirt and pin it. then sew it on regular stitch length 2.5. 7. repeat again by placing the ruffle strip, pinning it, then sewing. 
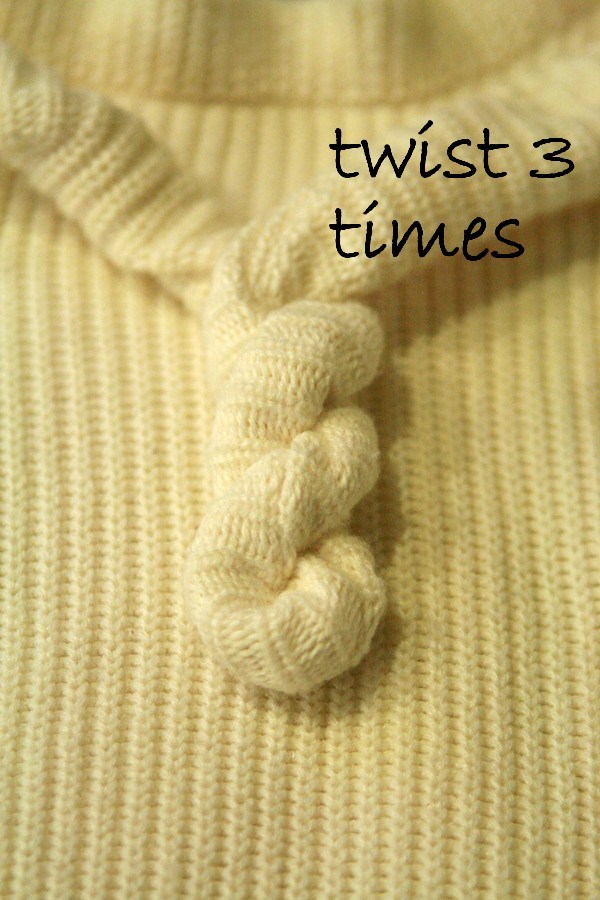
8. continue until the top part is covered. the middle part, you sew it in a little circle for the flower effect. 
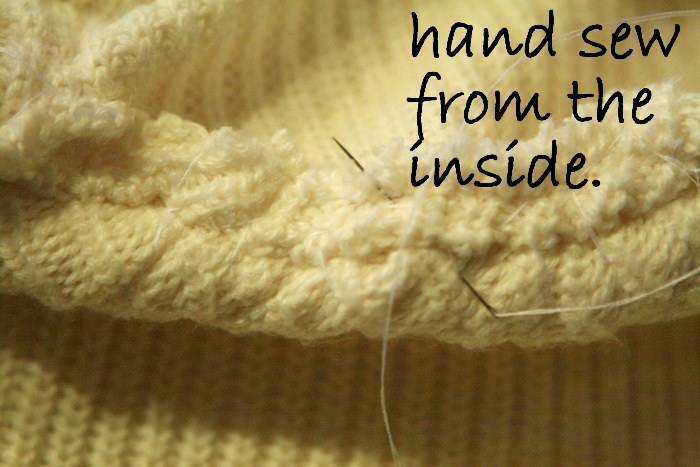
9. sew the ends by the neckline so it’s a clean seam. the left side isn’t finished, the right side is. 10. the inside of the shirt should look like this. 11. iron on medium setting with another fabric over it to protect the silk fabric from burning. *12. I also tailored the top into a plain long gray top. You are now DONE!!!

After:

Now go try it yourself! Best luck!

*i was a guest blogger for this project at sew dang cute and living with punks.
it’s an honor to be be featured on your awesome blogs, thank you!
0

TAGGED: DIY, J.crew DIY 55 Comments

Anthro DIY-torsade tee

October 18, 2010~ SEWING

inspiration: anthropologie torsade tee

in my closet:

a short sleeve sweater that’s too big.

1. cut the neckline off.

2. it was double layered when it was opened.

3. so i cut the strip in half. i only ended up using one piece.

4. sew the wrong sides together.

5. pull it out the right side out by pinching the inside and tugging it out.

6. it should look like this when it’s all pulled out.

7. pull the middle part together and twist 3 times. i had to twist it manually meaning put the right side to the left, the left side to the right, and back and forth 3 times.

8. safety pin the twist to secure.

9. safety pin the back also.

10. cut the extra neckline off leaving about an inch.

11. fold the extra 1″ neckline inside of the sweater
and hand sew the twist all the way around the neckline.
after:


and…
I have 3 good news:1. CSN is sponsoring a $45 giftcard giveaway to any of their 200+ stores so click here to enter! the giveaway ends this friday, 0ct. 22nd. 2. i’ll be a guest blogger for Sew Dang Cute this wed. the 20th to kick off their Crafting with the Stars competition! they’re going to choose 12 winners who will be in a 4-week challenge and will be eliminated every week to see who will be the last one standing. how fun does that sound? so make sure to check out their blog on wednesday! 3. i entered a design contest. check it out here!

0

TAGGED: Anthro DIY, DIY 17 Comments

DIY-pleated dress 2

October 11, 2010~ SEWING

remember the pleated dress i transformed a few weeks ago?

well, i found another pleated skirt in my mom’s closet.

except this skirt is below the knee unlike the white one i made before,
which was to the ankle, so i couldn’t do the same to this one or the length
would’ve been too short.
so using a seam ripper, i cut off the gold whatchamacallit and the 2 tabs.
then i cut one side of the skirt to make a waist-tie, so when
i wear it as a dress, i can tie it on my waist(or else the pleated design
would make me look like a tent!)
so it can either be worn as the original skirt or as a dress.
after:


as you can see, the skirt/dress can be worn in many ways.

in case you wanted to know how i made the waist-tie, here is a tutorial.


pull down the scrunched part as you go.
so you’re basically turning the fabric the right side out.
fold the tip inside and then sew to secure the tie.
and don’t worry, the pleated design is very forgiving
on the chunk cut off and you can’t even tell.
i’m planning on hand-sewing the snap buttons to the ends of the tie
(since it’s not long enough to just tie)
but we moved this week so i didn’t have enough time. oopsie!

and make sure to come back in a few days,
i’ll be entering a design contest!

0

TAGGED: DIY 27 Comments

j.crew flower garden cardigan

October 3, 2010~ DIY DREAM HOUSE

i just posted this thinking tomorrow was monday but it’s only sunday!
weird! but oh well, i’m sure you guys don’t mind it if i post a day early right? 😉
*i made this awhile ago but never posted the inspiration picture or the after pictures of me wearing it. so here it is.

my inspiration came from this J.crew cardigan.


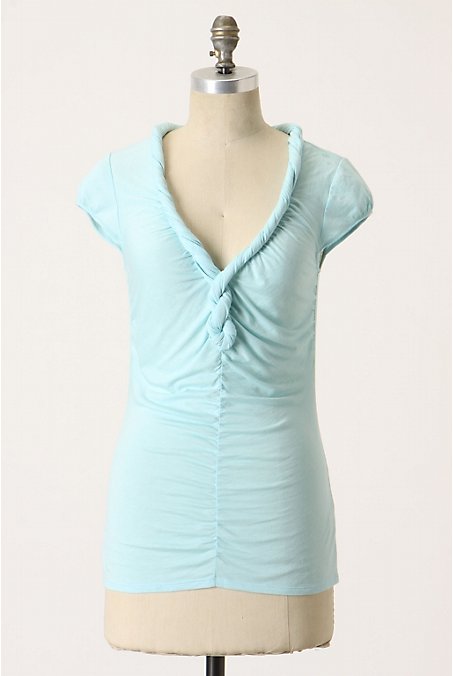
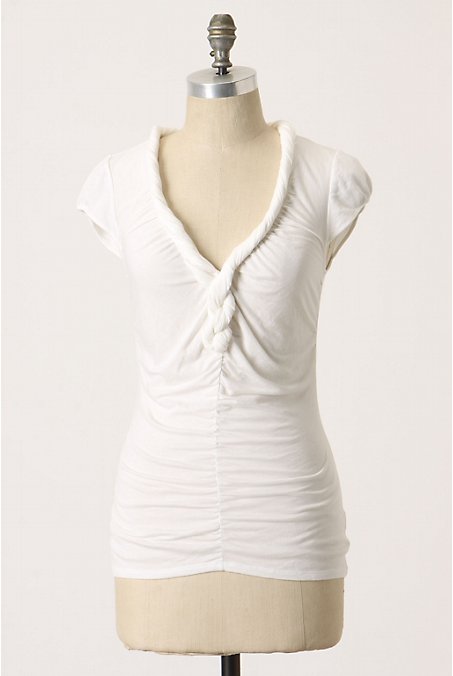
and remember the anthropologie one after another cardigan i posted last week? this is the same cardigan in pink, from express over 10 yrs. ago.

and this scarf my mom bought for me from korea that I’ve never wore.
So I added the scarf to the cardigan.
the after:


saved $100+!

0

TAGGED: DIY, J.crew DIY 22 Comments

Anthro-one after another cardi DIY

September 29, 2010~ SEWING

my inspiration: one after another cardi from anthropologie.


in my closet i found:

a cardigan from express I got about 10 yrs. ago.

and a sweater dress that shrunk and is too short to wear.

1. the bottom part of the dress is ribbed and and the top part is plain
so i cut about eight of 8″x5.5″ rectangles from both fabrics, totaling 16 rectangles.

2. to make the ruffles, use stitch length 5 and sew it across the length,
then pull one strong to cause the ruffle effect.

3. it should look like this

4. start from the bottom and put one rectangle on top
of the cardigan horizontally. then sew it across.

5. place another rectangle above the previous rectangle,
just high enough to cover the seams.

*i used ribbed fabric first, then the plain fabric over it and so forth.


6. also, some rectangles i sewed, i folded down the top part
so the stripes won’t be all exactly the same width apart like the anthro one
but some are same widths and some are closer together.

i think it makes it unpredictable thus more edgy. 😉

the after:

if you can tell, the left side is more ruffled than the right side.
this is because i couldn’t decide on which i liked more!
so i did both sides to see which i liked best. and i still can’t decide!
i’m usually not indecisive with my sewing and know exactly how
i want it, but this has been so hard!

so the question is: which side do you like more?
or do you like it the way it is?


i saved over $100!

0

TAGGED: Anthro DIY, DIY 36 Comments

  • « Previous Page
  • 1
  • …
  • 20
  • 21
  • 22
  • 23
  • 24
  • …
  • 27
  • Next Page »
cutmypic
Hello! My name is Sarah and I am so happy to have you here! Here you'll find DIY sewing, DIY home building & decor, honest and vulnerable posts of motherhood and snippets of my family. We are building our dream house and will update you regularly on our whole process from start to finish and I am also starting a mother-daughter sewing series. So I hope you stay awhile!

BLOG ARCHIVES

SEARCH

JOIN THE LIST

- THEME BY ECLAIR DESIGNS - Web Hosting By RFE Hosting -