• ABOUT
  • COLLABORATE
  • CONTACT

Life is Beautiful

Motherhood, Sewing, Family

  • SEW
  • HOME
  • PARTY
  • TRAVEL
  • SHARING MY HEART
  • SHOP

DIY: tailor & add sleeves to a dress

August 13, 2012~ REFASHION RUNWAY, SEWING

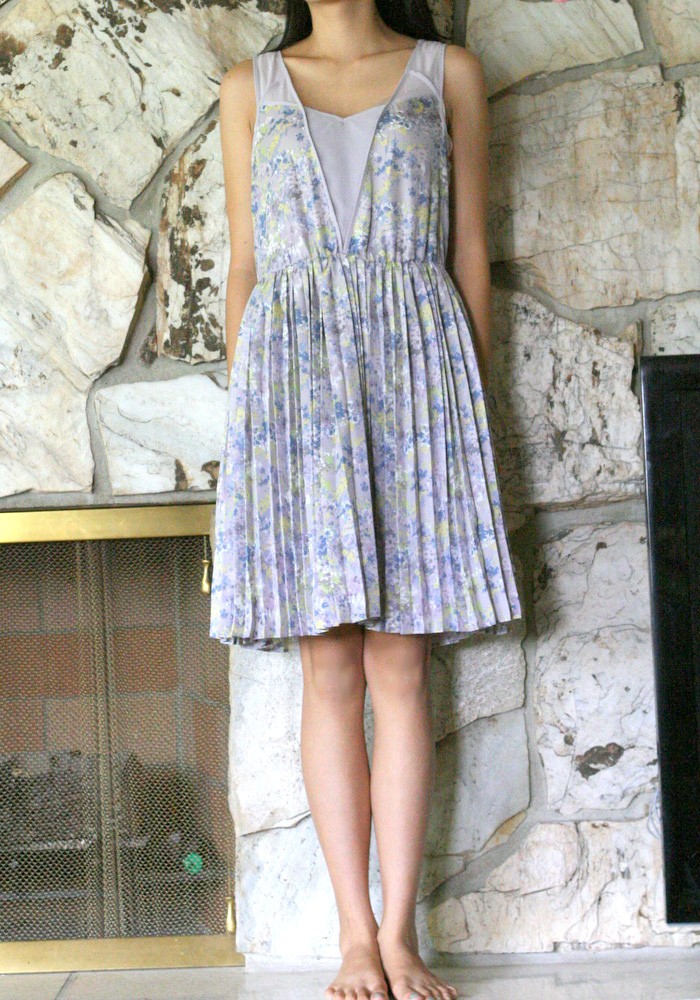
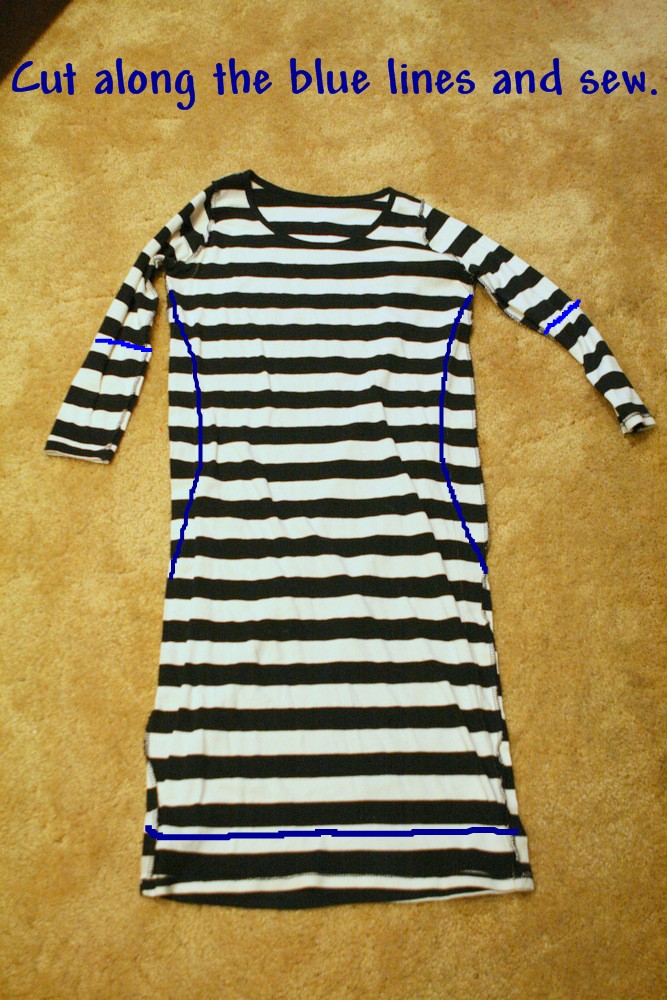
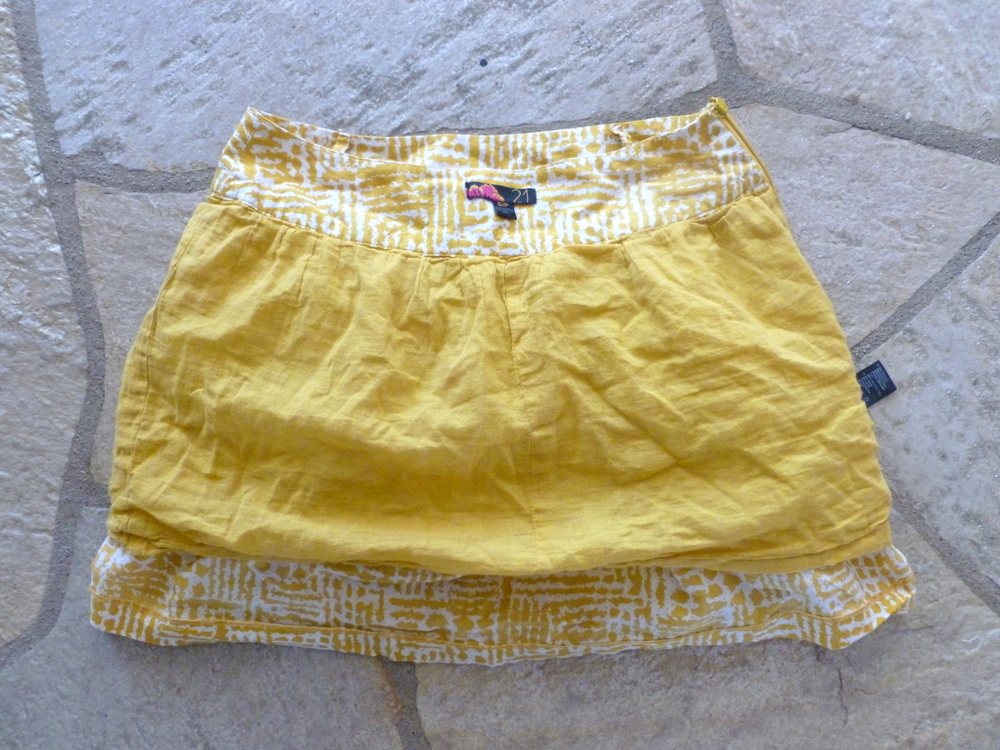
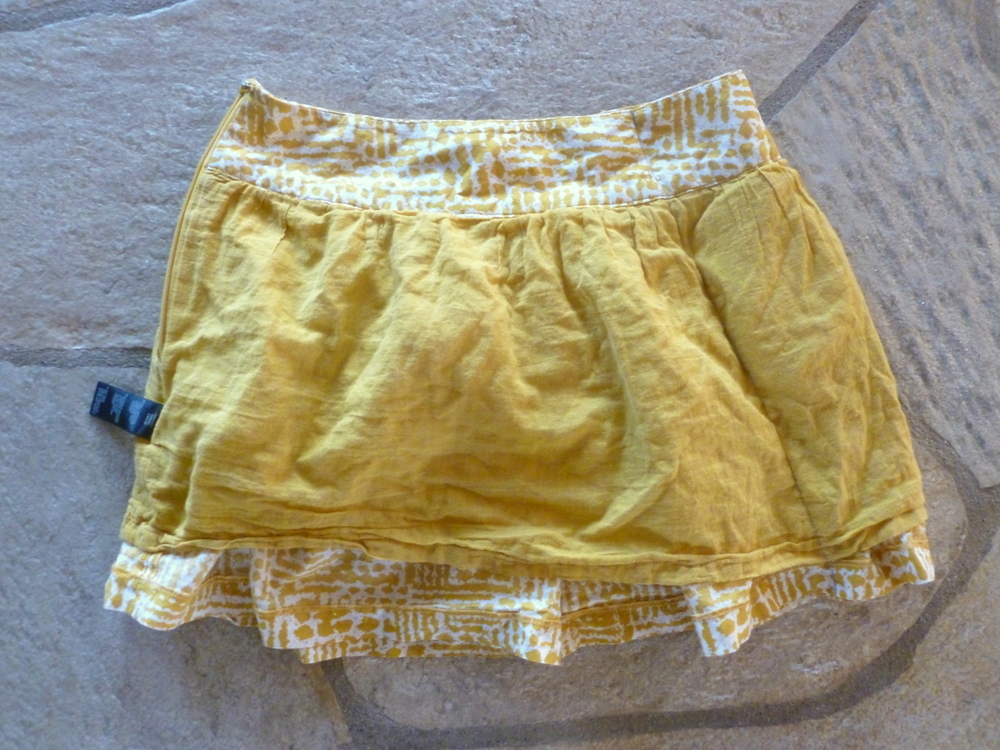
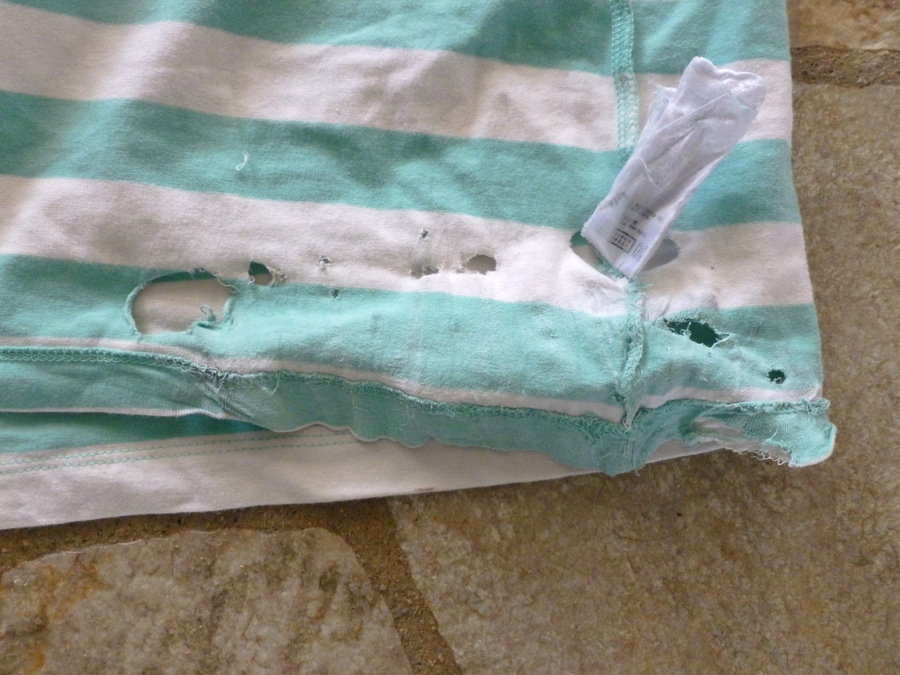
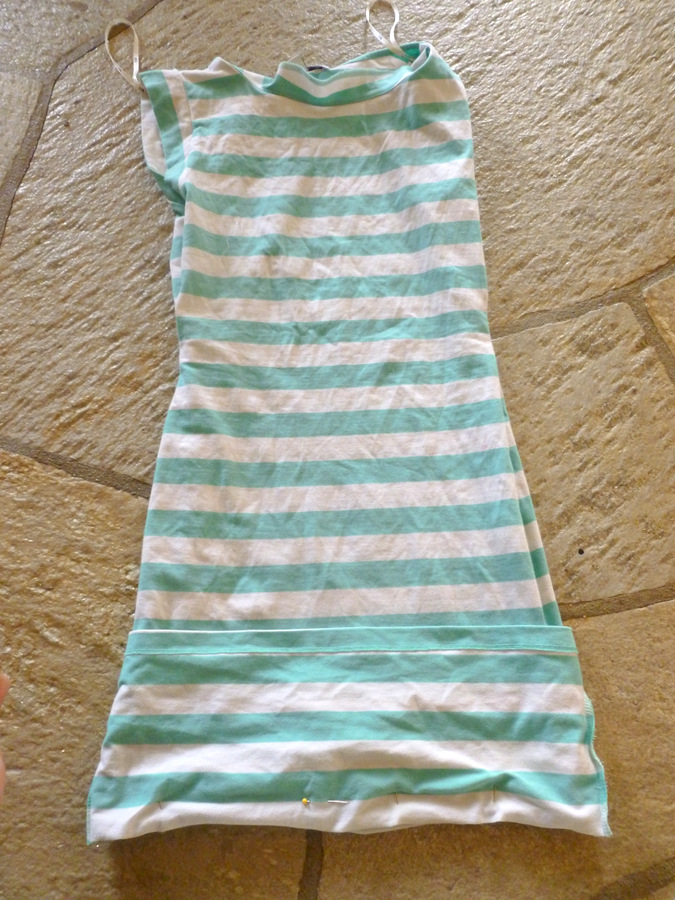
I don’t know about you, but I prefer to wear dresses over pants or skirts any day in the summer since it’s much cooler, and way more comfortable.  I got this dress at Kohl’s(for $4!) but the chest/waist part was a little loose.  So I tailored it smaller and used the lining of the dress to make the sleeves.
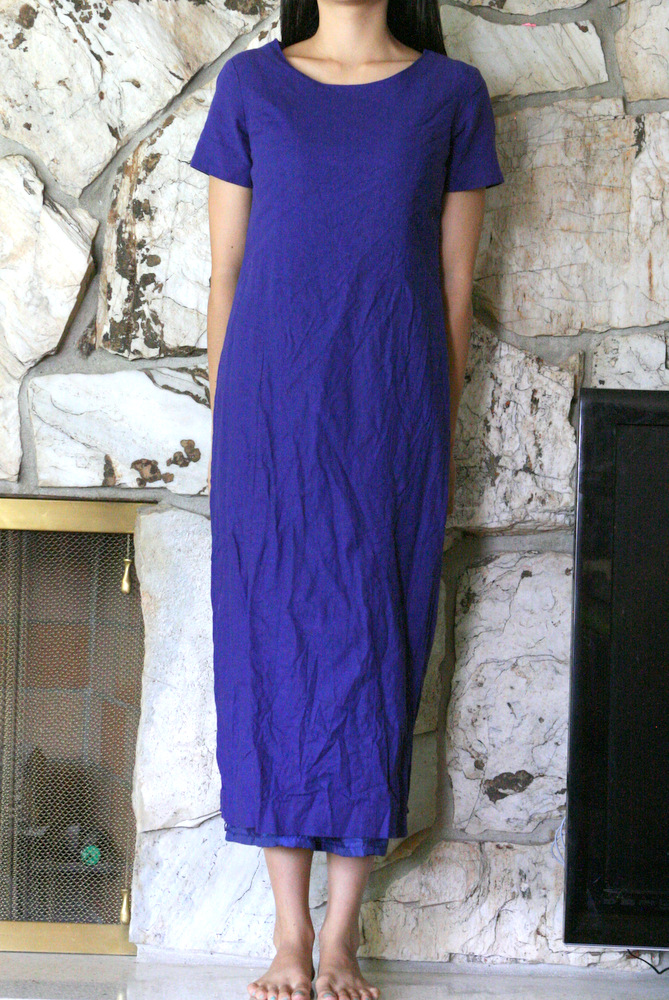
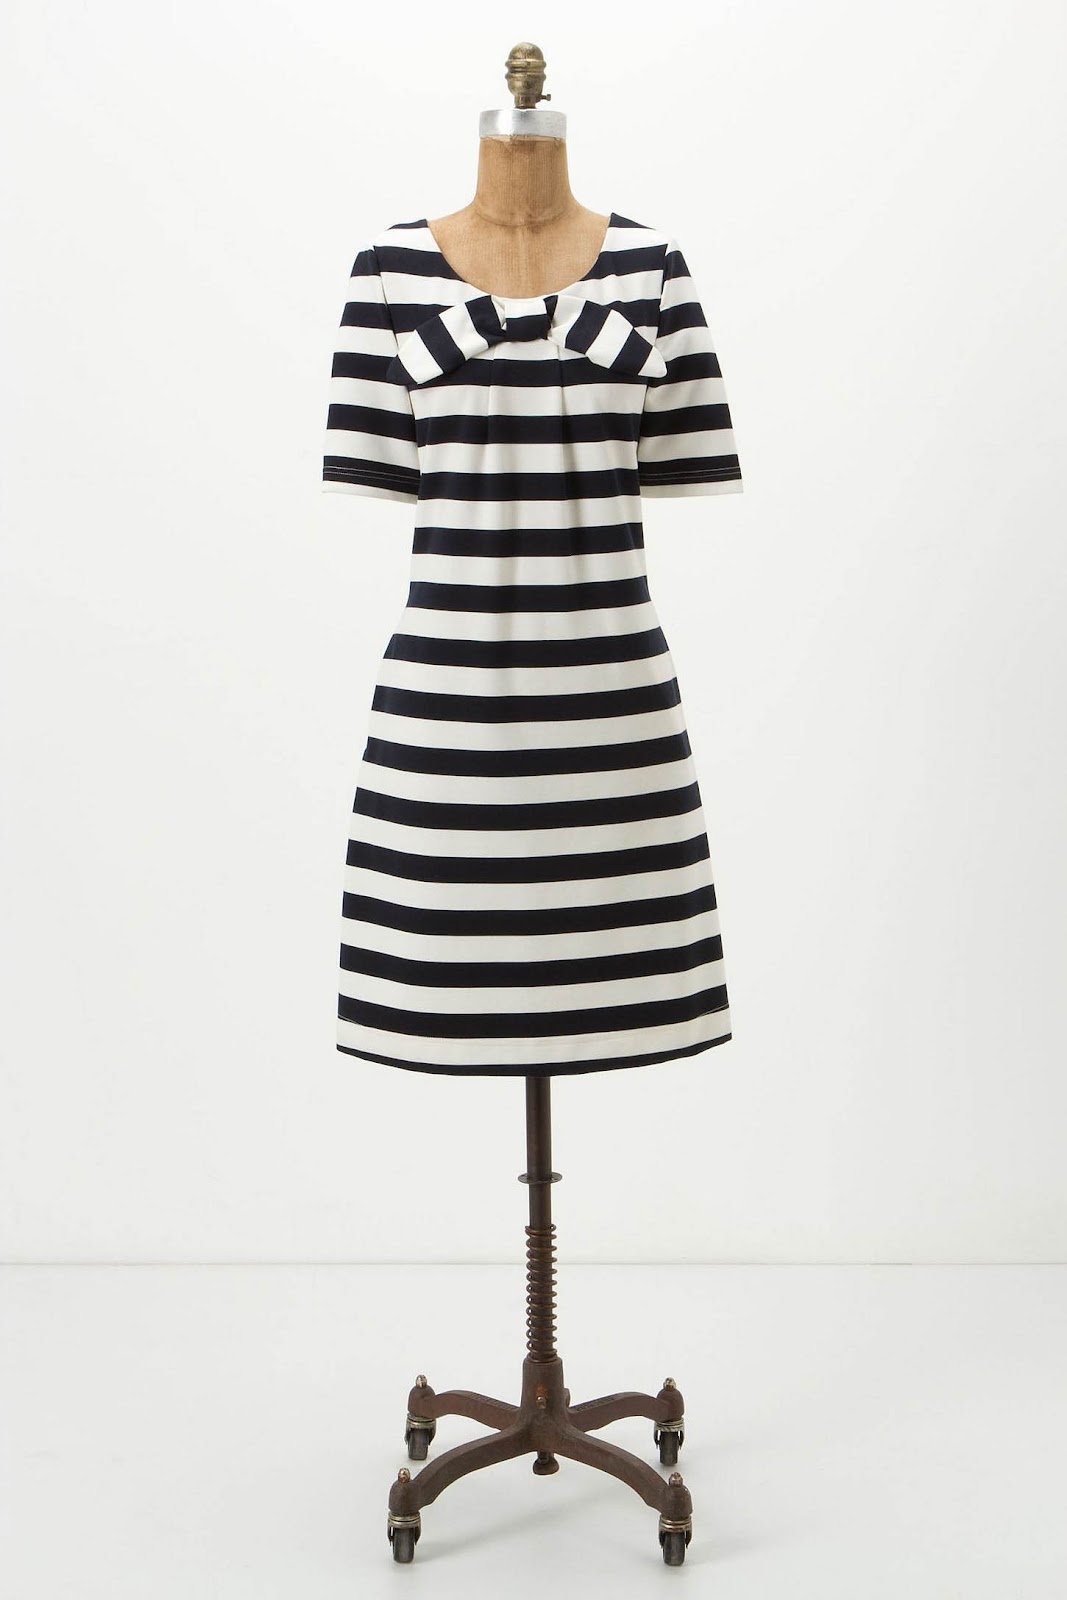
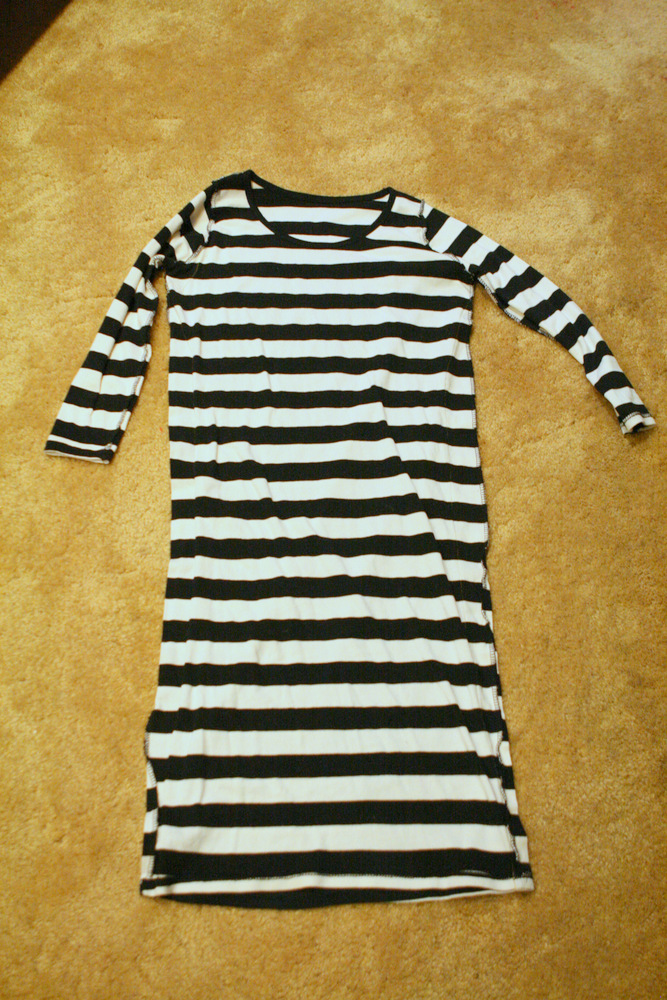
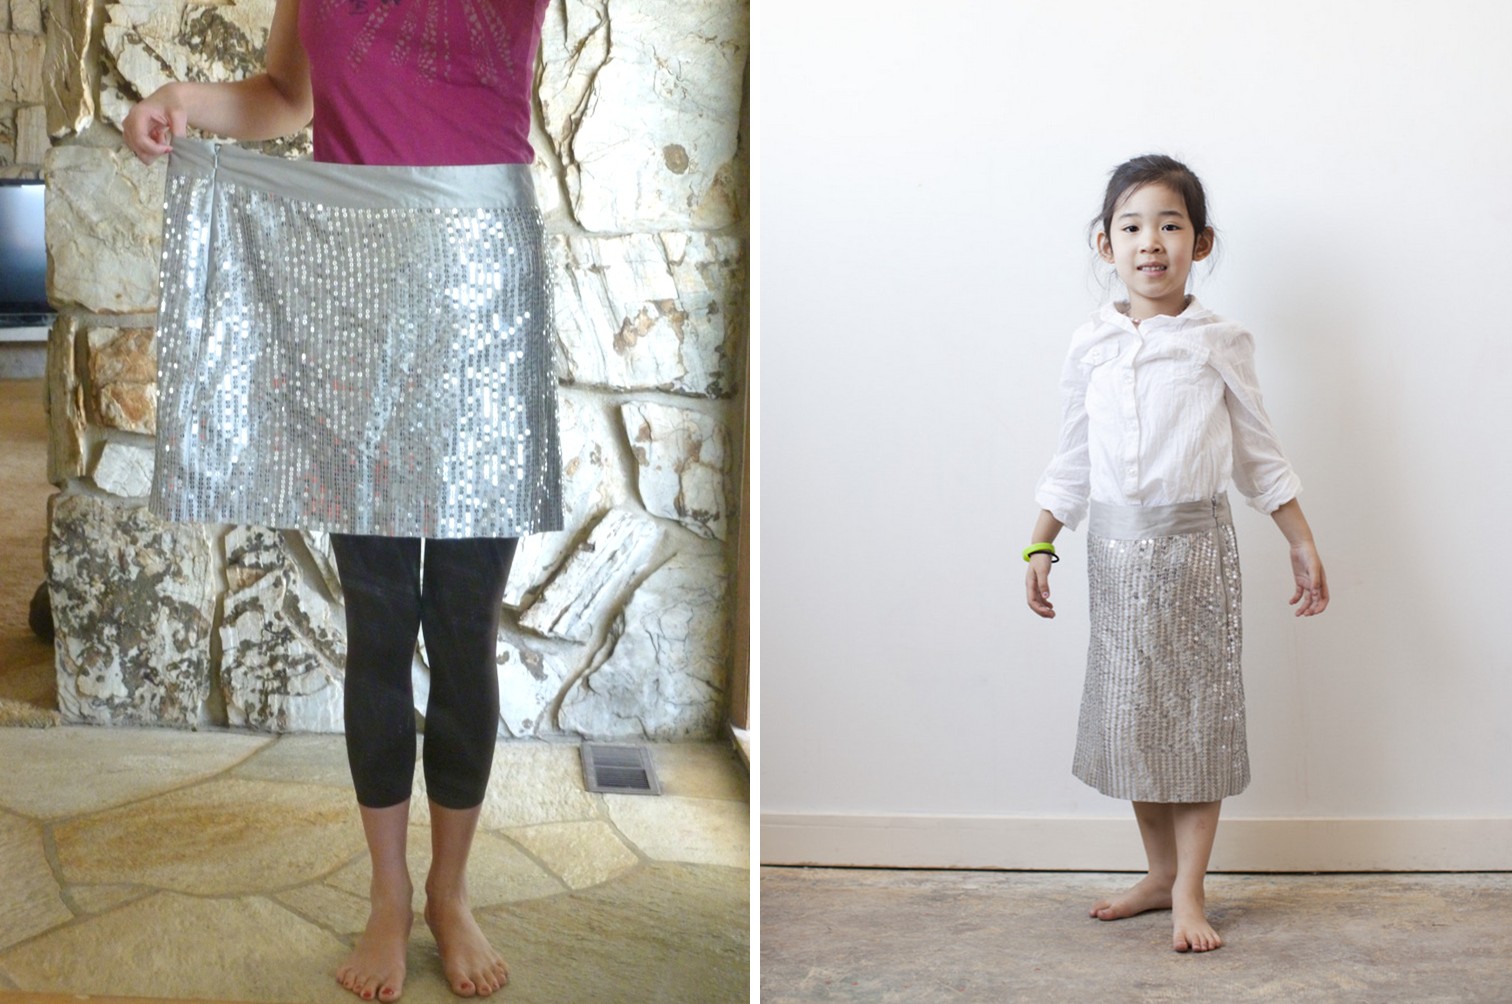
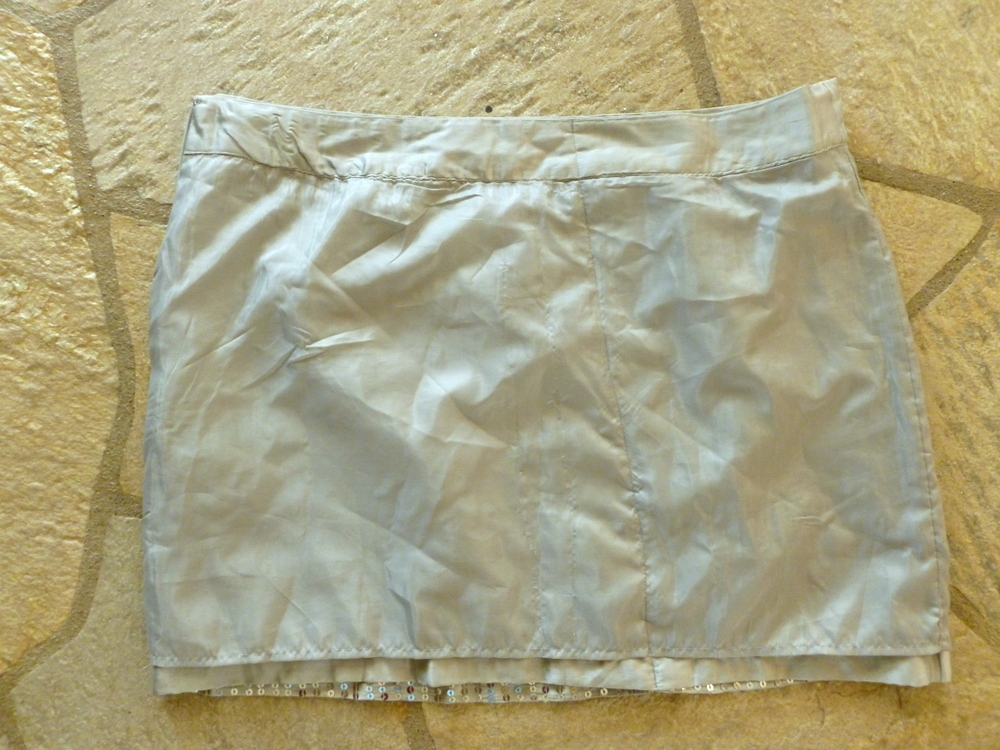
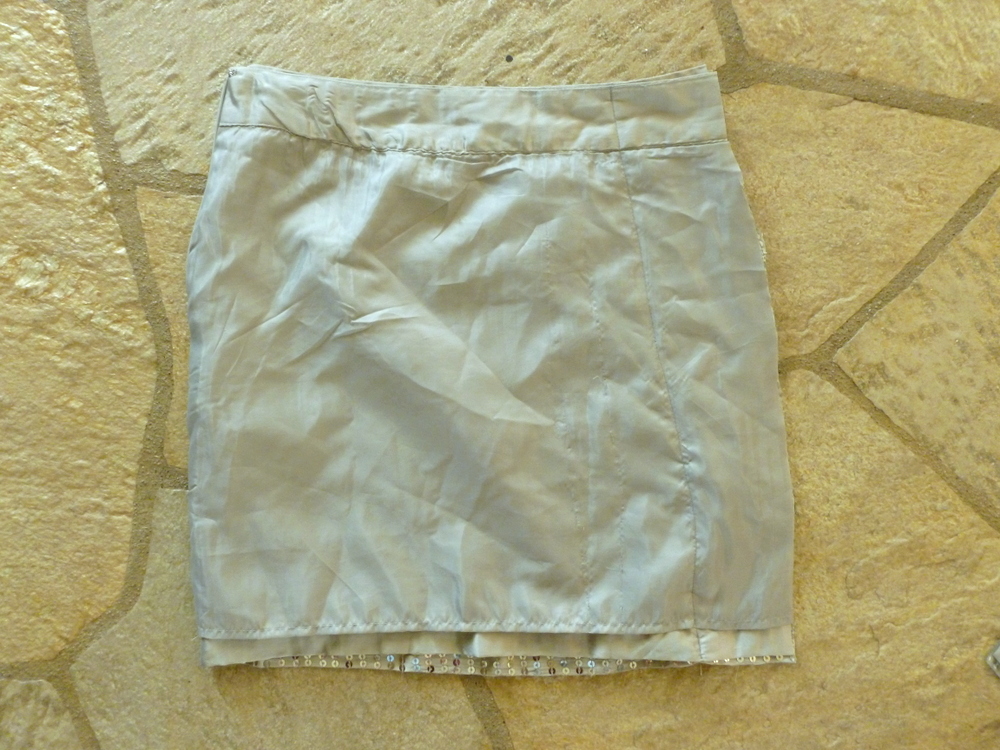
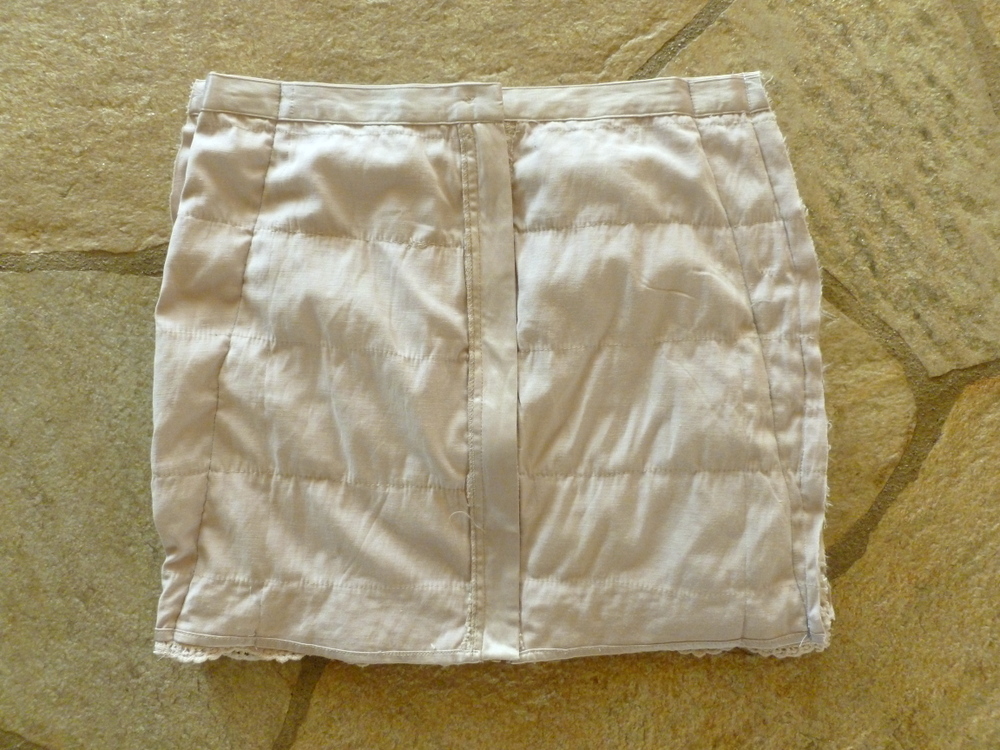
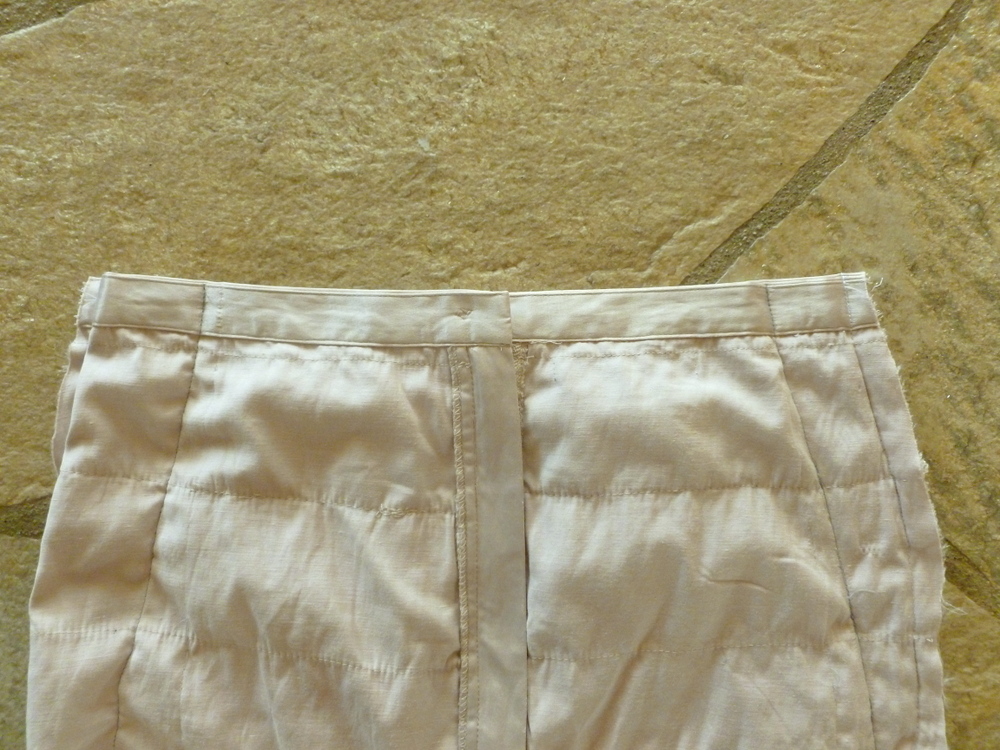
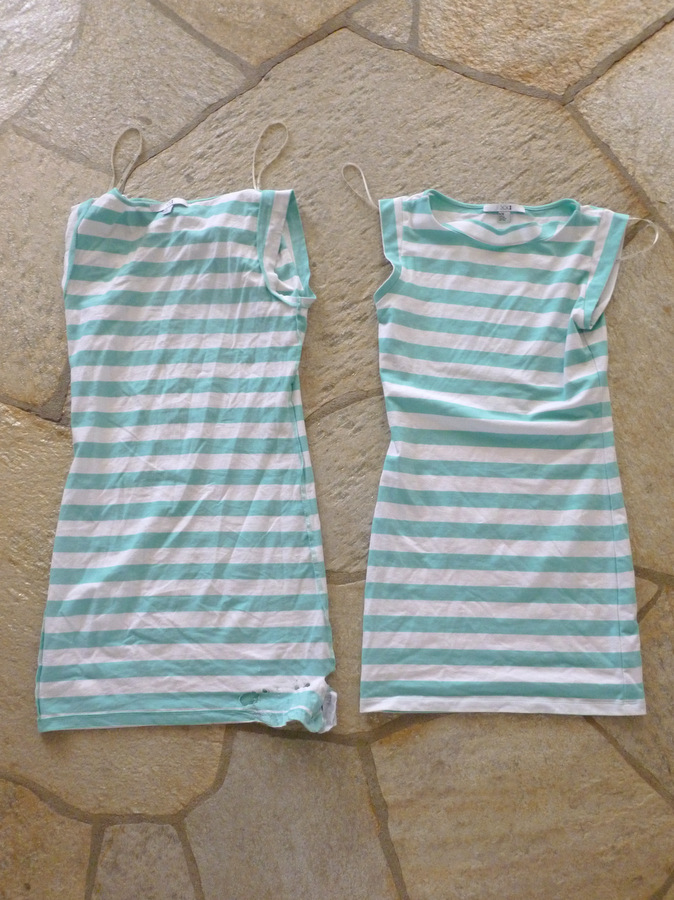
 

Before:
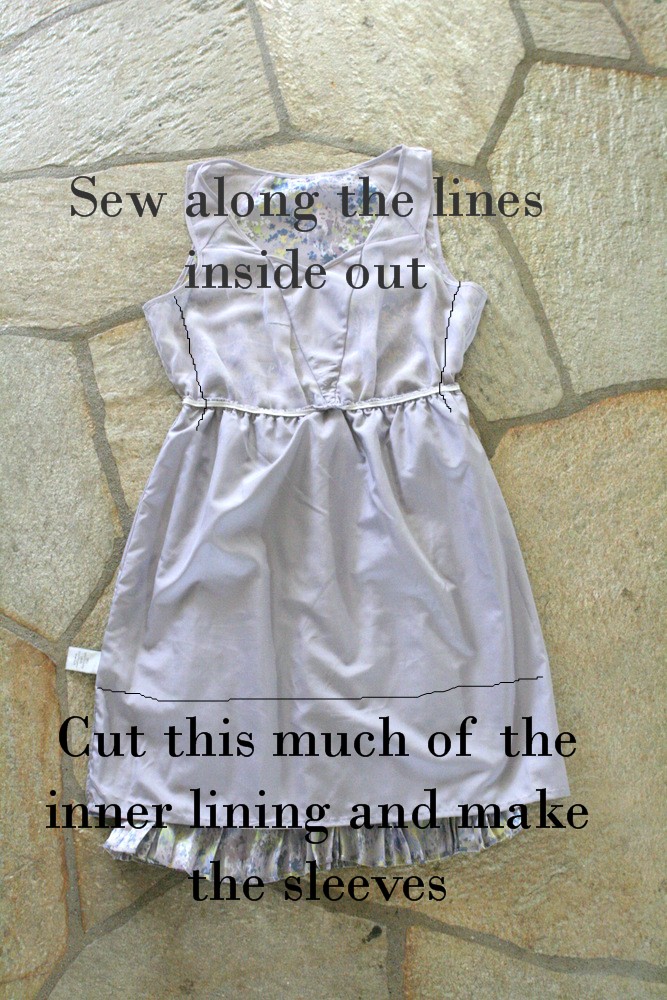
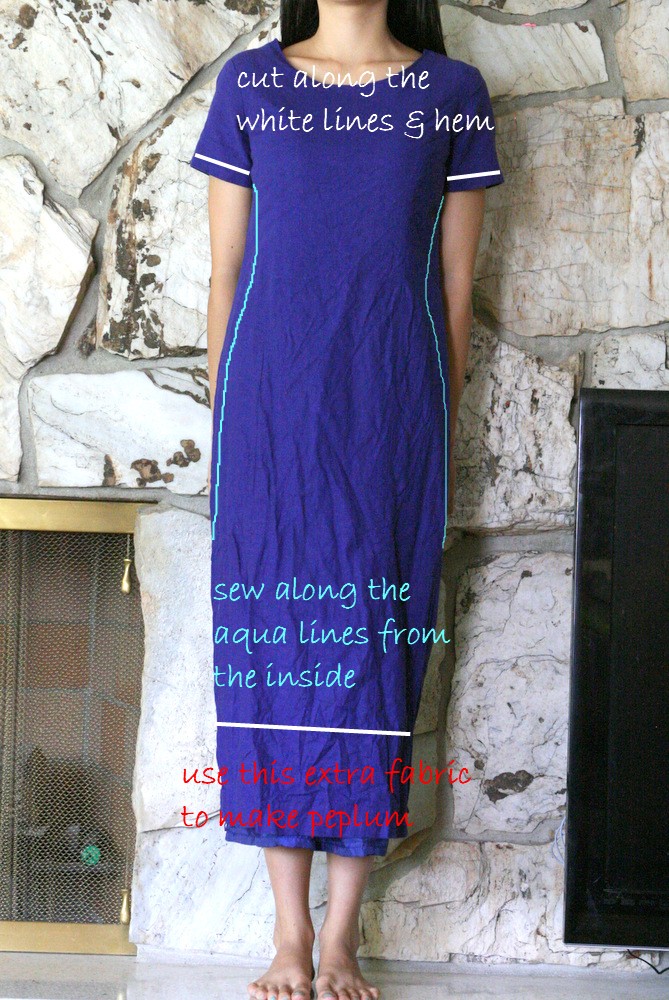
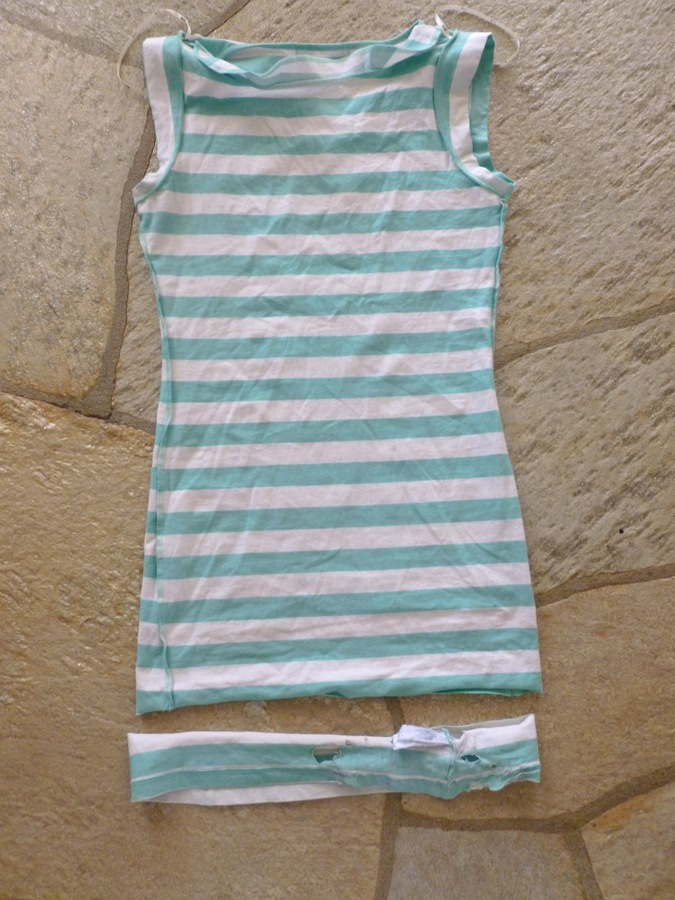
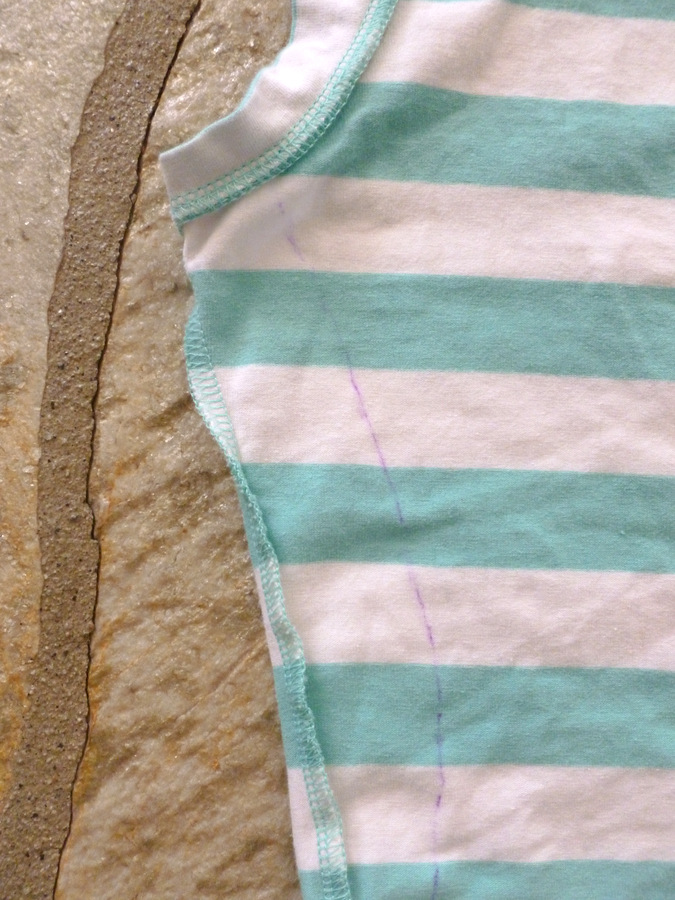
*I just cut the back side of the lining and used this tutorial to add the sleeves.
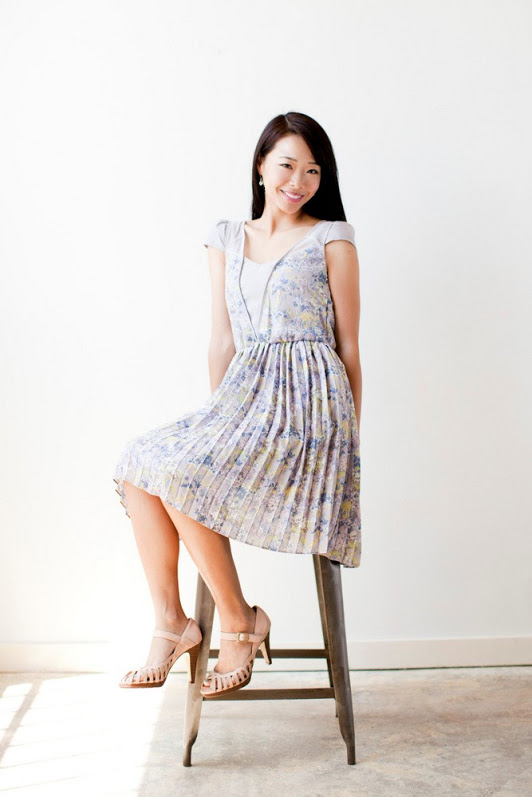
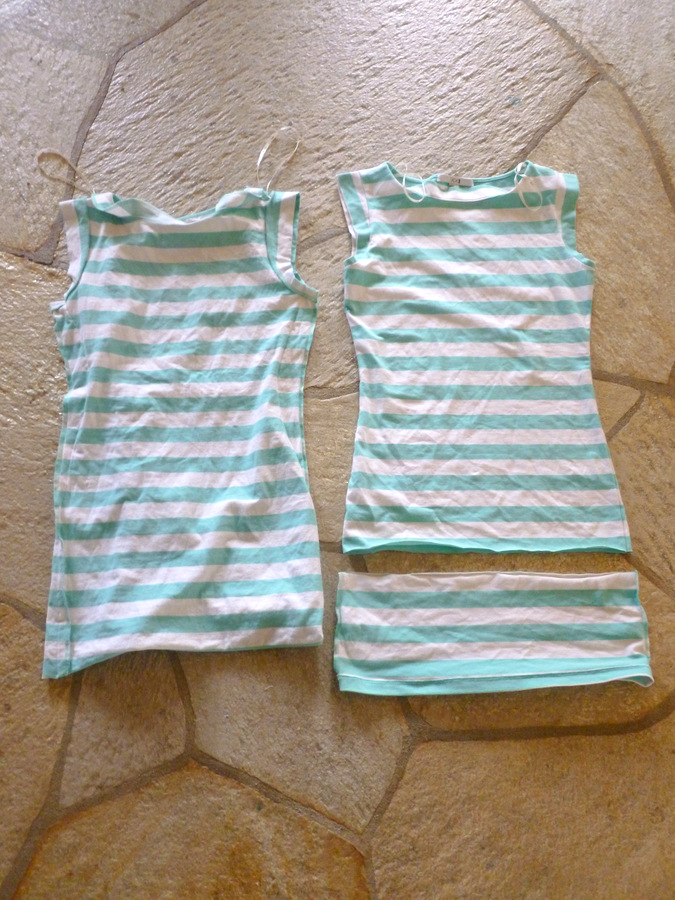
*I made the sleeves too small(short) for my liking, so I plan on making a bigger one.  But in the meantime I’ve been wearing a cream colored cap sleeves under it which works fine too.
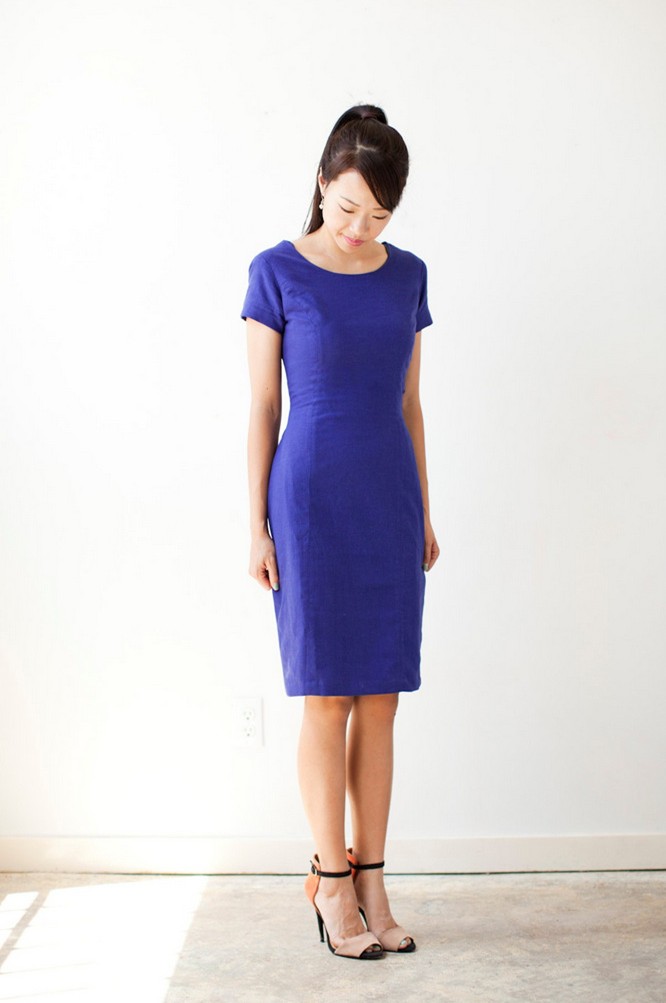
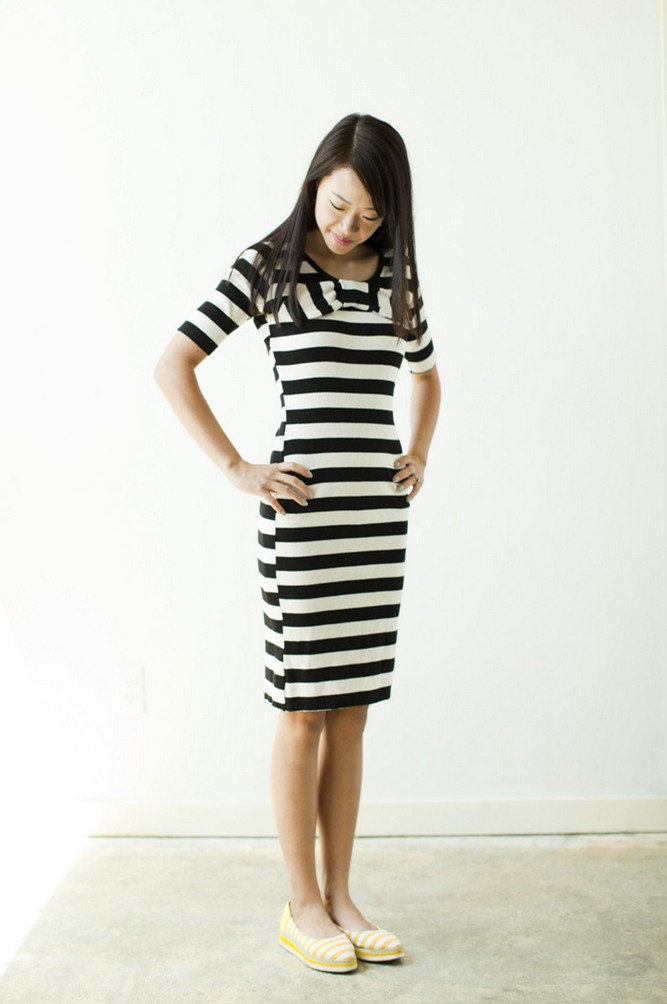
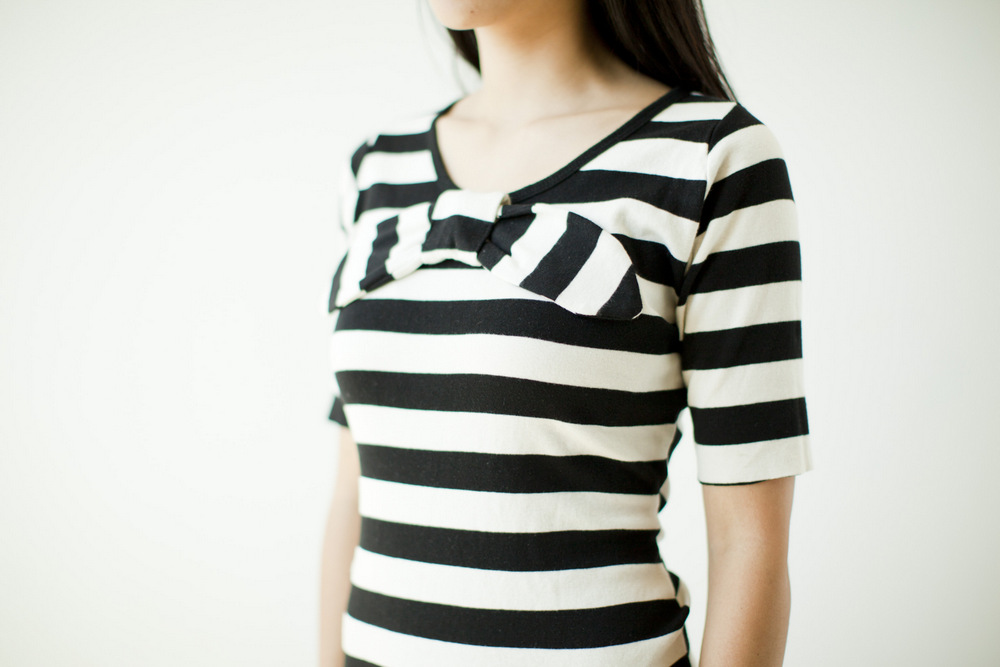
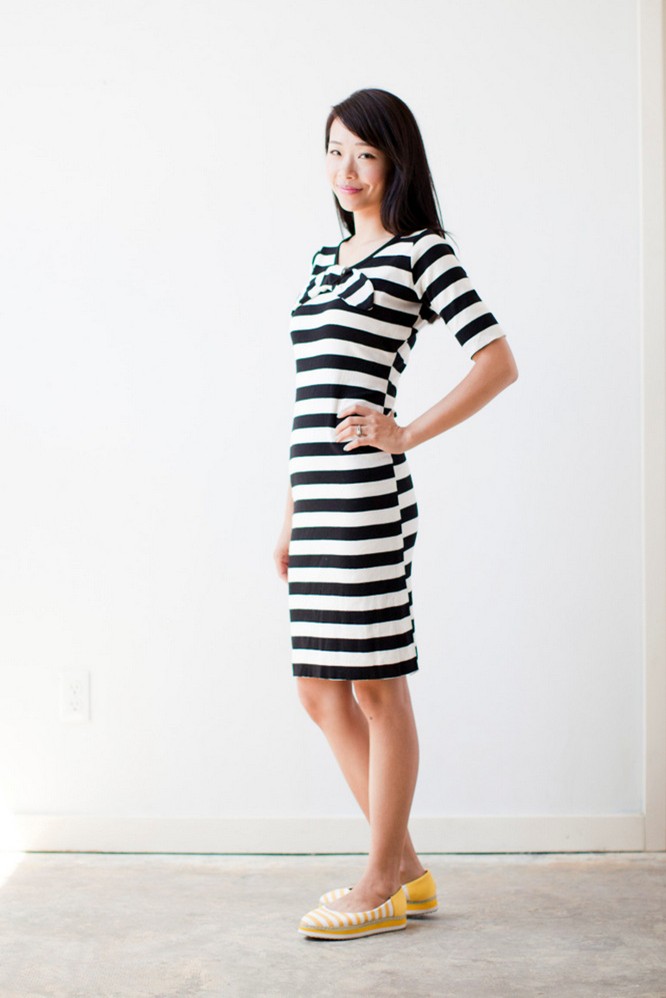
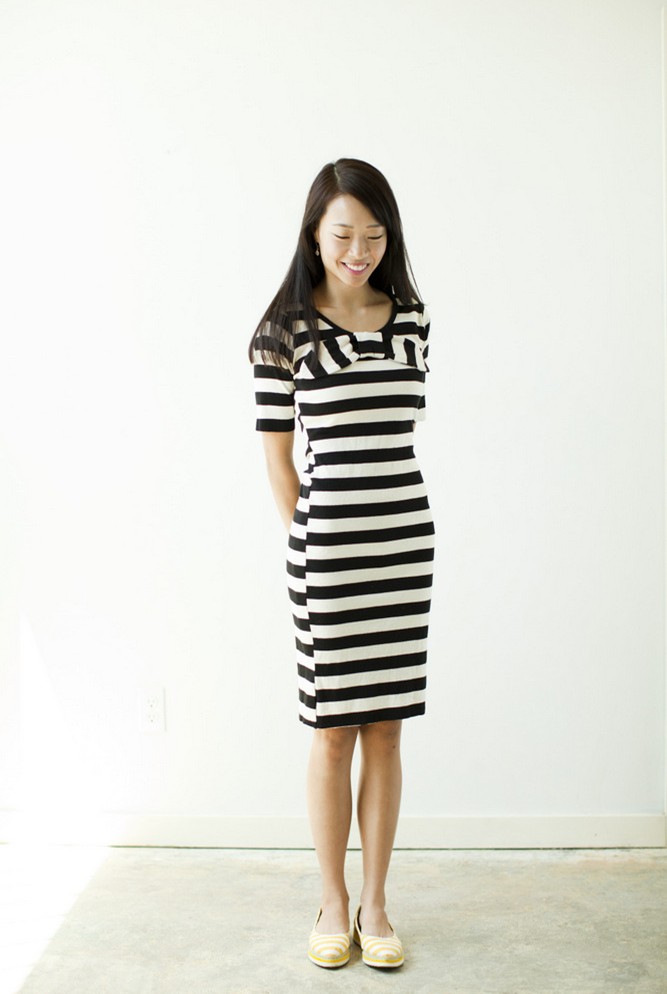
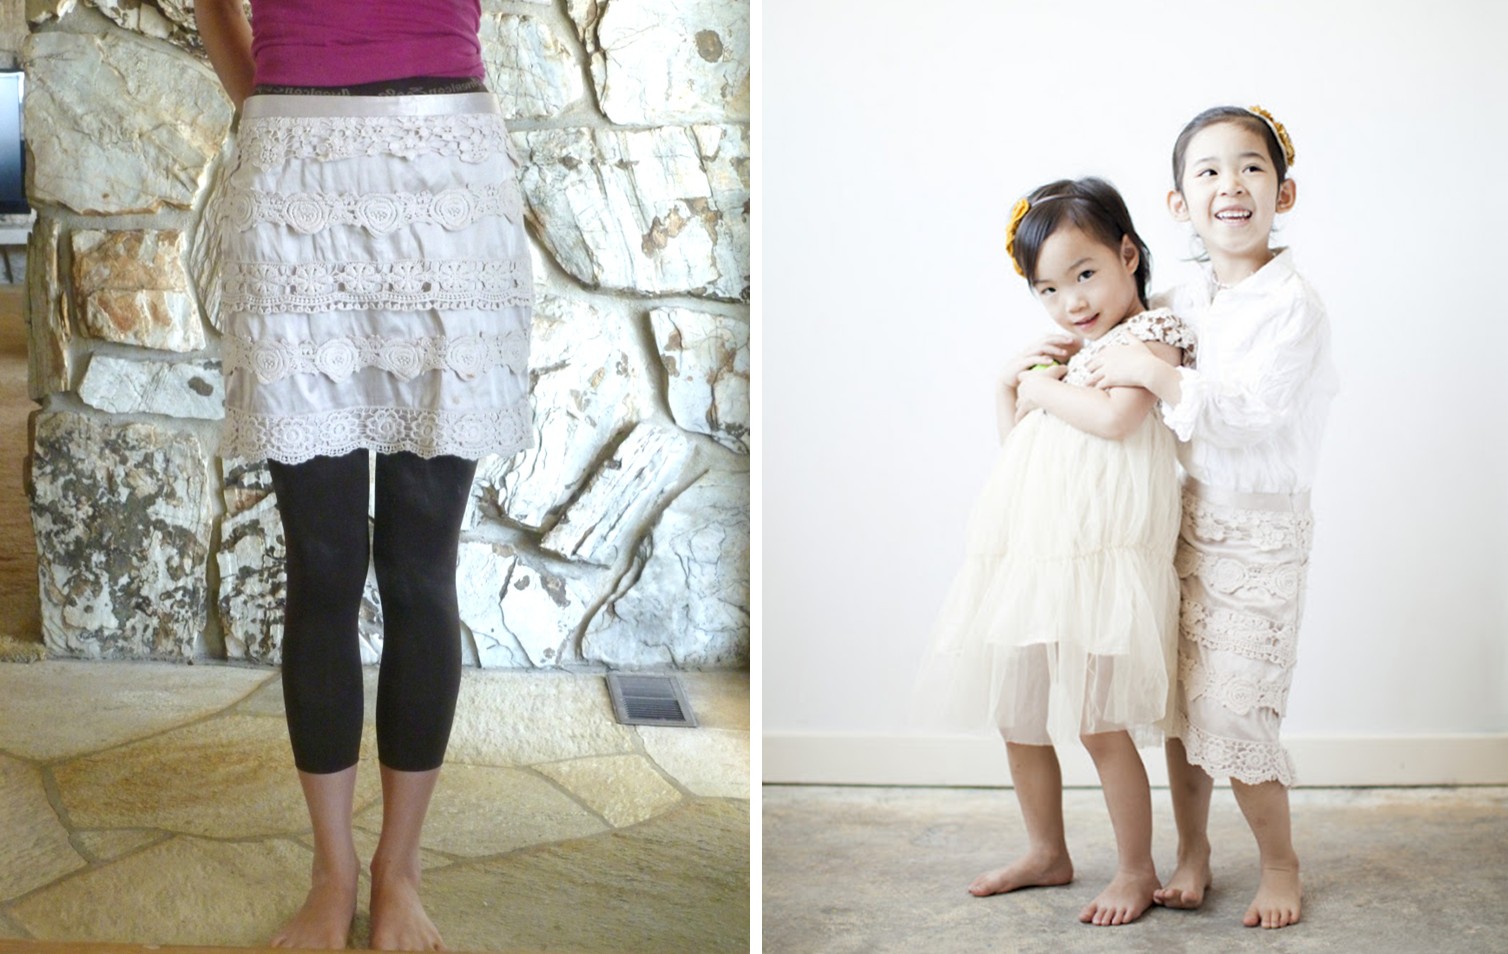
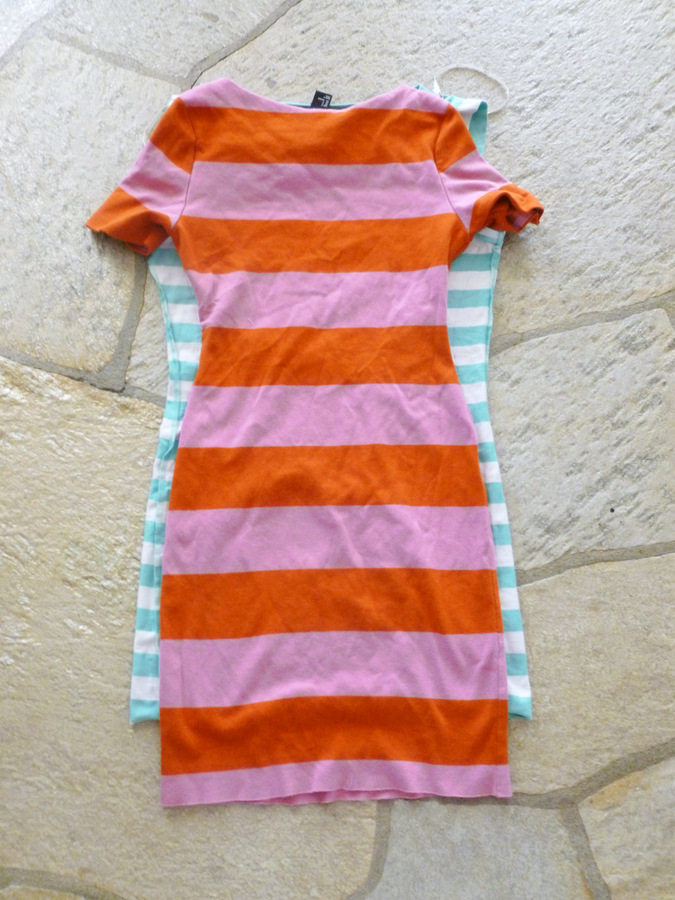
After:
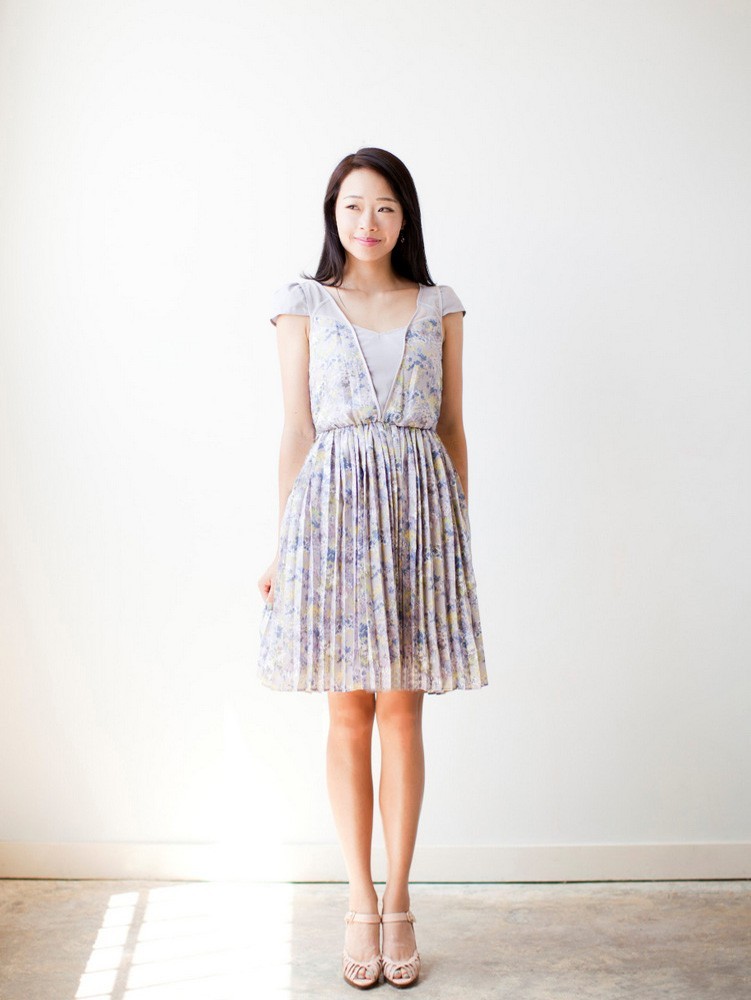
{Dress: Lauren Conrad by Kohl’s | Shoes: Payless(really old)}
Skill level: a confident beginner
Estimated time: 30 minutes
Budget: none
The after photos by Jessica Peterson.  She is amazing!


0

TAGGED: DIY, DIY tailoring 26 Comments

DIY: a thrift find dress to a peplum dress

July 30, 2012~ SEWING

I got this dress at a thrift store for $4.  I liked the color and knew it had potential.  
I tend to go through “obsessions” with clothes, like two years ago, it was ruffles.  Starting last year, it’s been peplum.  I already own 9 items of peplum clothing but it’s just not enough!  So I had to make this into a peplum dress.

My favorite part?  I made the peplum detachable so I can wear it two ways:
Directions: 
*with the peplum design, I used a pattern similar to this one, except I didn’t round the edges of the fabric.
After:
Photographs by Jessica Peterson.  
What you’ll need:
-bigger/longer dress
-hook & eye closure
-matching thread
-scissors
-a sewing machine/needle & thread
Estimated time: 1.5-2 hrs.
Budget: $4
Skill level: intermediate
5

TAGGED: DIY, DIY tailoring 66 Comments

DIY: waypoint ponte dress by Anthropologie.

July 23, 2012~ DIY DREAM HOUSE

Inspiration: waypoint ponte dress by Anthropologie $168.
My version:
Before:

and with the extra fabric from the sleeves and the bottom I cut out, I made the bow.  It’s detachable so I can wear it with or without the bow. 
After:
{Dress: Purchased in Korea, Shoes: Oasap}
Project cost: FREE(since I already had the dress)
Skill level: a confident beginner
Estimated time: 40 mins.
I saved over $170!
Photos by the talented Jessica Peterson.
1

TAGGED: Anthro DIY, DIY 29 Comments

DIY: a women’s skirt to a girl’s skirt

July 16, 2012~ SEWING

If you have some skirts that you no longer wear because it’s too short for you, then you can simply narrow the side(s) to make it into a little girl’s skirt!
before/after:
This skirt is a side zipper so I took the other side in.
then cut the excess fabric, with enough to later alter/make it larger as the girls get older.

This skirt is a back zipper so I took both of the sides in.
This skirt is a side zipper so I took the other side in.
and didn’t cut the extra fabric off so I can alter/make it larger as my girls get older.  It saves a lot of money!

What you’ll need:
-a skirt
-thread & needle or a sewing machine
-scissors
Budget: FREE
Skill level: very beginner
Estimated time: 5 mins.
The after photos by Jessica Peterson.
0

TAGGED: DIY 15 Comments

DIY: lengthen a short dress part two.

June 25, 2012~ SEWING

This week I’ll show you how to lengthen a short dress in a different way.
I bought this dress from F21(stripes and mint? how can I say no?) and put it through the wash cycle.  When it came out, this is how it looked.
I went back to the store to see if they would exchange it, but they pointed out that on the tag it said, “hand wash only”.  Shucks, my bad!  So I bought another same exact dress and took it home with me(the dress was only $10 each).
I cut the torn part off.
Then cut the bottom length of the other dress to attach it.
And sewed the bottom part onto the original dress.
Then I got a fitting dress and traced it with a disappearing ink pen.
And sewed along the traced line.  And you’re done!
The after:

What you’ll need:
– two of the same dress/fabric
-matching thread
-sewing machine/(or)needle
-disappearing ink pen
-scissors
-a dress you like the fit of.
Estimated time: 30 mins.
Project cost: moderate(mine was a little over $10)
Skill level: a confident beginner
the after photos by Jessica Peterson.
last week’s giveaway winner announced here.
0

TAGGED: DIY, DIY tailoring, modestify 23 Comments

  • « Previous Page
  • 1
  • …
  • 8
  • 9
  • 10
  • 11
  • 12
  • …
  • 27
  • Next Page »
cutmypic
Hello! My name is Sarah and I am so happy to have you here! Here you'll find DIY sewing, DIY home building & decor, honest and vulnerable posts of motherhood and snippets of my family. We are building our dream house and will update you regularly on our whole process from start to finish and I am also starting a mother-daughter sewing series. So I hope you stay awhile!

BLOG ARCHIVES

SEARCH

JOIN THE LIST

- THEME BY ECLAIR DESIGNS - Web Hosting By RFE Hosting -