• ABOUT
  • COLLABORATE
  • CONTACT

Life is Beautiful

Motherhood, Sewing, Family

  • SEW
  • HOME
  • PARTY
  • TRAVEL
  • SHARING MY HEART
  • SHOP

modestify a LBD.

April 2, 2012~ SEWING

 dress c/o oasap, shoes c/o sheinside.
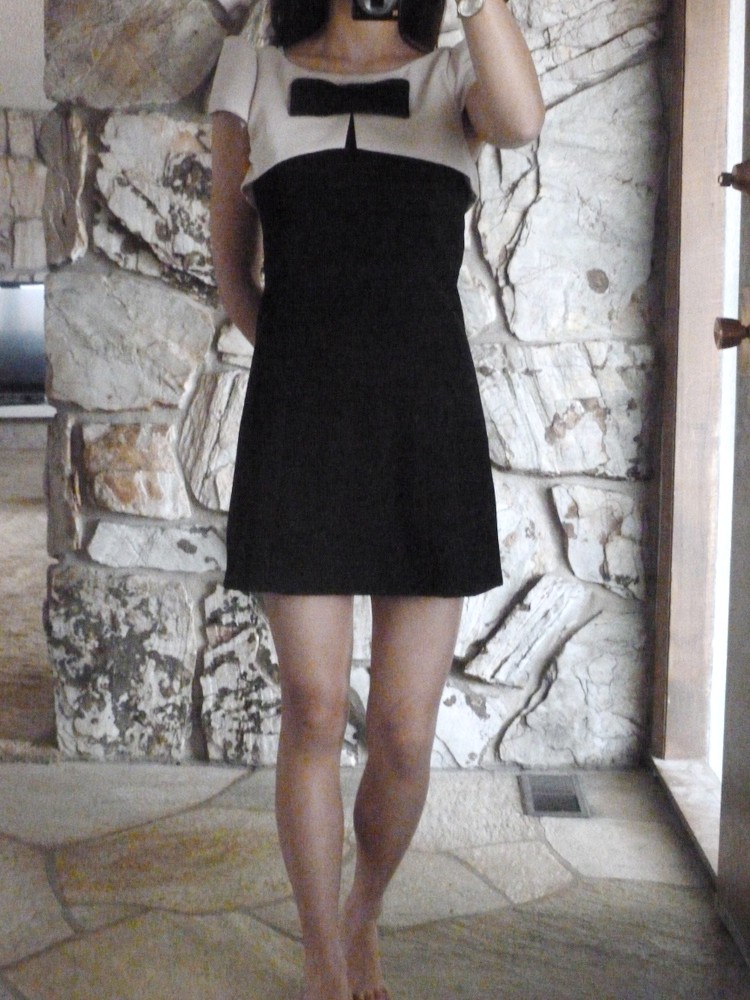
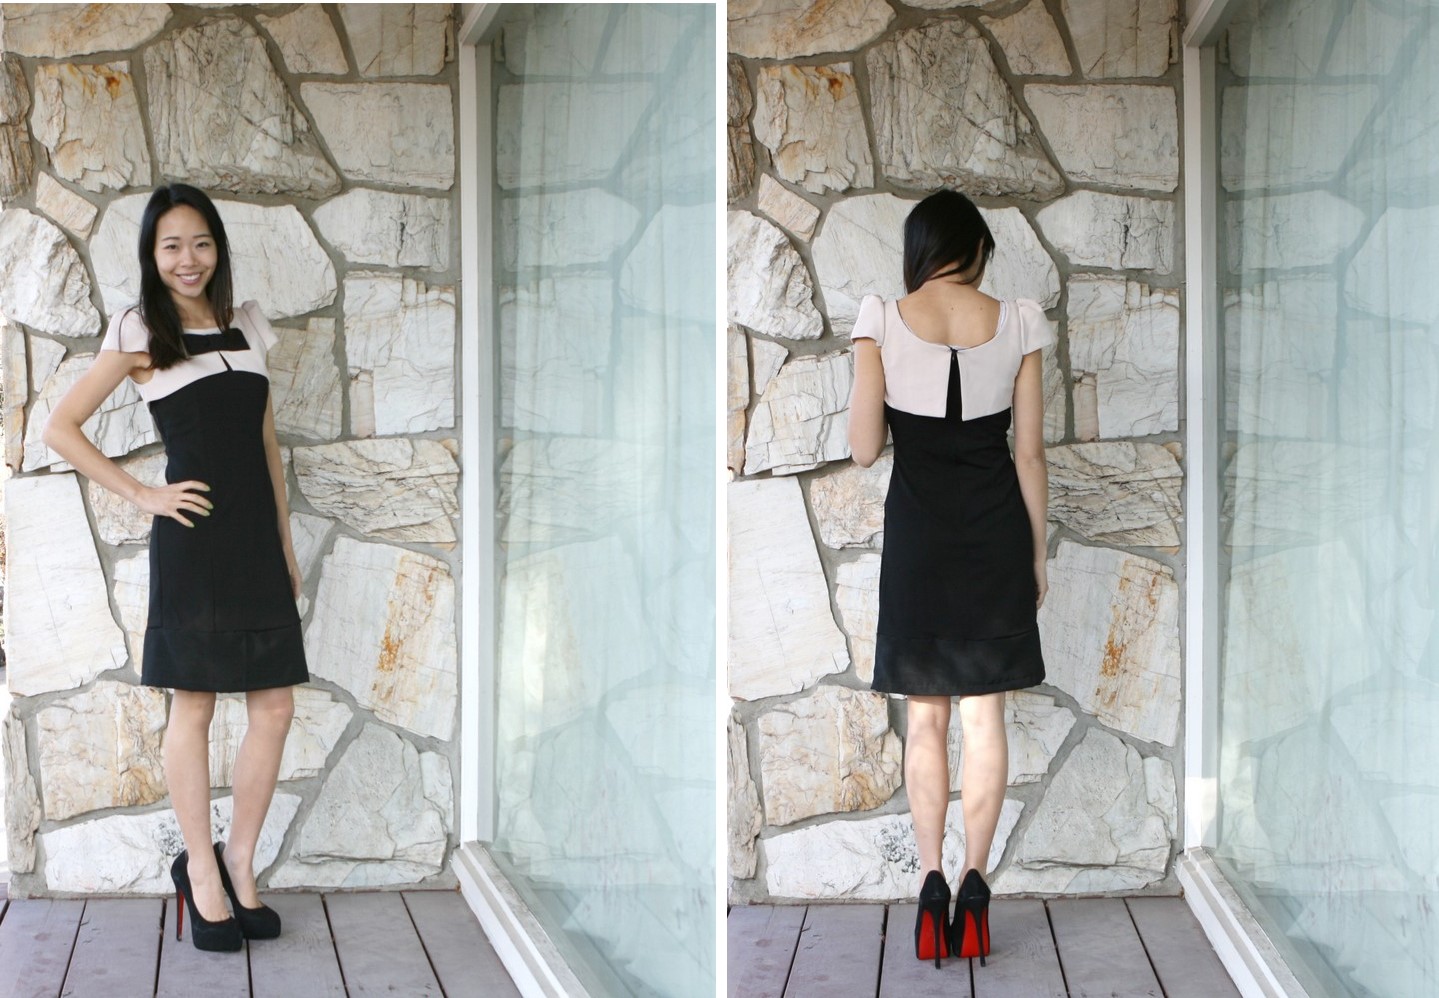
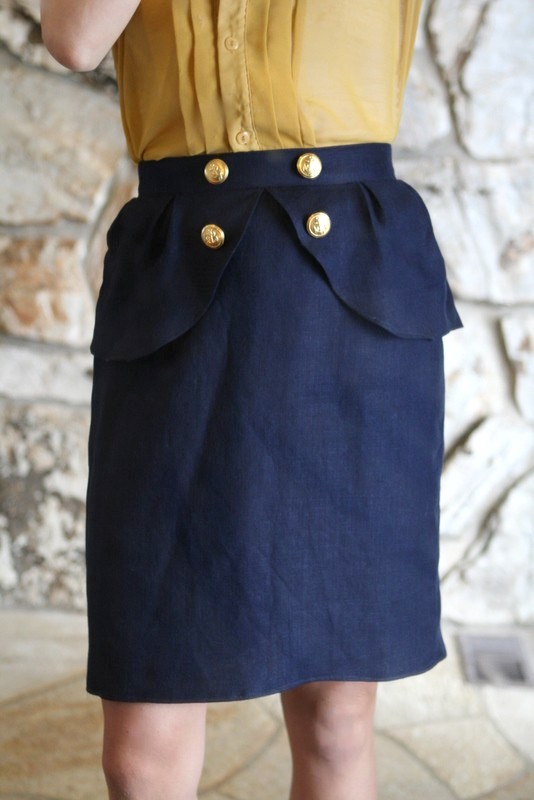
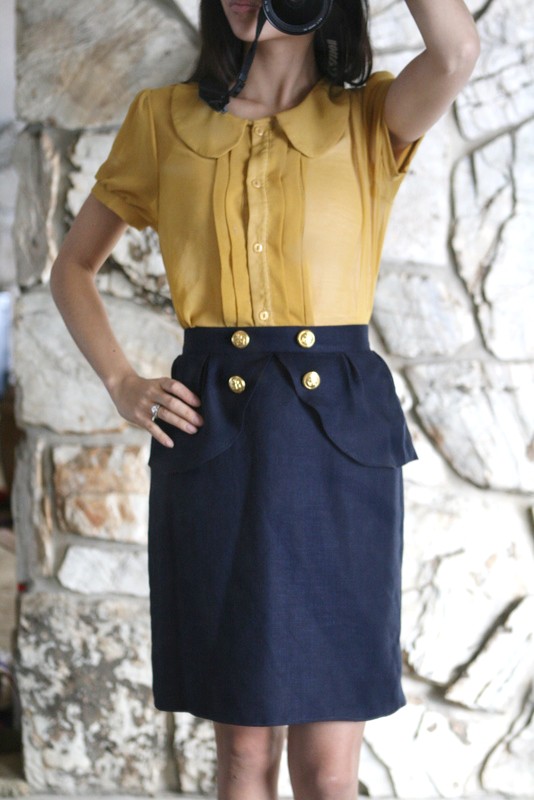
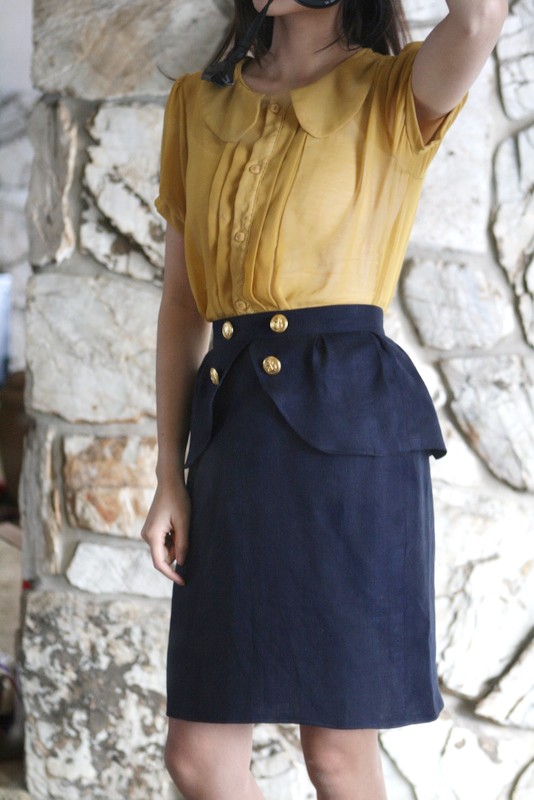
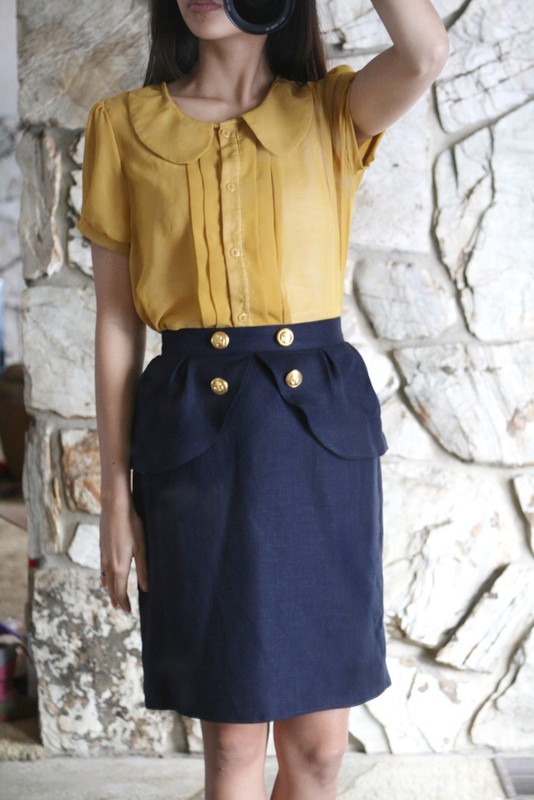
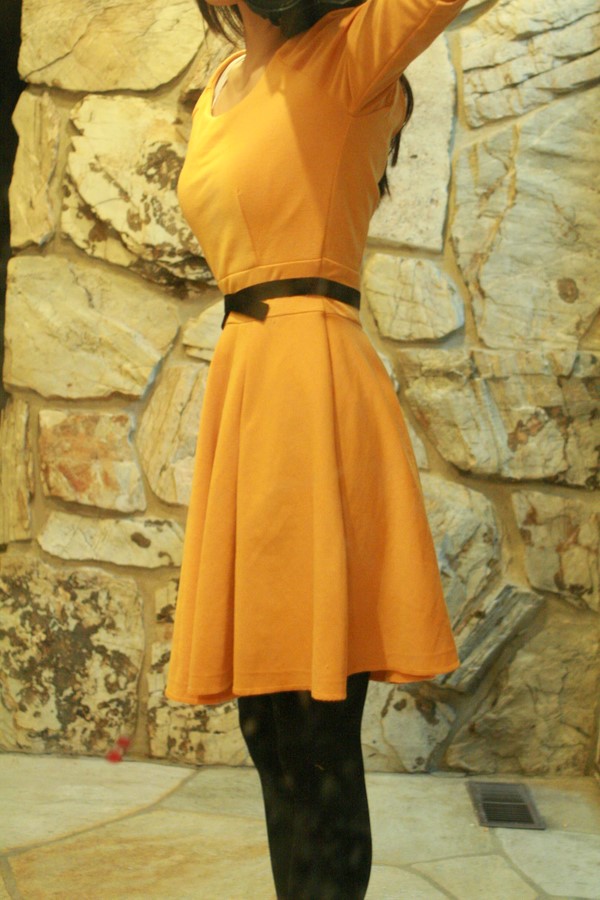
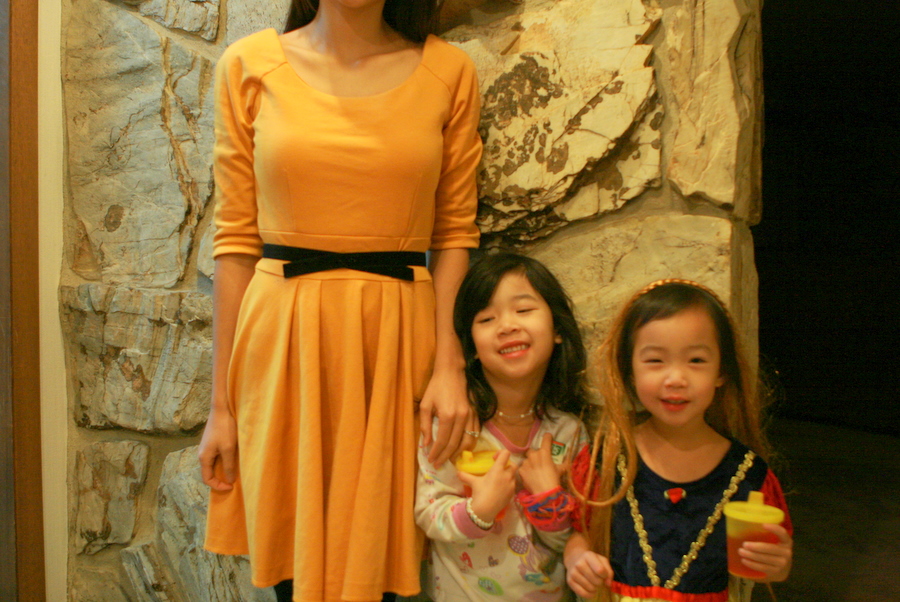
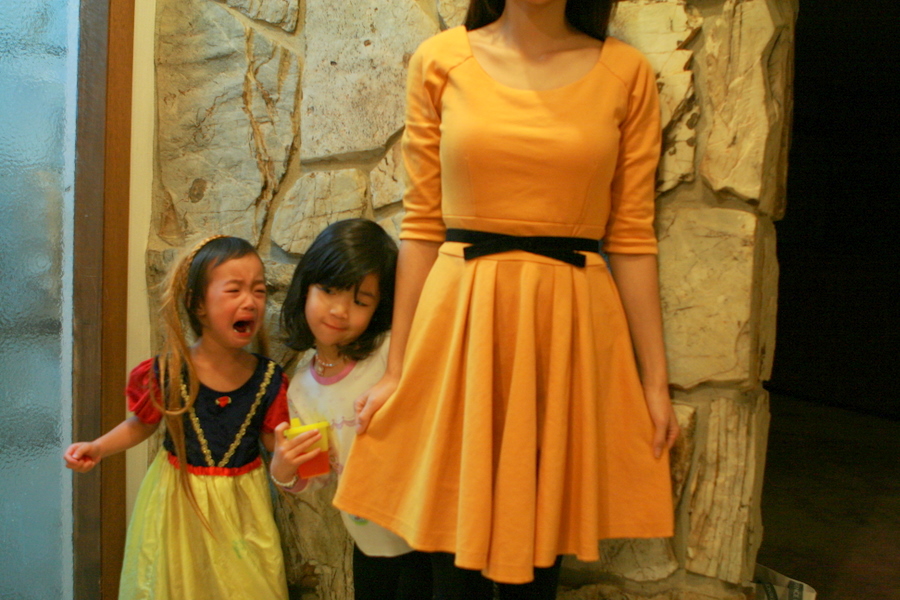
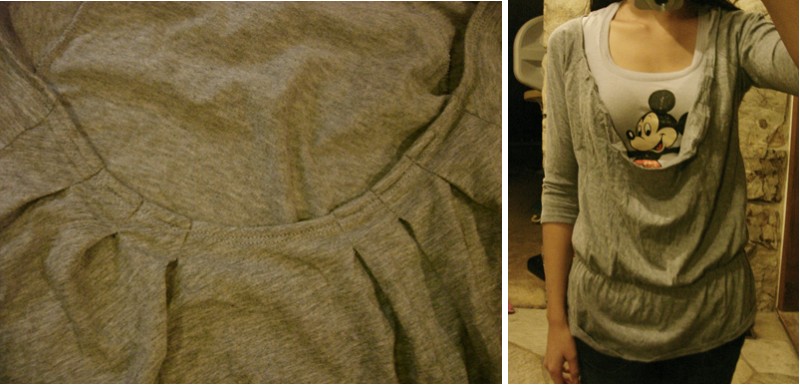
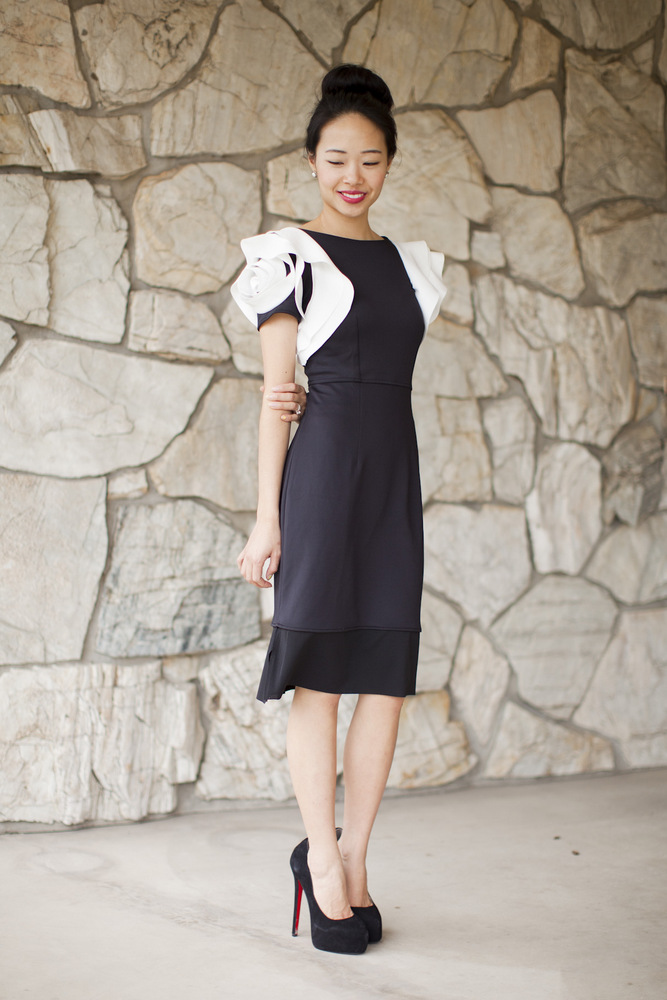
i’m so excited to let you know that from now on, i’ll be collaborating with Jessica Peterson, an amazing photographer, and also one of my dearest friends, with my DIY projects!  she is beautiful inside and out and has a gift to recognize and capture beauty through photographs.  her photographs are classy, sophisticated, clean, beautiful, and i don’t know how else to word it, but it looks very upscale and expensive.  haha, does that make sense?  just look at these photos, they’re one of my favorites.  so no more me-taking-the-picture-through-the-mirror photos, hooray! 
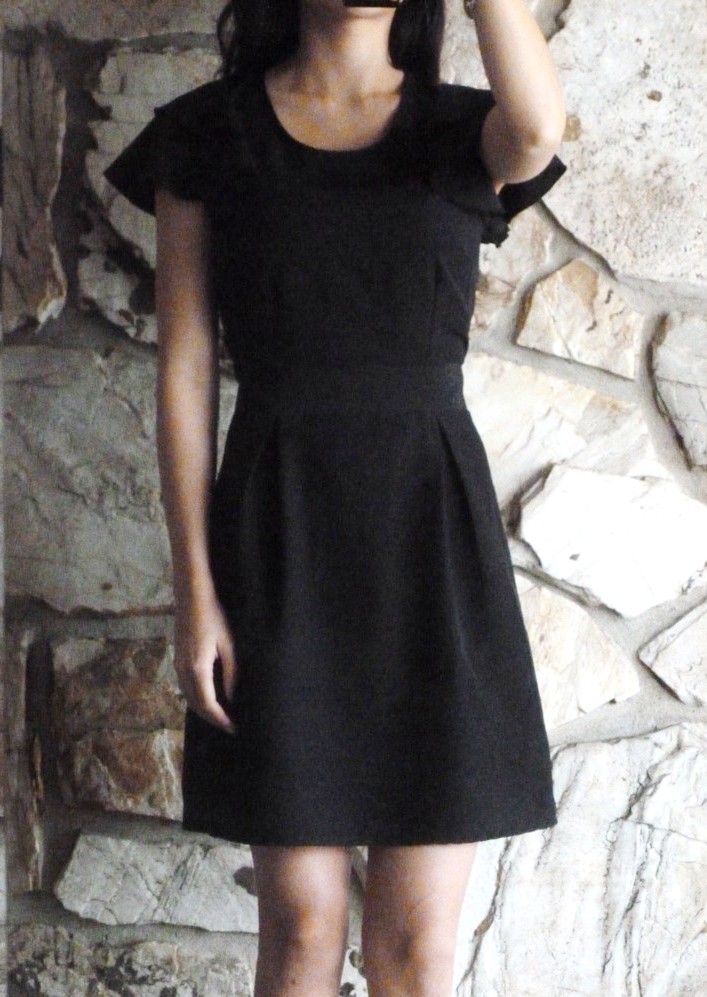
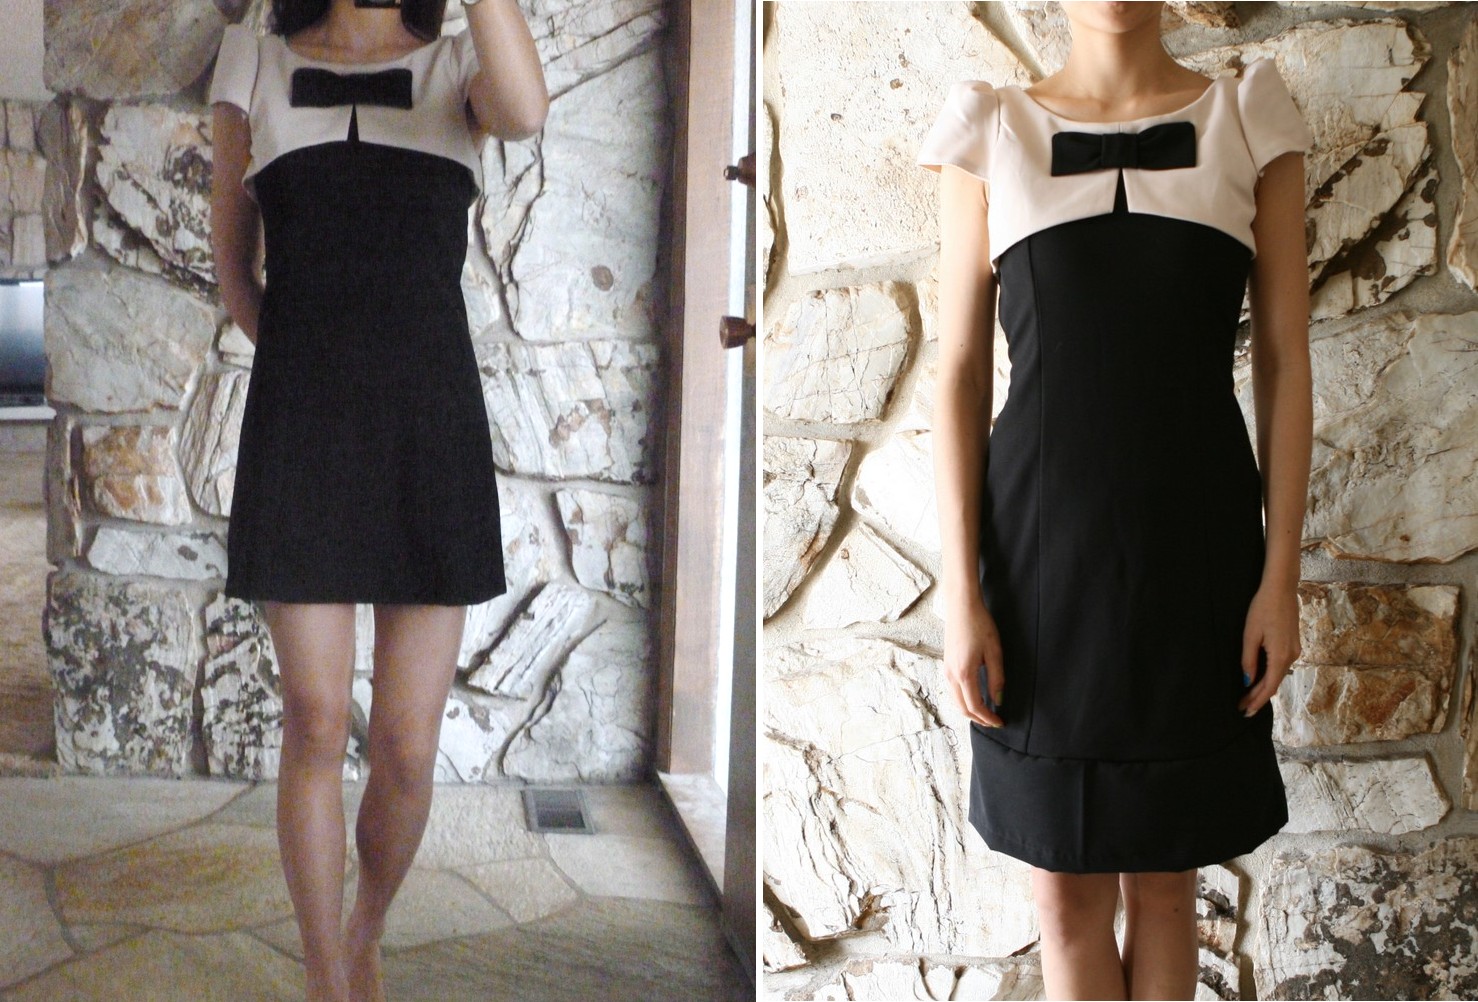
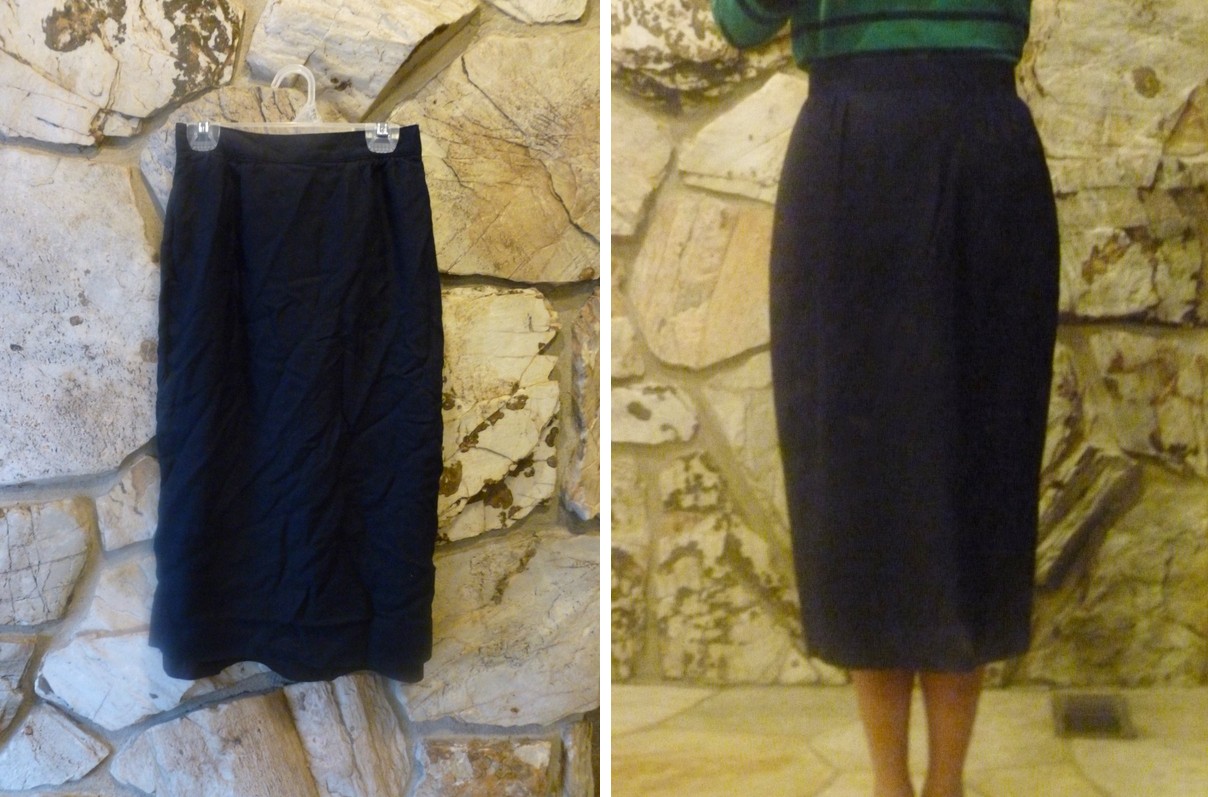
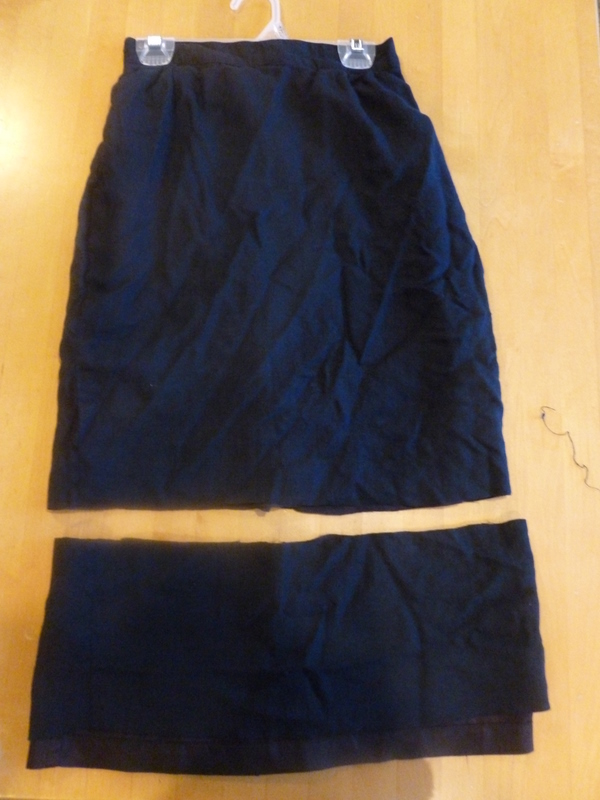
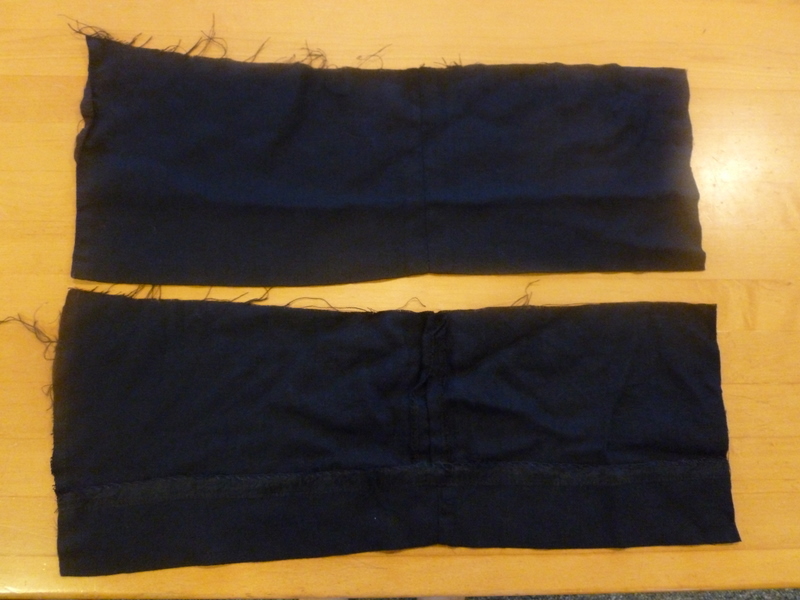
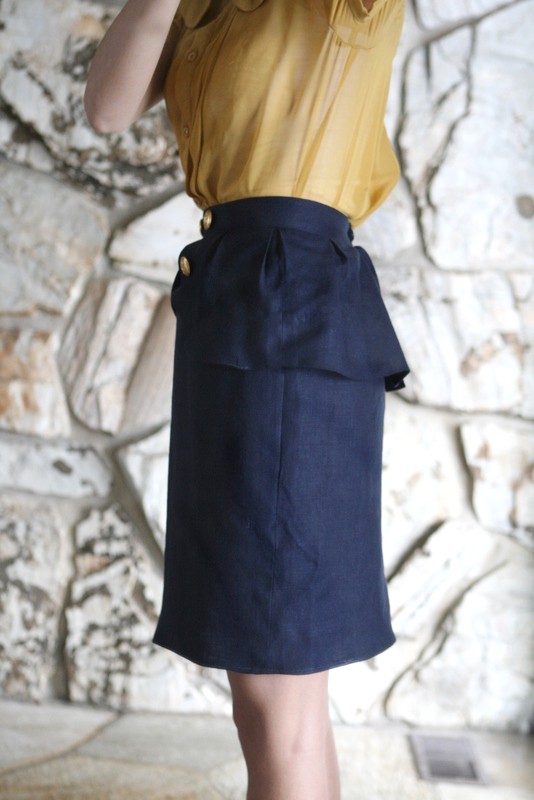
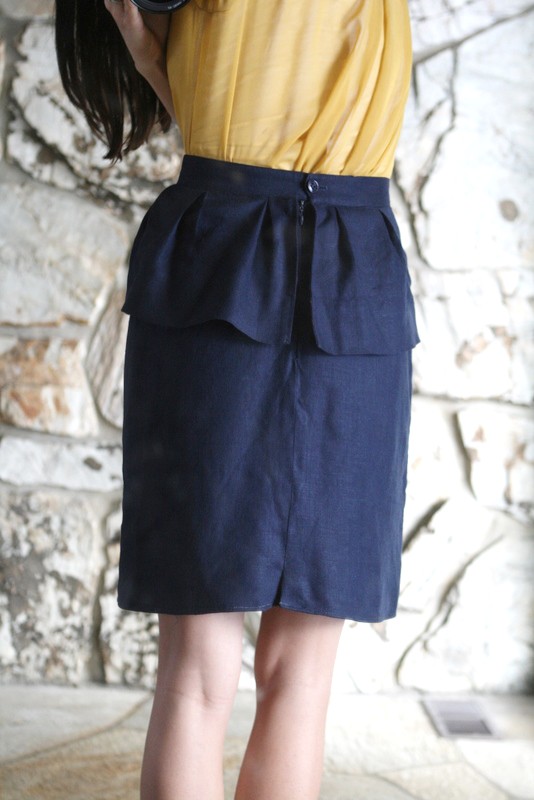
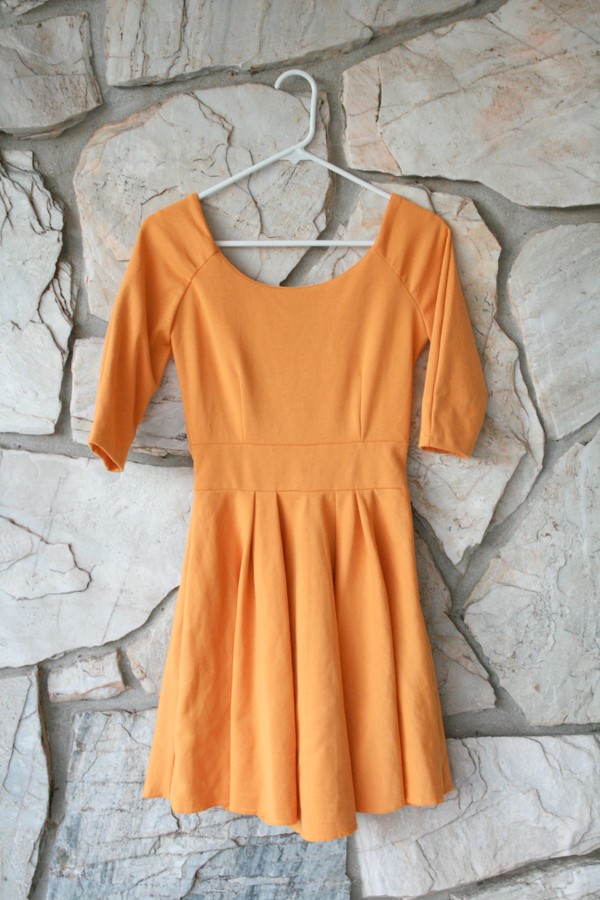
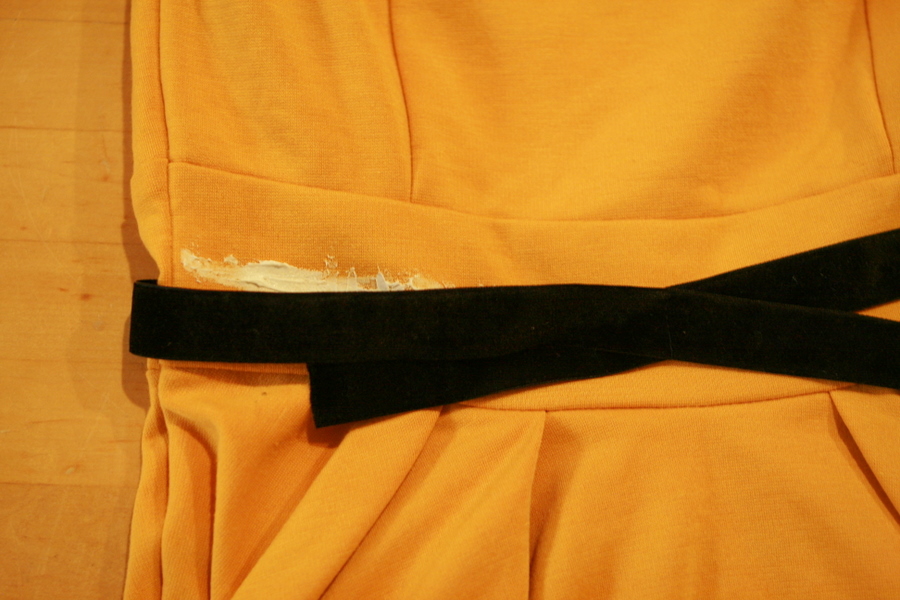
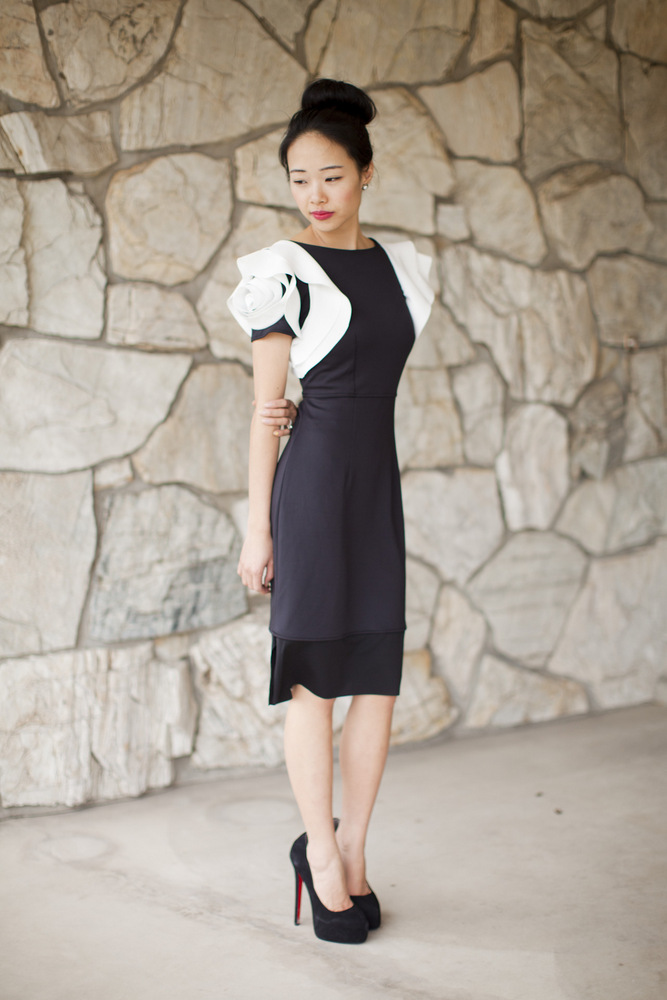
i modestified the dress by adding black fabric on the bottom of the skirt.  instead of picking out the seams of the bottom of the skirt, i added the extra fabric to the bottom of the skirt and sewed it along the already-there seams of the skirt.  i didn’t sew the bottom of the added-fabric since the fabric cut nice and clean without any fraying.  
project budget: very low(mine was $1-2 per dress)
estimated time: 10 mins.
level: beginner
romwe giveaway winner announced here.

1

TAGGED: DIY, Jessica Peterson Photography, modestify 24 Comments

modestify-lengthen short dresses DIY

March 20, 2012~ SEWING

when i’m shopping, i see many dresses that are really cute and think, “if only it was a little longer, i’d totally buy this dress!”  especially since short dresses are in style these days.  so what i do is buy them anyway and modestify-lengthen the dresses longer.  
before pictures of the 3 dresses i modestified.
black/cream bow-tie dress c/o Sheinside
before/after:
you can buy the cream/black bow-tie dress here, and the black pumps here.  
use code: Sarah20 for 20% off!  valid until april 30th. 
for the two black dresses i used this tutorial, and with the beige dress, instead of picking the seams of the bottom of the skirt, i just added the contrast fabric on the bottom and sewed it along the already-there seams of the skirt, then double folded the bottom part of the contrast fabric.  i also tailored the waist so it was more fitted and made the long sleeves into short sleeves. 
for me the black dresses are the easiest to lengthen out since finding a similar fabric to the dress is not that difficult since matching black to a black isn’t that hard, but with dresses like the beige dress above, it’s more difficult to find a matching fabric so unless you find a fabric of the same color, it might look tacky.  you don’t want the extra fabric to be noticeable if it doesn’t match, so the best option is to add a contrast color that compliments the color of the dress and add it on, making it look like it was originally made that way.
project budget: very low(mine was $1-2 per dress)
estimated time: 20 mins.
level: beginner

1

TAGGED: DIY, modestify 31 Comments

anthropologie honeyed peplum skirt tutorial.

January 30, 2012~ SEWING

here is the tutorial you’ve requested for!

inspiration: honeyed peplum skirt by anthropologie $258.

savers was having a 50% off sale on MLK day so i got this navy blue pencil skirt for $2.50.  i knew i could do something with the extra length so i bought it and the honeyed peplum skirt came to mind.
before
after

the back

let’s make it!
what you’ll need:
a mid-calf or longer skirt
4 buttons
scissors
matching thread
sewing machine
hand needle
estimated time: 45 mins.
skill level: a confident beginner or intermediate
budget: very low.  
1. try the skirt on and see how much you want to cut the bottom and cut.

2. cut off the lining(if it has one).

3. cut the strip in half.

4. cut a rounded shape on one side of the strip.  
repeat with the other strip to mirror the shape.

5. sew the bottom edges secure.

6.   
7. make two pleats in the front and two in the back.  repeat with the other strip.
(see the pictures to know how much to space out in between the pleats)

8. 
9. *pin the strip around the skirt first to make sure it goes all the way to the zipper.
adjust the pleats accordingly so it goes around the skirt.
10. flip the pleated peplum part down and iron.
you’re done!

two things i did differently than the anthropologie version is that instead of the ruffles going all the way around in the back, it cuts off in the middle back.(which i had to do due to the zipper back), and then the more obvious, the buttons!  i attached the sailor-inspired buttons which i think gives it a more personality. πŸ™‚

skirt($2.50) + buttons($6) = $.8.50.  i saved over $250!

0

TAGGED: Anthro DIY, DIY, tutorial 10 Comments

DIY: Anthropologie Fluted Ponte Dress

November 23, 2011~ SEWING

My Inspiration:  Fluted Ponte Dress from Anthropologie $158.

in my closet: a similar dress c/o romwe.
theirs vs. mine
what you’ll need:
a dress(buy similar here and here.)
liquid stitch
fraycheck
scissors
1 yard+ black velvet trim
black thread
sewing machine
needles for hand sewing
1. Put the trim around the waist and mark with a pin where it ends.
2. Cut off the extra trim to the desired length.
3. Fray-check the ends.
4. Put the trim through the dress, onto the waist.
(optional*)5. Using liquid stitch, glue on the trim to the waist part of the dress.

6. Sew the trim around the back until here(as pictured).
7. Add snaps in the middle and the side.  Requires hand sewing.
*the reason why I added a snap on one side and not the other side
is because since that one side is tucked in, it didn’t move 
whereas in the other side kept falling down.
NOTE: The reason why I didn’t sew the trim all the way around the waist 
is because if I had, the trim doesn’t stretch so I wouldn’t be able to 
put the dress over my head.  So the extra unsewed part of the waist acts 
kind of like a zipper where it’ll stretch wide enough to go over my head/hips.
If this dress had a zipper, you would sew the trim all the way around the waist
and stop right before the zipper area on both sides.
The after:
and the girls wanted to participate in the picture taking.
but it stopped when they wouldn’t take turns sharing who gets to stand by mommy.
Oh, the joy of motherhood of feeling so loved! πŸ™‚
Estimated time: 30 minutes
Skill level: Beginner
Budget: Very low.  
(It cost me $1.70 just for the velvet trim.)
Yes!  I saved over $160!
P.S:  Happy Thanksgiving weekend!!! 
To celebrate Thanksgiving, I’m offering 30% off all headbands from my store!
enter code: GIVINGTHANKS at the check out.
I hope you’ll have a wonderful, relaxing, & a lazy weekend! 
(at least that’s my plan anyway. πŸ˜‰
0

TAGGED: Anthro DIY, DIY 19 Comments

update a baggy shirt DIY

October 4, 2011~ SEWING

in my closet: a baggy top i purchased from GAP about a year ago.
it’s a size xs but it has no shape and it’s not flattering to a figure
so i added an elastic waist and made the neckline higher.
before/after:
i unstitched the neckline and it looked like this after:
then i gathered a bunch on the neckline and sewed it.
then to make the elastic waist, you’ll need:
matching thread of the shirt(i used gray but pictured is white thread)
elastic thread
wind the elastic thread unto the bobbin with your hand. 
don’t tug or stretch the elastic thread but wind it loosely.
thread the machine normally with the regular thread.
make the stitch length 3 or higher and play with the tension/length a little bit
on a scrap fabric to get the desired effect.
then i sewed along on the lower-waist part of the shirt horizontally.
after:
p.s: it’ll look a lot better if ironed, but you know me, i hate ironing! πŸ™‚
so if you have a shapeless shirt, you can add a simple elastic waist to it to give it a shape!
5

TAGGED: DIY 16 Comments

  • « Previous Page
  • 1
  • …
  • 20
  • 21
  • 22
  • 23
  • 24
  • …
  • 31
  • Next Page »
cutmypic
Hello! My name is Sarah and I am so happy to have you here! Here you'll find DIY sewing, DIY home building & decor, honest and vulnerable posts of motherhood and snippets of my family. We are building our dream house and will update you regularly on our whole process from start to finish and I am also starting a mother-daughter sewing series. So I hope you stay awhile!

BLOG ARCHIVES

SEARCH

JOIN THE LIST

- THEME BY ECLAIR DESIGNS - Web Hosting By RFE Hosting -