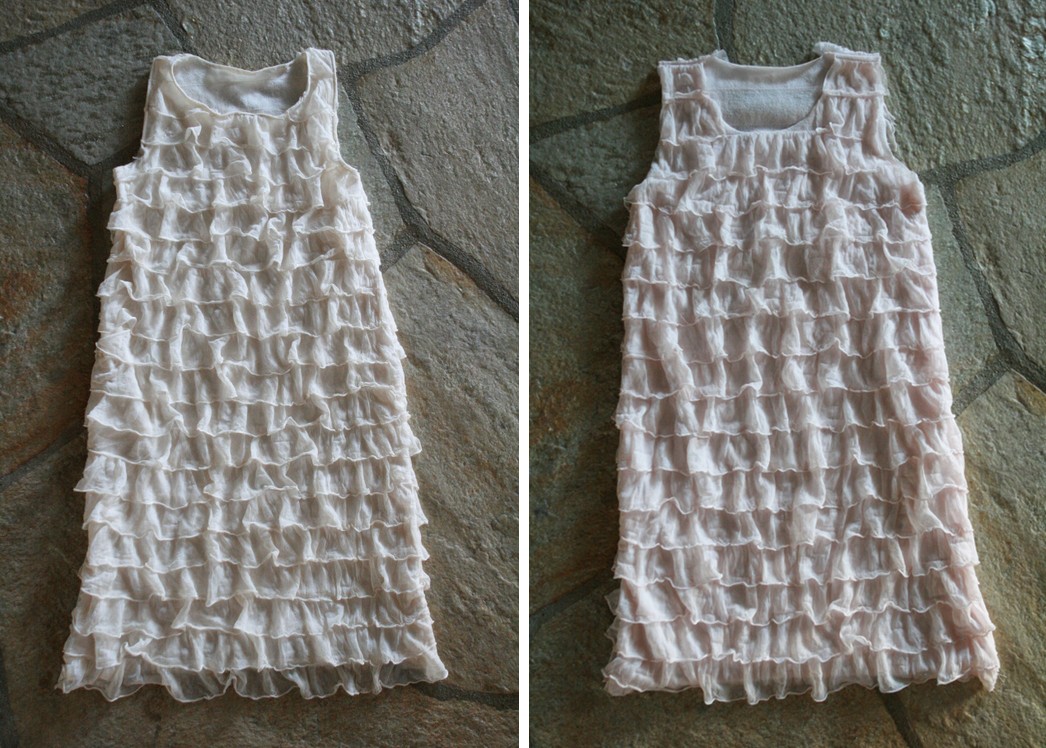
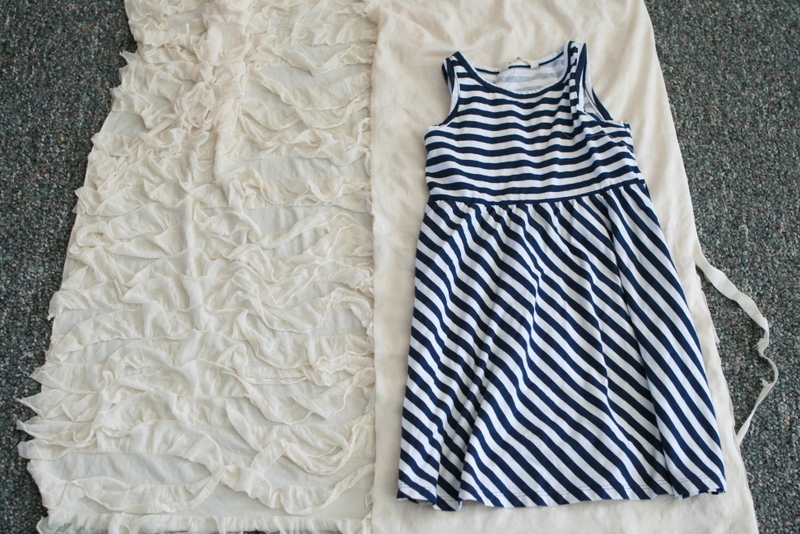
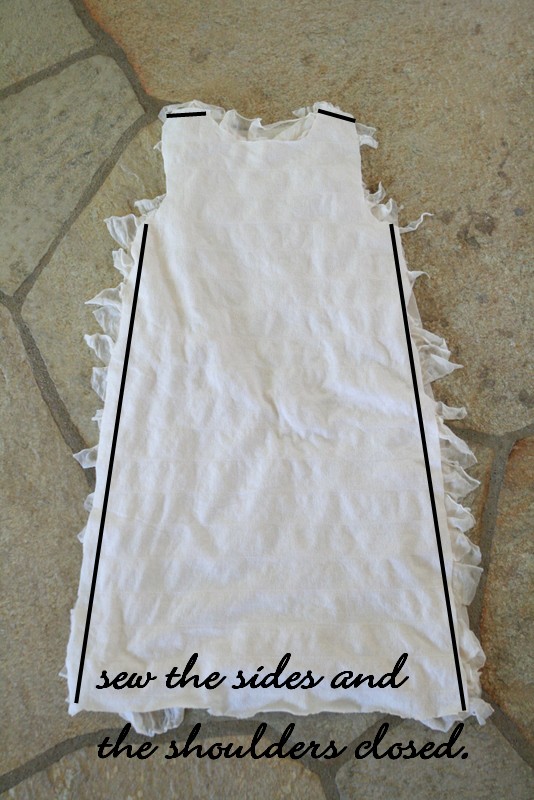
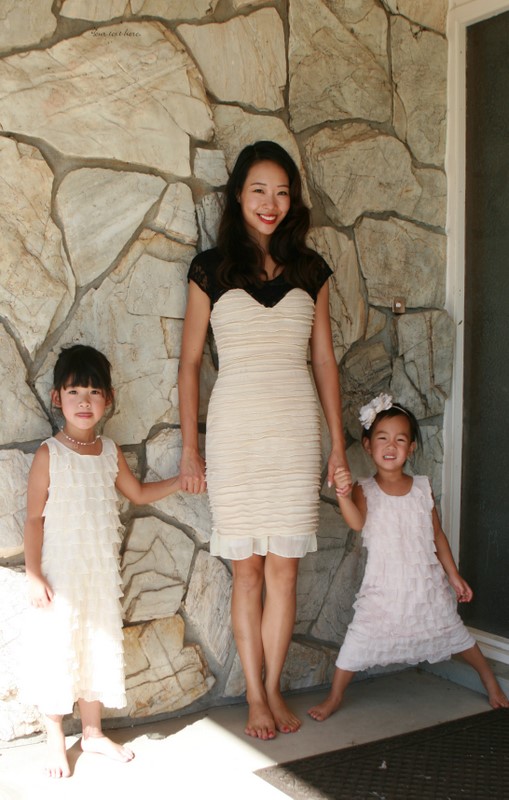
last week i made a ruffle dress for my girls and had some leftover fabric.
the cool thing with the ruffle fabric (besides the obvious that it’s pre-ruffled)
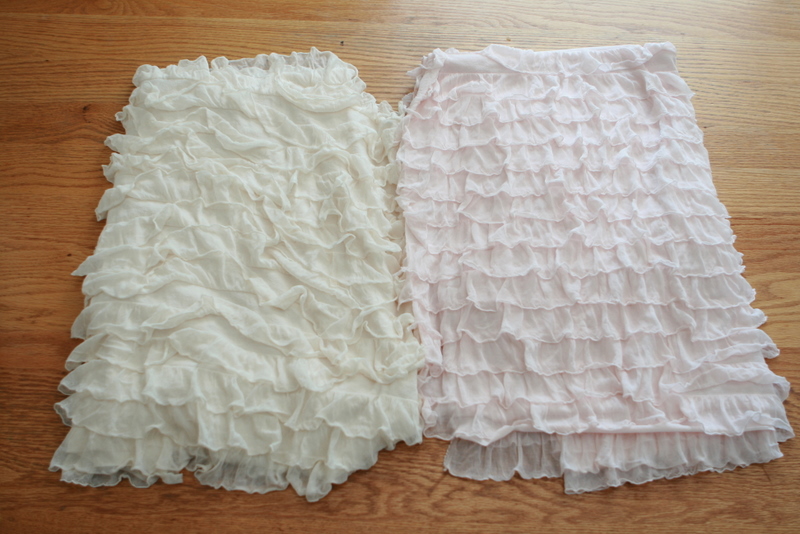
is that when you hold the fabric one way, the ruffles are horizontal,
and when you hold it the other way, the ruffles go vertical.
the cool thing with the ruffle fabric (besides the obvious that it’s pre-ruffled)
is that when you hold the fabric one way, the ruffles are horizontal,
and when you hold it the other way, the ruffles go vertical.
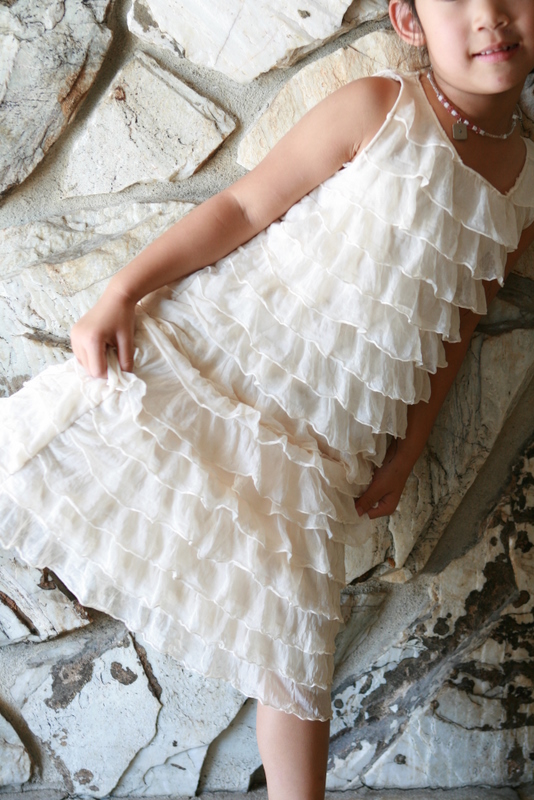
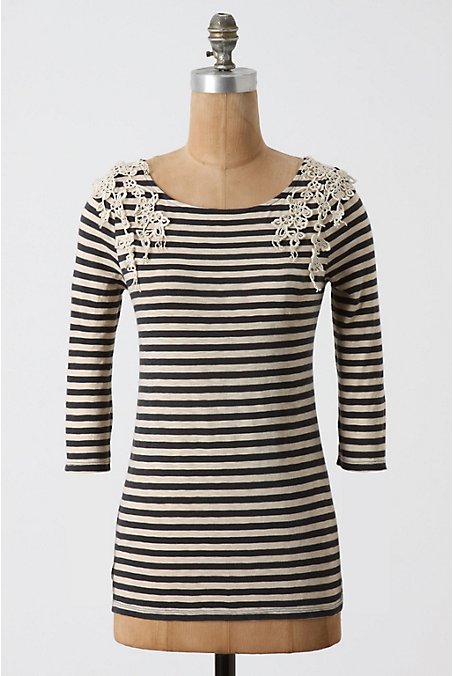
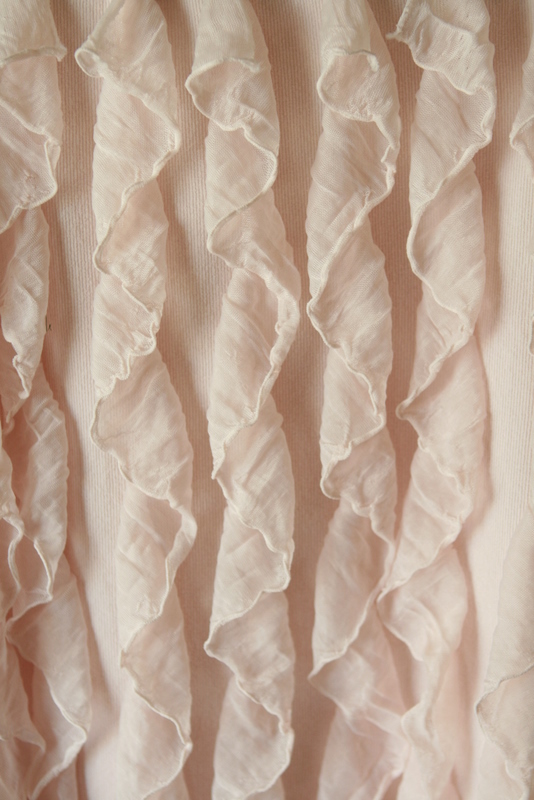
horizontal ruffles

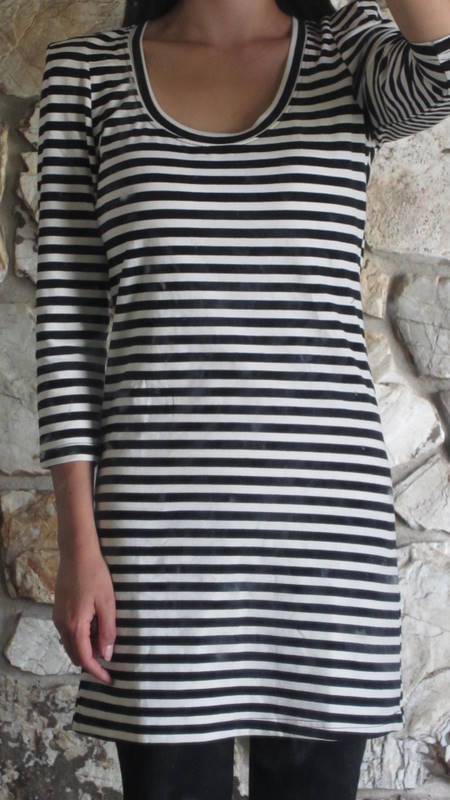
vertical ruffles
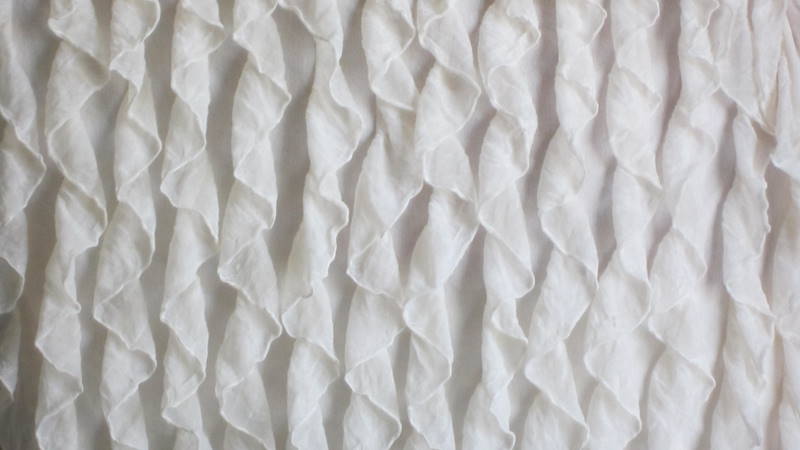
isn’t that so cool? 🙂
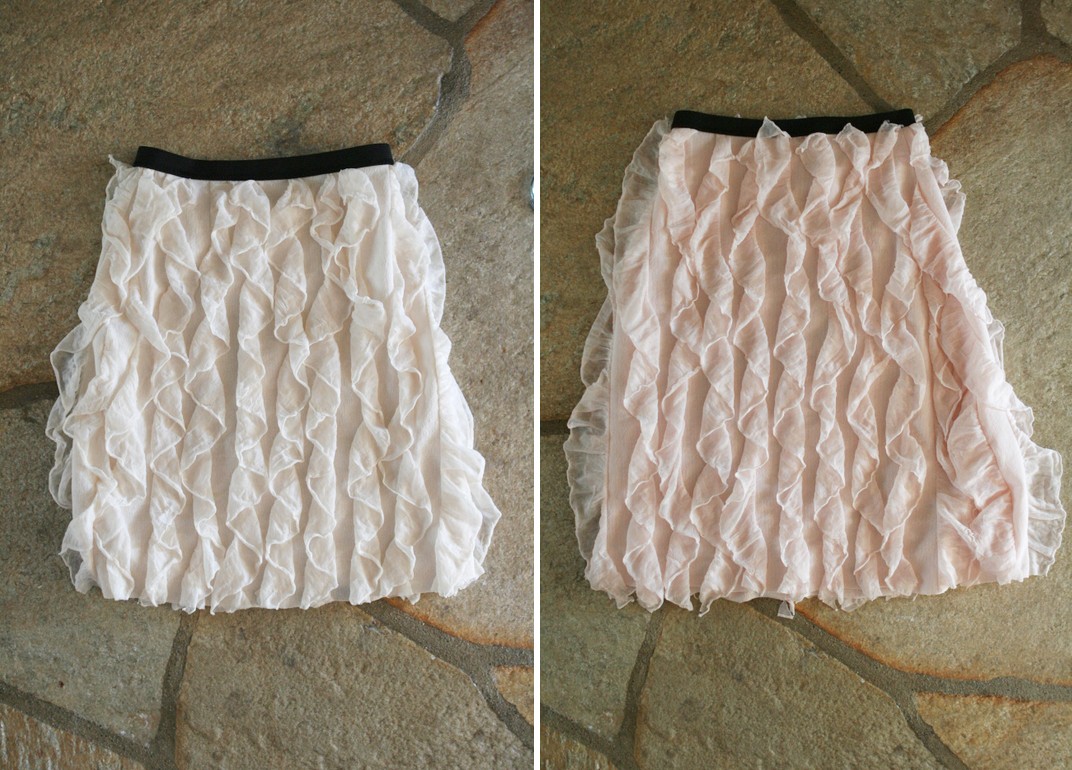
so i made vertical ruffle skirts with a black elastic waistband
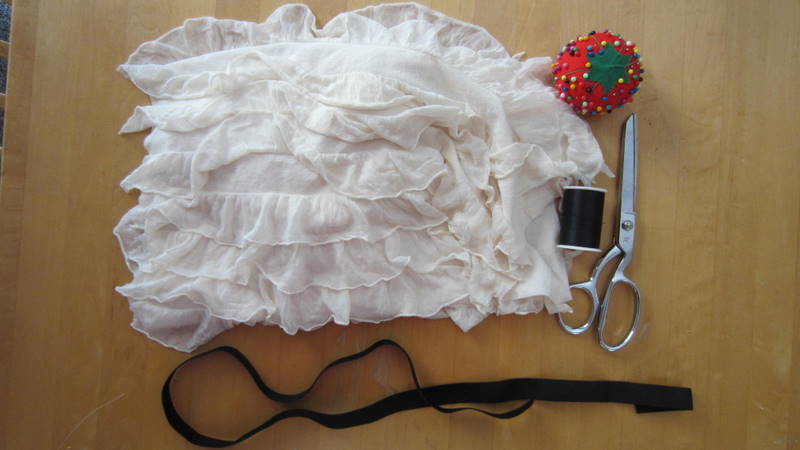
what you’ll need:
1/3-1/4 yard of fabric
3/4″ black elastic
pins
scissors
matching thread for the elastic
matching thread for the fabric(*not pictured)
1. measure the waist by wrapping the elastic around the waist +PLUS 3/4″.
cut the elastic with the scissors.

2. fold the elastic in half, then lay it on top of the fabric.
(make sure the ruffles are going down vertically)

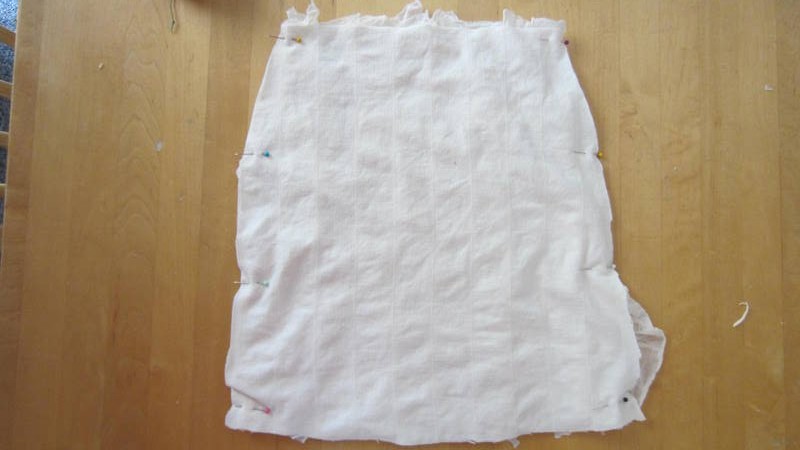
3. cut the fabric in a a-line skirt form,
the top width matching the width of the elastic +plus 1 1/2″.
*the fabric is very stretchy but if you’re not working with a stretchy fabric,
OR if you’re making this for an adult, use this tutorial.
this pattern is only for little girls/babies with no hips.

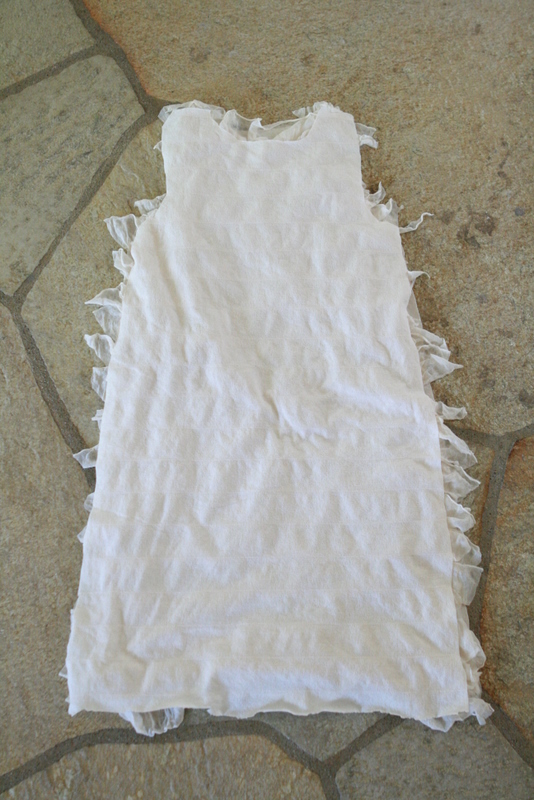
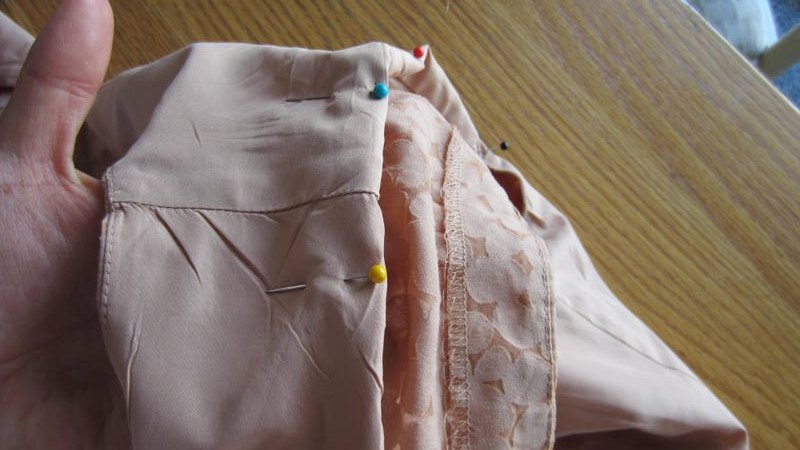
4. put the two fabrics the right sides together so the wrong side is facing you.
then pin the sides and make sure the ruffles are tucked in.
(the left side of the picture is the right way, the right side the wrong way)
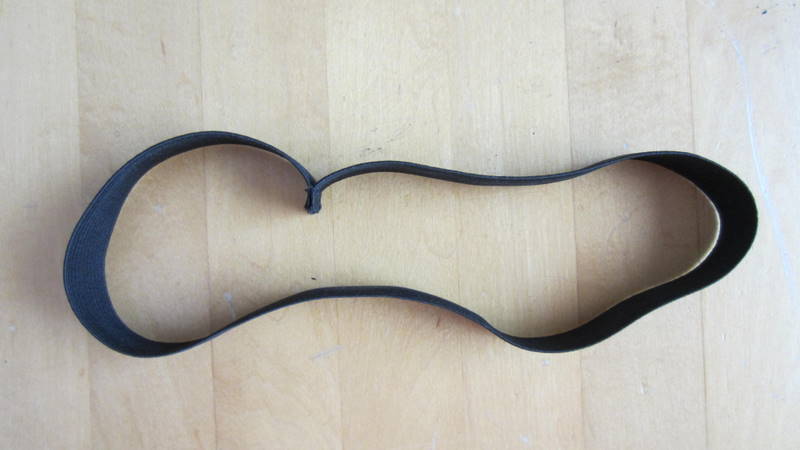
5. thread the sewing machine with black thread. then sew the two ends
of the elastic together with a 1/4-1/8″ seam.

6. flip the elastic the other side out so the ends that you just sewed is on the inside.
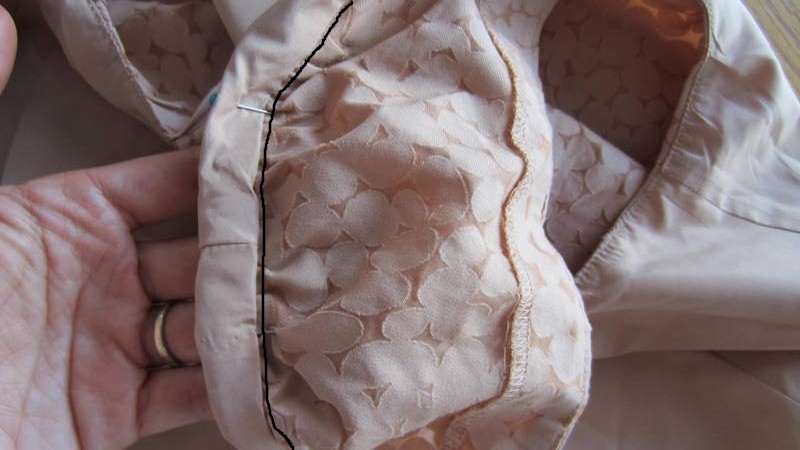
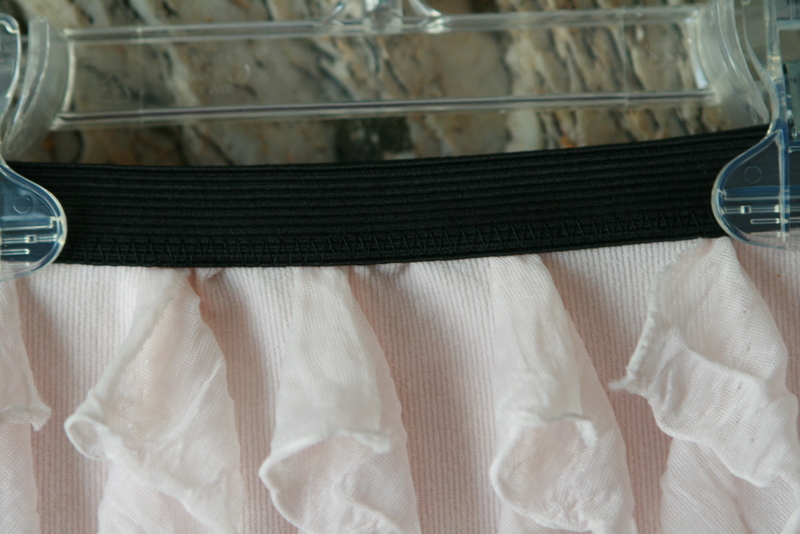
7. pin the waist part of the skirt around the black elastic
so that the fabric is underneath the elastic, covering about 1/2 of the elastic.

8. sew along the end of the elastic that’s touching the fabric in zig zags.
(the zig zags will make sure the elastic stretches a lot)
make sure to look on the insides of the skirt as you’re sewing
to make sure you’re sewing the fabric onto the elastic.

and it’s complete!
(there’s no need to seam the bottom of the skirt since knit fabrics won’t fray!
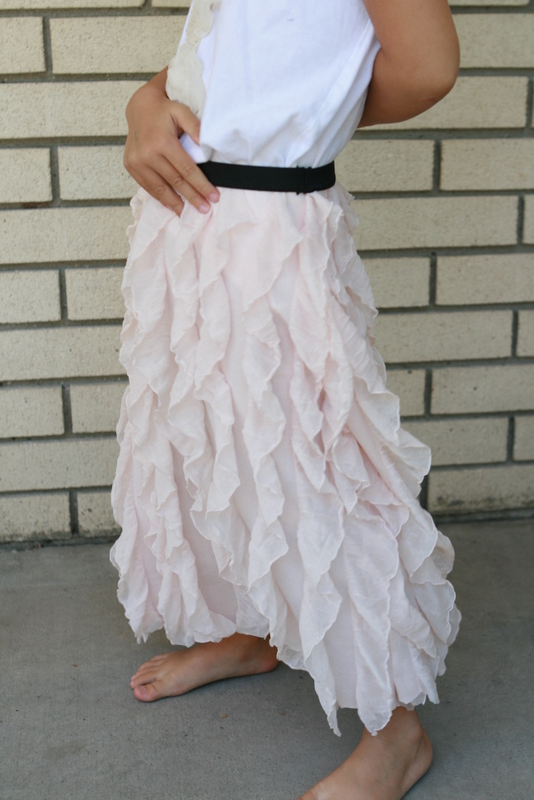

i wanted to cut the bottom to a few inches above the knee to pair it with
leggings and boots but my girls insisted they liked it long so i kept it long. 🙂


estimated time: 25 mins.
estimated budget: very reasonable (for me it was about $3 each)
skill level: a confident beginner
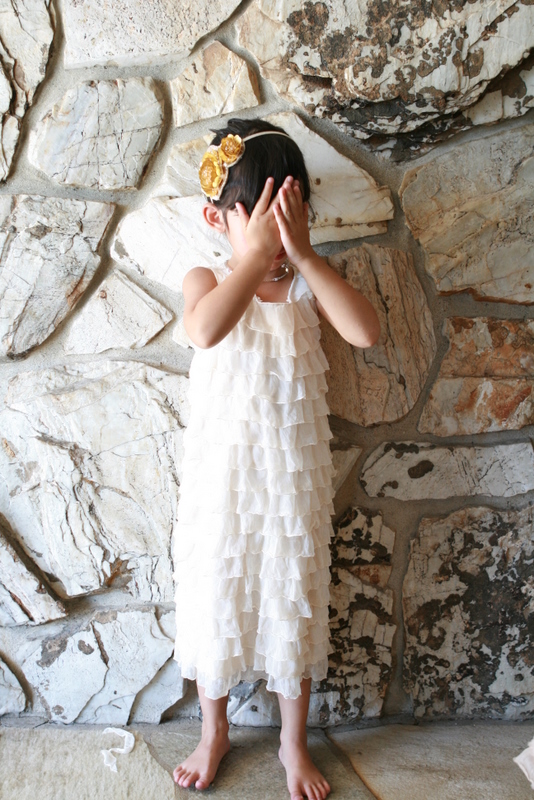
p.s: all the headbands at my store are only $19.99 this week!
that is an amazing deal if i say so myself!!