This DIY on how to waterproof your home is in partnership with The Home Depot. And for the first time in 10+ years, Jay is the one that wrote this blog post! So give him a lot of love and maybe he’ll post more. Just maybe. I’ll let him take it from here!


Materials you need:
*quantity varies with every house
Instructions on Waterproofing your Home
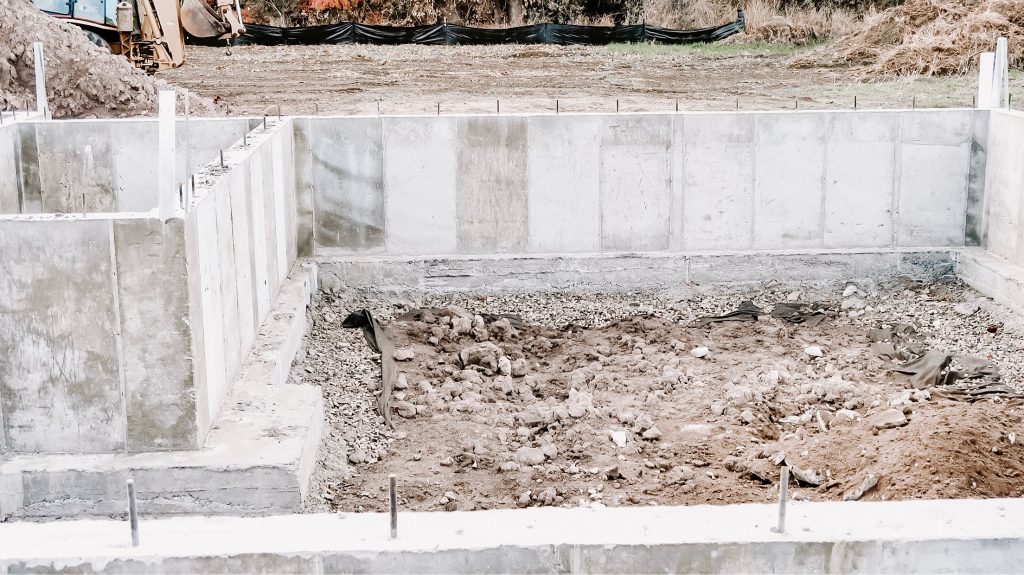
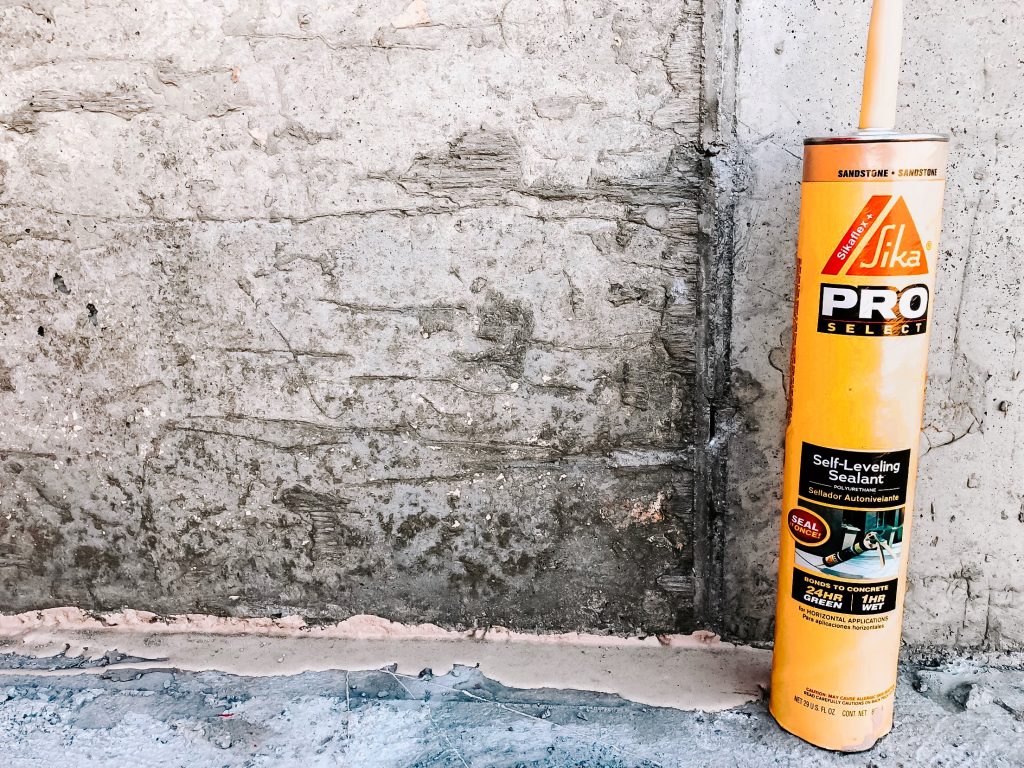
1. I grabbed a box of Sika Polyurethane Concrete Sealant to add some additional protection to the seam between the footings and the foundation as this is more susceptible to failure due to water pooling up on the seam. No waterproofing is needed around the garage since it’ll be at the top of the foundation elevation.
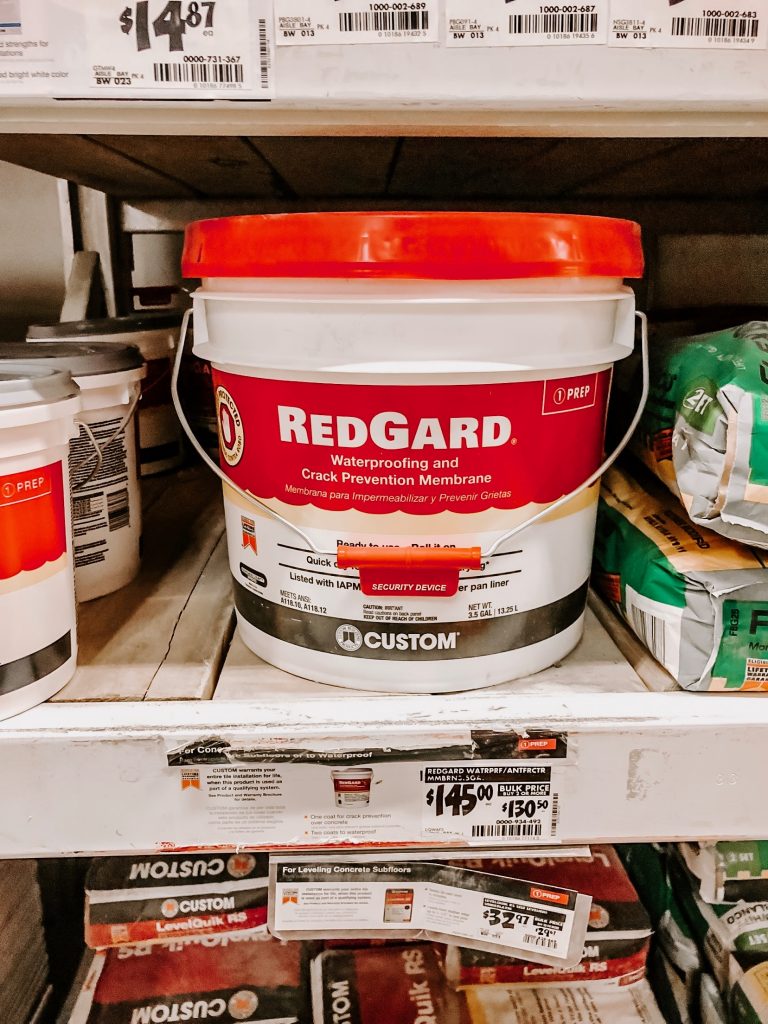
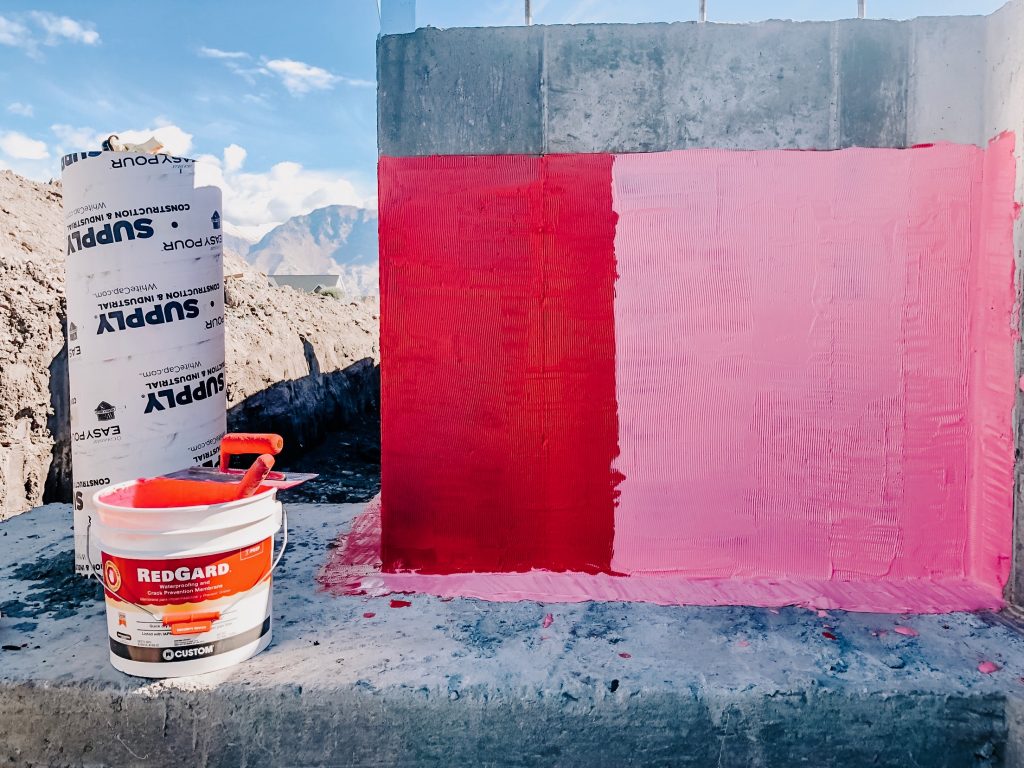
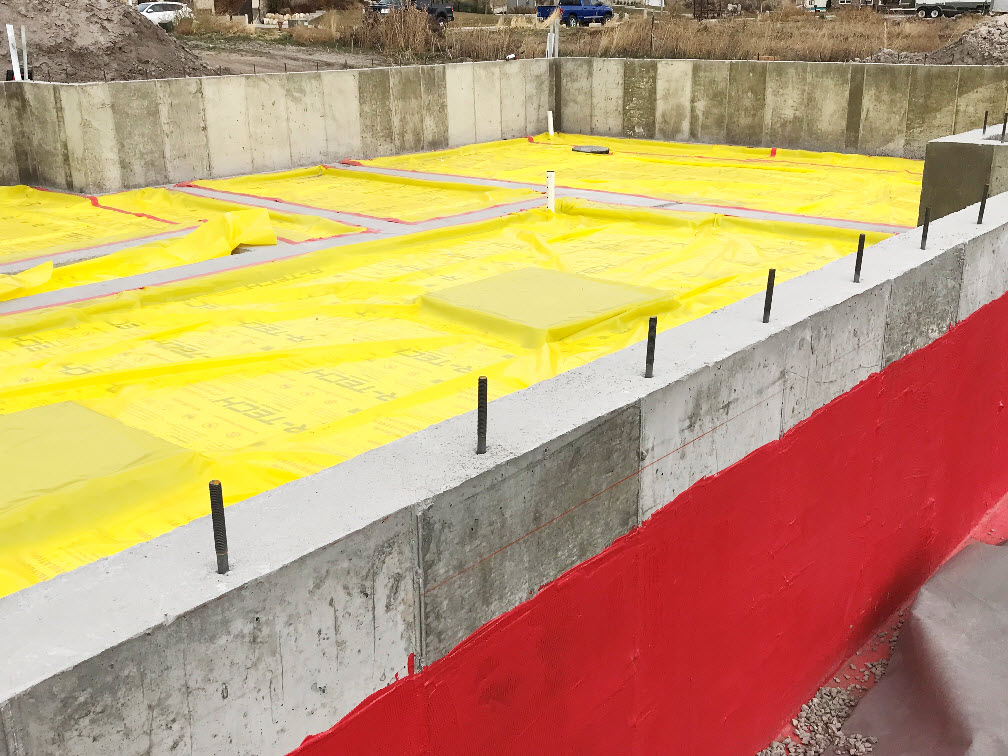
2. I applied a product called ReGard which basically hardens as a rubber. I used a 3/8″ trowel to apply two coats of ReGard to the exterior walls. I also troweled the ReGard in a vertical striping to add additional direction for water drainage. It is a elastomeric waterproofing membrane suited for interior and exterior substrates. ReGard creates a continuous waterproof membrane barrier. The thing that I love while using this product is that it applies pink and dries red.

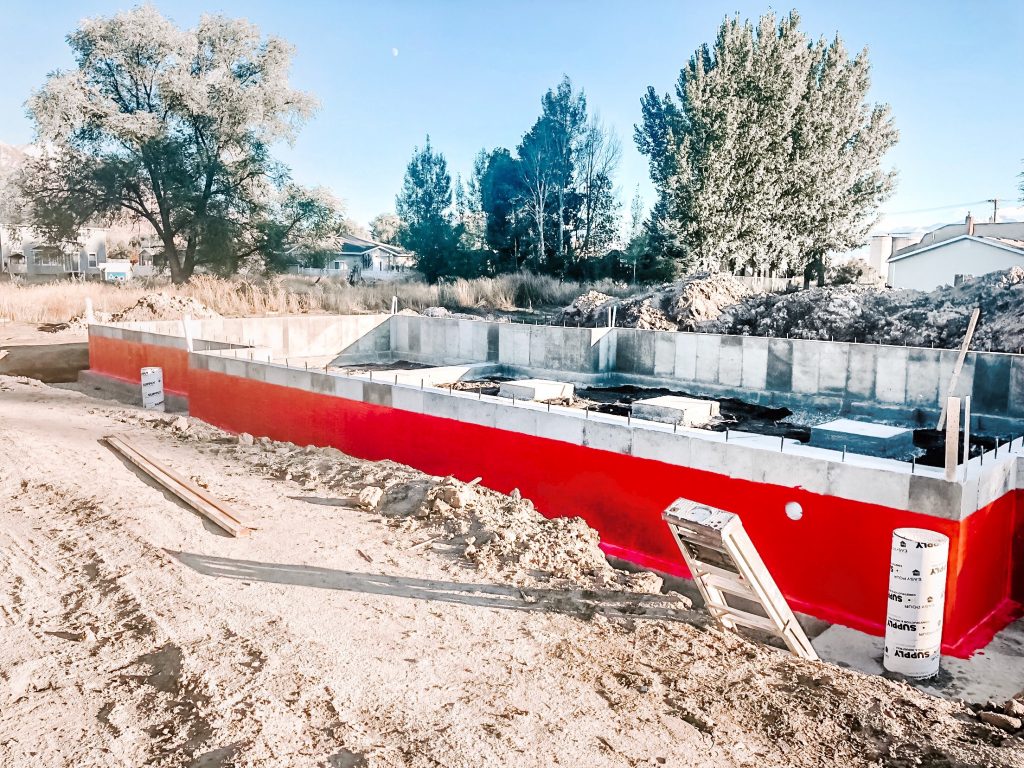
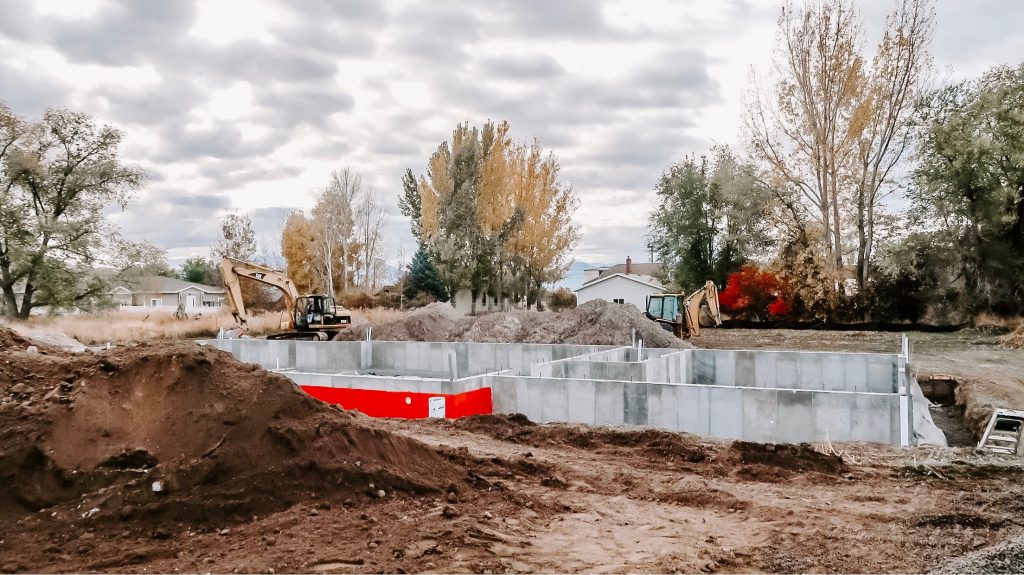
To reemphasize, no waterproofing is needed around the garage since it’ll be at the top of the foundation elevation.

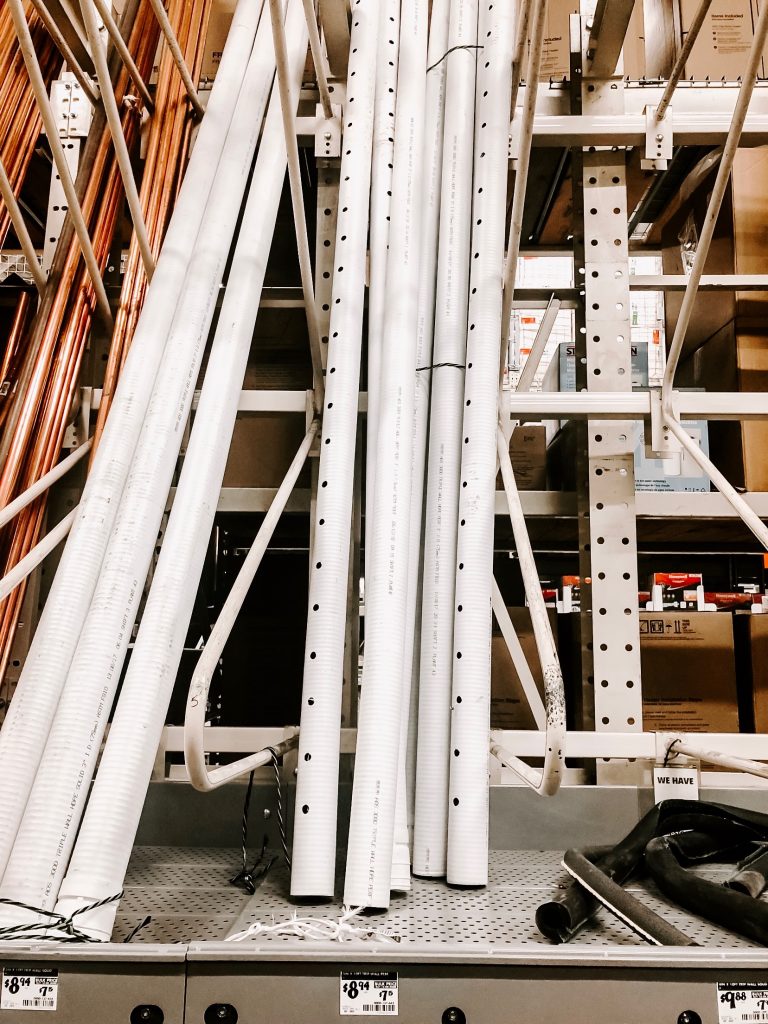
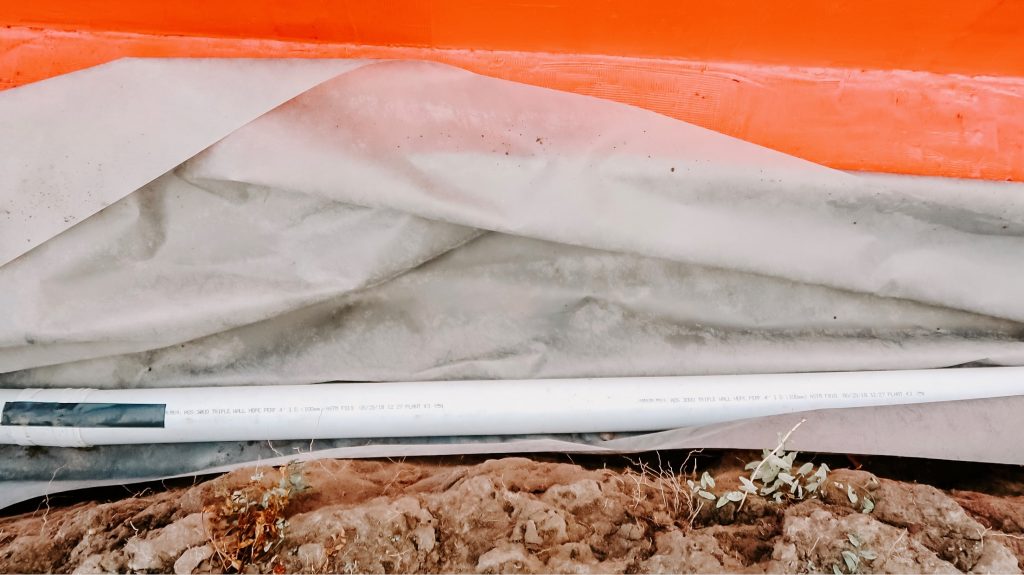
3. I used 4″ x 10′ triplewall solid pipe on the exterior and 3″ x 10′ triplewall solid pipe on the interior of the house footprint. After a lot of research I knew that I did not want to use the black prefabricated drain pipe that seems to get crushed under the weight of the ground when it is back filled. I was then dead set on purchasing 4″ schedule 35 or 40 drain pipe for its rigidity but after further due diligence I found out that some of these pipes, despite their rigidity did not have enough flex in them and started to crack when the ground settled. Therefore I went with the 4″ and 3″ triplewall solid pipe for its reinforced structure yet flexibility and give.
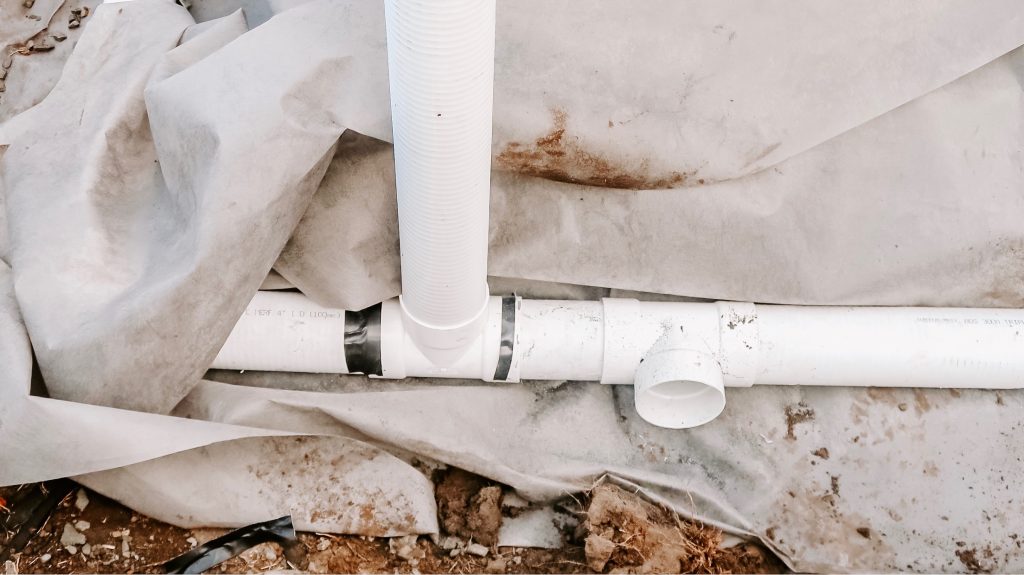
4. I also created clean-out access around the home so that if the triplewall solid french drain pipe ever gets plugged, I will have access to clean them out with a snake.
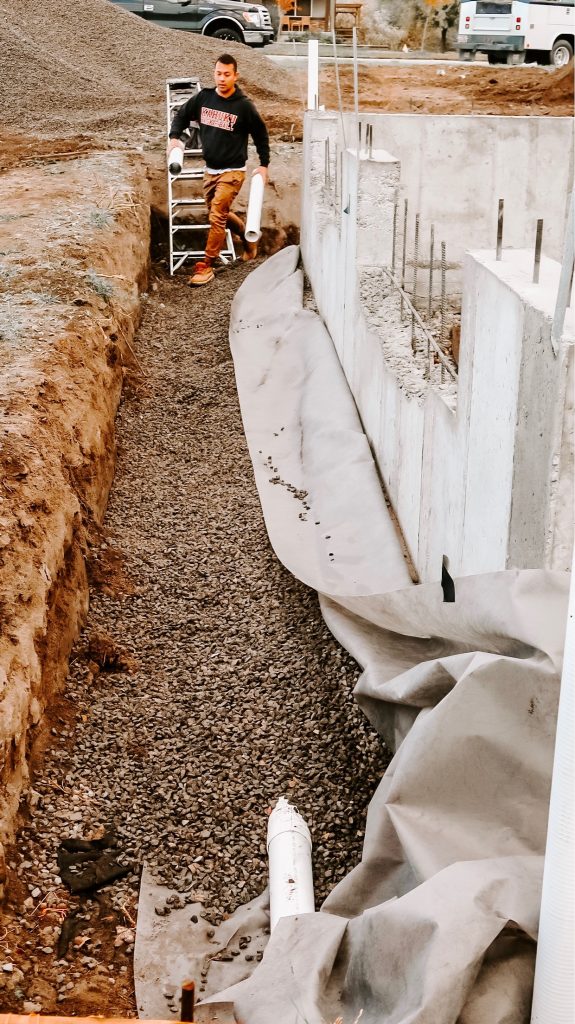
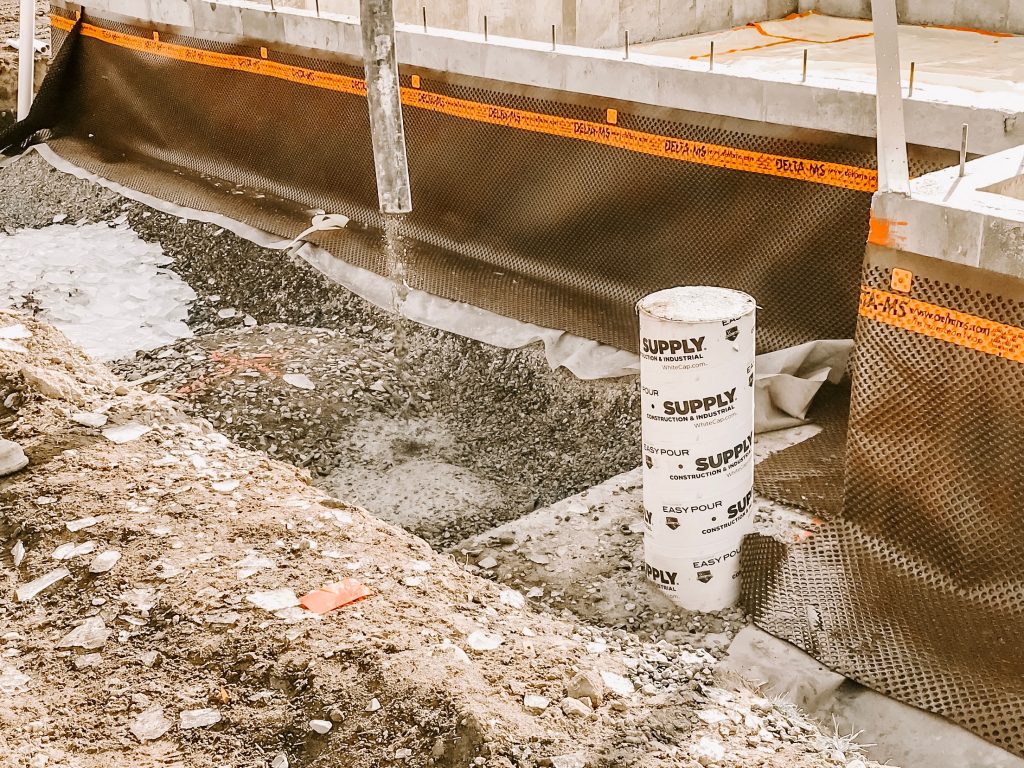
5. I purchased 6′ x 100′ geotextile fabric. I laid the geotextile fabric down and put about 3″ – 7″ of 3/4″ gravel on top of it, thereafter I laid the french drain pipe down at a 2 percent slope that drain into two exterior sump pump stations and 2 interior sump pump stations respectively. I then put another 3″-7″ of gravel on top of the french drain pipe and wrapped the extra geotexitle fabric over the gravel to create a burrito of rock and french drain pipe so that no sediment would clog up our drains.
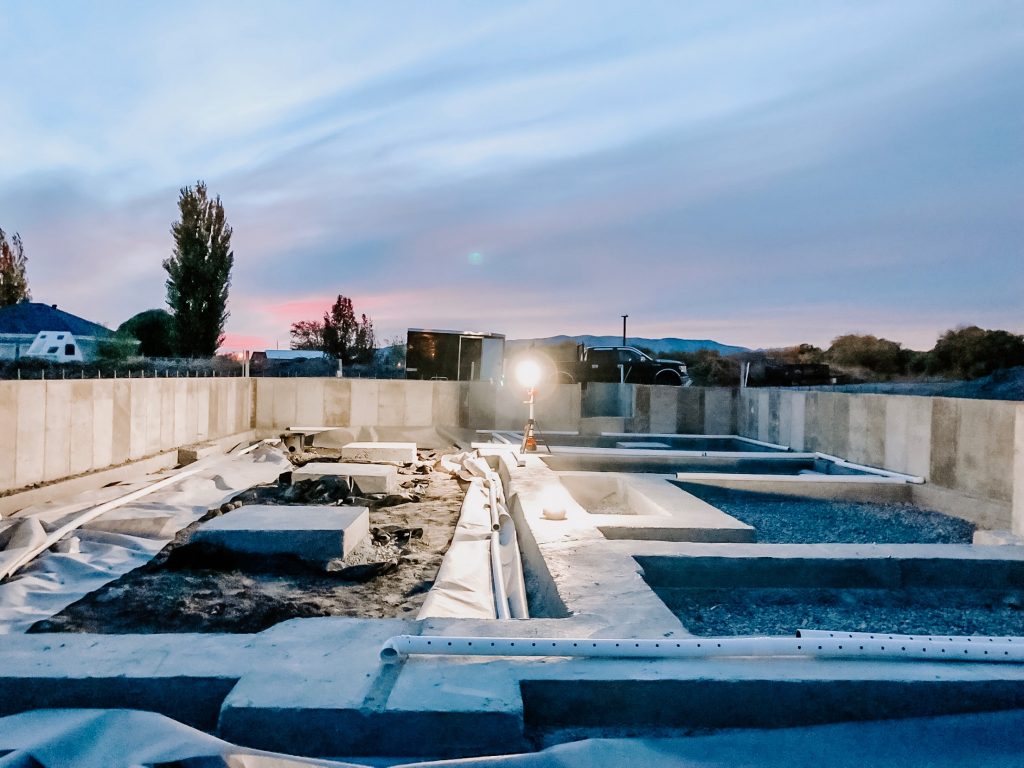
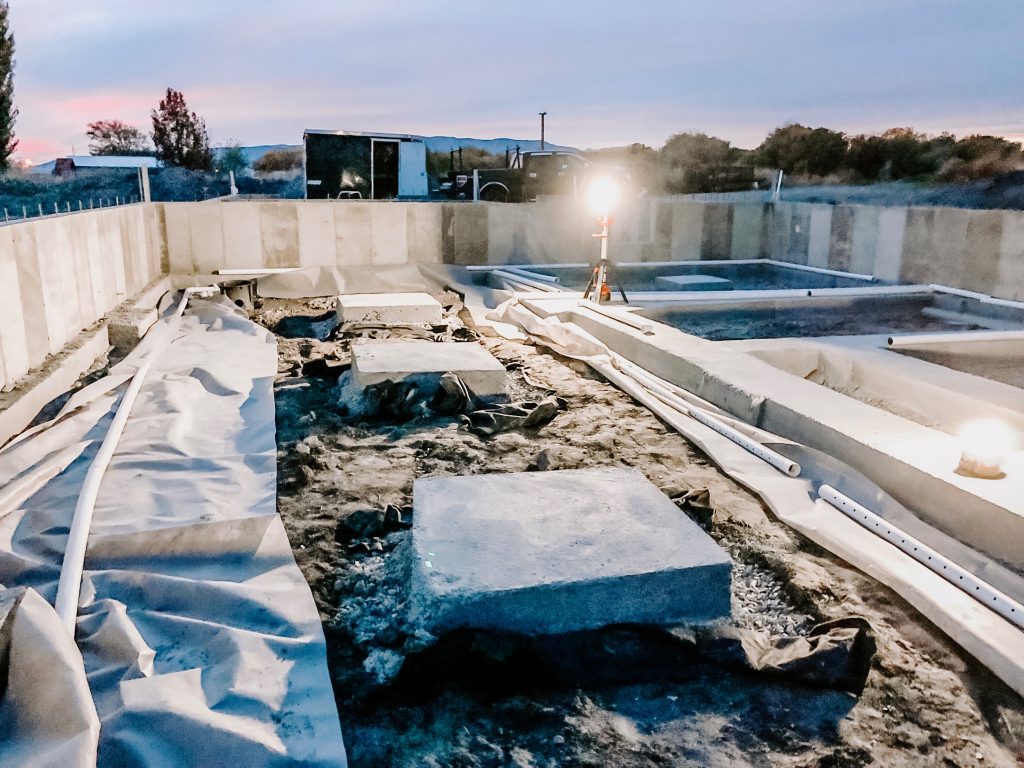
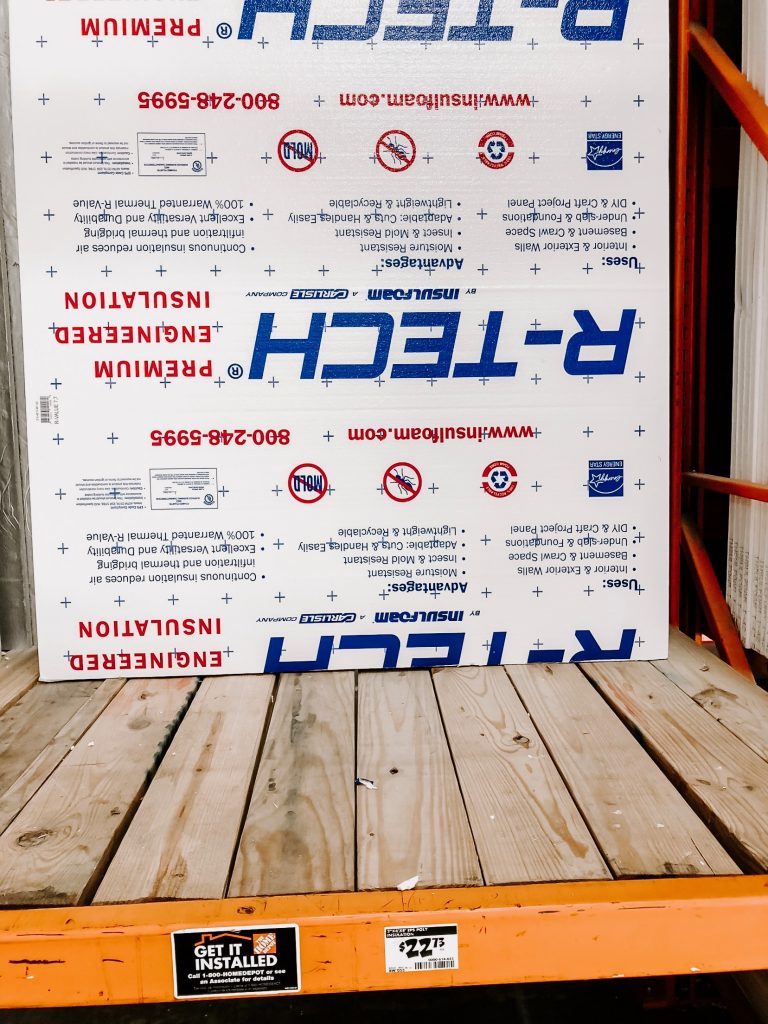
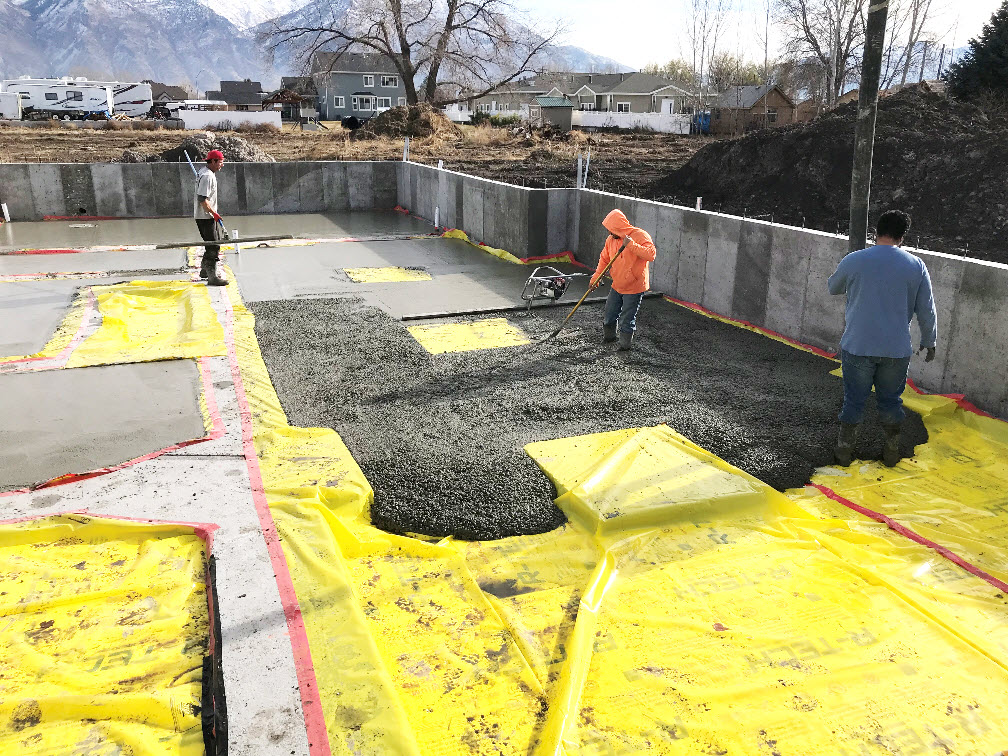
6. We then used R-tech 2″ rigid Foam Insulation as this not only creates an additional moisture barrier between the gravel and the interior concrete slab. This also adds a small thermal break between the ground and the slab as it has a R-value of 7.7 which helps the coldness from the ground not travel up and into the home. I cut all these to fit perfectly between the interior footings.

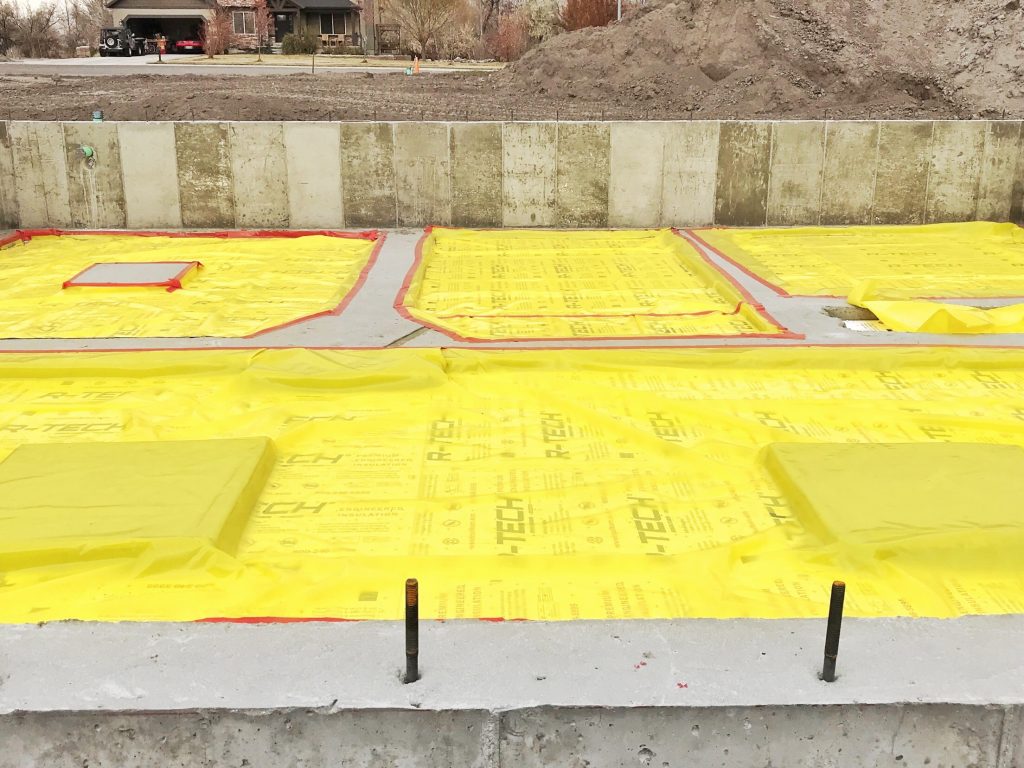
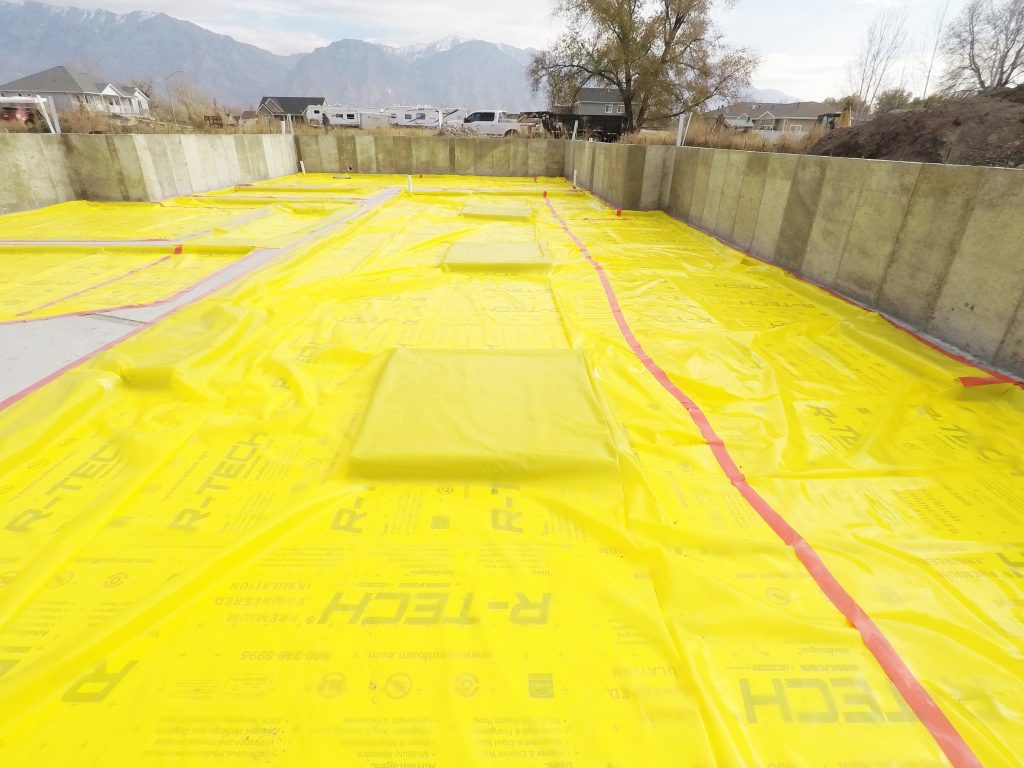
7. After the R-tech 2″ rigid foam insulation was installed, I used the first specialty item, Stego Class A 10 mil Poly vapor wrap. This is a multi-layer plastic that stops radon, methane, and water. All edges and seams were taped with StegoMastic tape to create a continues vapor barrier.
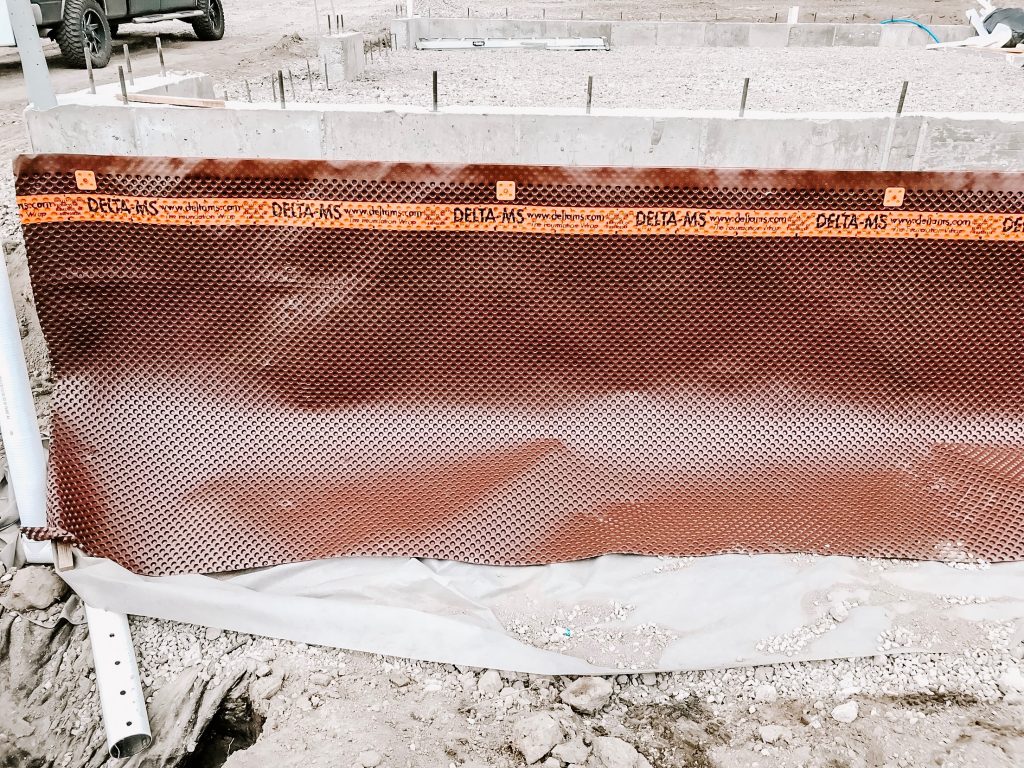
8. I chalked a straight line 10″ down from the top of foundation to get my revel and lined up the top of the DELTA membrane here.
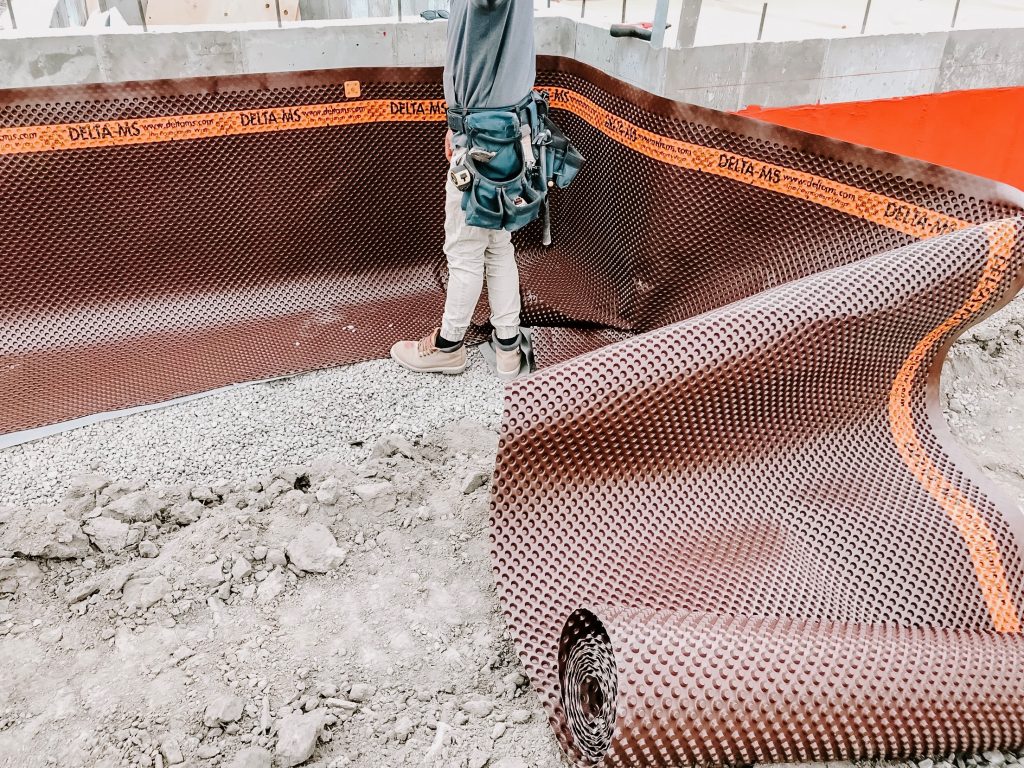
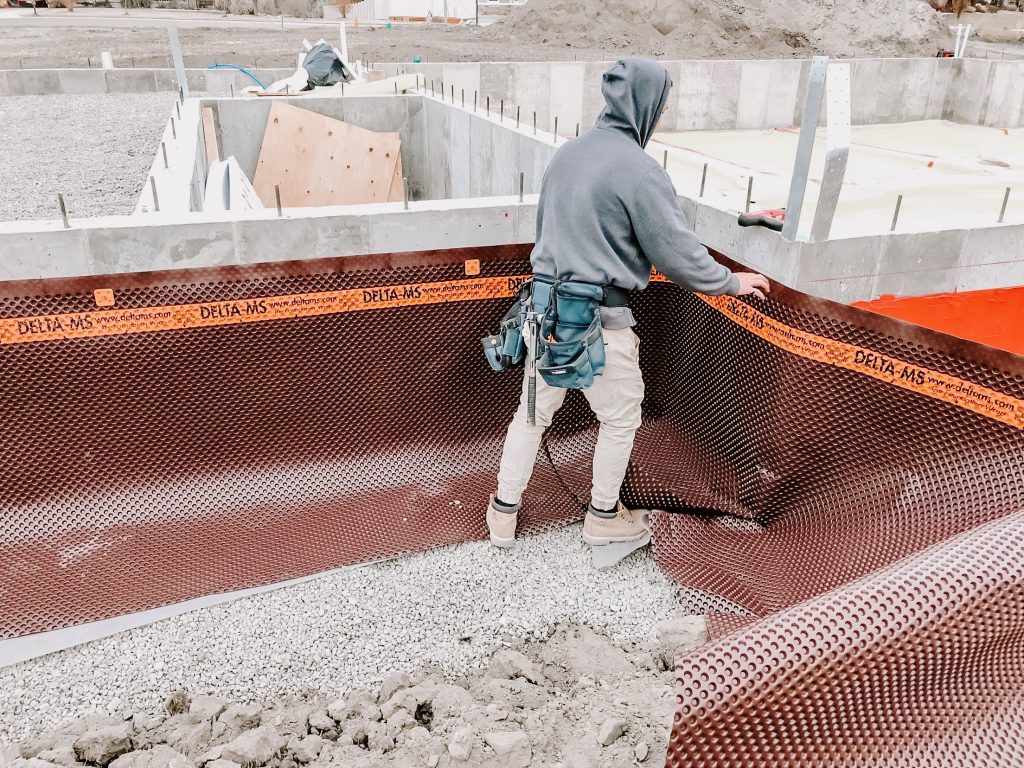
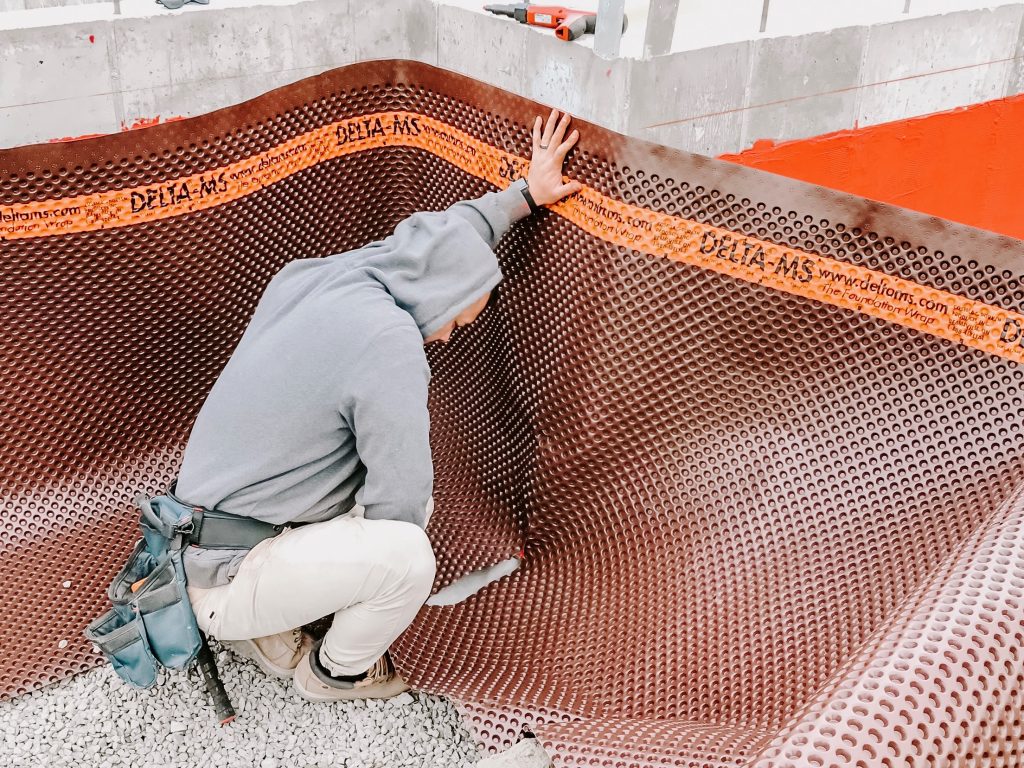
9. On top of the ReGard on the exterior walls, a DELTA dimple membrane made by Dorken was applied to further direct water away from the house and direct any water that settled in the ground straight to the french drain system. This dimple board has dimples all throughout that create voids for the water to drop straight down to the french drain system. The reason that I used DELTA is because it has a reputation for being the best vapor and moisture sub-grade system on the market.
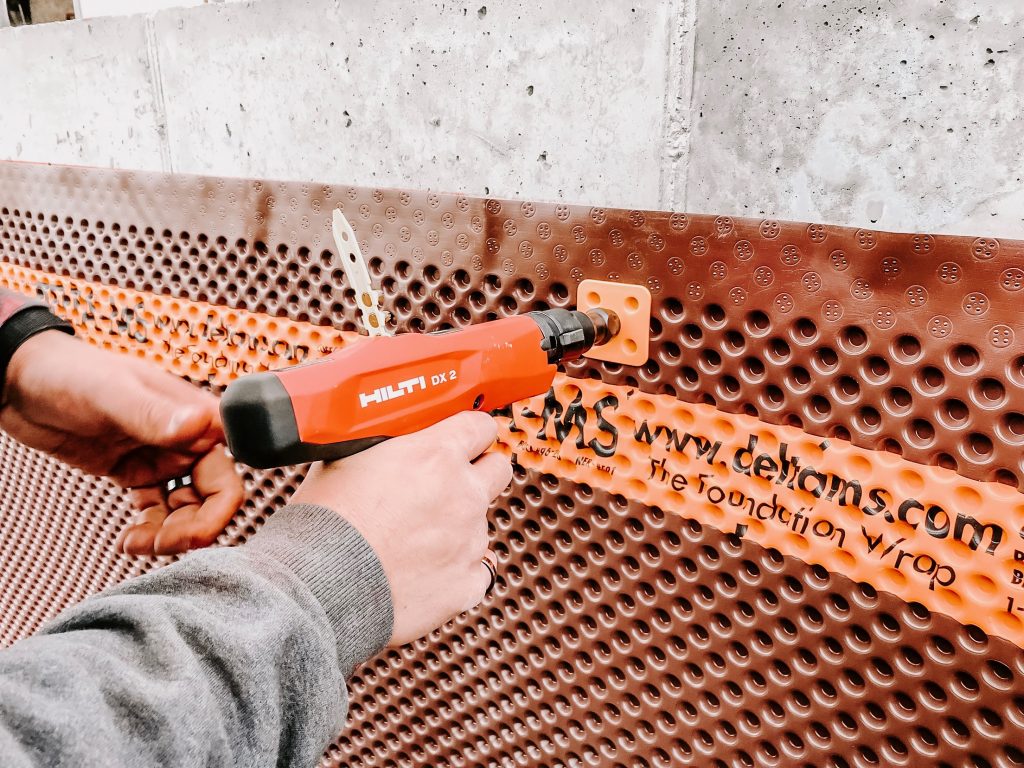
10. I used the Hilti DX2 which is a semi-automatic powder actuated concrete nailer to secure the DELTA membrane to the concrete. I made sure to secure the membrane 1-inch above the top of the RedGard as to not compromise RedGard when the DELTA membrane was secured to the foundation walls.

11. Lastly, we then poured concrete over the interior slab which contained 30″ of 3/4″ gravel, 2″ rigid R-tech insulation, 10 Mil Stego wrap, and then 4″ of concrete. After the framing is done for the crawl space I will also impregnate the concrete with a waterproof sealer and put a skim coat of epoxy over the whole interior slab.
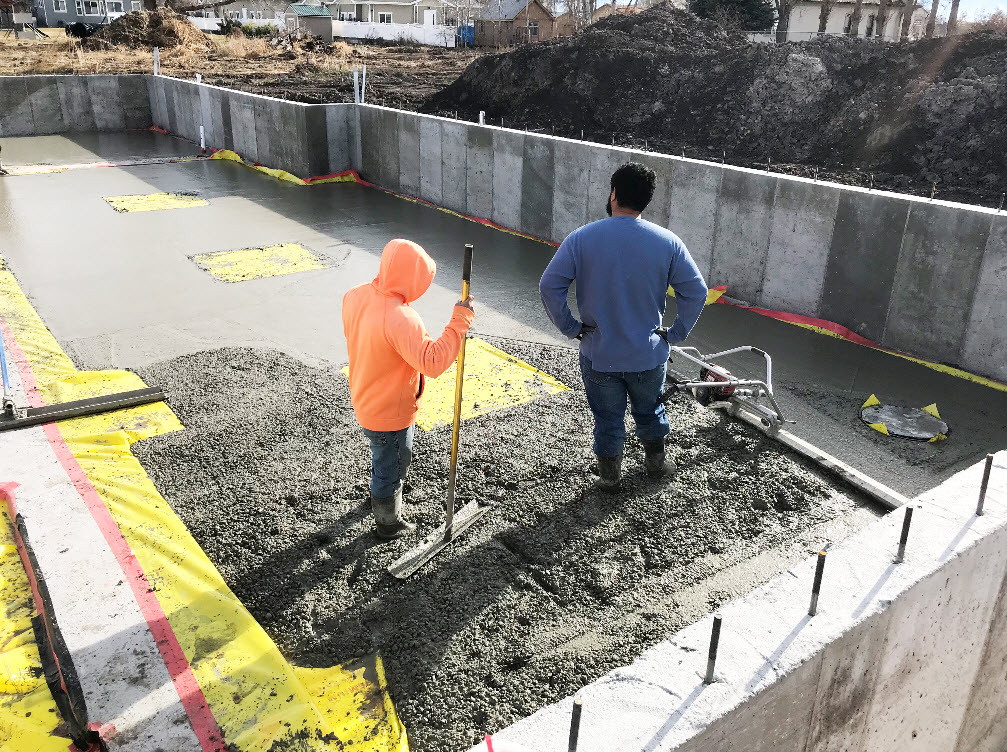
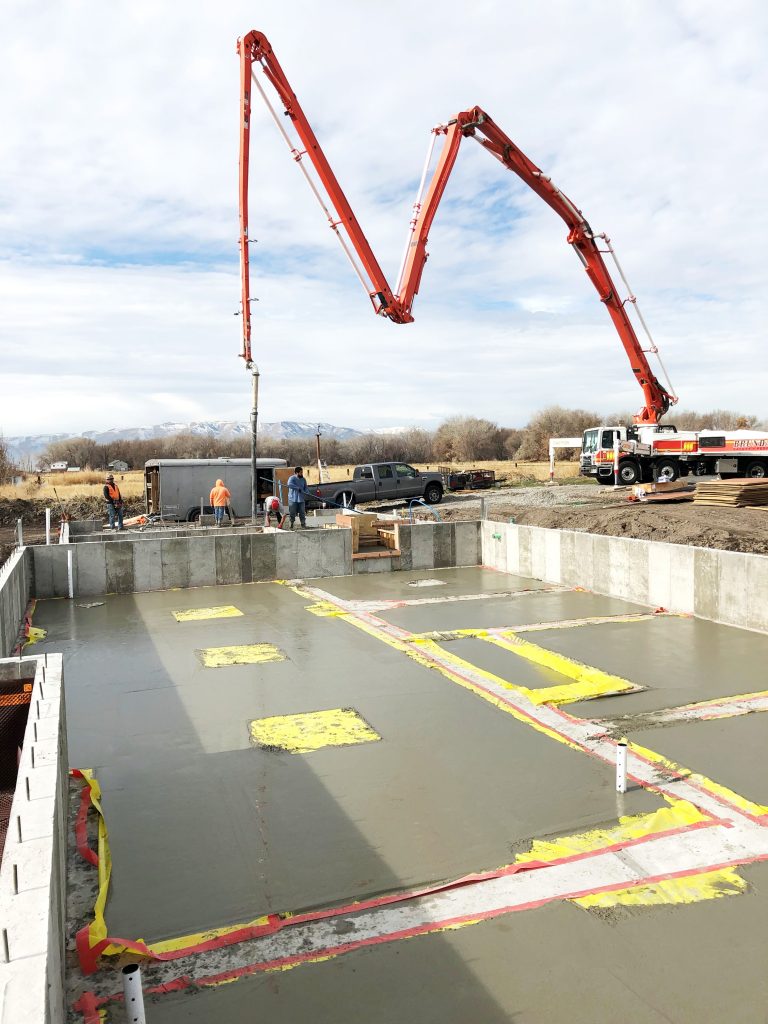
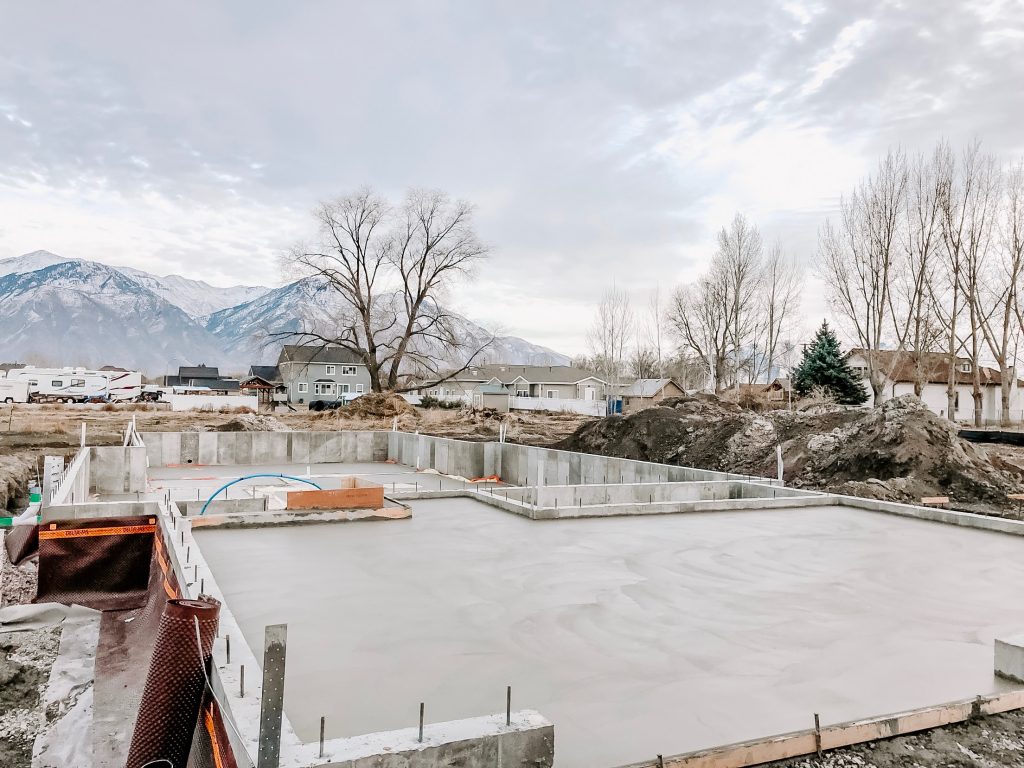
All waterproofed and ready to start framing!
All-in-one Instructions on Waterproofing Your Home
Materials you need:
*quantity varies with every house
1. I grabbed a box of Sika Polyurethane Concrete Sealant to add some additional protection to the seam between the footings and the foundation as this is more susceptible to failure due to water pooling up on the seam. No waterproofing is needed around the garage since it’ll be at the top of the foundation elevation.
2. I applied a product called ReGard which basically hardens as a rubber. It is a elastomeric waterproofing membrane suited for interior and exterior substrates. ReGard creates a continuous waterproof membrane barrier. The thing that I love while using this product is that it applies pink and dries red. I used a 3/8″ trowel to apply two coats of ReGard to the exterior walls. I also troweled the ReGard in a vertical striping to add additional direction for water drainage.
3. I used 4″ x 10′ triplewall solid pipe on the exterior and 3″ x 10′ triplewall solid pipe on the interior of the house footprint. After a lot of research I knew that I did not want to use the black prefabricated drain pipe that seems to get crushed under the weight of the ground when it is back filled. I was then dead set on purchasing 4″ schedule 35 or 40 drain pipe for its rigidity but after further due diligence I found out that some of these pipes, despite their rigidity did not have enough flex in them and started to crack when the ground settled. Therefore I went with the 4″ and 3″ triplewall solid pipe for its reinforced structure yet flexibility and give.
4. I also created clean-out access around the home so that if the triplewall solid french drain pipe ever gets plugged, I will have access to clean them out with a snake.
9. On top of the ReGard on the exterior walls, a DELTA dimple membrane made by Dorken was applied to further direct water away from the house and direct any water that settled in the ground straight to the french drain system. This dimple board has dimples all throughout that create voids for the water to drop straight down to the french drain system. The reason that I used DELTA is because it has a reputation for being the best vapor and moisture sub-grade system on the market.
10. I used the Hilti DX2 which is a semi-automatic powder actuated concrete nailer to secure the DELTA membrane to the concrete. I made sure to secure the membrane 1-inch above the top of the RedGard as to not compromise RedGard when the DELTA membrane was secured to the foundation walls.
11. Lastly, we then poured concrete over the interior slab which contained 30″ of 3/4″ gravel, 2″ rigid R-tech insulation, 10 Mil Stego wrap, and then 4″ of concrete. After the framing is done for the crawl space I will also impregnate the concrete with a waterproof sealer and put a skim coat of epoxy over the whole interior slab.
Estimated time: 3 weeks
Projected cost: $8000 without labor, $14,000 with labor
Skill level: Intermediate
I hope you enjoyed this knowledgeable information by Jay! I have no idea what he’s talking about in any of the above instructions but that is exactly why he’s the one building our house, not me! Aren’t you so glad? Me too.
Jay has studied in-depth and researched widely and thoroughly in order to make sure he builds our home in the best method, using the highest quality materials so it can be one of the strongest and well-built houses ever built!
Every time someone from the City comes to check off things, they’re so impressed with the way Jay’s building and told him they’ve never, ever seen a house being built this well and thoroughly, ever in the state of Utah or in their entire career. This makes me so proud of him and it makes me in awe at how hard he’s working to build me the house of my dreams.
Don’t you think he should be building other people’s homes? And what do you think of this waterproofing tutorial? Would you want this done in your house?
I acknowledge that The Home Depot is partnering with me to participate in the promotional program described above (the “Program”). As a part of the Program, I am receiving compensation in the form of products and services, for the purpose of promoting The Home Depot. All expressed opinions and experiences are my own words. My post complies with the Word Of Mouth Marketing Association (WOMMA) Ethics Code and applicable Federal Trade Commission guidelines.
Sounds good, I just worry about products from a company named Dorken!! I kid, I kid.
Are you ever gonna share that caramel corn recipe? Cause I’ll probably understand that a little better.
Really though, I do find it interesting. Especially like to know the things you do that are more than what the 4-ways, etc. require.
I know nothing about building, but those mountains are BREATHTAKING!
All I can say is kudos Jay for all the hard work. If the city inspectors are impressed, I’m guessing you’re doing it right!
Thank you so much Dominique! I have been very impressed with Jay’s build as well!
Haha, I didn’t name it! 😀 And that popcorn recipe request has been so popular, I will have to post a recipe very soon! 😉
I am so impressed with the level of detail! Every part of the home is an investment. I have no doubt that down the road, you will get every penny out of all this waterproofing. Thanks for all the info!