• ABOUT
  • COLLABORATE
  • CONTACT

Life is Beautiful

Motherhood, Sewing, Family

  • SEW
  • HOME
  • PARTY
  • TRAVEL
  • SHARING MY HEART
  • SHOP

Before of my DIY project

October 17, 2014~ DIY DREAM HOUSE

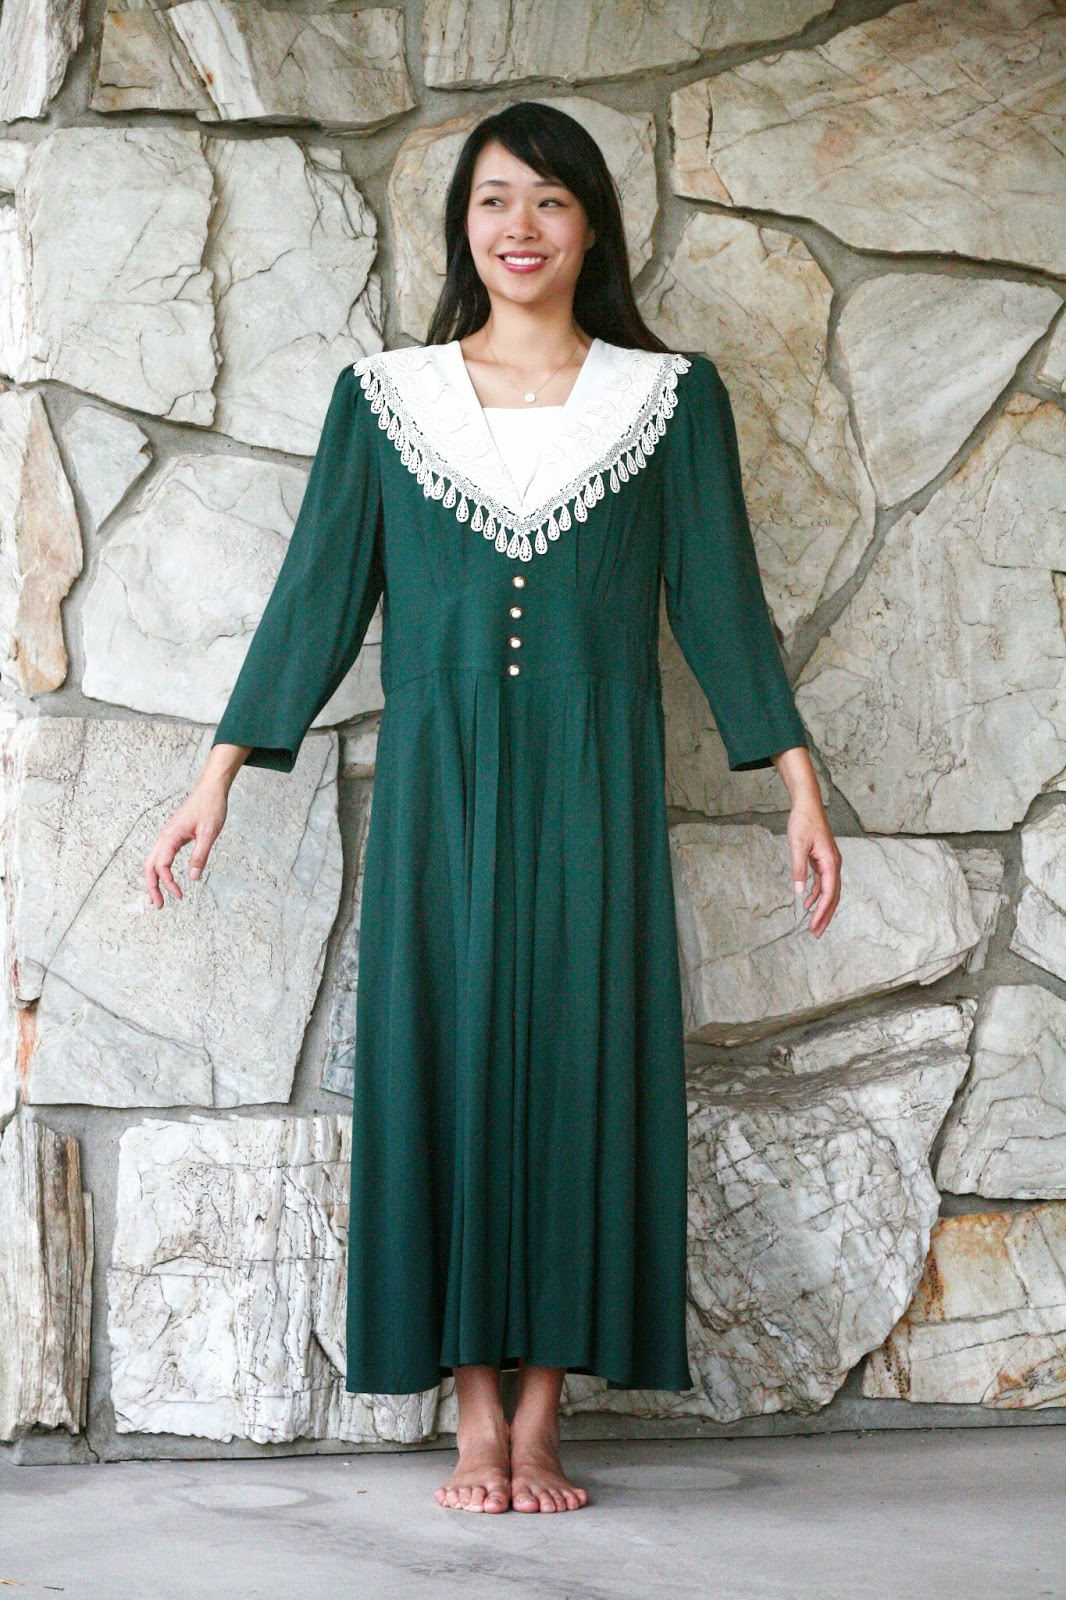
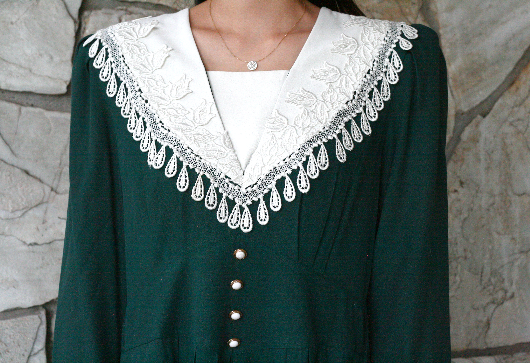
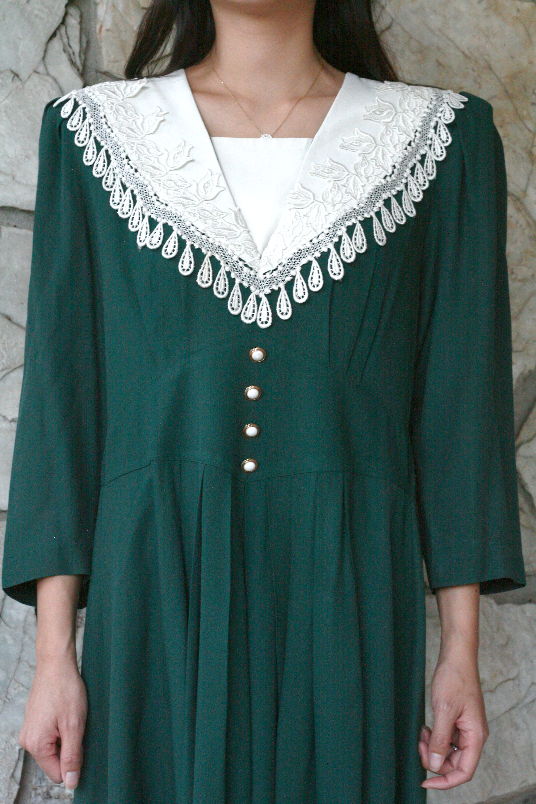
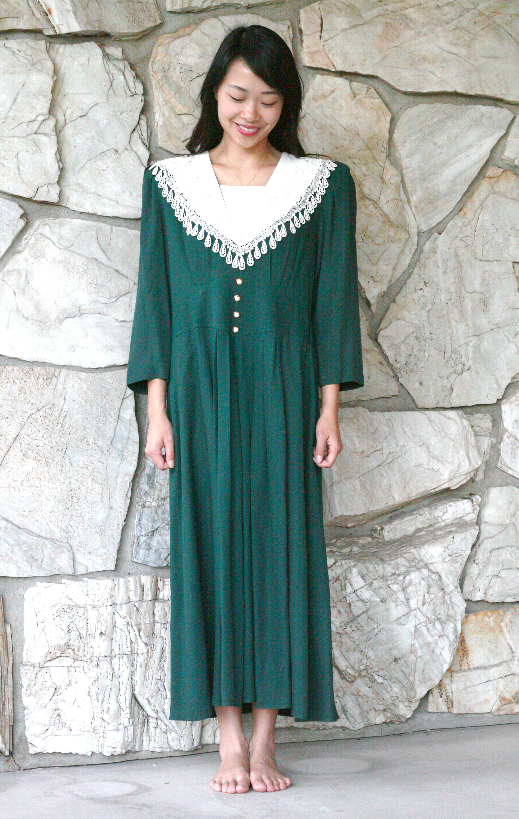
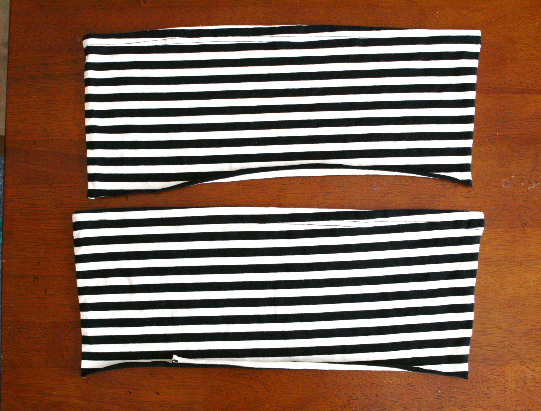
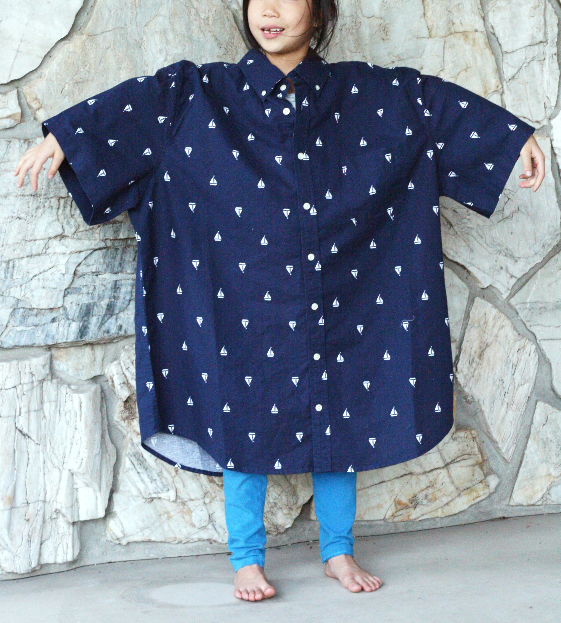
I’m tackling this gigantic shirt for my daughter right now on this Saturday afternoon, stay tuned!  I bought this shirt for $10 at a clearance section in the Men’s section at Target.  It has white sail boat prints all over it, I loved the pattern of this shirt and thought it’d make a fun clothing item for my girls.
But now as I’m posting this and looking at this, I could have made a cute, fun shirt for me instead!  Oh well, I’m already 1/2 way done so it’s too late. 🙂
0

TAGGED: DIY 2 Comments

DIY: Grandma vintage dress refashion

September 19, 2014~ SEWING

BEFORE:
What I look for when I’m shopping at thrift stores with the intent to refashion, is the color of the fabric, the fabric itself, and features that I really like, such as pleats on the skirt part of this dress.  I really like this teal green color and don’t have any dresses this color, and the fabric seemed sturdy and easy to work with, and the pleats & lace I loved the details of.  Shoulder pads, giant collars, and the old buttons were not on the list. 😉
Directions:
I took out the collar, the lace, the buttons.
Separated the front and the back piece to get rid of the waste part of the dress.
cut the sleeves off and made it into short sleeves.
cut off the tear drop part of the lace.
sewed the lace onto the hem of the sleeves.  It was the perfect length!
The After:
dress: DIY
necklace: ChloeDavidLA c/o
heels: Thredup


What you’ll need:
– outdated dress
– matching thread
– needle or sewing machine
– scissors
– pins


Directions:
1. Take off the lace, the collars, and the buttons.
2. Separate the front and back piece of the dress.
3. Cut off the waist part and sew the top & bottom back on.
4. Sew the front and the back piece back together.
5. Take off 3″ from both sides of the dress.
6. Cut the bottom of the dress to make it knee length.  Hem the bottom.
7. Cut the sleeves off, cut it into short sleeves, pleat the shoulder part of the sleeves, and sew the sleeves on.
8. Sew on the lace onto the bottom part of the sleeves.
9. Sew the v-neck line higher.


Estimated time: 2 hrs.
Budget: very low(mine was $9).
Skill level: A confident beginner to intermediate .


Subscribe to my new YouTube channel for a new sewing video every Thursday!

For behind the scenes and sneak peeks of my next refashion follow @sarahtyau on Instagram

Watch my other Refashion Revision episodes

We are starting a mother-daughter sewing series! Watch “6 Reasons Why You Should Learn to Sew” and subscribe to our channel to learn to sew along with us!

1

TAGGED: DIY 32 Comments

About to tackle this DIY

September 17, 2014~ SEWING

Isn’t this dress the cutest dress you’ve ever seen? ;). A couple days ago I was invited to a blogger party at Tags thrift store where we got to pick out any 2 items we wanted.  Using the items we picked out, we are to use it in any way we want and enter in a competition.  The winner will get to collaborate with Tags in the near future and win some cash.  So of course I picked out the cutest, most fashion forward piece I could find.  So of course all the other bloggers wanted this piece and after some cat fights and dog piling, I came out on top and was able to snatch it.  I’ll be tackling this beast, I mean beauty tonight and will be posting the after tomorrow.  So wish me luck! 
0

TAGGED: DIY 3 Comments

DIY: Twisted headband

September 15, 2014~ SEWING

Hi guys! I have exciting news, I am launching a new sewing YouTube channel with my little girls! This is our schedule so far and I am so excited:


Week 1 and 3: Mother-daughter sewing series where we motivate and inspire kids and their parents to sew in a very simple, non-intimidating way!
Week 2: Refashion Revision, you’ll take a trip with me to a thrift store where I’ll be surprised with a few vintage items and will have to share with you my vision for the “after”, impromptu style.
Week 4: Refashion! Where I take an outdated piece of clothing and transform it into new.


Tune in every Thursday at 2 pm MST on www.youtube.com/sarahtyau and subscribe to be the first ones to watch!
And follow me on Instagram: www.instagram.com/sarahtyau/ to see behind the scenes and sneak peeks of my next project! 


Now on to this Twist Headband DIY:
Remember when I made this Anthropologie fancified boatneck DIY where I cut a good 6″ off the bottom of the tunic?  I recently found that extra fabric and wanted to make something with it.  I didn’t know what, but as I kept looking at it, I thought it’d be perfect to make it into a twisted headband that I’ve seen around on Etsy.  They sell it anywhere from $10- $38, but it’s so easy and simple to make and if you use an old t-shirt you have, it’ll cost you $0!
DIRECTIONS:
This piece is only 16″ lengthwise which was too short to make for me, my head circumference being 20″.  16″ is perfect for a baby headband(it was very tight on my 5 year old but I didn’t want to have my 13 month old son model it for me. :), but for adults it’ll be about 20″+ length and 5″ width.  Make sure to measure your head circumference.
I cut it to separate the front and back part.
cut the bottom hem off on both pieces.


Fold the rectangle fabric in half, hot dog style and zigzag stitch the length.


the zigzag stitch helps the fabric to stretch more than if it was a straight stitch.


flip it inside out


lay the strips in a cross style


 fold over one strip over the other strip.
fold over the other strip


pull the strips on both sides


gather all 4 edges together


and sew it closed, straight stitch.
That’s it!  So simple right?  I know you can do it!
My little Kindergartner all ready for school!
Outfit detail:
twisted headband: DIY
chambray top: H&M
tights: GAP
gold sandals: GAP
plaid backpack: OASAP c/o
What you’ll need:
-2 pieces of knit jersey fabric(21″ x 5″)
-matching thread
-needle or sewing machine
-scissors
Directions:
1. Measure your head circumference.  If your head is 21″, then cut two pieces of 21″ X 5″ fabric.
2. Fold the rectangle fabric in half, hot dog style and zigzag stitch the length(the zigzag stitch helps the fabric to stretch more than if it was a straight stitch).
3. Flip it inside out.
4. Lay the strips in a cross style.
5. Fold over one strip over the other strip.  Repeat with the other strip.
6. Pull the strips on both sides
7. Gather all 4 edges together, and sew it all together, straight stitch.
Estimated time: 1st time: 30 mins. after that, as little as 10 mins.
Budget: very low to almost nothing(mine was $0).
Skill level: a very beginner.
7

TAGGED: DIY 11 Comments

DIY: add sleeves and alter an Anthropologie Honeycomb Dress

August 4, 2014~ SEWING

When I was 3 months pregnant last year, I saw this Honeycomb lace dress from Anthropologie and fell in love with it.  I loved it so much that I didn’t want to wait until I had the baby and lost the weight, I wanted to wear it right then!  So I got the dress in several sizes larger and wore it during my pregnancy, and planned to alter it later on after I had the baby, and add on the sleeves.

Before: 
After:
I’m kicking myself for not taking a picture of how the dress looked after I lost the pregnancy weight.  But just imagine it baggy and sleeveless.

I altered the sides and with the extra fabric from cutting the sides, I made the sleeves.  The sleeve tutorial can be found here, and how to alter the sides can be found here.
What you’ll need:
  • An oversized dress
  • Matching thread
  • Scissors
  • Sewing machine or needle

Directions:

Sleeve tutorial: here
Altering the sides tutorial here
Estimated time: 1 hour
Budget: almost nothing
Skill level: beginner
3

TAGGED: Anthro DIY, DIY, DIY tailoring 13 Comments

  • « Previous Page
  • 1
  • …
  • 4
  • 5
  • 6
  • 7
  • 8
  • …
  • 27
  • Next Page »
cutmypic
Hello! My name is Sarah and I am so happy to have you here! Here you'll find DIY sewing, DIY home building & decor, honest and vulnerable posts of motherhood and snippets of my family. We are building our dream house and will update you regularly on our whole process from start to finish and I am also starting a mother-daughter sewing series. So I hope you stay awhile!

BLOG ARCHIVES

SEARCH

JOIN THE LIST

- THEME BY ECLAIR DESIGNS - Web Hosting By RFE Hosting -