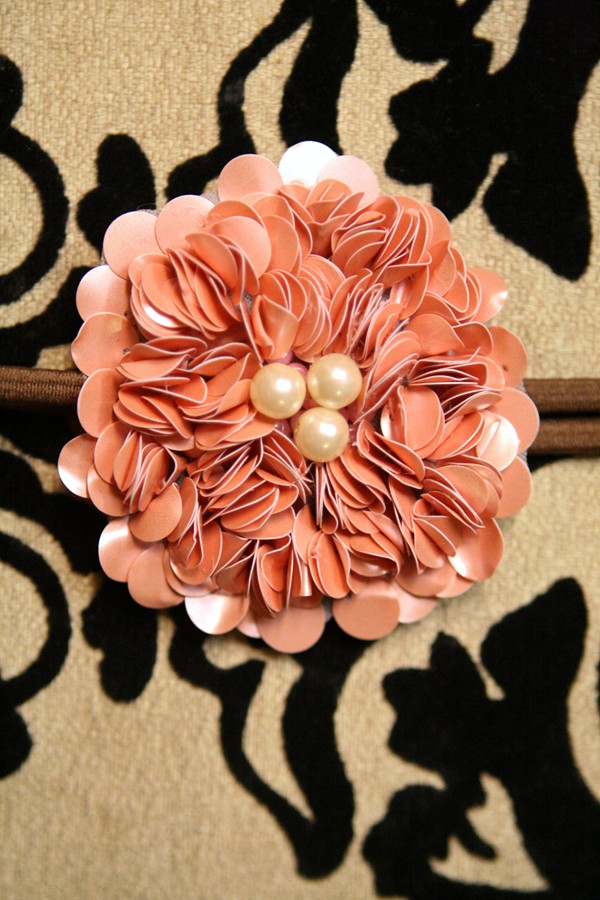
i got this pretty sequin flower at hobby lobby
(they just opened in my town and i had a perma-grin
the whole time i was there. i ♥ that store!)
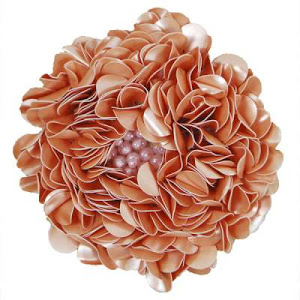 on sale for $1.50 each then i glued some pearls in the middle and put a clip on the back
so my girls can wear it and i can wear it also. 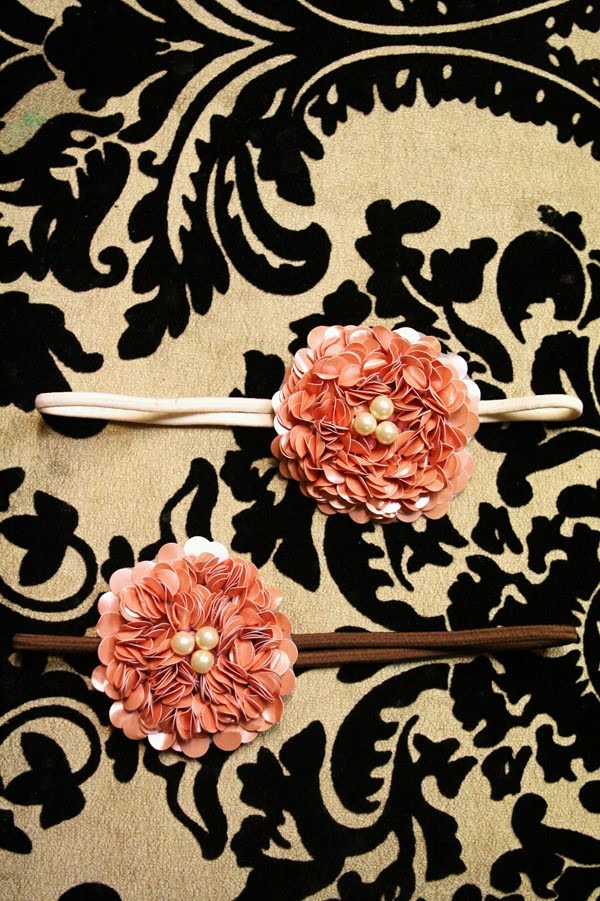
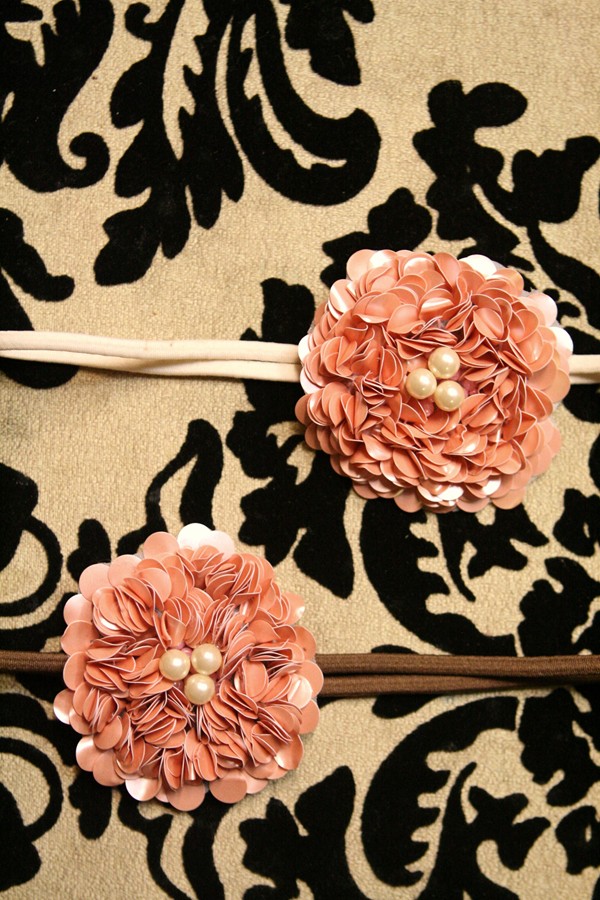 (*these are NOT the headbands i’ll be selling at my store.)
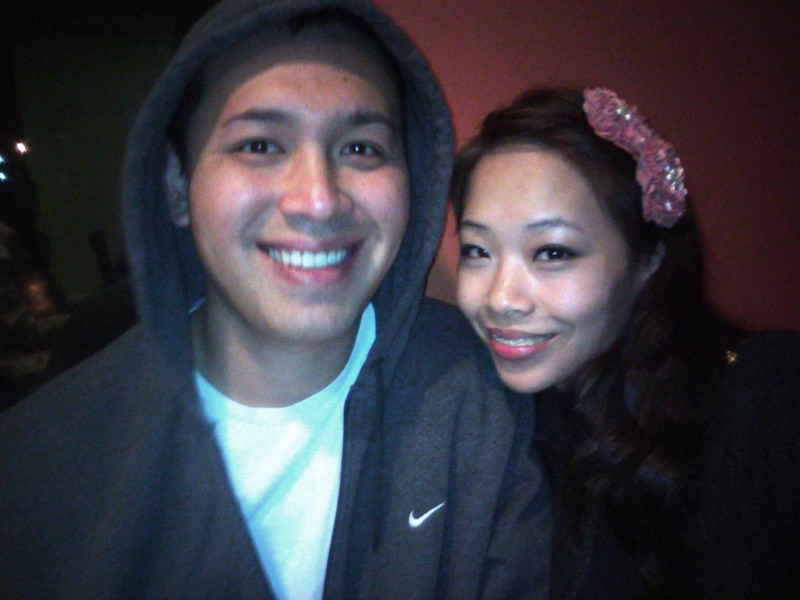 and if you’ve noticed how simple my projects have been lately,
it’s because my family’s on a vacation in hawaii!but we’ll be back shortly and i can’t wait to tackle on these projects:
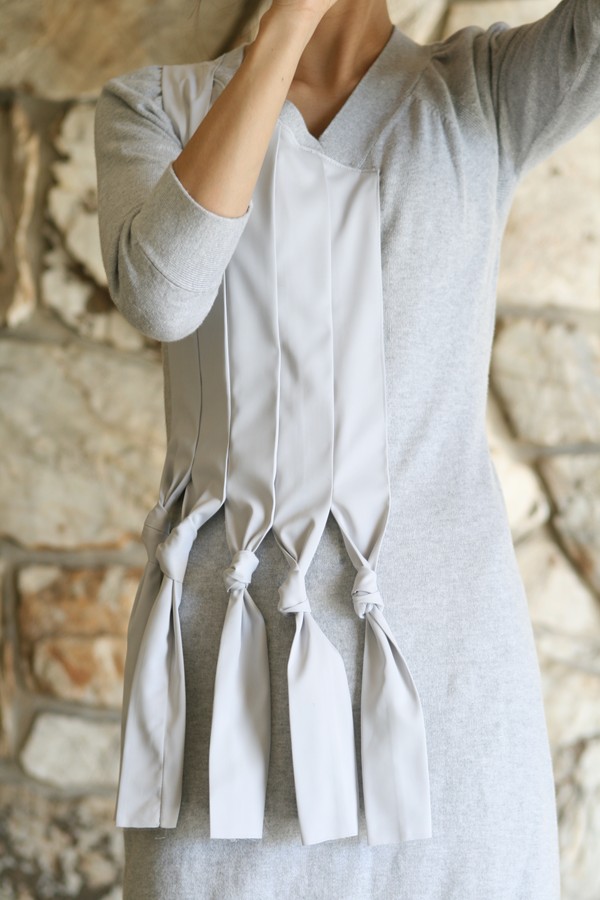
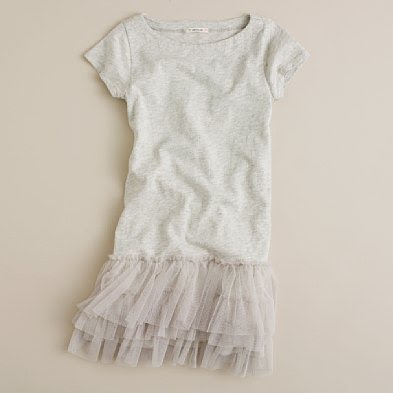
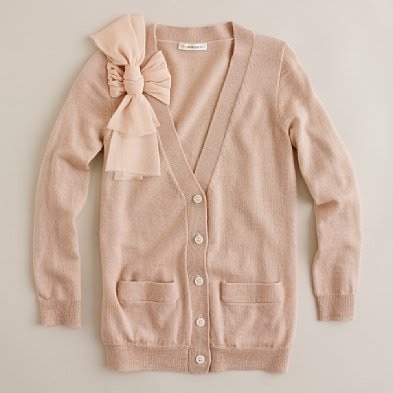
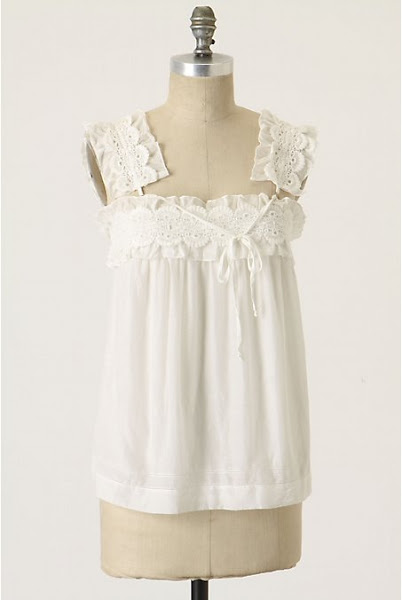
these for my little girl
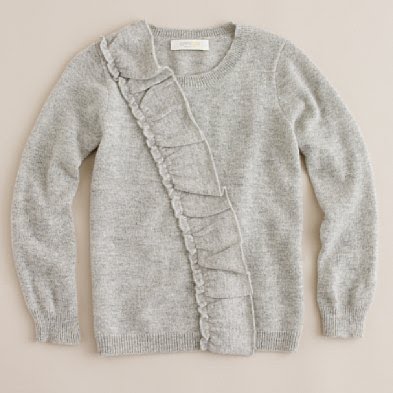
 and these for me
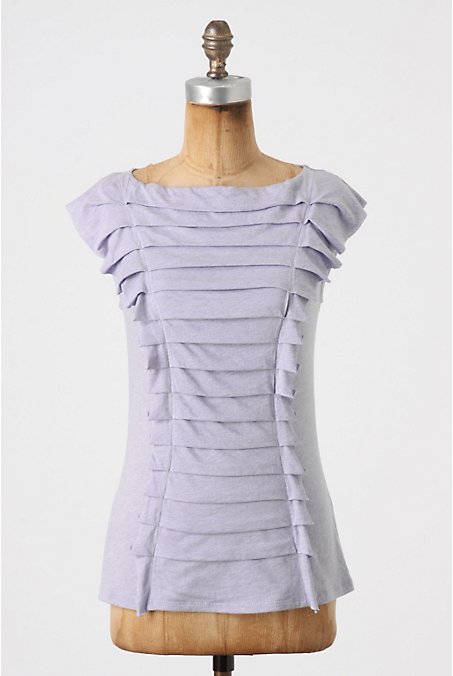
i hope you had a lovely weekend!

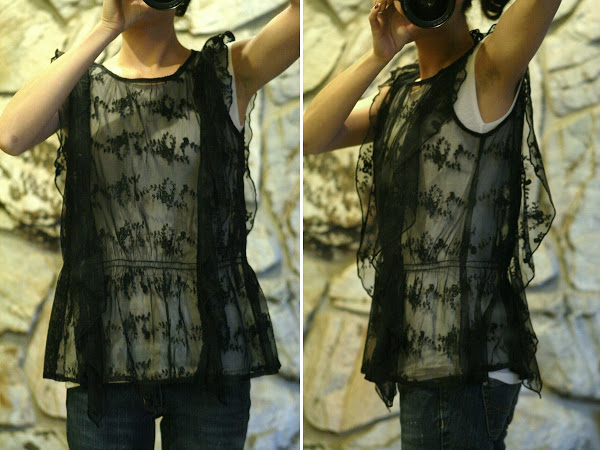


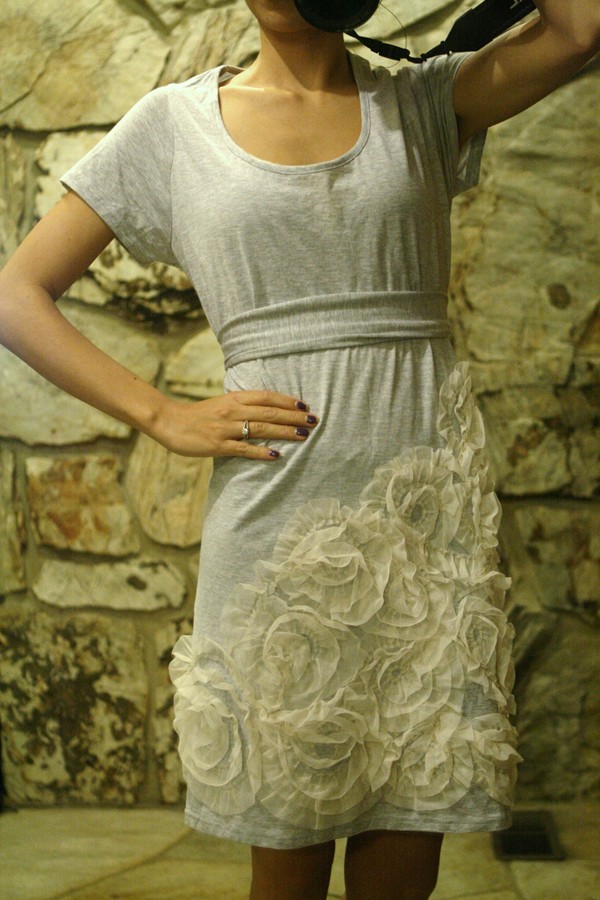
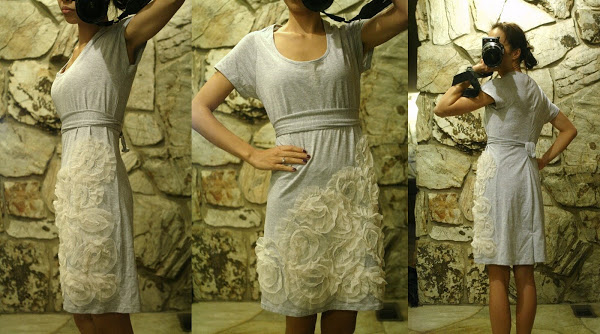

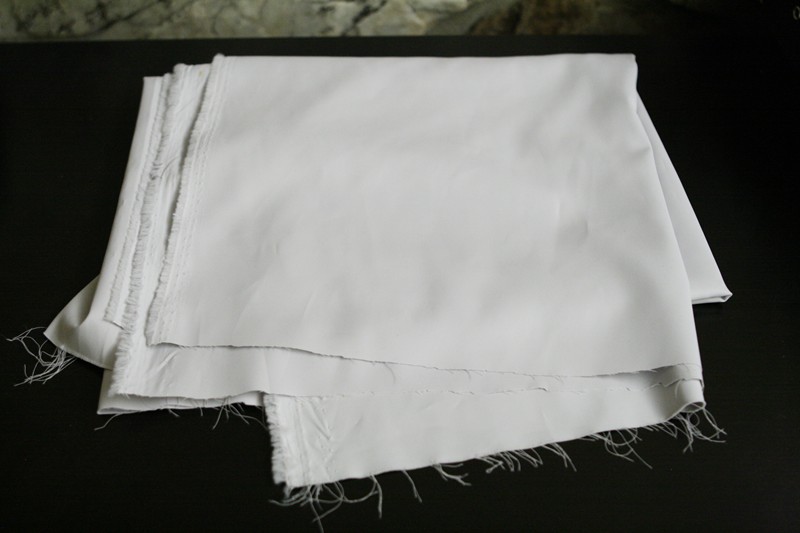
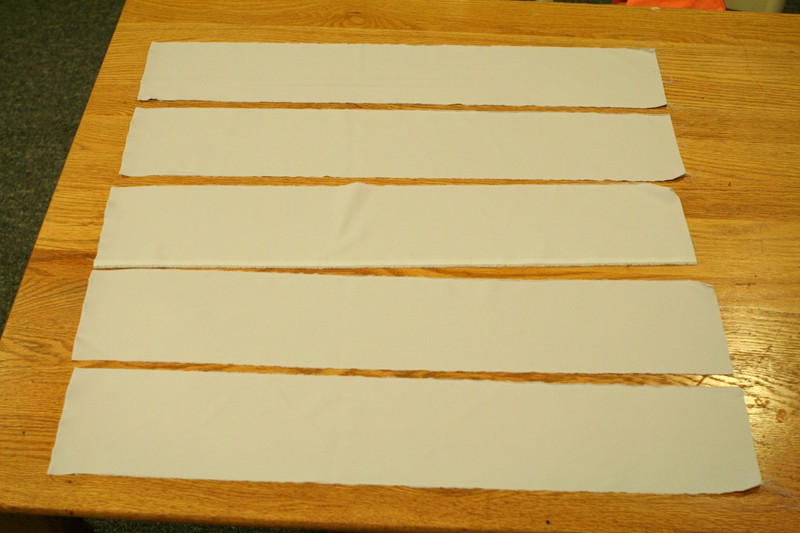
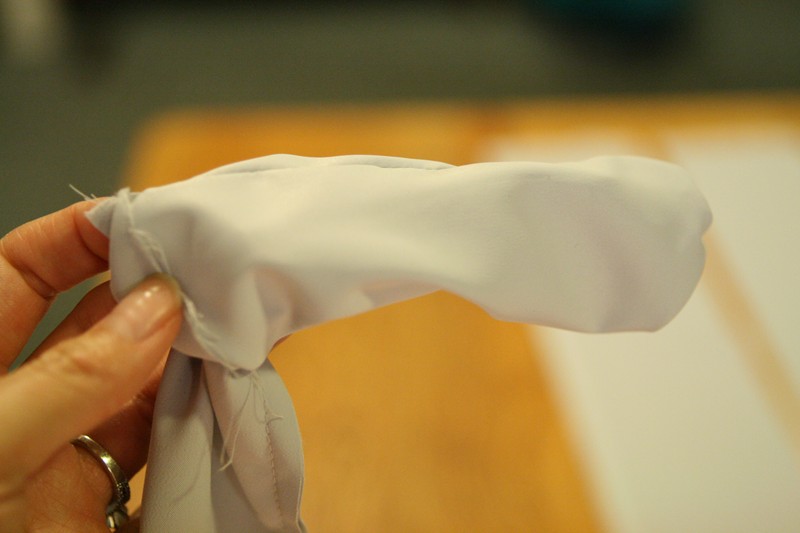
 in my closet:
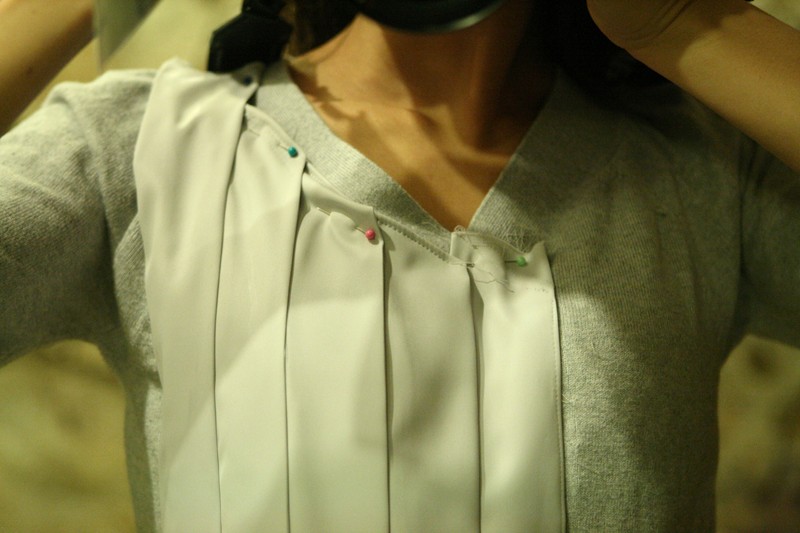
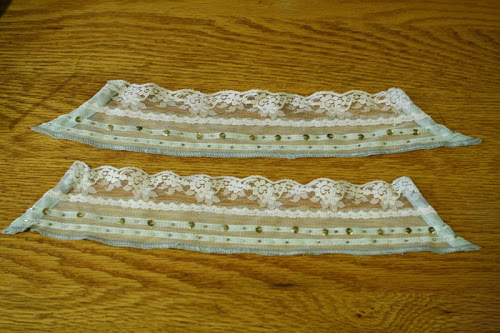
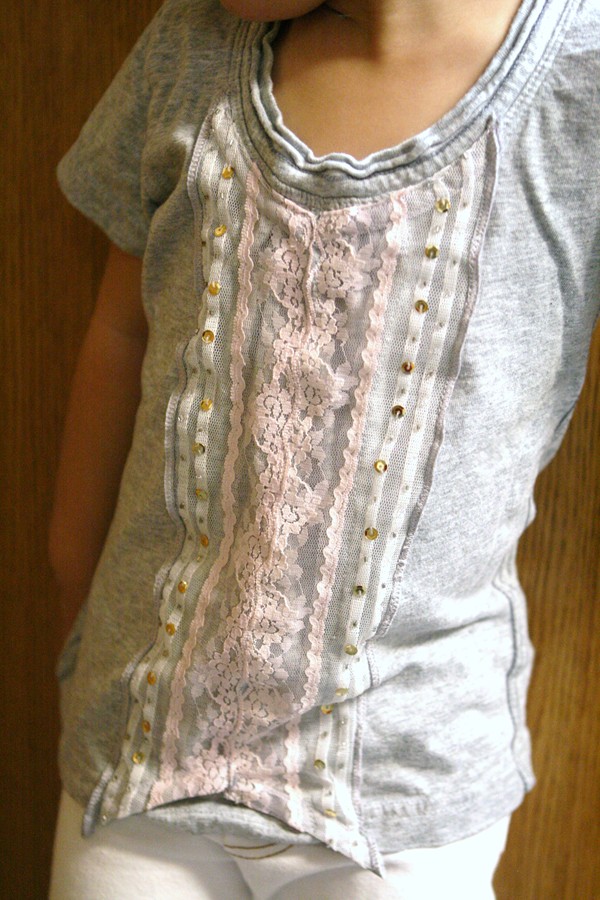
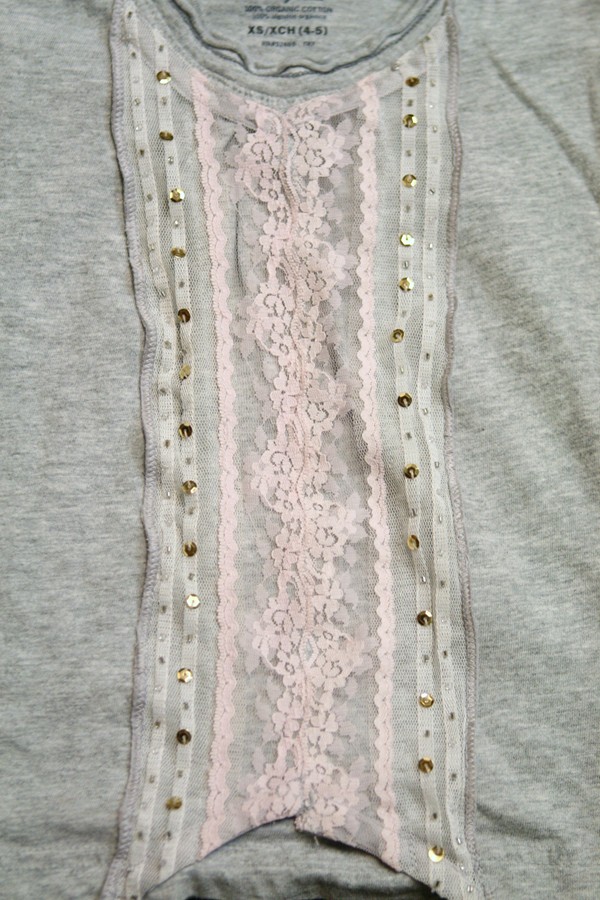
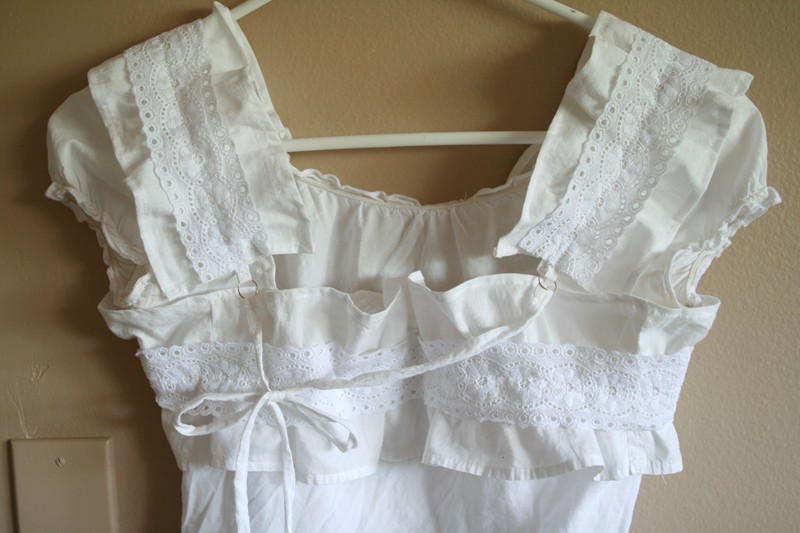
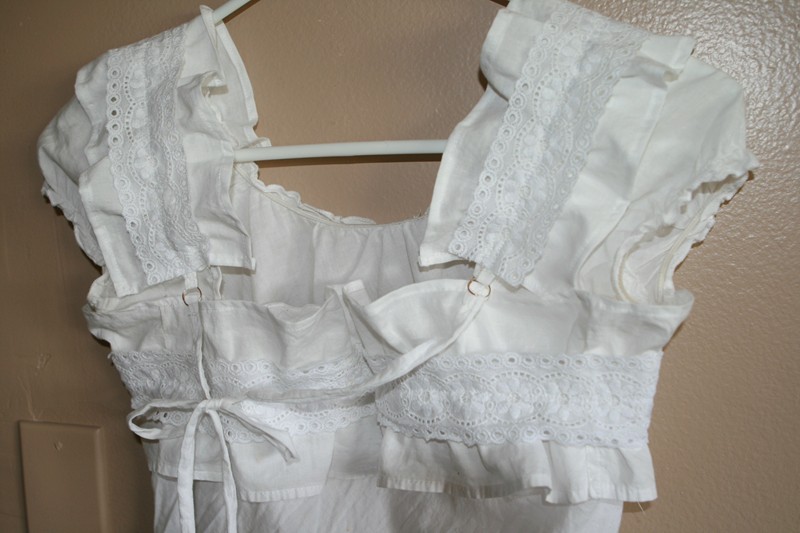
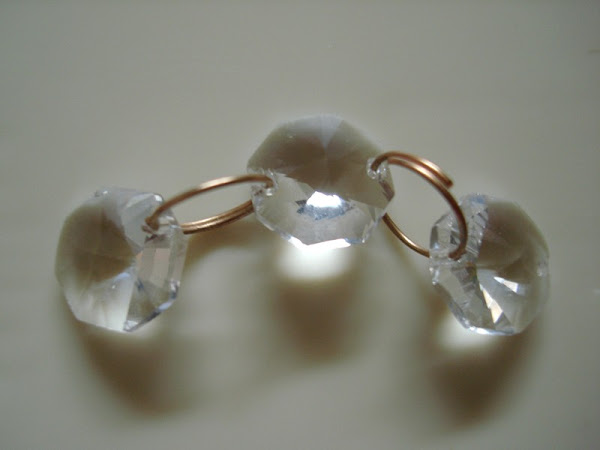 2 gold rings from part of a chandelierand i bought some white ribbons
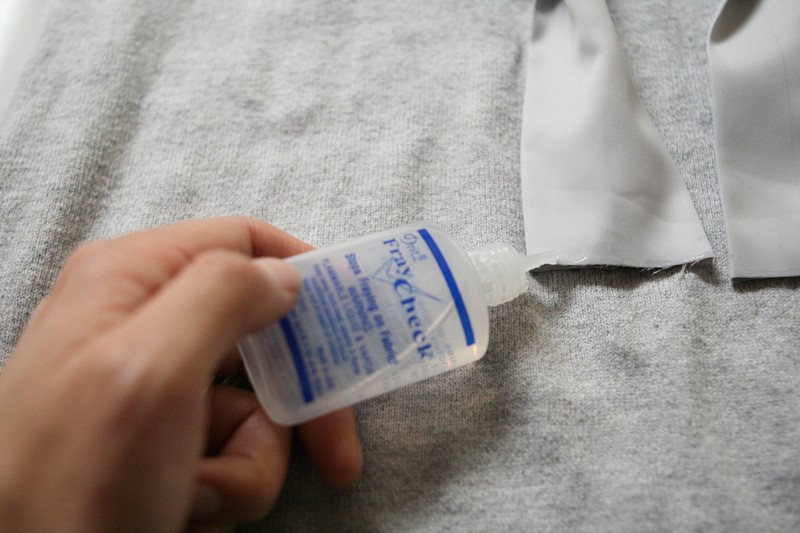
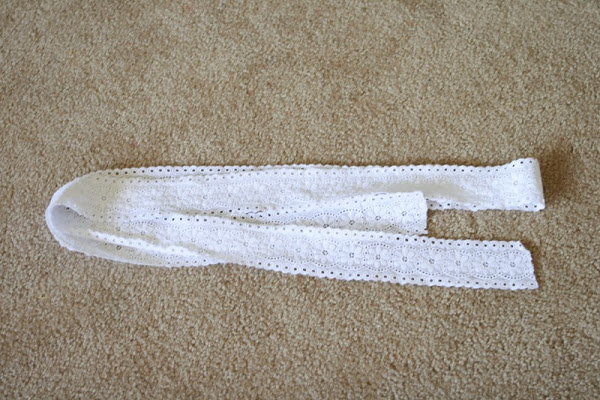 mix all that together and the after:
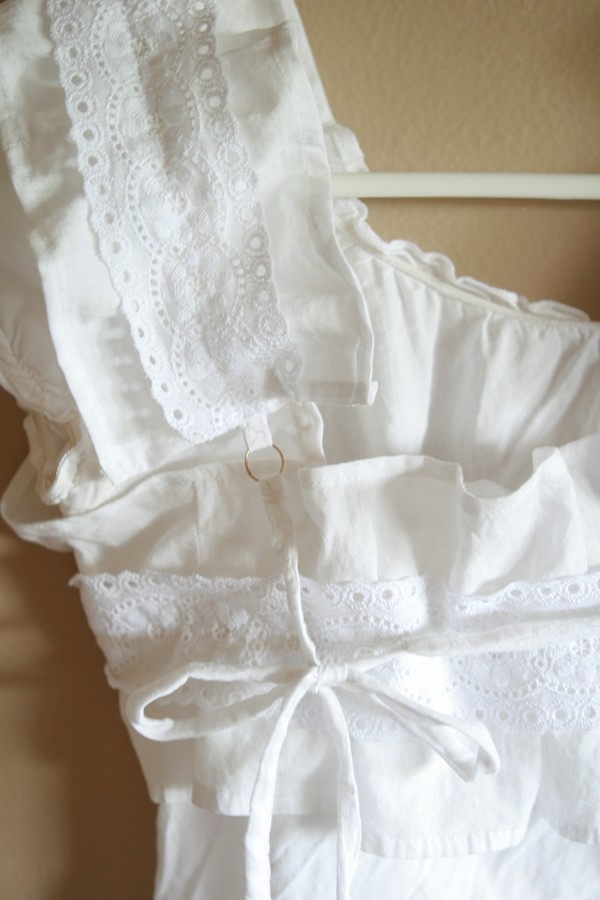


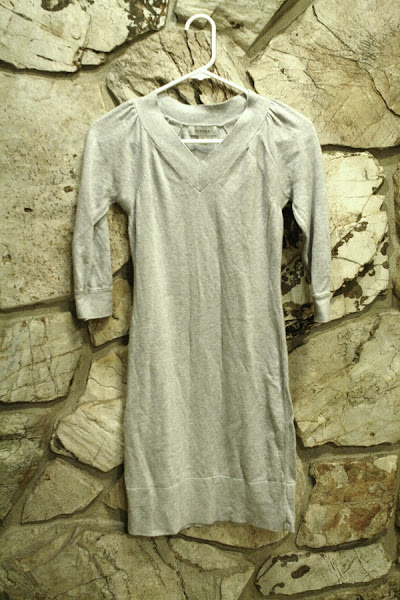
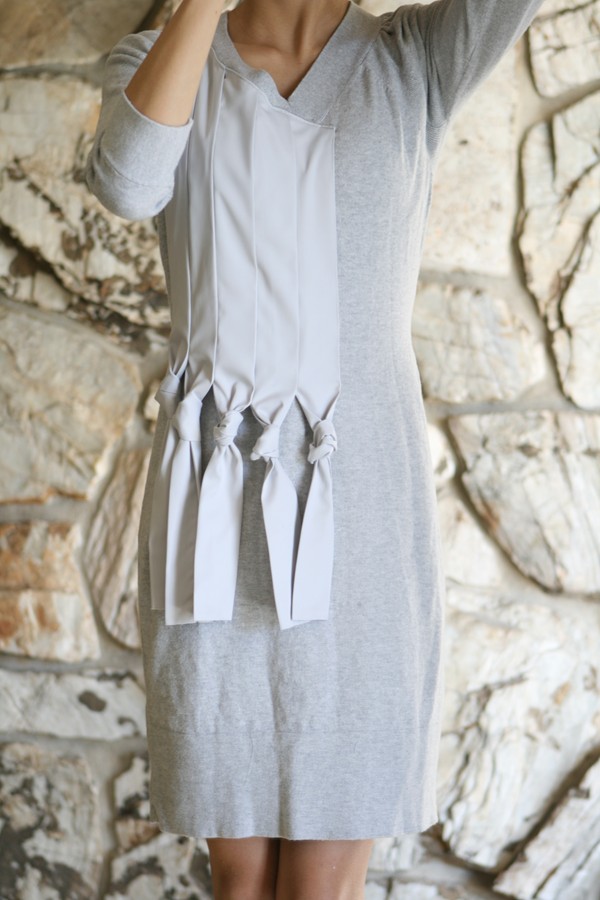
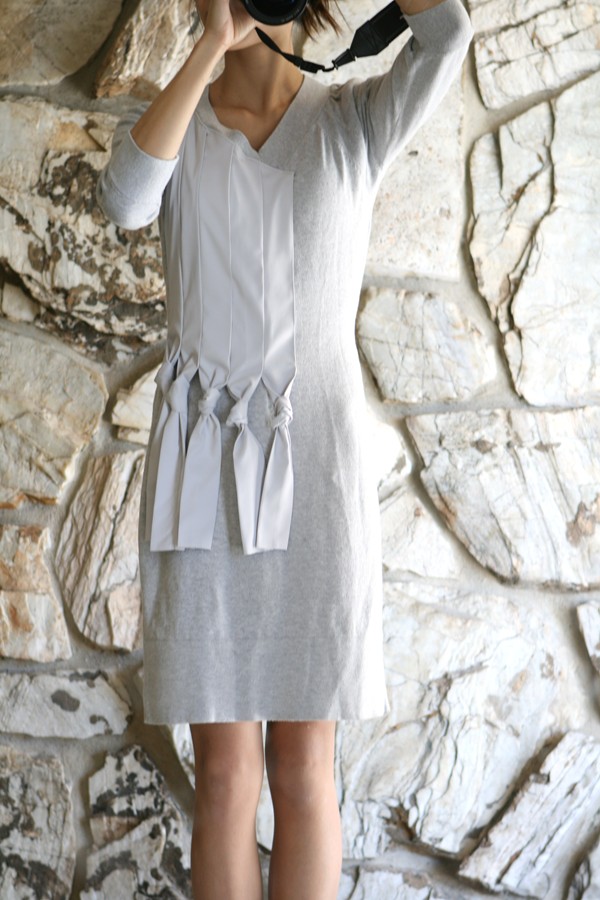
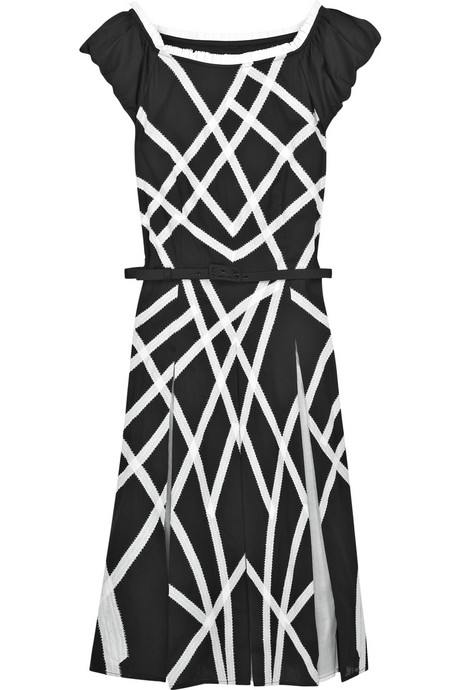
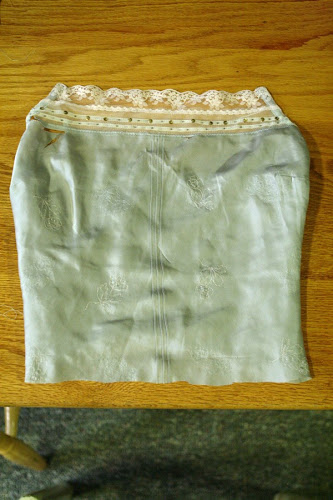
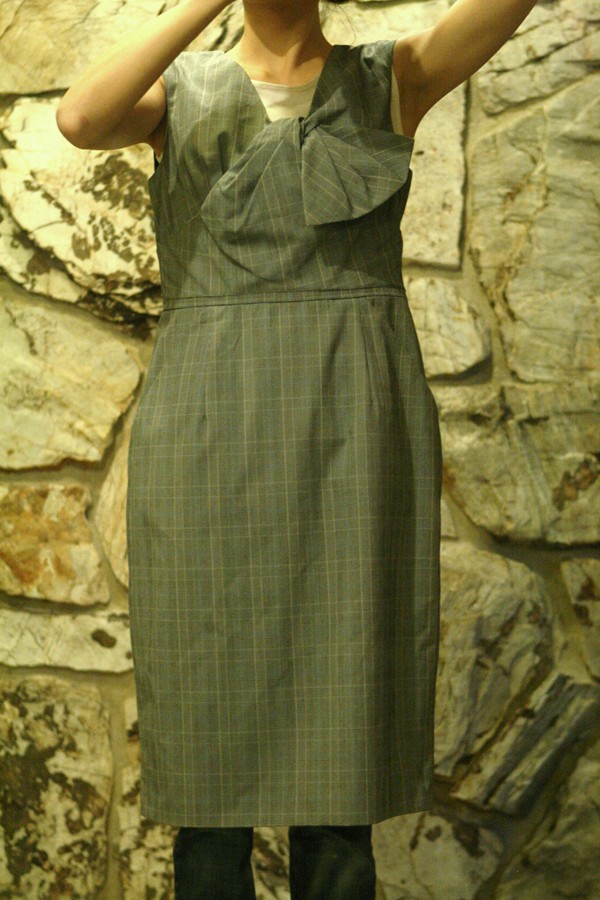
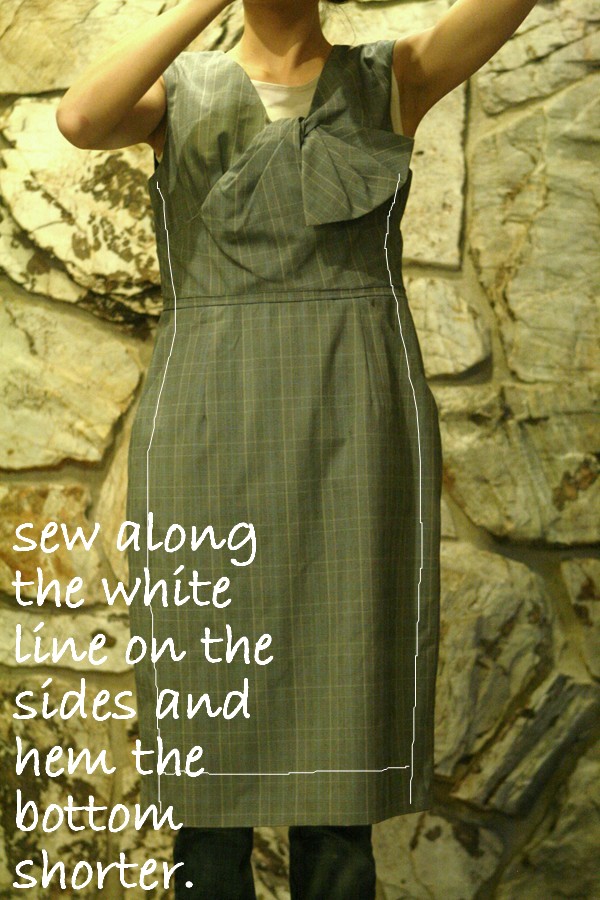
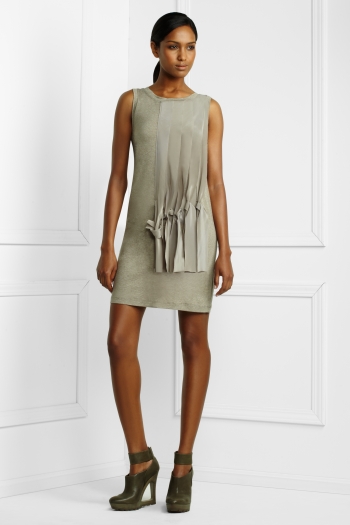 BCBG Maxazria knotted panel dress