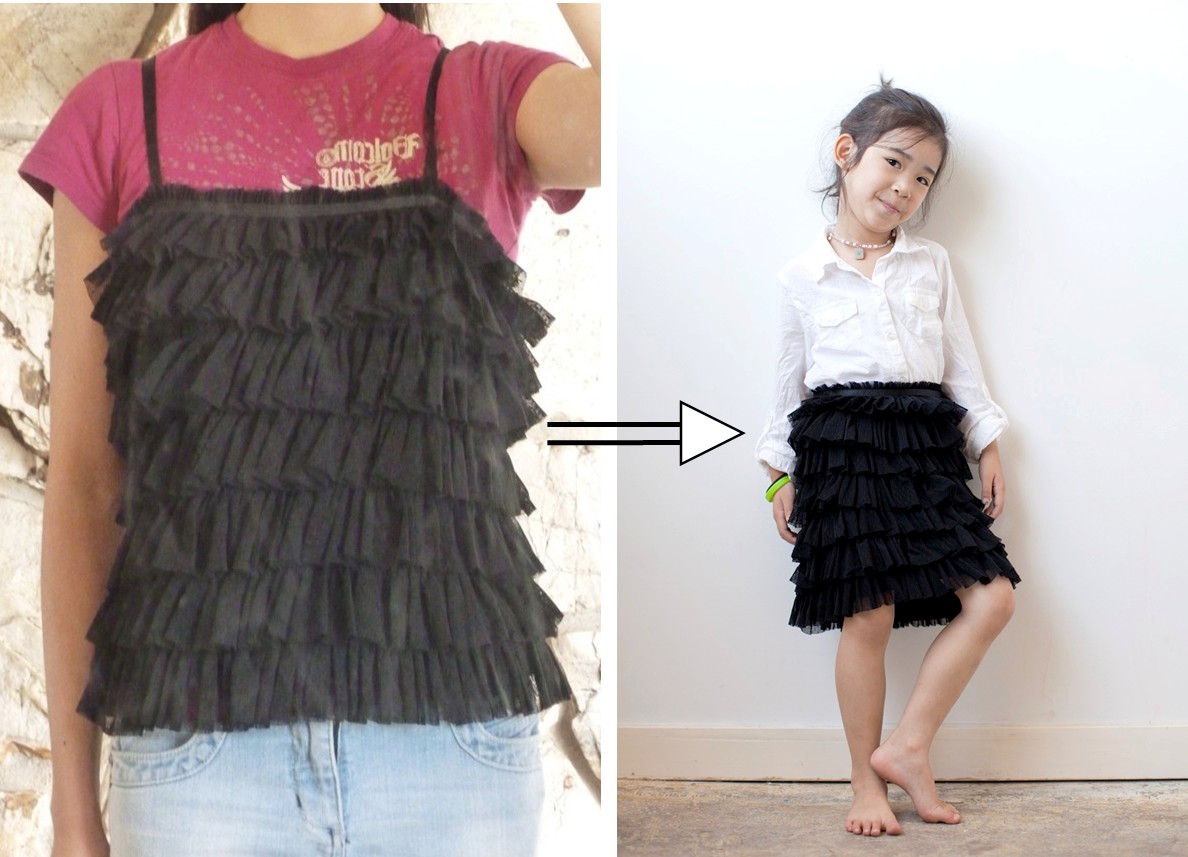
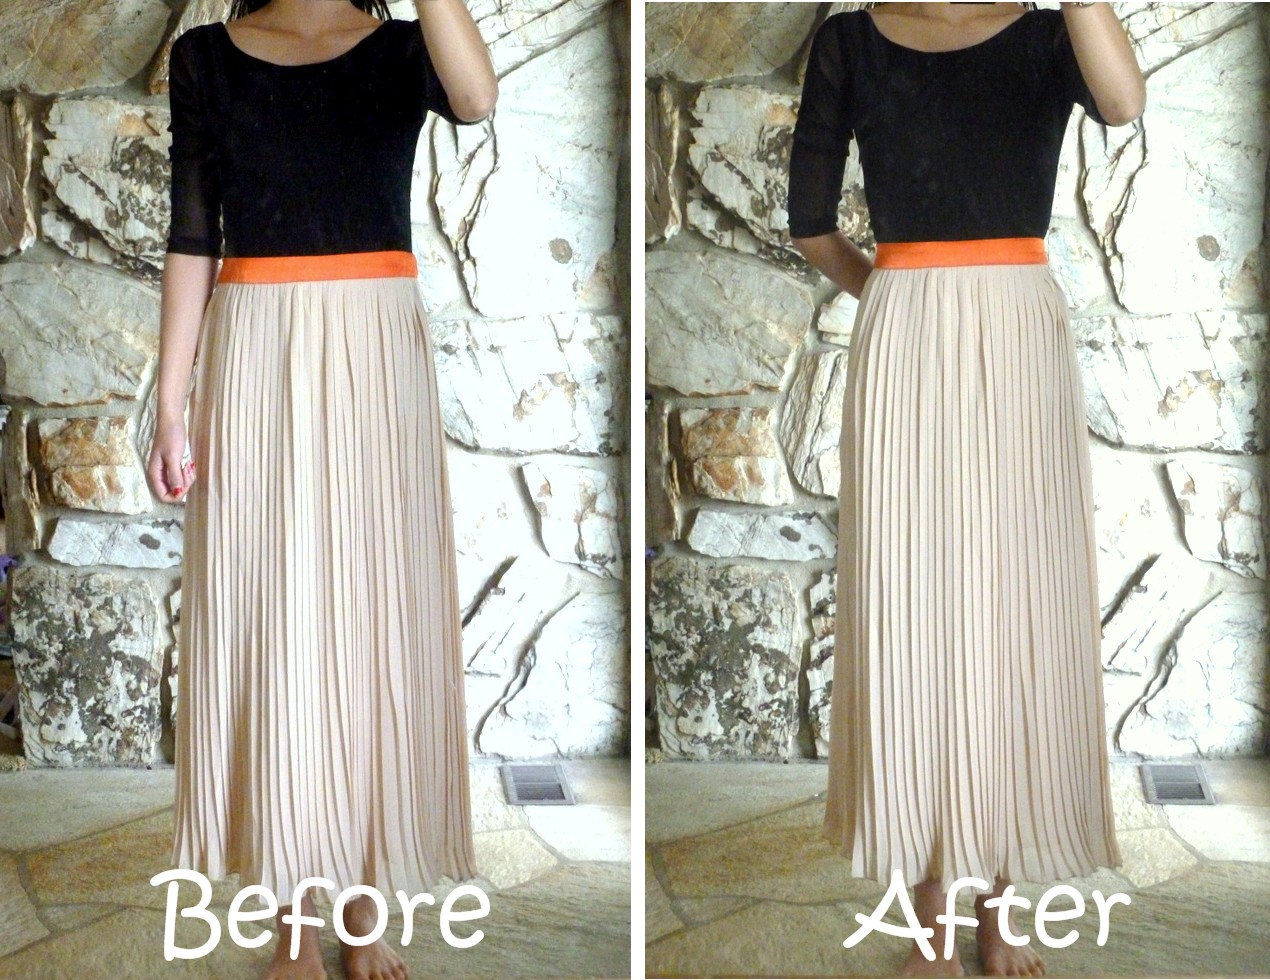
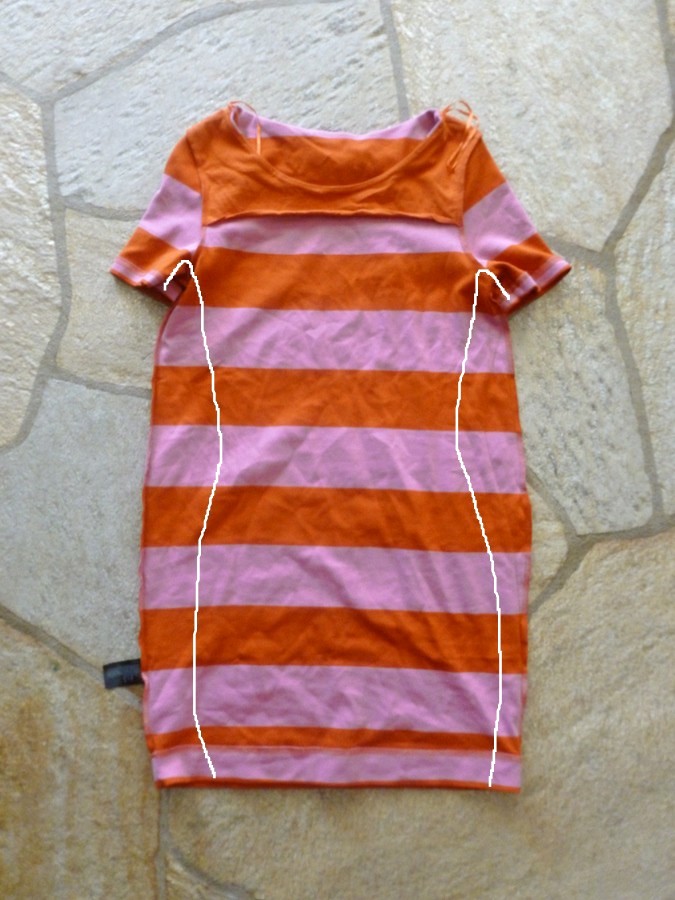
I got this dress from H&M almost a year ago but never wore it since it’s such an unflattering shape(and this is a size small!). I tailored it not long ago(in just 10 minutes) and I wear it all the time now.
BEFORE:

AFTER:

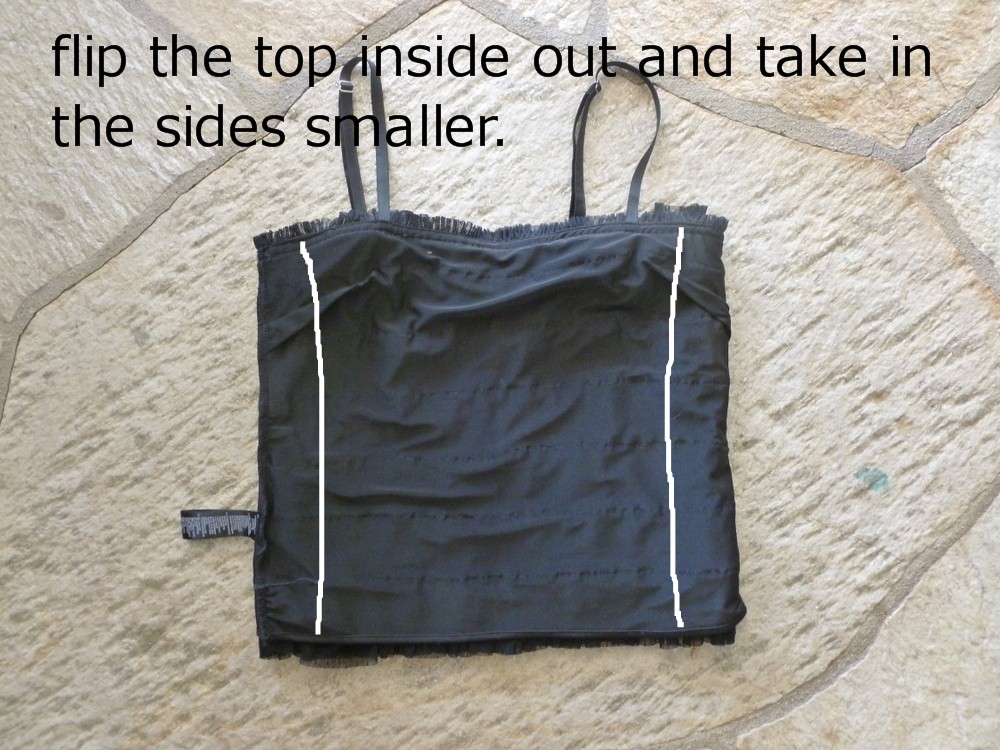
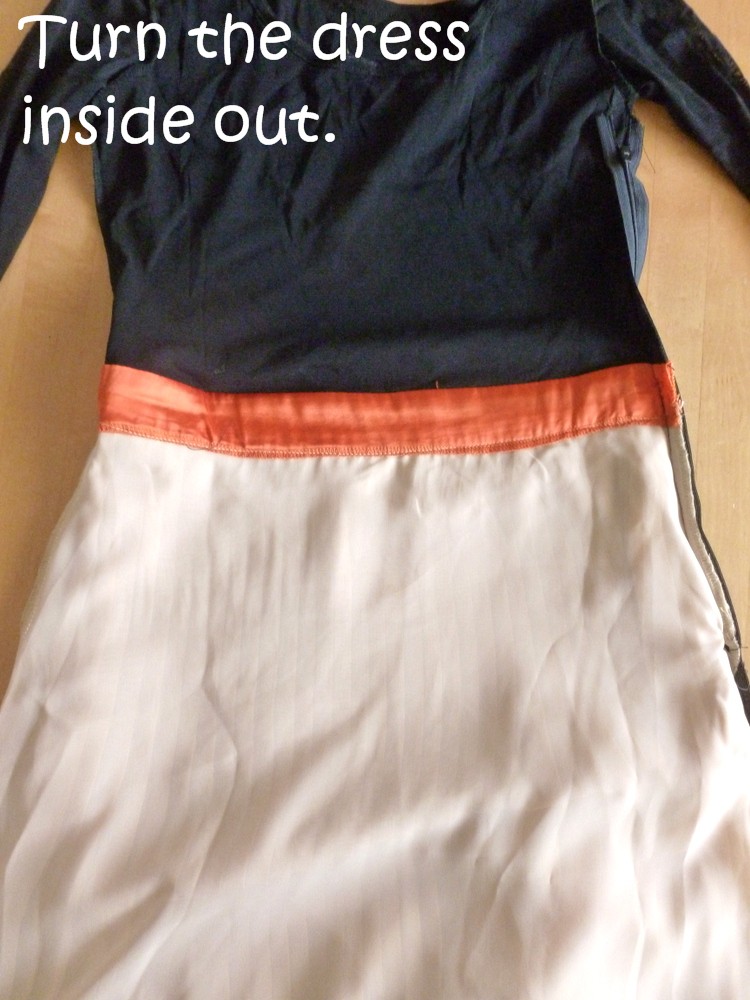
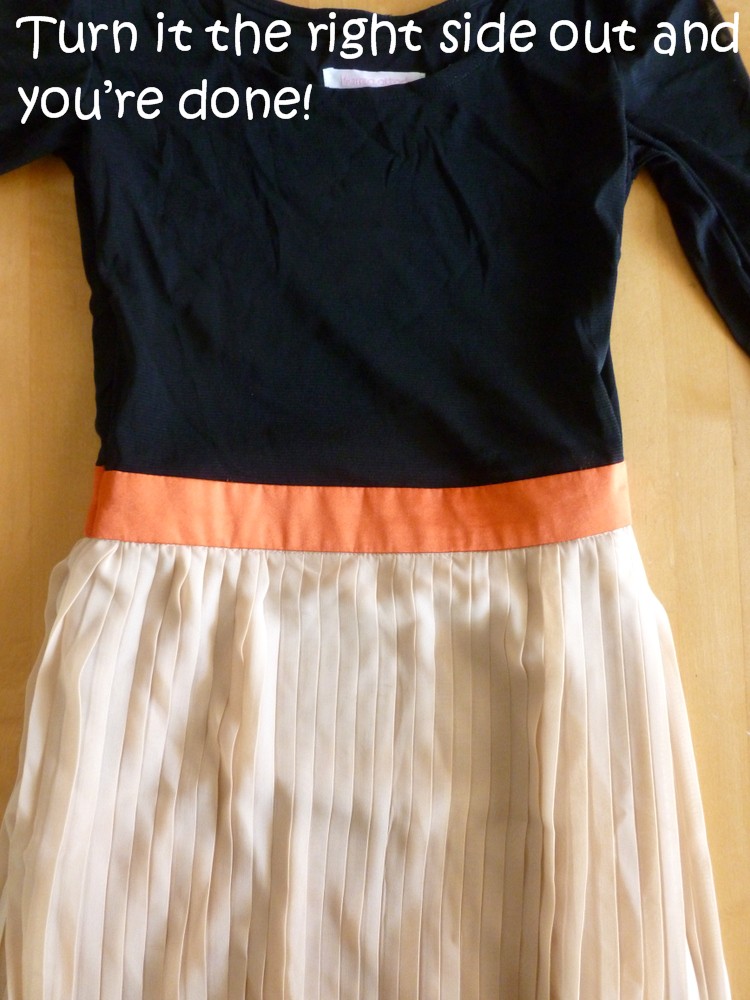
TO TAILOR:
There are two ways to sew:
1. Either lay a fit dress on top and trace, then sew,
2. Or try the dress on, pinch the sides and roughly estimate how many inches to take in, turn it inside out, roughly trace it, then sew. Start at the end of the sleeves, through the armholes, and down the dress.
*The second option is what I did.
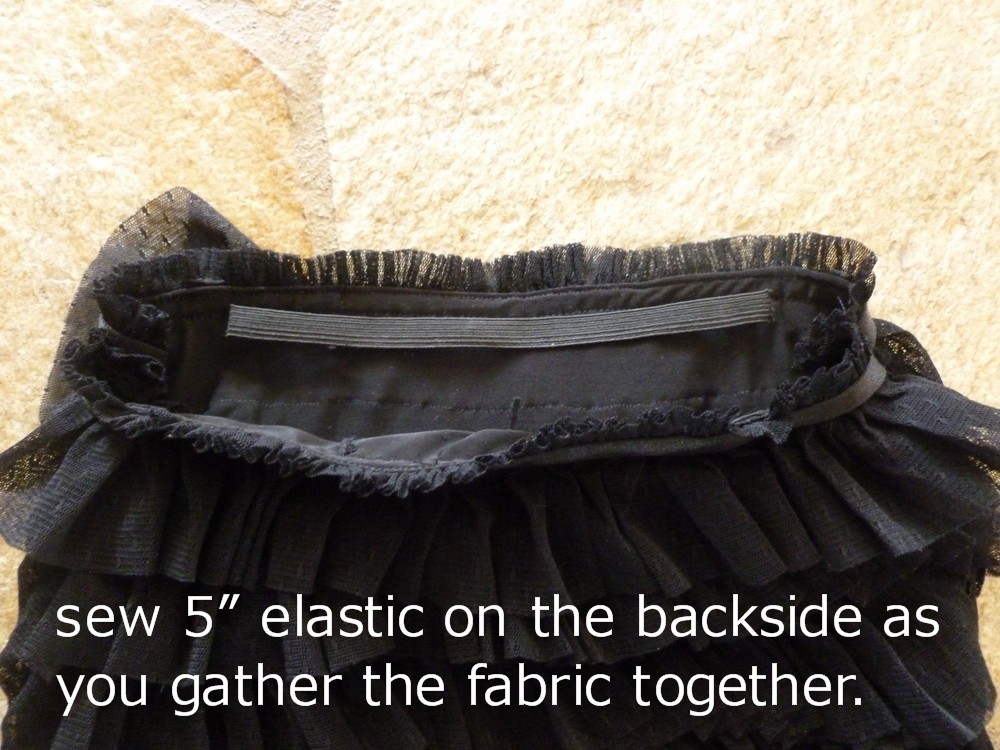
*I unpicked the bottom hem of the dress to lengthen it a little longer and I’m wearing an orange cotton skirt underneath.


Estimated time: 10 mins.
Project cost: FREE
Skill level: beginner
photos by Jessica Peterson.
check out “shop my closet” page!