• ABOUT
  • COLLABORATE
  • CONTACT

Life is Beautiful

Motherhood, Sewing, Family

  • SEW
  • HOME
  • PARTY
  • TRAVEL
  • SHARING MY HEART
  • SHOP

DIY: Make a Dress More Form Fitting

November 2, 2015~ SEWING

Make a Dress more Flattering
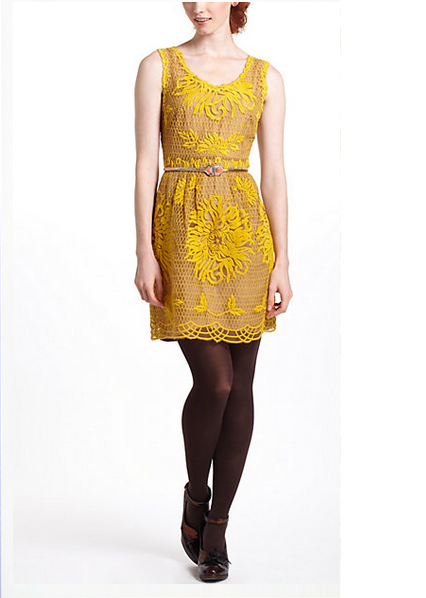
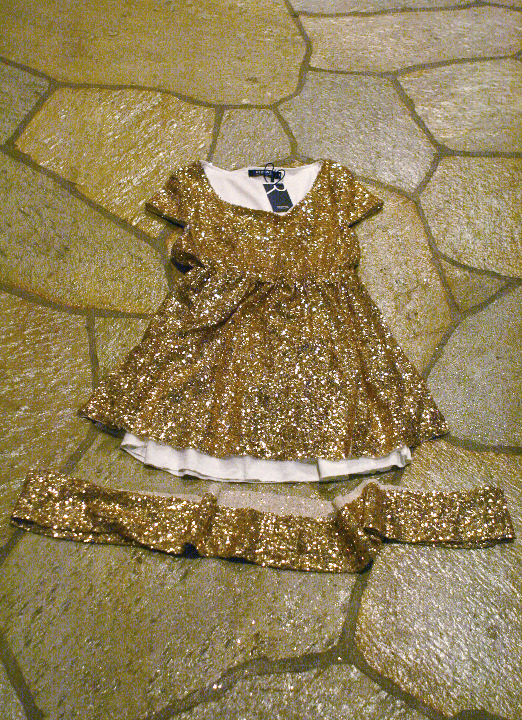
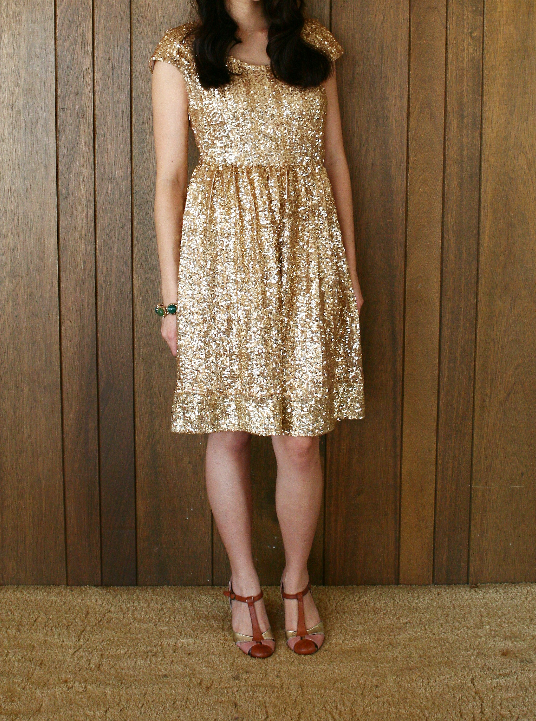
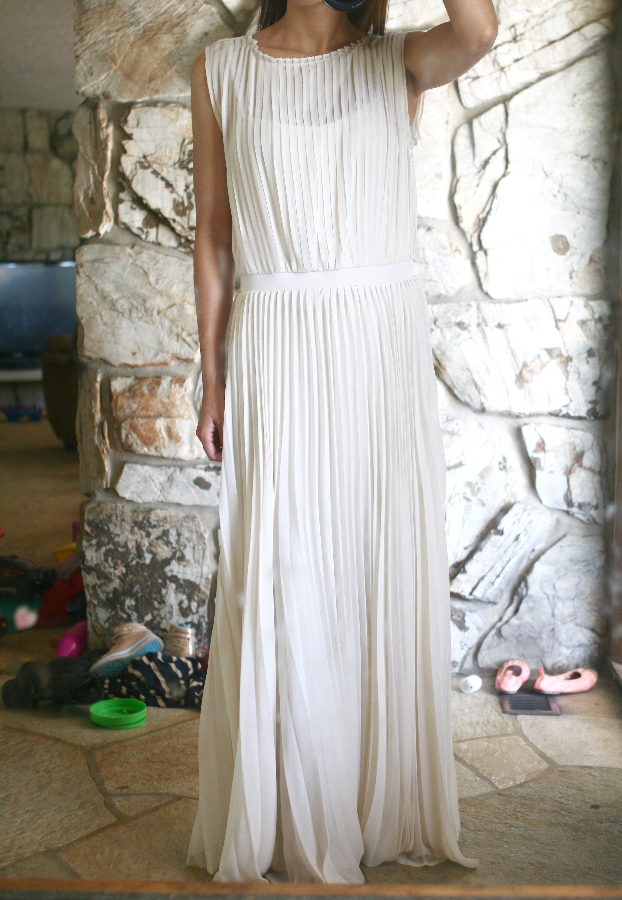
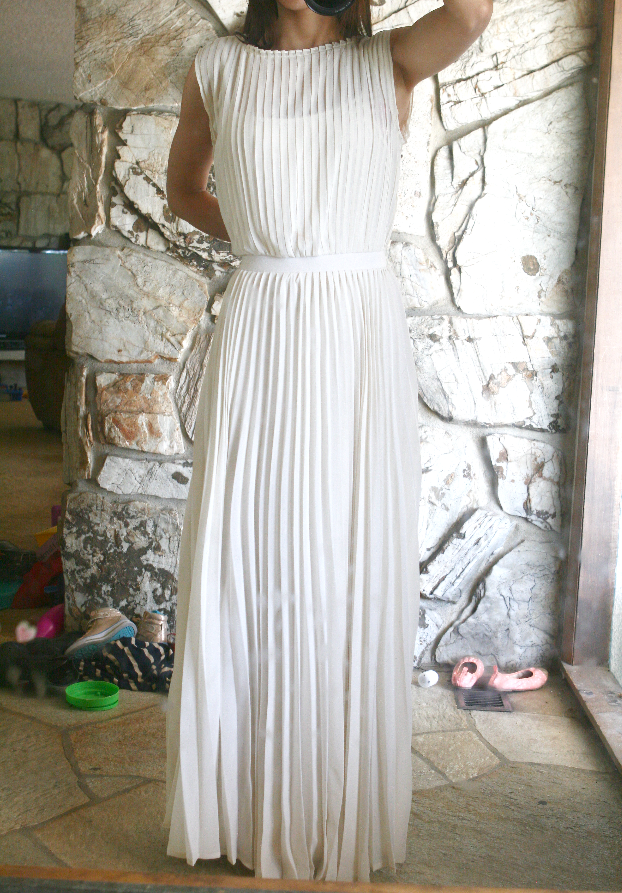
I got this cute dress from Chicwish. There’s nothing wrong with the dress and the quality is excellent, but being small and petite(I am 5′ 3″), the length and the size drowns me a little bit. So I did a quick alteration to make it more form fitting to my body.
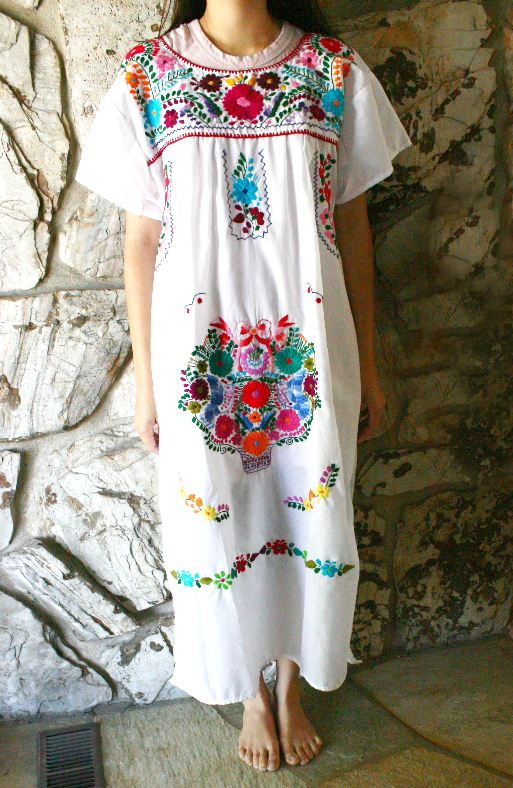
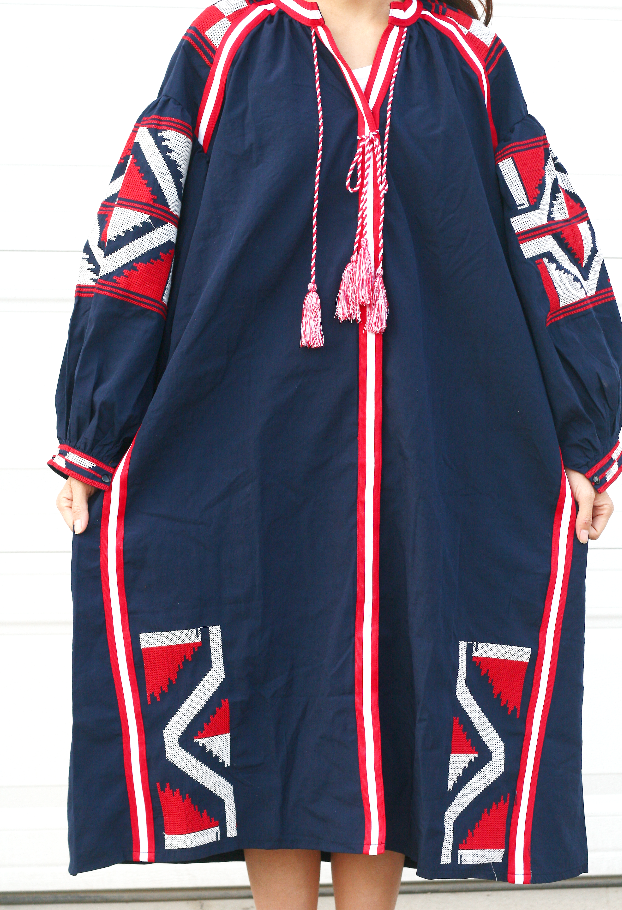
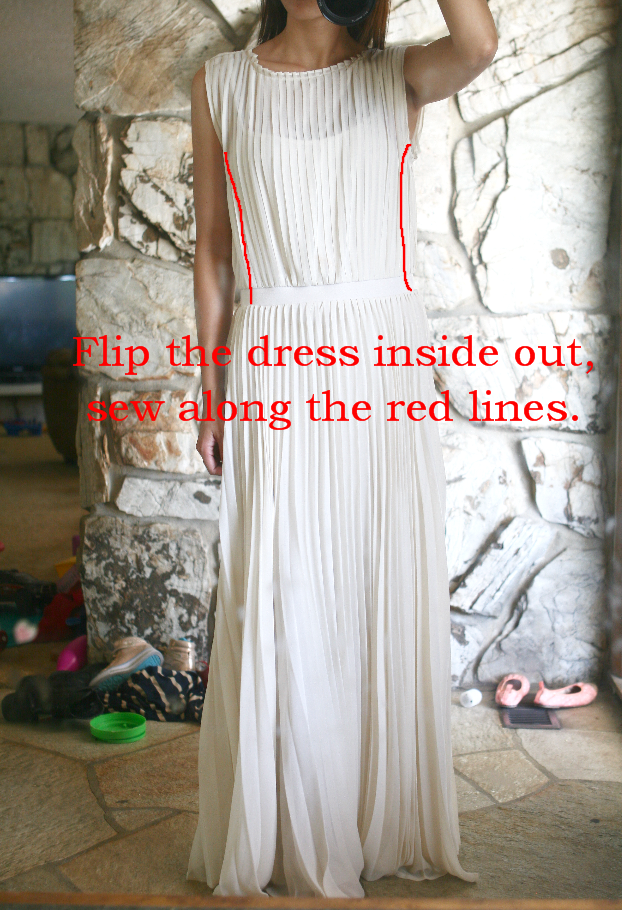
BEFORE:
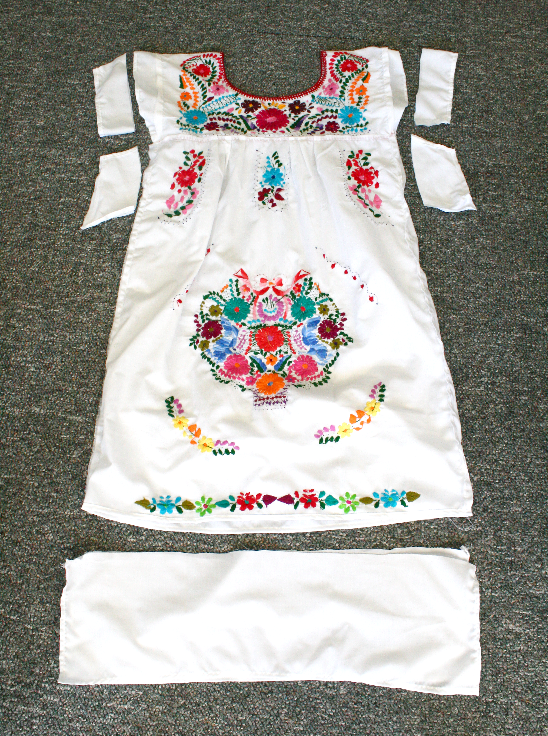
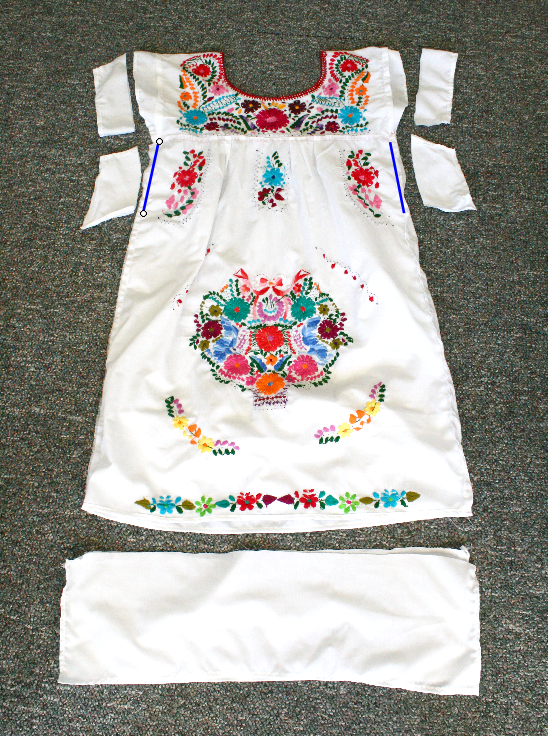
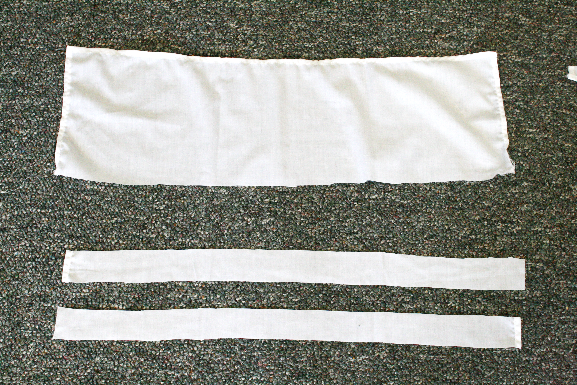
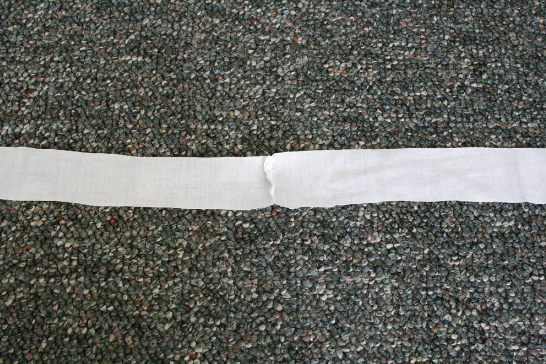
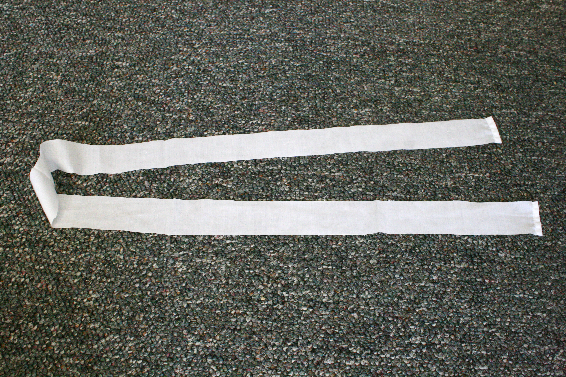
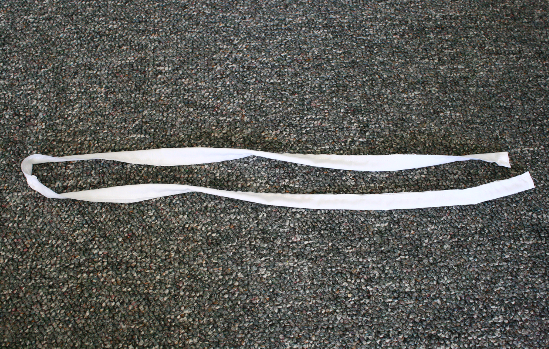
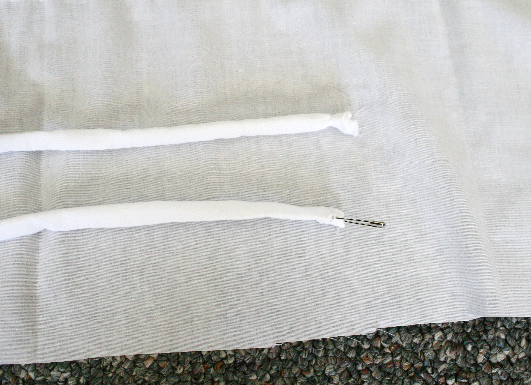
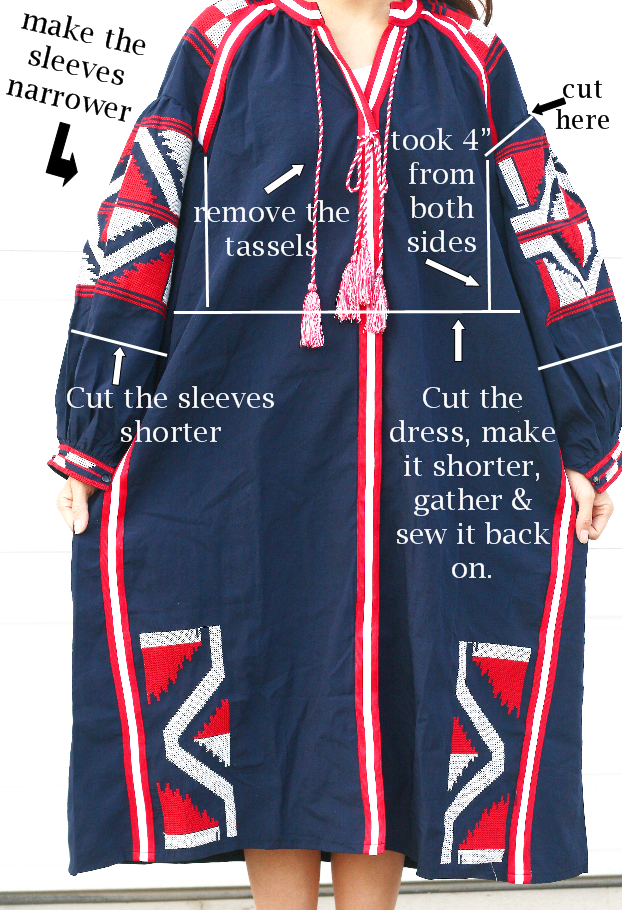
I took several step by step pictures but I must have deleted the pictures, darn it! So here’s the rundown on what I did to the dress.
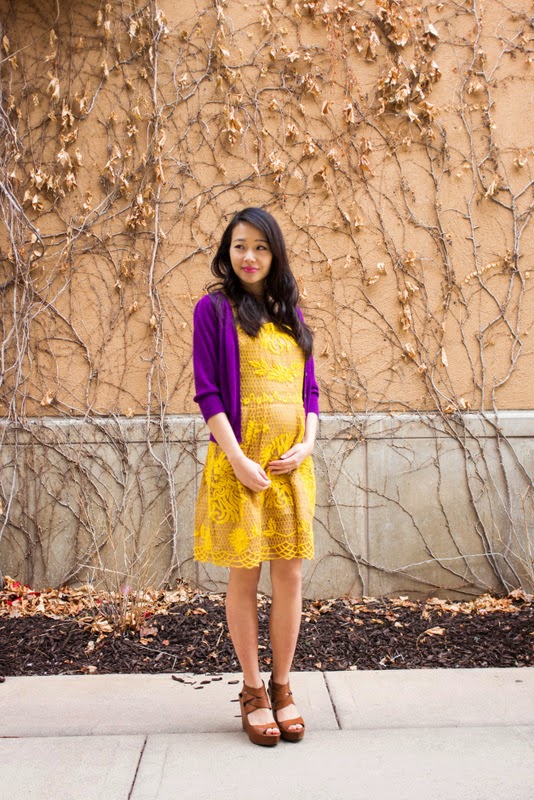
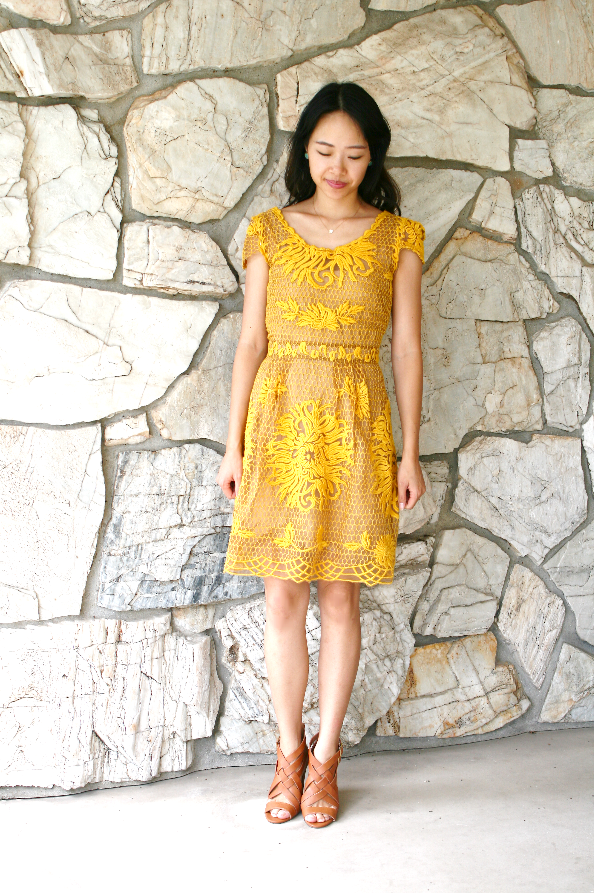
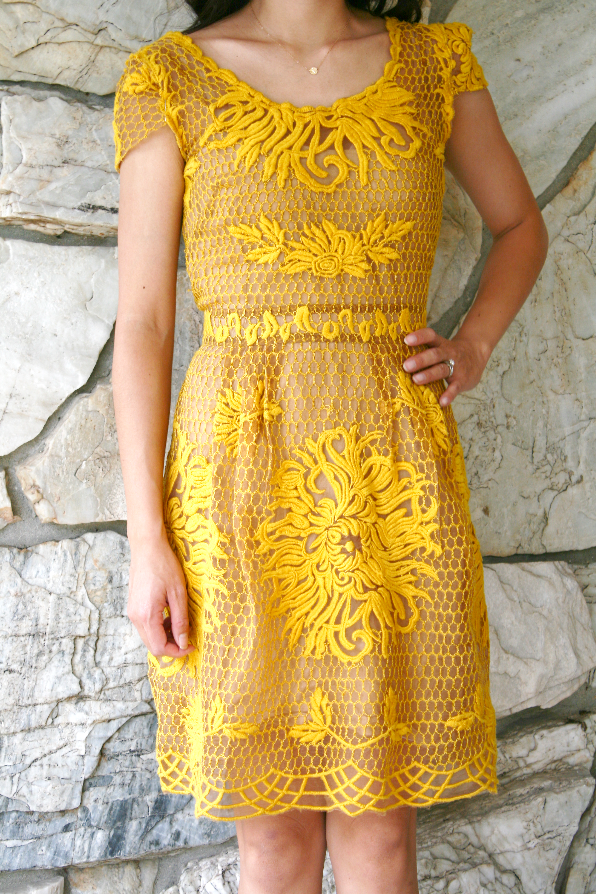
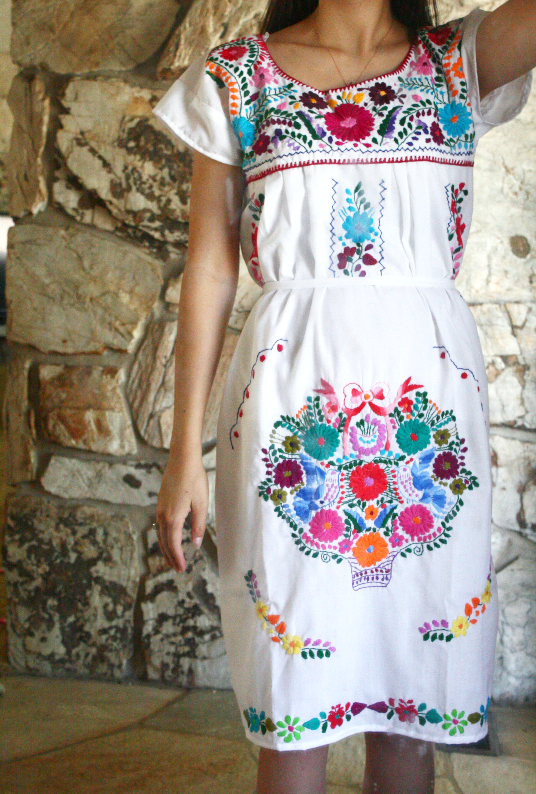
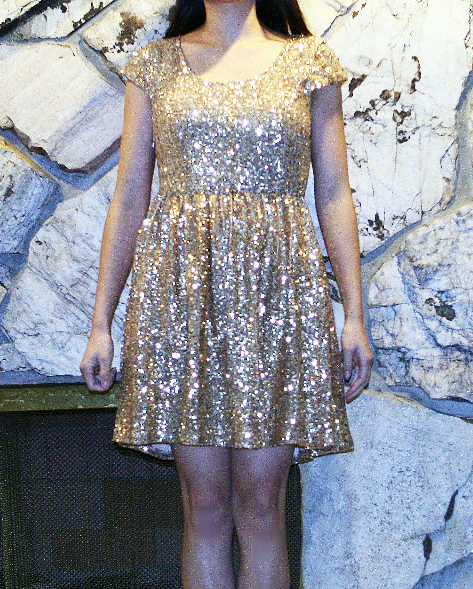
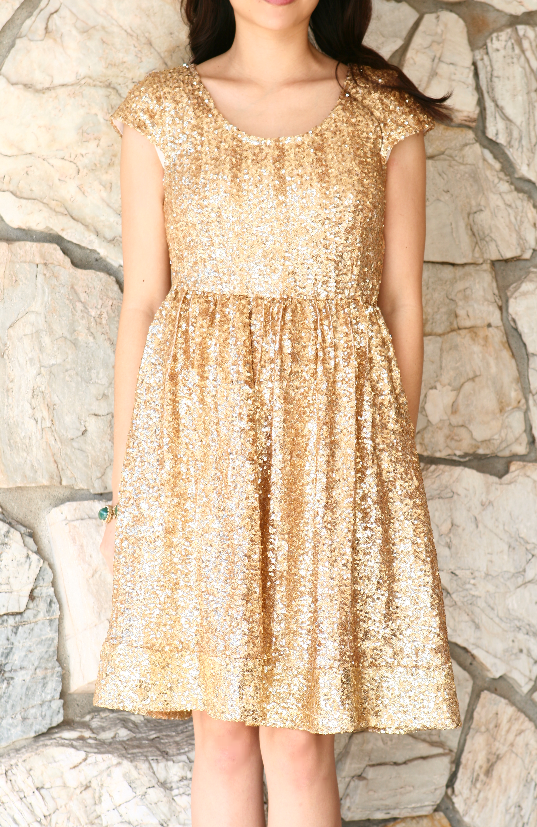
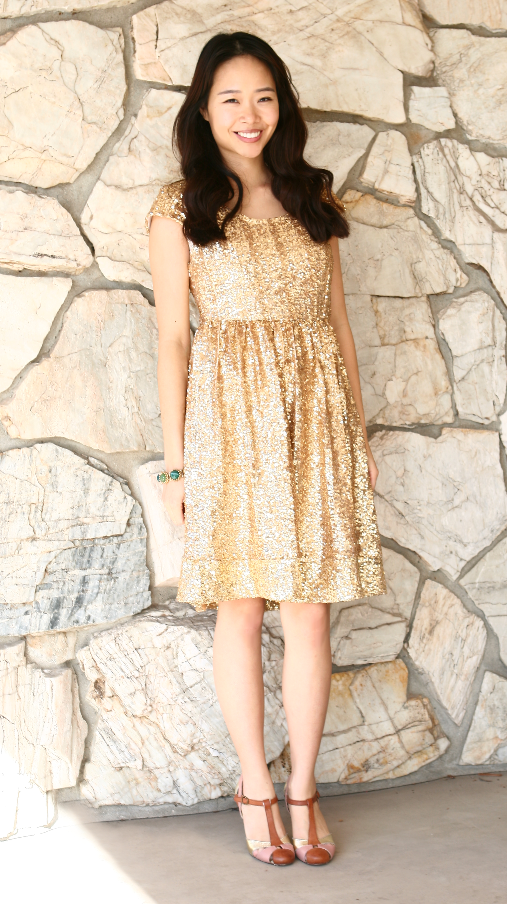
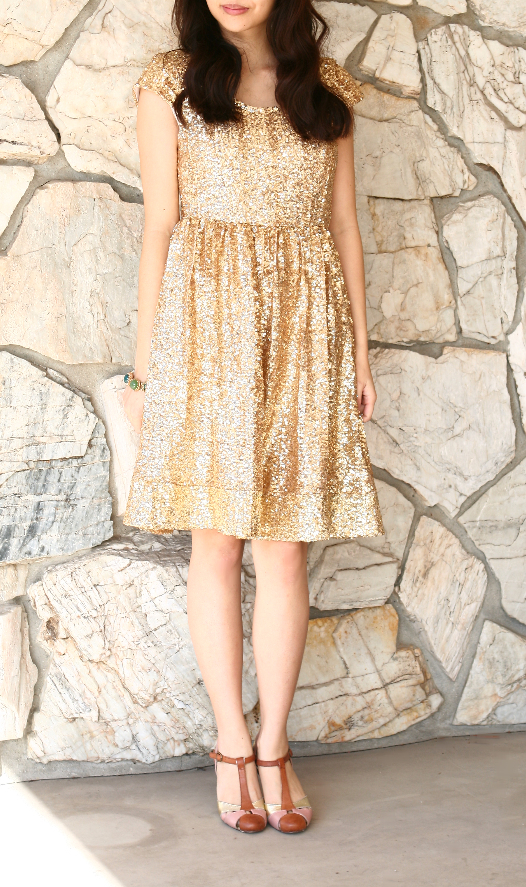
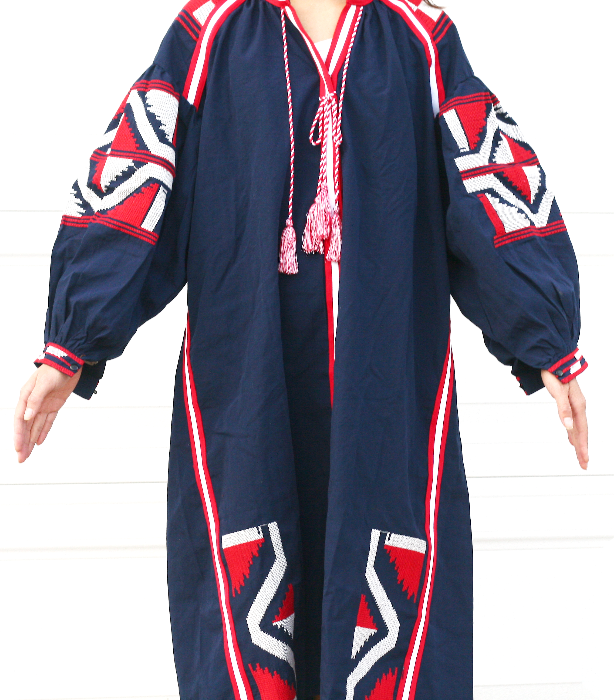
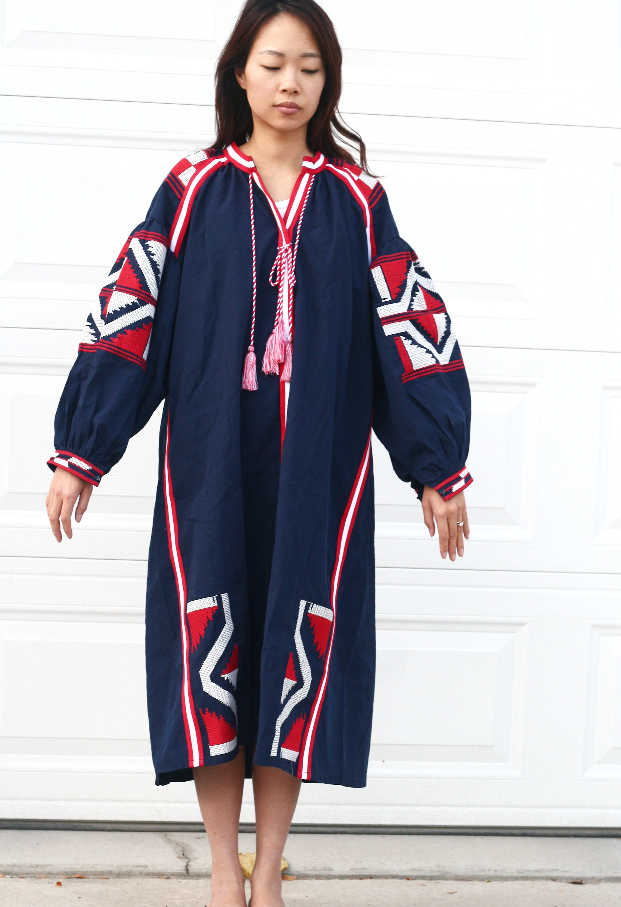
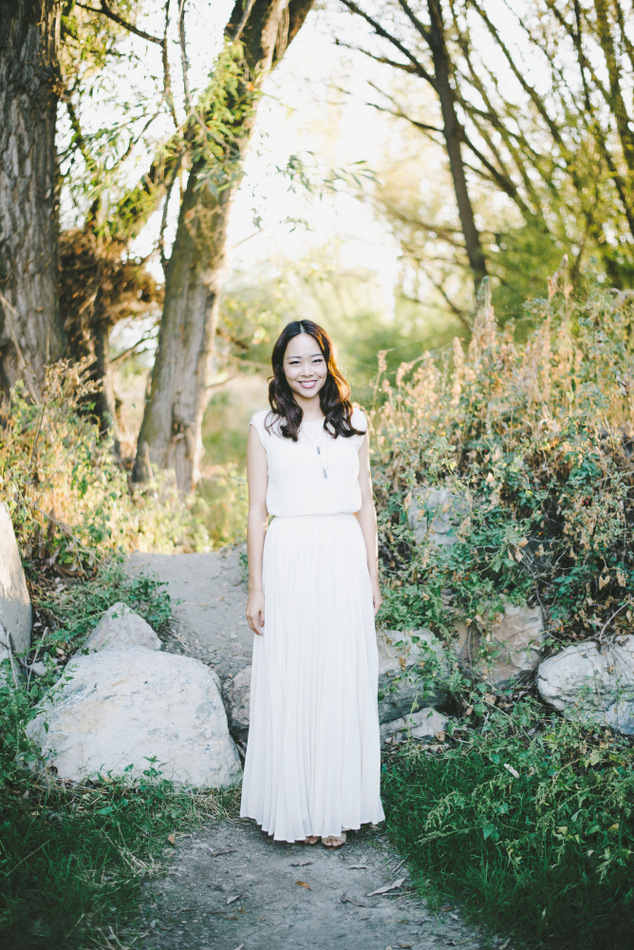
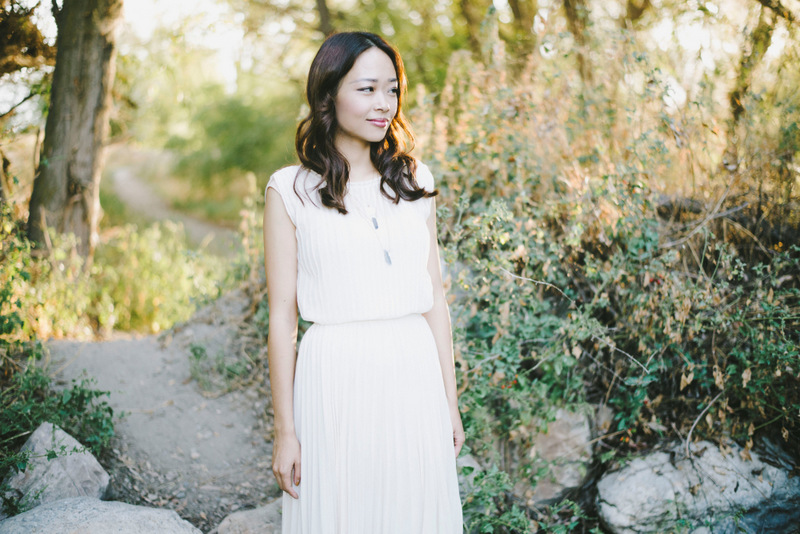
AFTER:
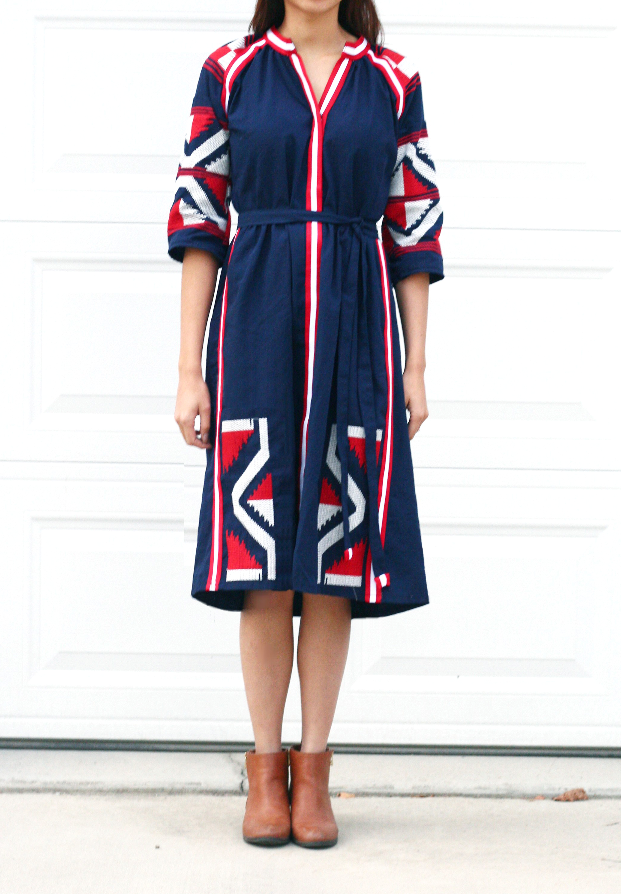
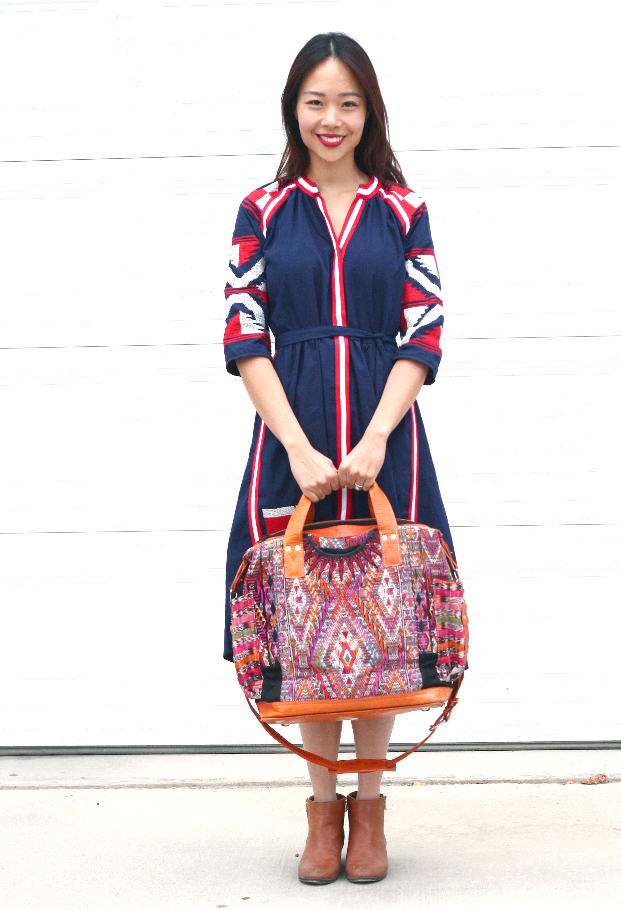
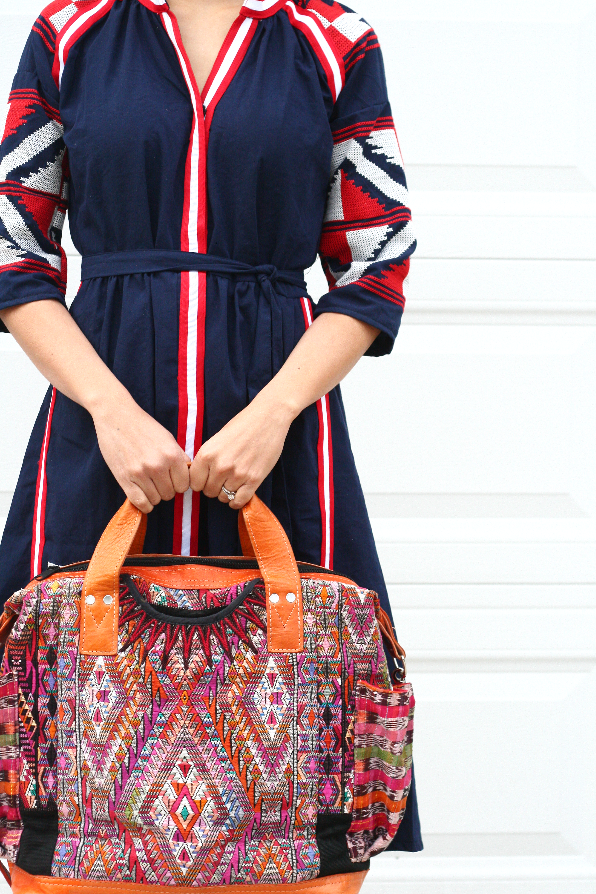
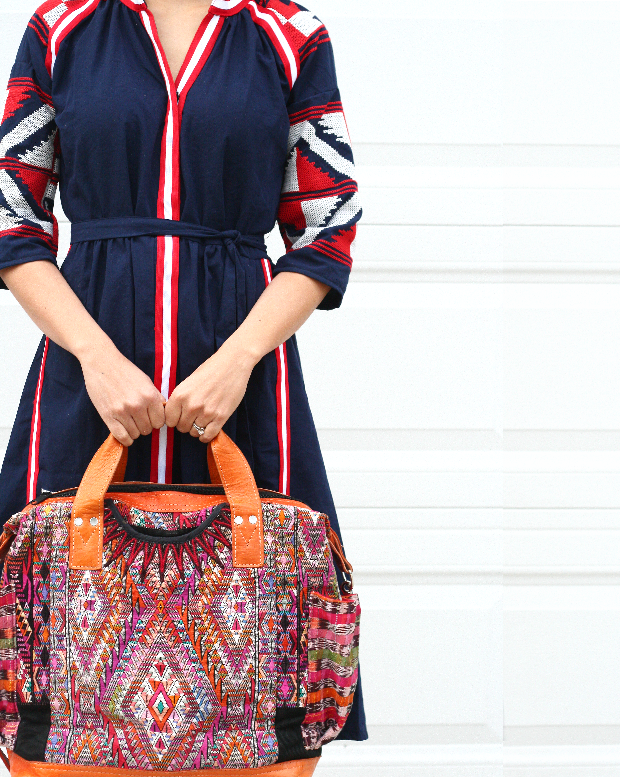
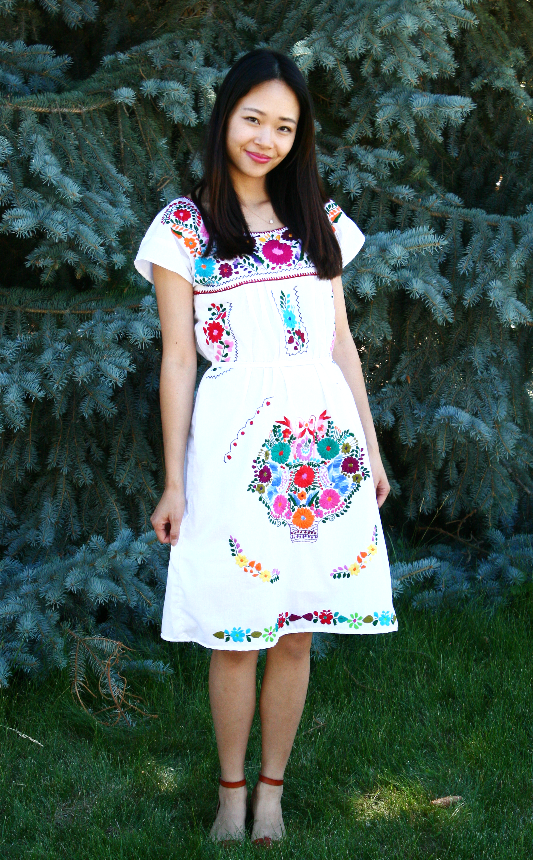
Dress | Bag: Nena & Co. | Boots: Old Navy
Estimated time: 40 mins.
Budget: $0.00
Skill level: Intermediate
I worked on this dress right before I was to go to a Kingdom & State and Nena & co,’s blogger party. I always think a project would take way less time than it actually turns out and I was 20 mins. late picking up my friend but I got it done! Tan, the owner of Kingdom & State is always awesome and I met the owner of Nena & co., Ali for the first time and she emits such positive energy and kindness, I love her company even more now than I already have before! As an entrepreneur myself, I love meeting women whom are so talented and are able to grow such a successful company. I only hope I can follow in her footsteps!
my favorite picks from Nena & Co.
0

TAGGED: DIY, DIY tailoring 4 Comments

5 Minutes DIY: How to make a pleated dress more fitted

October 26, 2015~ SEWING

Don’t you hate finding a dress you absolutely love and when you try it on, the fit just isn’t quiet right? I fell in love with this dress the moment I saw it and when I put it on, the waistband was too loose. I knew it would be a quick alteration so that didn’t stop me from purchasing it. I tell my friends they should all learn how to do quick alterations on their clothes so that it fits them better, instead of putting an item of clothing back in the rack in disappointment. Pleats are one of the easiest to alter, so don’t get intimidated!
So the waistband is just a bit big.
This is a better, more flattering fit!
So we want to make the waist look like from before

to an after like this.
And it’s very simple!
After:
Photos by Emily Cooper Photography
Instructions:
1. Try on the dress and stand in front of a mirror.
2. Pinch the sides with your fingers and measure how much you need to take in. (I took in 1′ from each side)
3. Flip the dress inside out and staring at the armpit, sew 1″ in to the end of the waistband. Repeat on the other side.
Estimated time: 10 mins.
Budget: $0.00
Skill level: A confident beginner
shop similar:
!function(d,s,id){var e, p = /^http:/.test(d.location) ? ‘http’ : ‘https’;if(!d.getElementById(id)) {e = d.createElement(s);e.id = id;e.src = p + ‘://’ + ‘widgets.rewardstyle.com’ + ‘/js/shopthepost.js’;d.body.appendChild(e);}if(typeof window.__stp === ‘object’) if(d.readyState === ‘complete’) {window.__stp.init();}}(document, ‘script’, ‘shopthepost-script’);

JavaScript is currently disabled in this browser. Reactivate it to view this content.
Pin it!
0

TAGGED: 5-min.DIY, DIY, DIY tailoring 14 Comments

DIY: add sleeves and alter an Anthropologie Honeycomb Dress

August 4, 2014~ SEWING

When I was 3 months pregnant last year, I saw this Honeycomb lace dress from Anthropologie and fell in love with it.  I loved it so much that I didn’t want to wait until I had the baby and lost the weight, I wanted to wear it right then!  So I got the dress in several sizes larger and wore it during my pregnancy, and planned to alter it later on after I had the baby, and add on the sleeves.

Before: 
After:
I’m kicking myself for not taking a picture of how the dress looked after I lost the pregnancy weight.  But just imagine it baggy and sleeveless.

I altered the sides and with the extra fabric from cutting the sides, I made the sleeves.  The sleeve tutorial can be found here, and how to alter the sides can be found here.
What you’ll need:
  • An oversized dress
  • Matching thread
  • Scissors
  • Sewing machine or needle

Directions:

Sleeve tutorial: here
Altering the sides tutorial here
Estimated time: 1 hour
Budget: almost nothing
Skill level: beginner
3

TAGGED: Anthro DIY, DIY, DIY tailoring 13 Comments

DIY: Make a muumuu type dress into a fitted dress

July 2, 2014~ SEWING

Before:
I got this cute dress from the Flor De Luz Shop and I think it’s cute without any alterations.  But being petite, the length wasn’t the most flattering on my body shape or height.  So I altered it to make it more flattering.
After:
Instructions:
1. Cut off the extra fabric on the sleeves and the bottom of the dress.  Hem the bottom.
2. Sew the area right below the arm hole(lined in blue) closed.  Hem the sleeves.
3. Using the extra fabric that you cut off from the bottom of the dress, cut two 1 1/2″ wide strips.
4. Sew the right sides of the strips together to make one long strip.

5. Fold the strip in half width-wise and sew the edge together.

6. Safety pin one edge of the strip and put it inside the strip.  
Push the safety pin all the way across to the other side to flip the strip inside out.  
Now you have your belt!  

What you’ll need:
-A dress
-matching thread
-needle or sewing machine
-scissors
-safety pin
Directions:
1. Cut off the extra fabric on the sleeves and the bottom of the dress.  Hem the bottom.
2. Sew the area right below the arm hole(lined in blue) closed.  Hem the sleeves.
3. Using the extra fabric that you cut off from the bottom of the dress, cut two 1 1/2″ wide strips.
4. Sew the right sides of the strips together to make one long strip.
5. Fold the strip in half width-wise and sew the edge together.
6. Safety pin one edge of the strip and put it inside the strip.  Push the safety pin all the way across to the other side to flip the strip inside out.  Now you have your belt!  
Estimated time: 35 minutes
Budget: just the cost of the dress
Skill level: beginner
2

TAGGED: DIY, DIY tailoring 13 Comments

DIY: lengthening a mid-thigh dress to knee length

February 19, 2014~ SEWING

before/after
One way to lengthen a dress is to buy two of the same dresses and using the fabric of one of the dress to add it to the other dress.  This might be the only option for you if you can’t find any similar fabric to buy to add to the length, or you want it exactly the same fabric, but can’t find it.  I know no one really wants to buy two of the same dress since you’re paying twice the money for it, but use the cut up dress for something!  I plan on making a tiny version of the same dress for my girls, or you can also make the top into a peplum top like I did here.
BEFORE:
I got the gold sequin dress here.
1. Buy two of the same dresses.

2. cut out the bottom hem of the dress, as much as you desire to add to the other dress.

3. Turn the dress inside out and sew the extra fabric to the hem of the dress the right sides together.
AFTER:
gold dress | shoes: Seychelles | bracelet: Anthropologie
What you’ll need:
-two identical dresses
-matching thread
-needle or sewing machine
-scissors
Directions:
1. Buy two identical dresses.
2. cut out the bottom hem of the dress, as much as you desire to add to the other dress.
3. Turn the dress inside out and sew the extra fabric to the hem of the dress the right sides together.  
Estimated time: 15 mins,
Budget: depends on your dress(mine was $95 for both)
Skill level: beginner
0

TAGGED: DIY, DIY tailoring 12 Comments

  • 1
  • 2
  • 3
  • 4
  • Next Page »
cutmypic
Hello! My name is Sarah and I am so happy to have you here! Here you'll find DIY sewing, DIY home building & decor, honest and vulnerable posts of motherhood and snippets of my family. We are building our dream house and will update you regularly on our whole process from start to finish and I am also starting a mother-daughter sewing series. So I hope you stay awhile!

BLOG ARCHIVES

SEARCH

JOIN THE LIST

- THEME BY ECLAIR DESIGNS - Web Hosting By RFE Hosting -