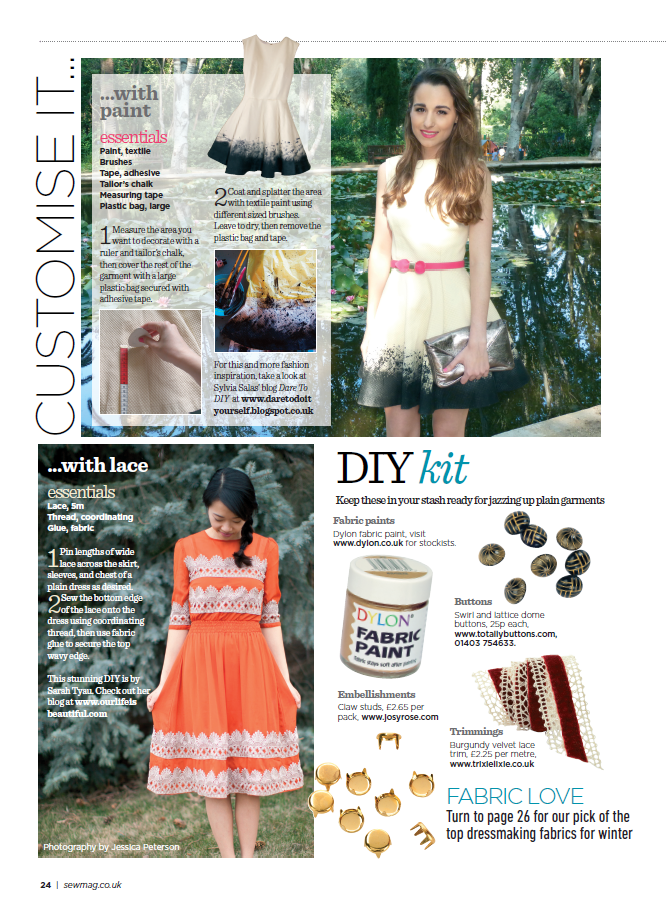
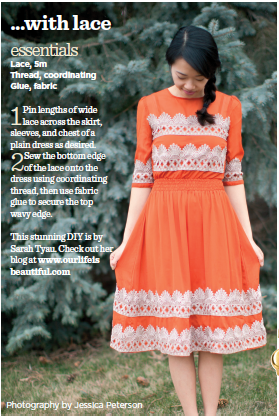
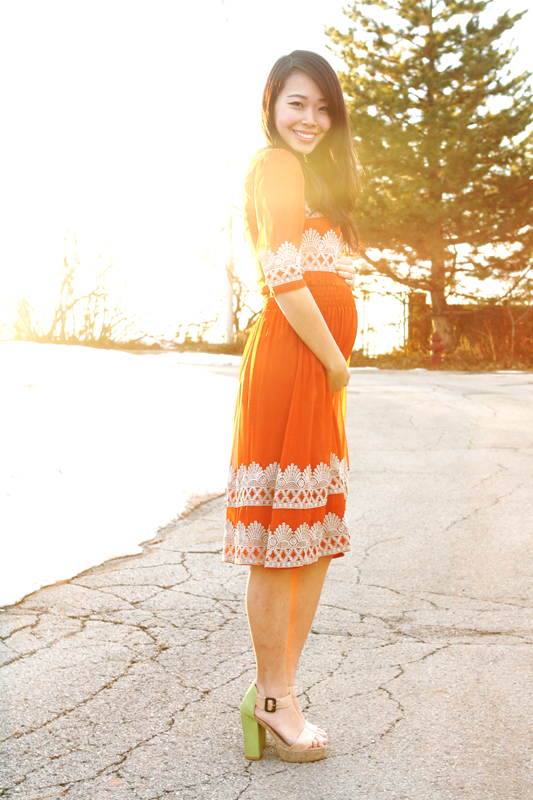
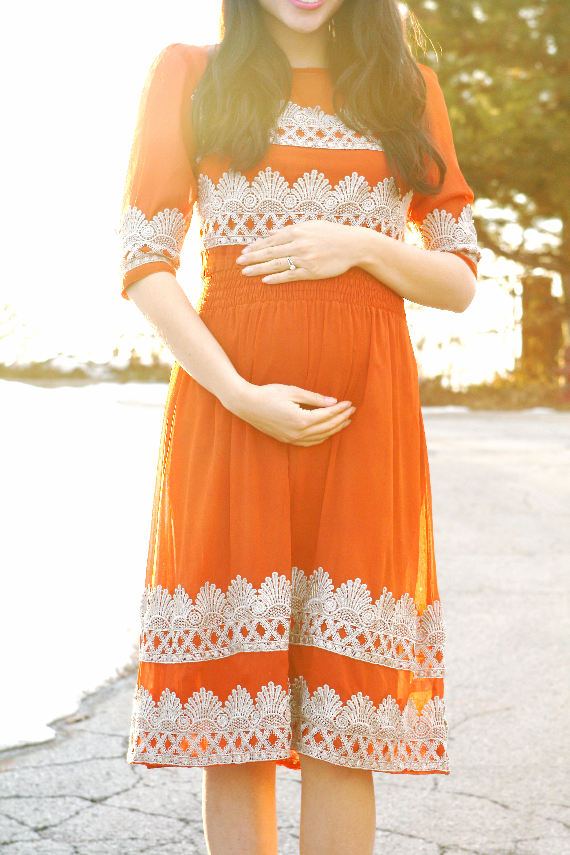
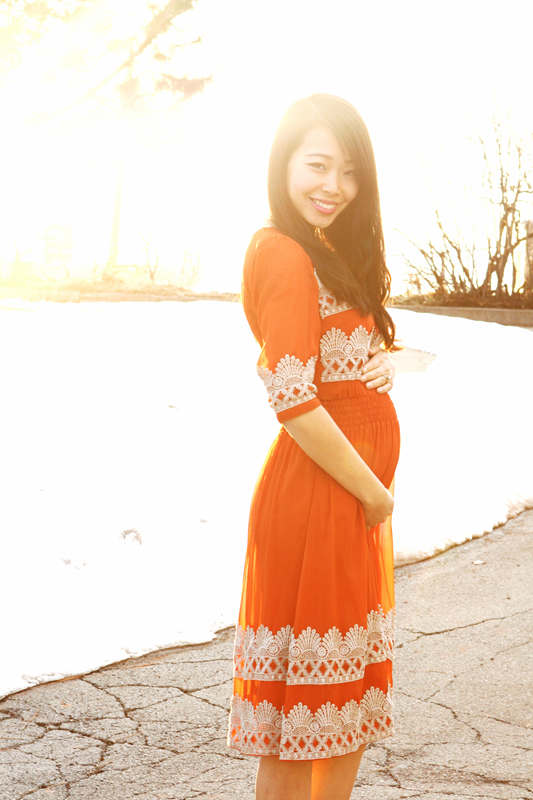
My Anthropologie Tangerine Flicker Dress DIY was featured in Sew Magazine, a sewing magazine published in the UK. To view the DIY for this dress click here. To view the full issue, click here. Thank you Sew Magazine!
Motherhood, Sewing, Family
I was featured in two great websites recently, check it out!


Sew Dang Cute, a cute craft blog featured me as one of her top 5 “get inspired” favorites! She has craft link parties every week where you post the crafts you’ve been working on and this was my first time participating in a link party anywhere and I was so excited to see mine on there!
Check it out here! Thank you Sew Dang Cute!
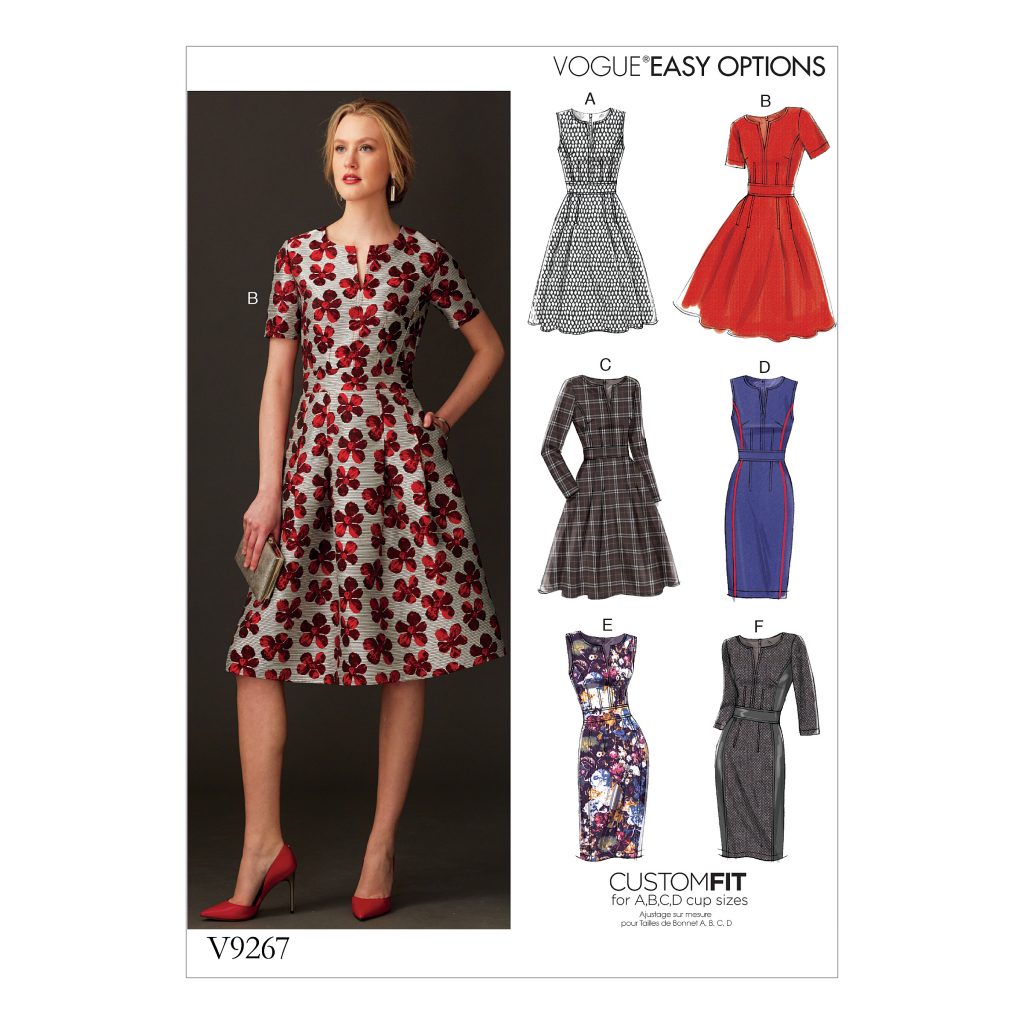
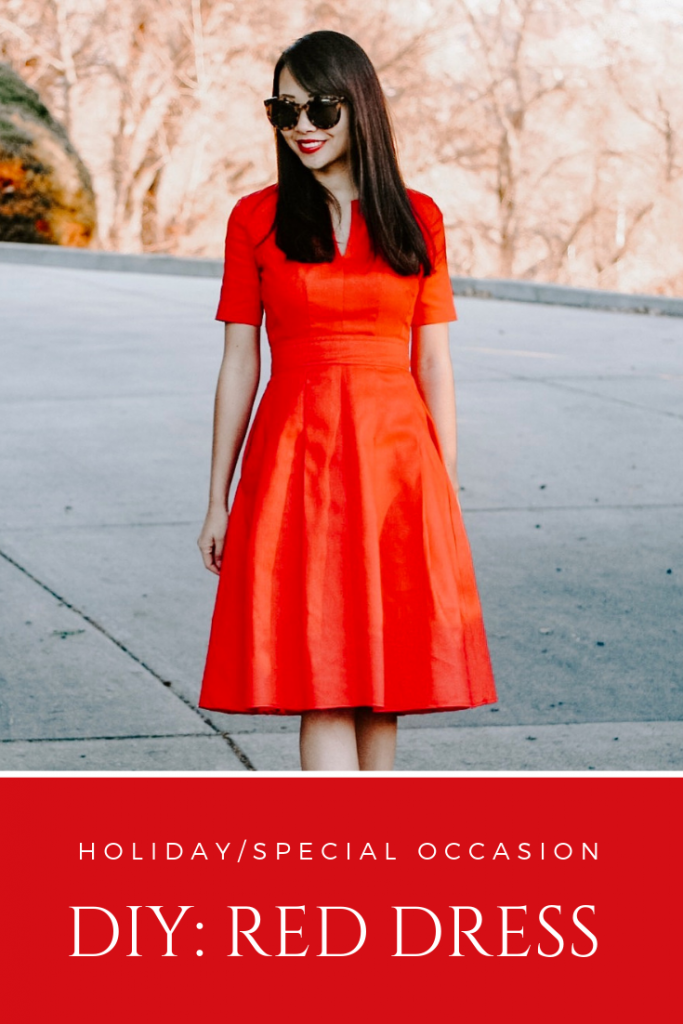
Red Holiday dress using the Vogue pattern V9267
Once in awhile, I make clothes from scratch, instead of refashioning. See what I made for my Holiday dress this year!
This DIY project was created on behalf of JOANN.

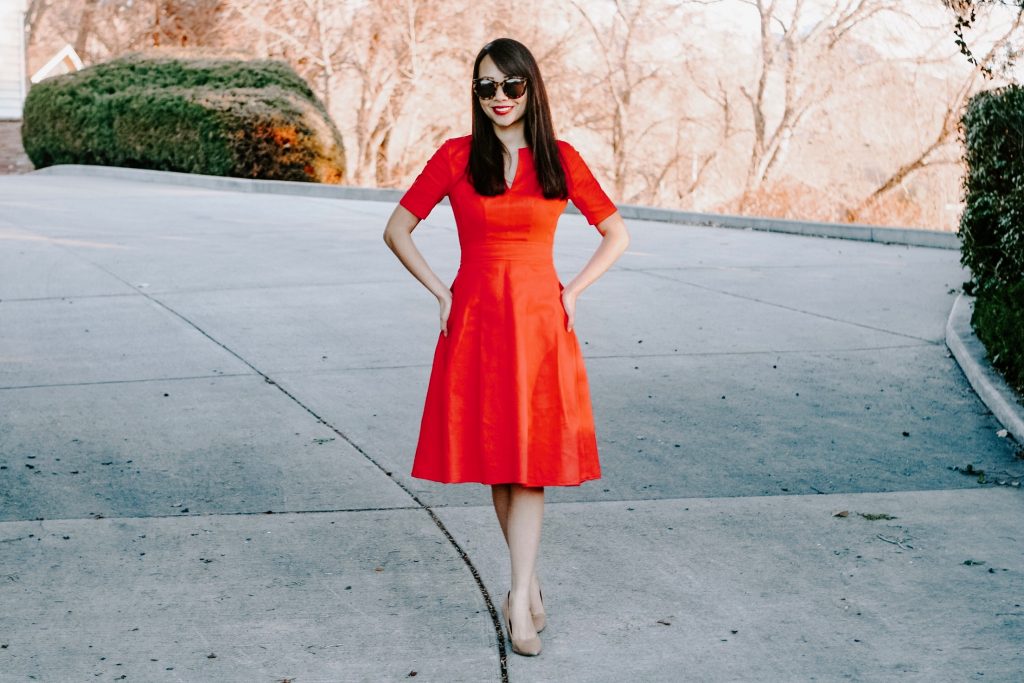
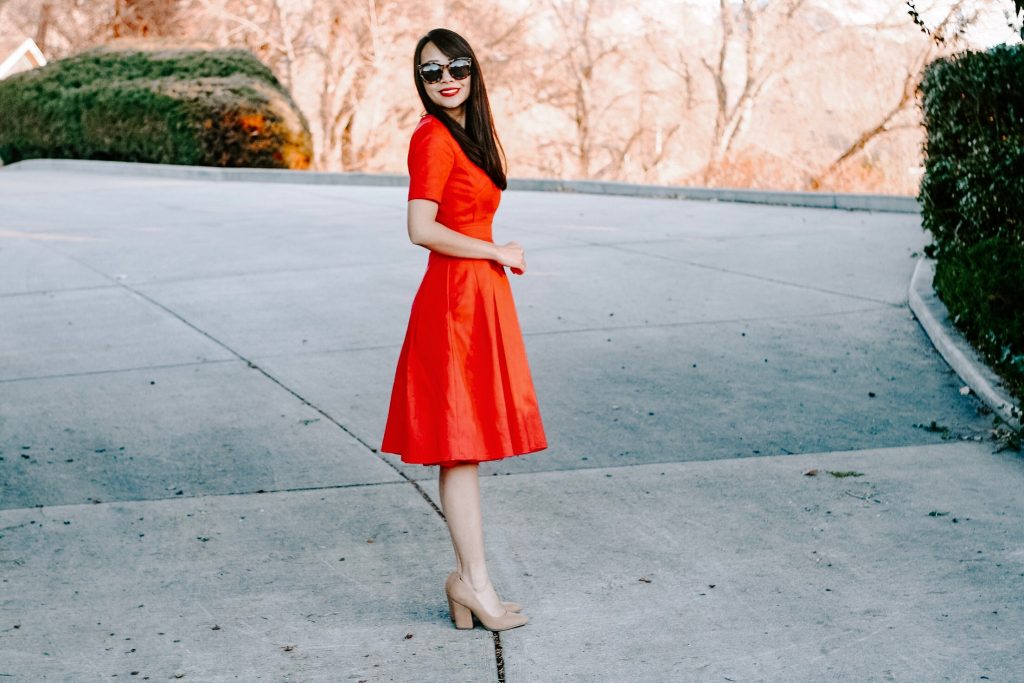
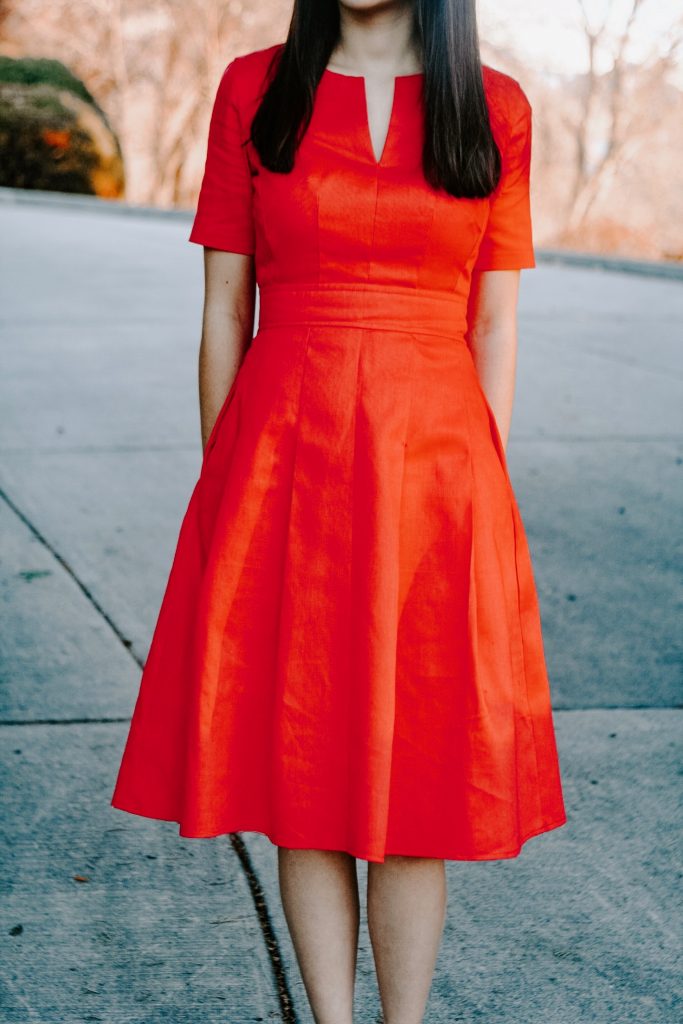
I wanted to make a classic red dress that I could wear for Christmas this year and found the most perfect pattern and fabric from JOANN. I also wanted the dress to be versatile enough to wear for other special occasions such as Valentine’s and the 4th of July, as well as to church or weddings, or wherever I fancy. When I saw this Vogue pattern, I knew it would be perfect for what I had envisioned.
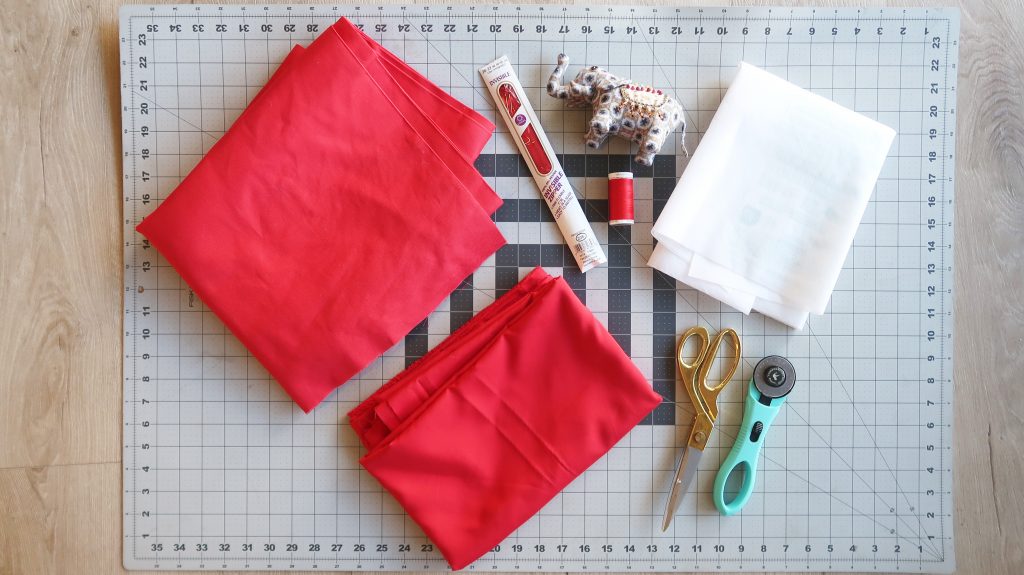
Supplies:
2-2 1/2 yard of fabric(mine is from the outdoor fabric section)
*optional: cutting mat and rotary cutter
The pattern was well designed and it’s a beautiful pattern. My only problem was with the arm hole pattern. I cut the pattern and followed instructions perfectly but when I tried it on, the arm opening was so tight and small, I couldn’t even lift up my arms. So I had to seam-rip the sleeves, then I cut the arm hole opening a lot wider to match the length of the sleeve opening. This part took me a good extra 45 mins. so if you use this pattern, be aware. Make sure the arm hole opening matches with the sleeve opening.
Other than that, I really enjoyed following this pattern, it’s been a very long time, I would say at least 5 years since I sewed a dress from scratch using a pattern and surprisingly, I loved every process! Refashioning doesn’t require as much precision and detail as a dress like this so I learned a lot and I plan on sewing a lot more with patterns.
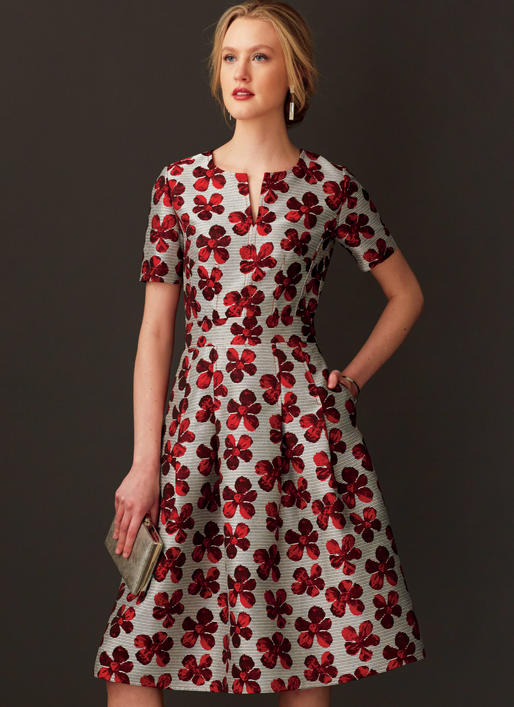
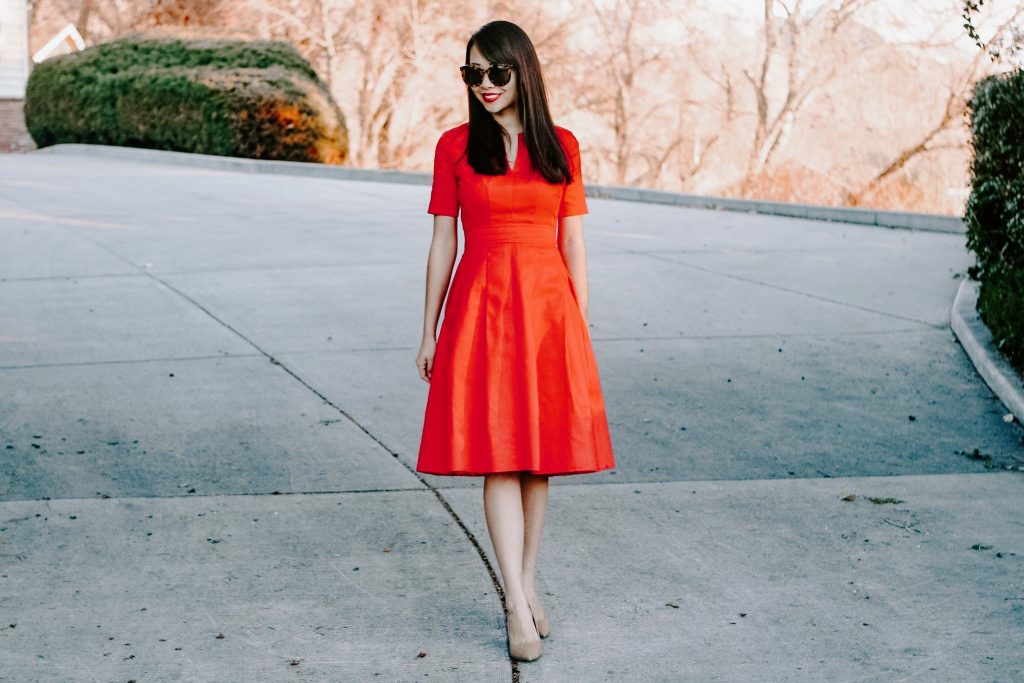
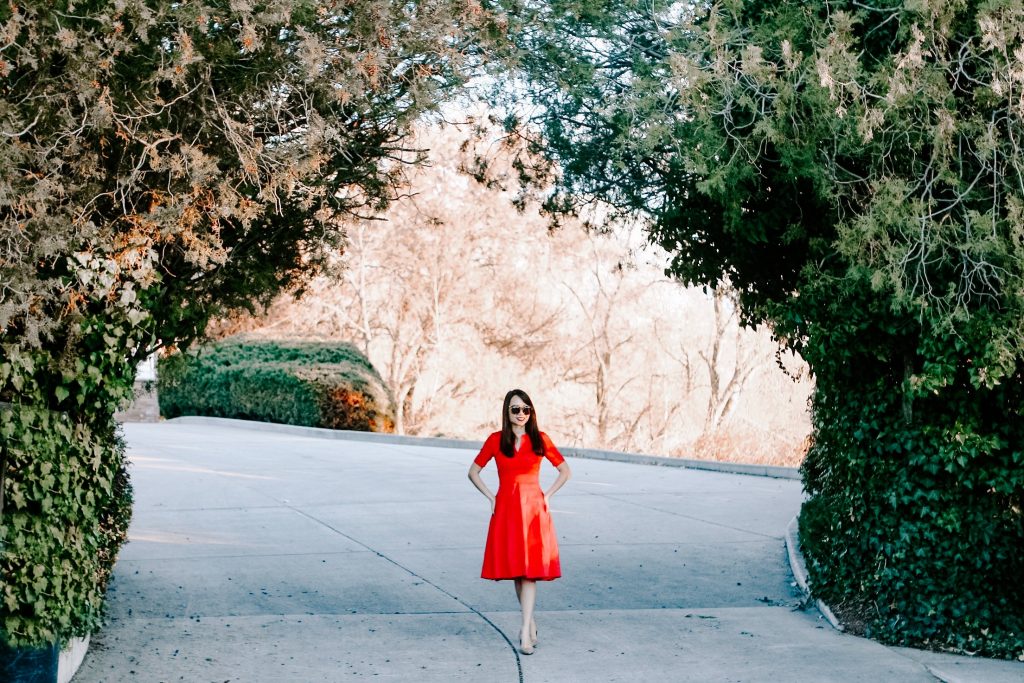
So here is the dress! The dress is a cherry red color but in these photos it looks more orange-red.

Estimated time: 5-6 hours
Budget: $30-$40
Skill level: Intermediate
Let me know what you think of this dress! As I stated in the supplies, I bought this fabric from the home decor section since I wanted a heavier, thicker material for this dress. I am excited to wear this to church for our Christmas program!
If you post a project on your Instagram that’s inspired by my tutorials, tag me at @sarahtyau in both the captions and the photo to be featured on my Instagram stories!
Pin & share!
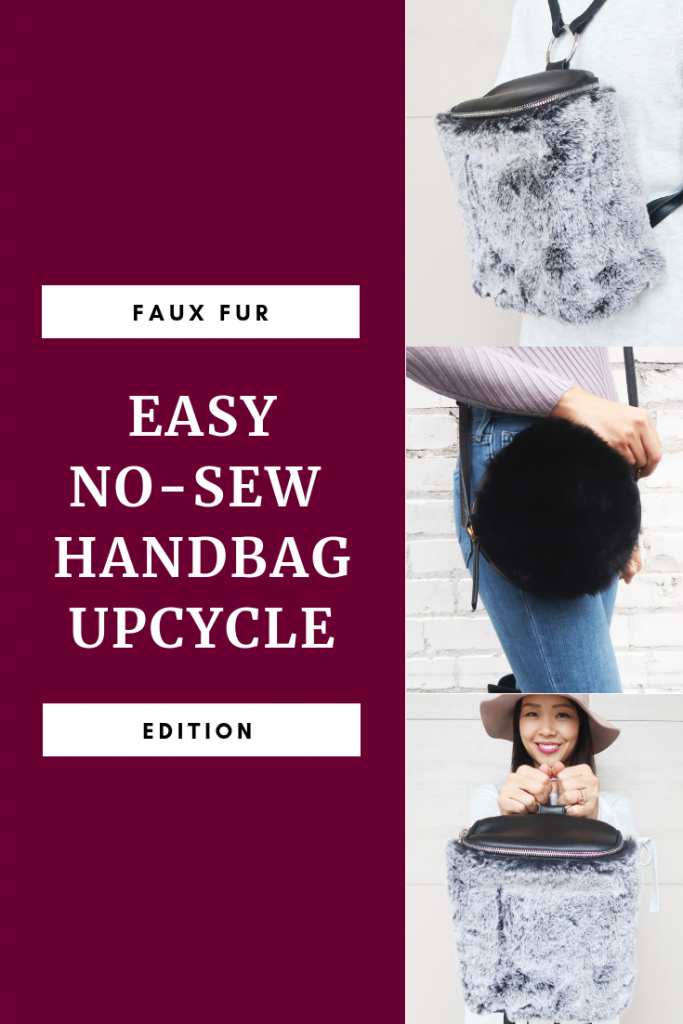
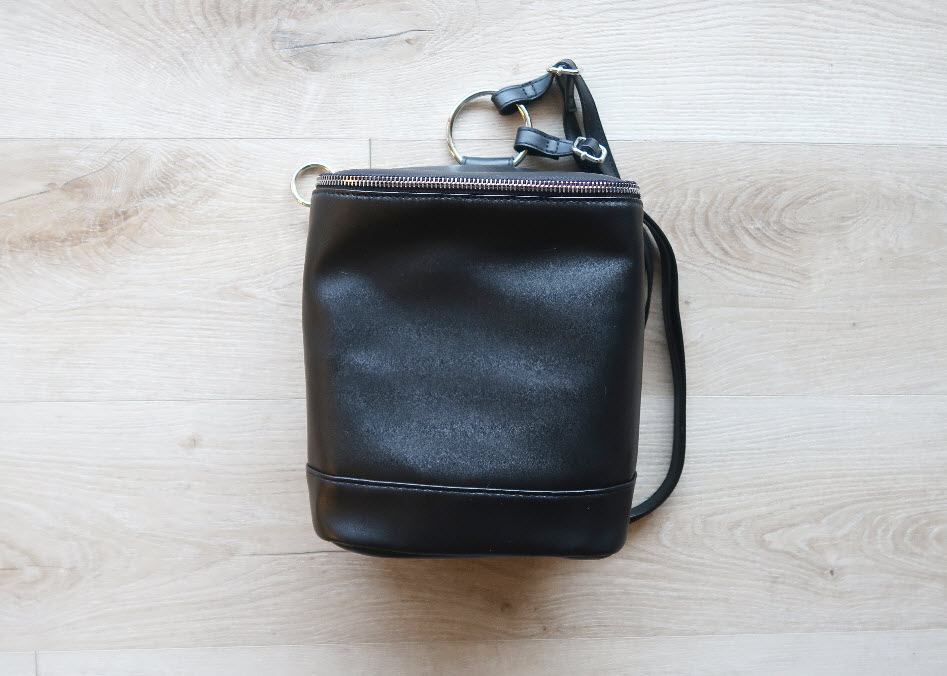
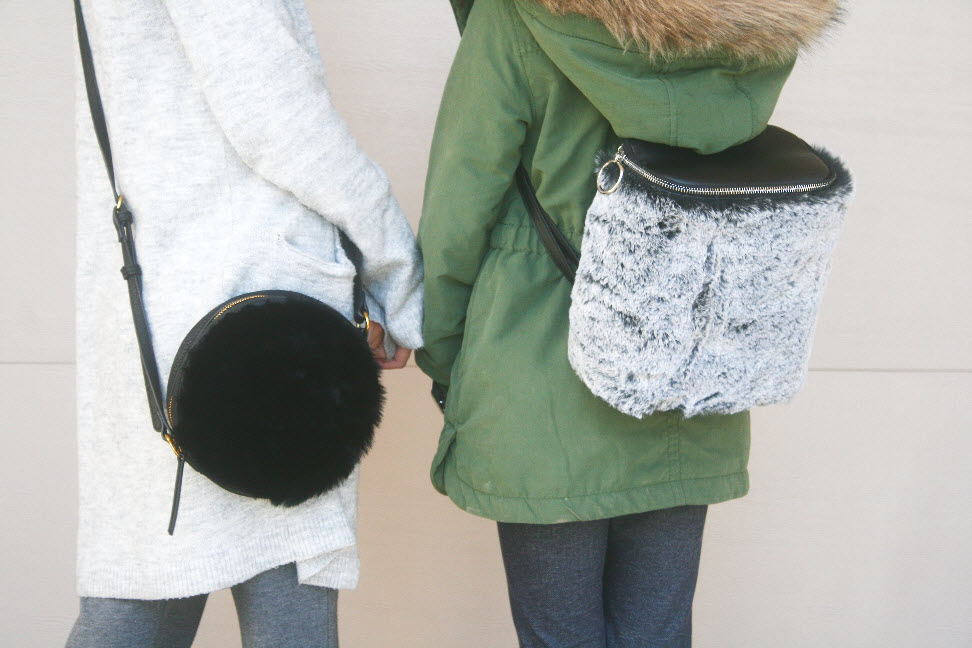
Faux Fur Handbag Refashion Tutorial
Learn how to make this no-sew, faux fur handbag that is super easy to make!
This Refashion Revision tutorial was created on behalf of JOANN, all thoughts, ideas and writing are my own.
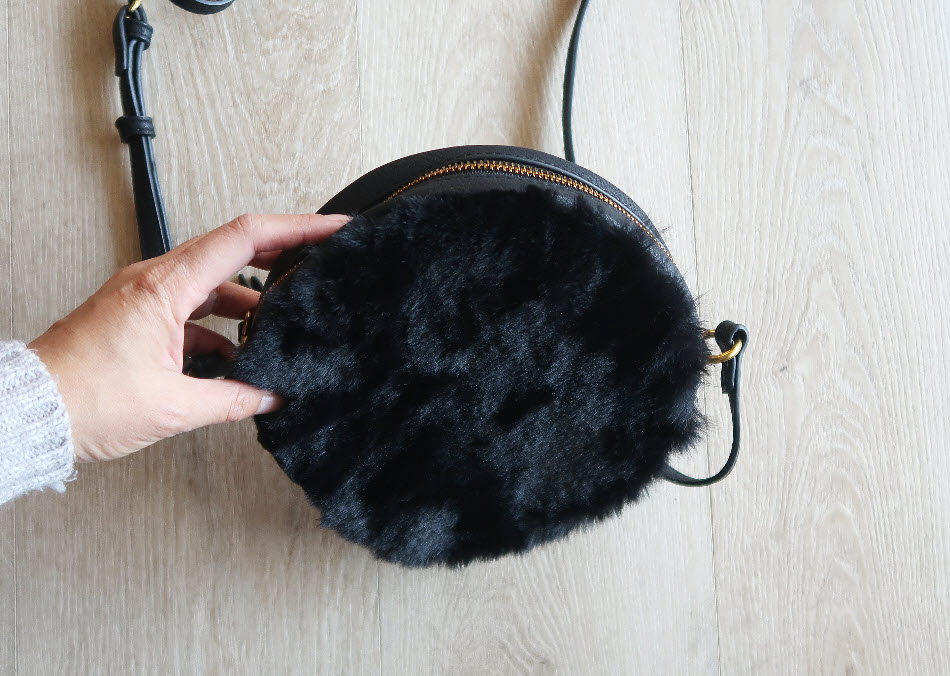
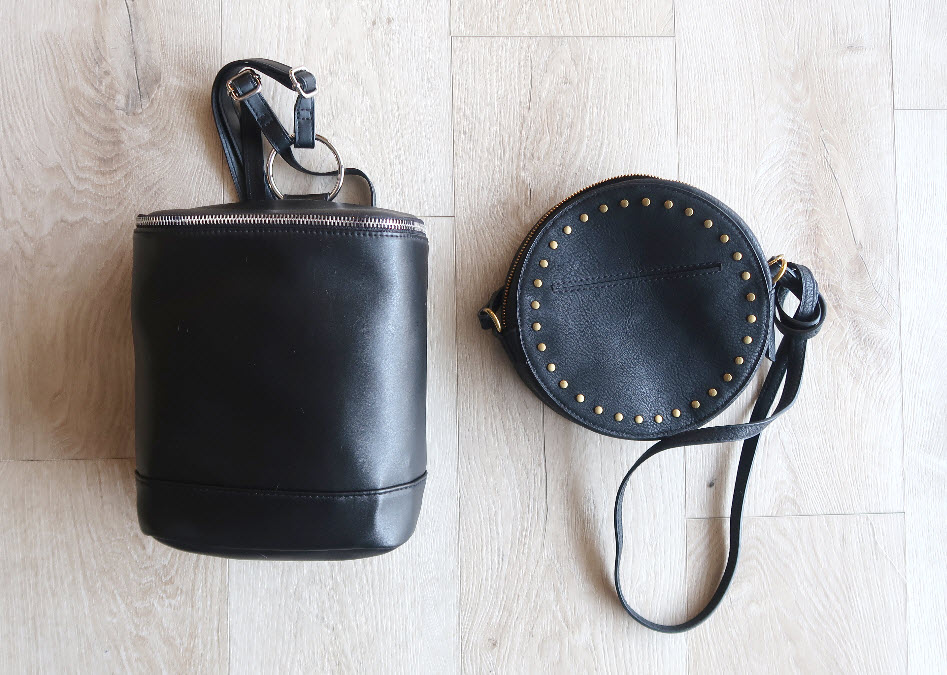
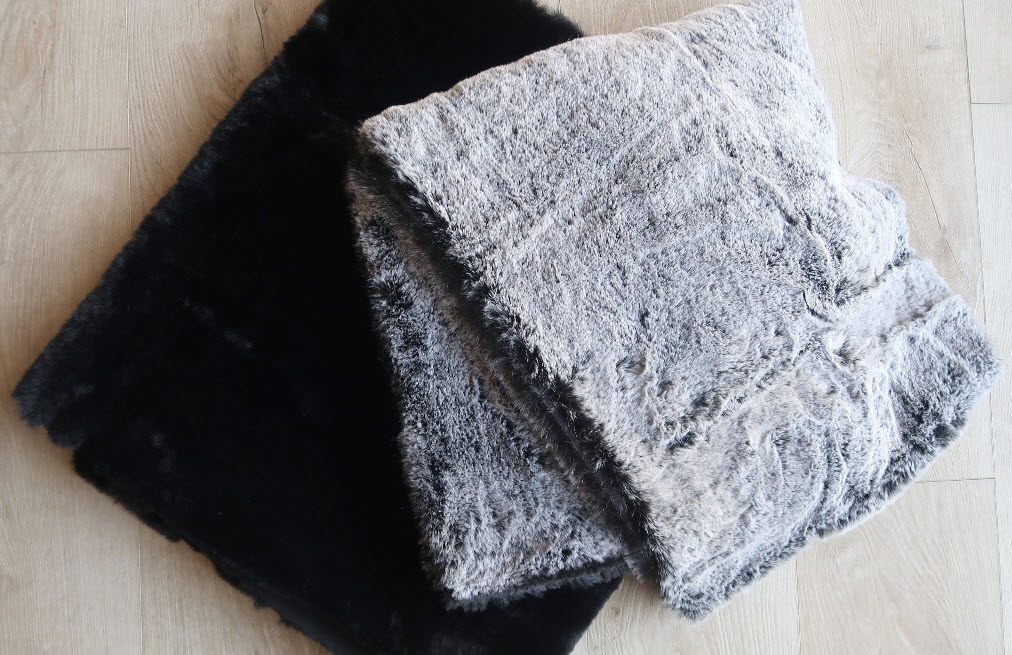
This DIY tutorial is super easy and super fast, you are going to love it! I found some beautiful faux fur fabric at JOANN and immediately had a vision of a faux fur handbag. I usually find an item from a thrifted store or my closet first and then go fabric shopping but this time, it was the fabric that inspired me first and not the other way around! Adding faux fur is a great way to make an old, outdated bag look sophisticated and chic. It makes a bag instantly look more posh and upscale. And the best part? No sewing is required!
Faux Fur Bag Refashion Tutorial
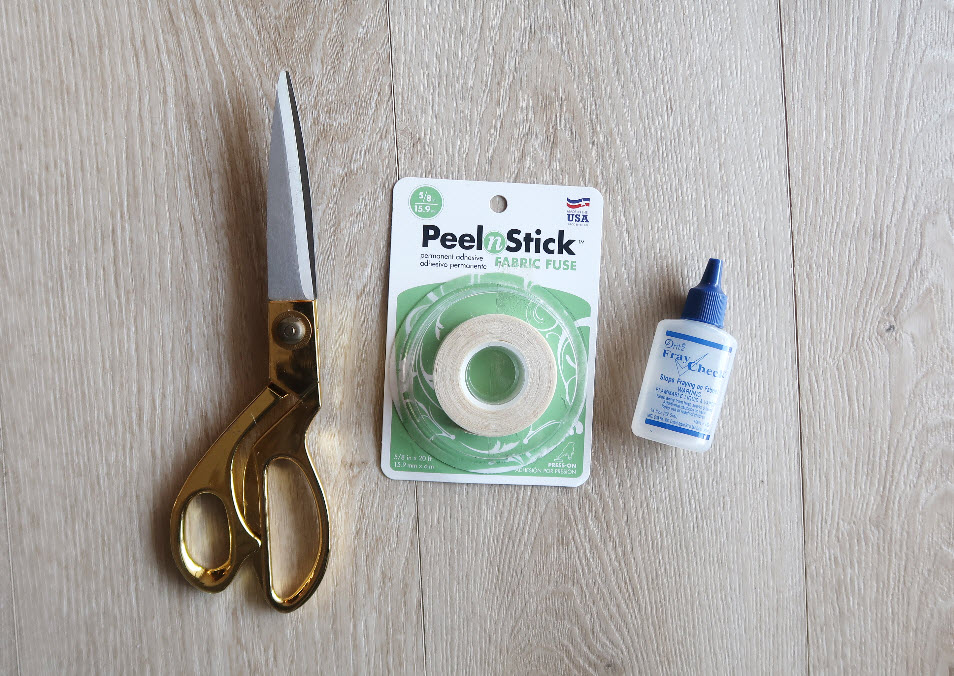
Supplies:
Instructions:
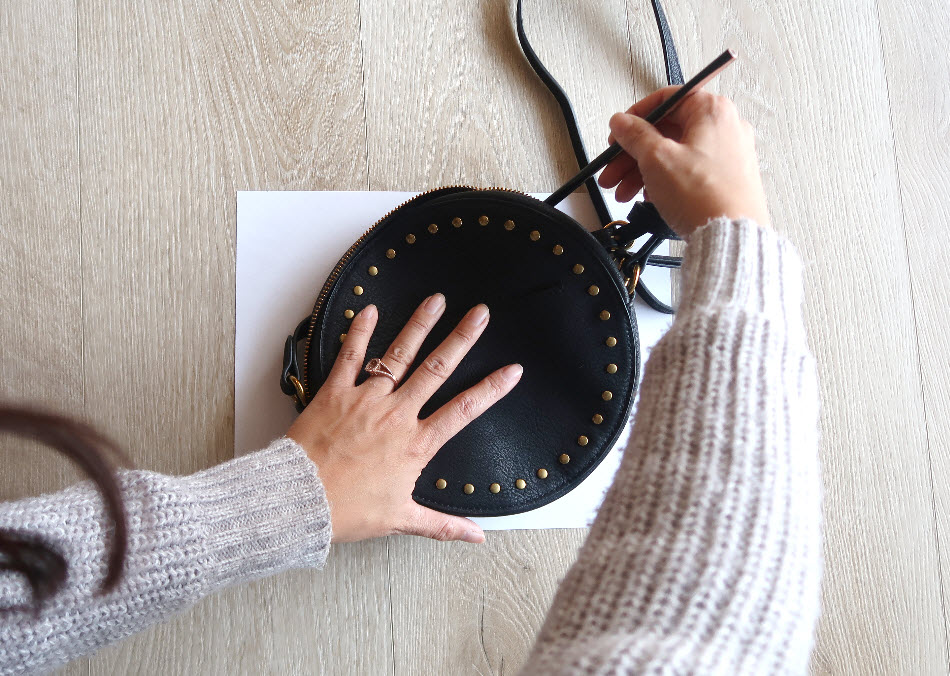
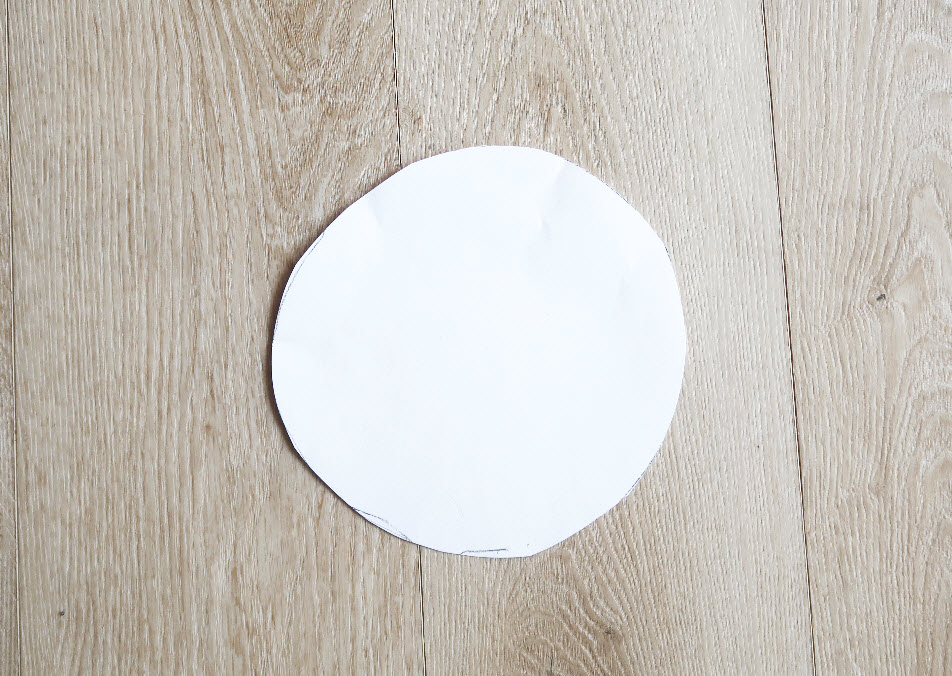
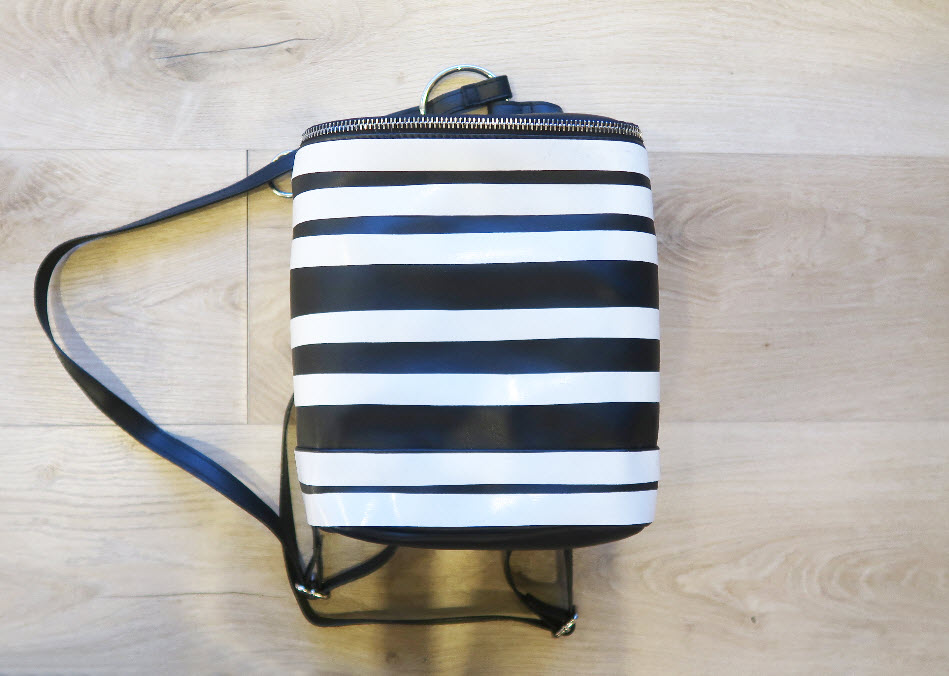
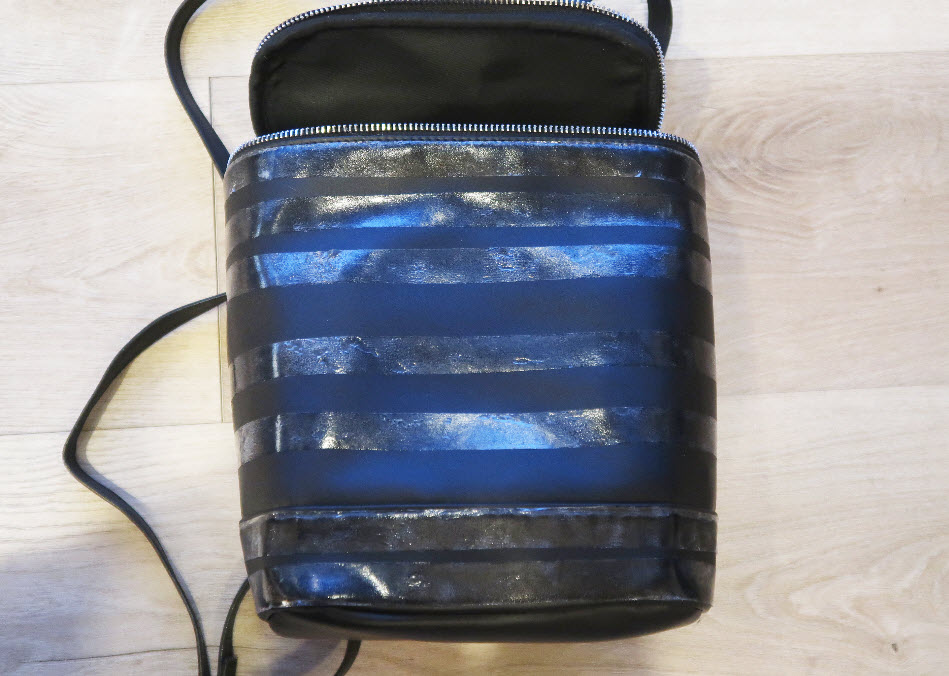
1. Trace the bag on a paper.
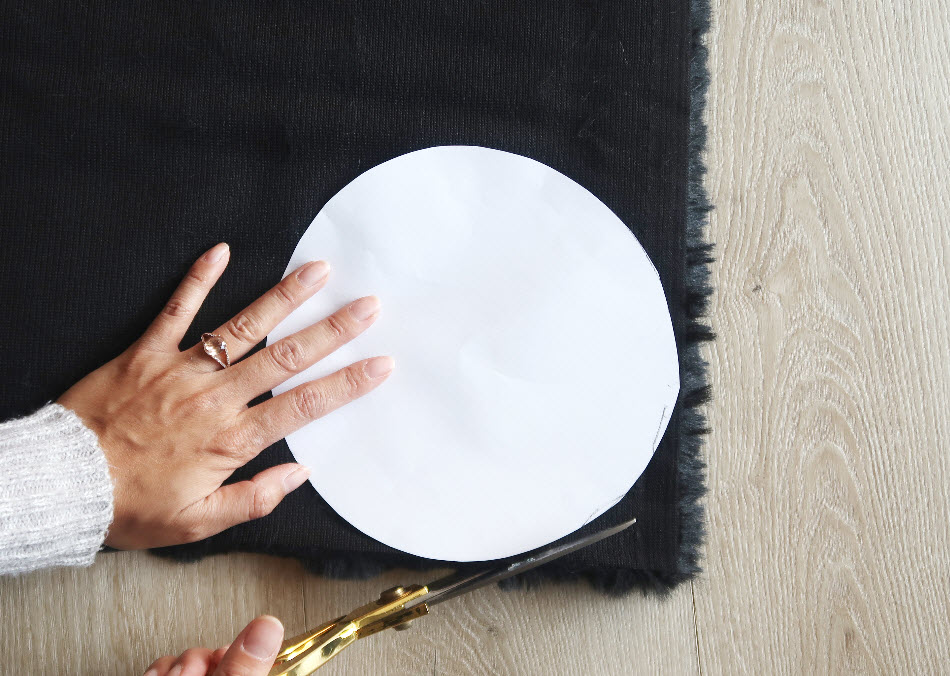
2. Using the traced circle pattern, cut out a circle from the faux fur fabric.
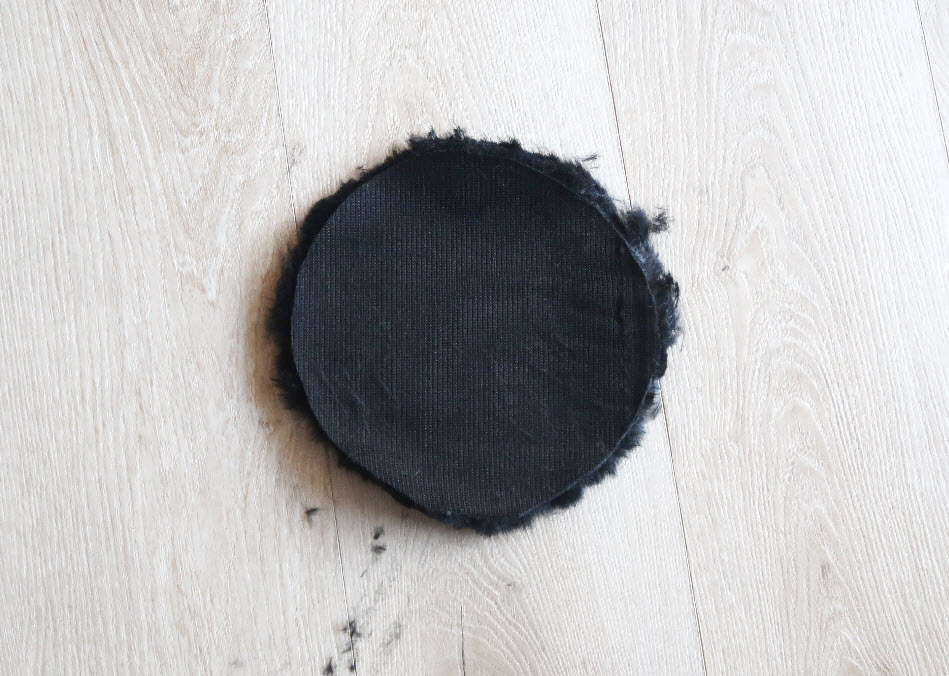
3. Shake out/gently pull out any loose fur.
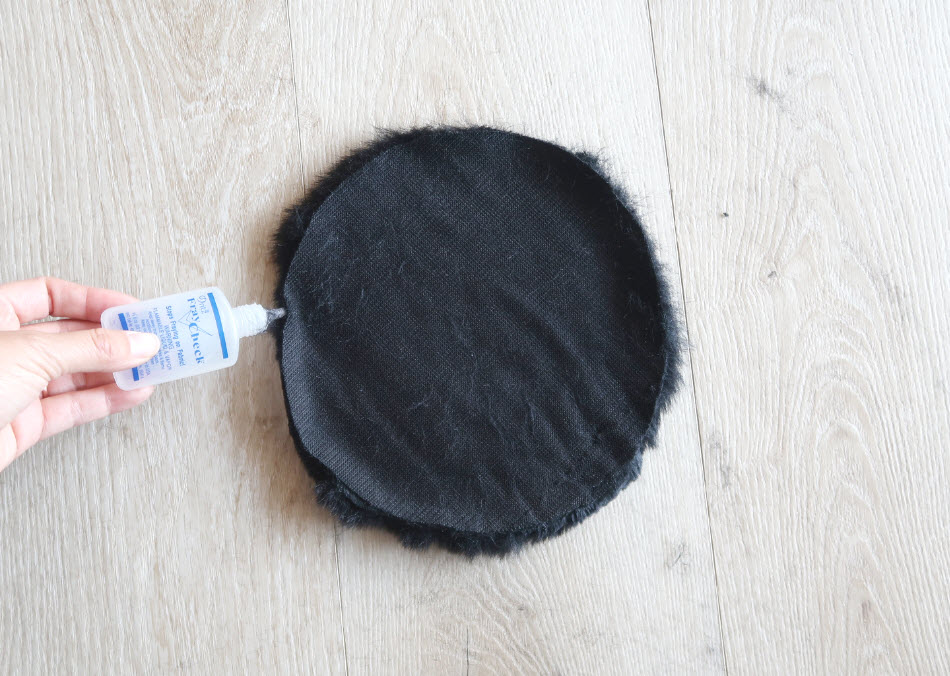
4. Dab generously around the edges with fray check.
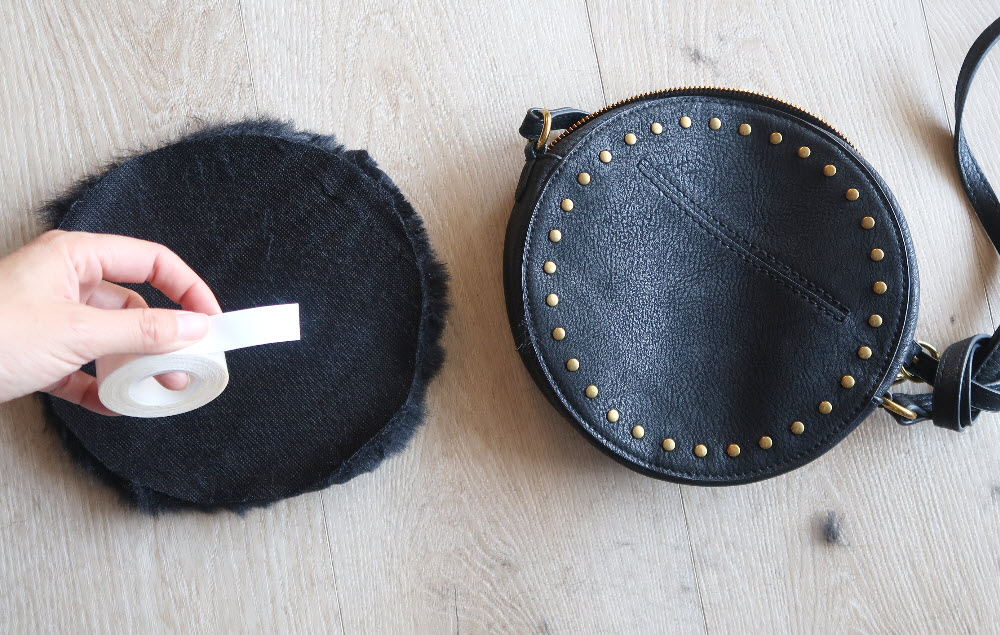
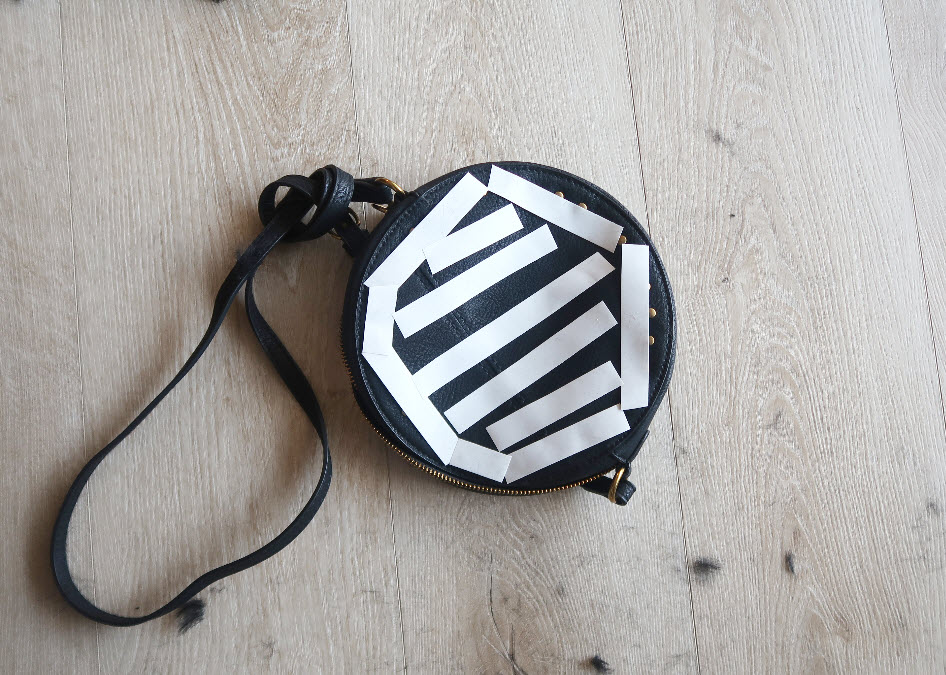
5. Cover the entire side of the purse using the fabric fusion stick-n-peel tape.
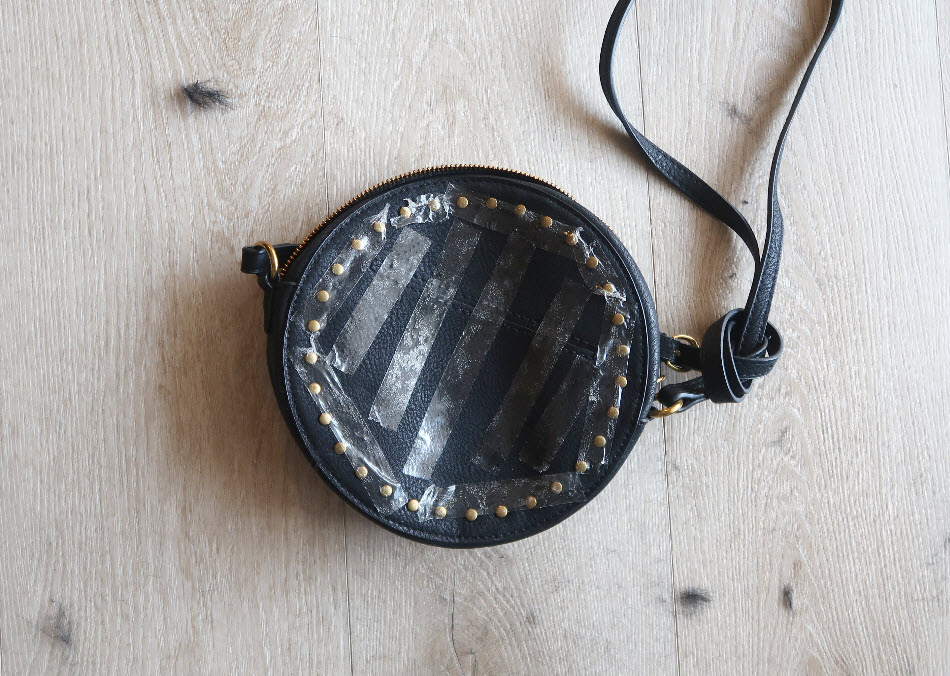
6. After making sure it’s well pressed, peel out the top of the tape so that both sides are sticky.
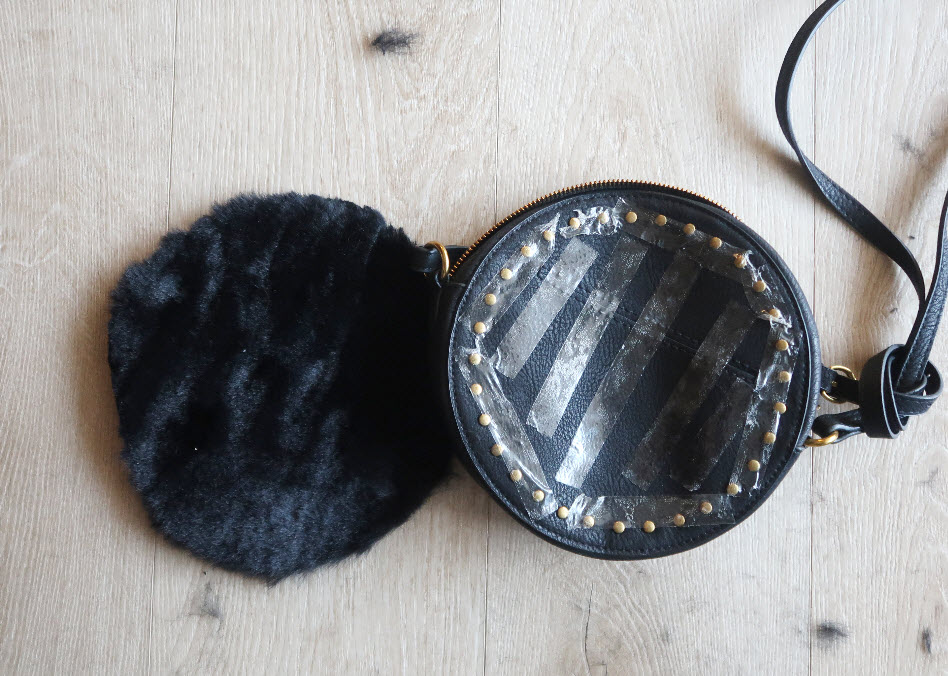
7. Place the circle fabric on top of the taped side of the bag and press it firmly all around.
That’s it! Easy, peasy!
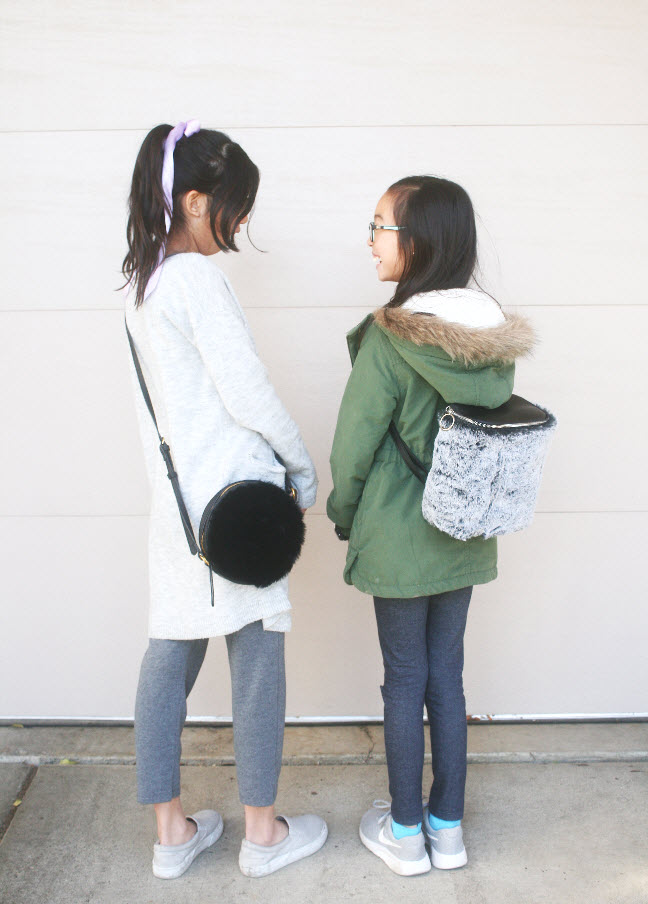
I also refashioned this backpack below using the same method as above.


Estimated time: 15 minutes
Budget: $10-$15
Skill level: A beginner
Do you think you have any old bags in your closet that you can refashion into a sophisticated and posh faux fur bag? Would you try it?
If you post a project on your Instagram that’s inspired by my tutorials, tag me at @sarahtyau in both the captions and the photo to be featured on my Instagram stories!