
I had a plain white tee that had a bit of yellow stain on it. I thought instead of throwing it away, I would add some designs on it using fabric paint! I was inspired by one of my blog readers I featured last week, Sunlight and Sequins.
Instructions:


What you’ll need:
-shirt
-sponge brush
-stamp
-fabric paint
-wax paper
-cup
Directions:
1. Cut up wax paper and insert inside the shirt, to make sure the fabric paint doesn’t seep through.
2. Squeeze out some fabric paint into a cup and dip the sponge brush lightly. With the brush, paint on the stamp.
3. Lay the shirt on a flat surface and stamp wherever desired. Stamp once more if you’d like the design to be more prominent.
4. Let it dry 4 hours before stamping the other side.
5. Wait at least 3 days before putting it in the wash.
Estimated time: 1 1/2 hours
Budget: under $10(if using a shirt you already have)
Skill level: beginner
after:
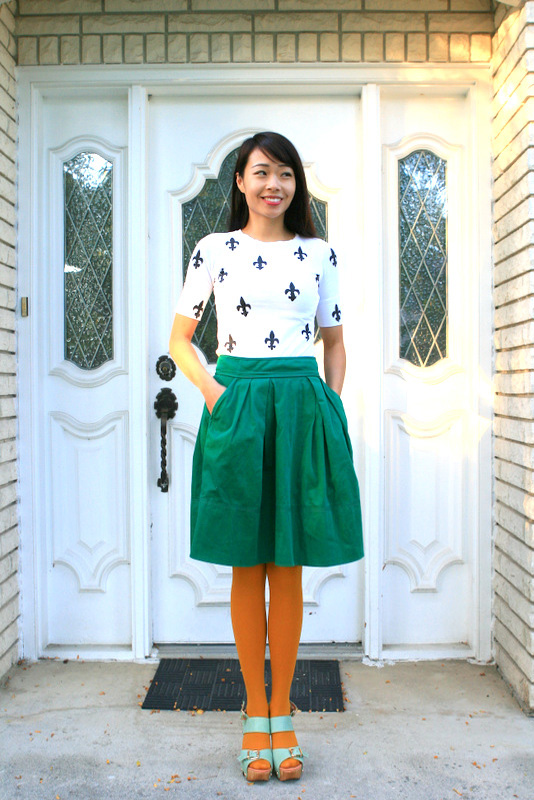
{top: DIY | skirt: swapped | tights: h&m | mint shoes: c/o vivilli}
so flattering, I know.

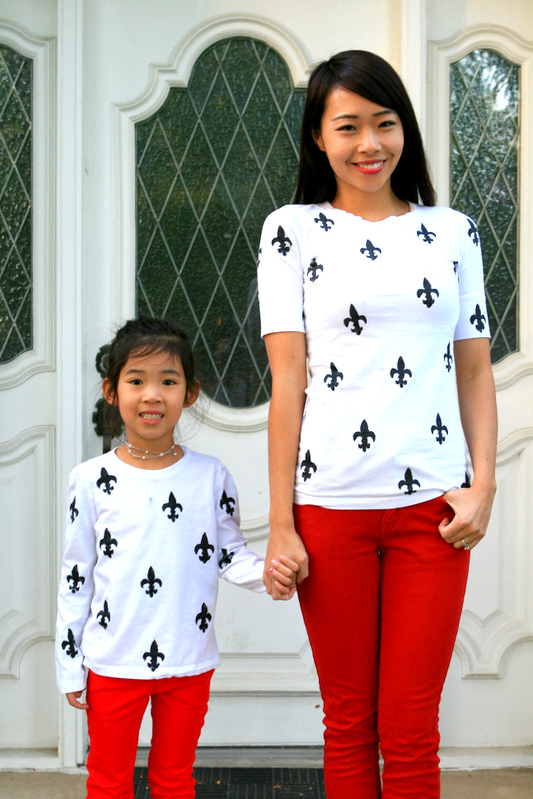

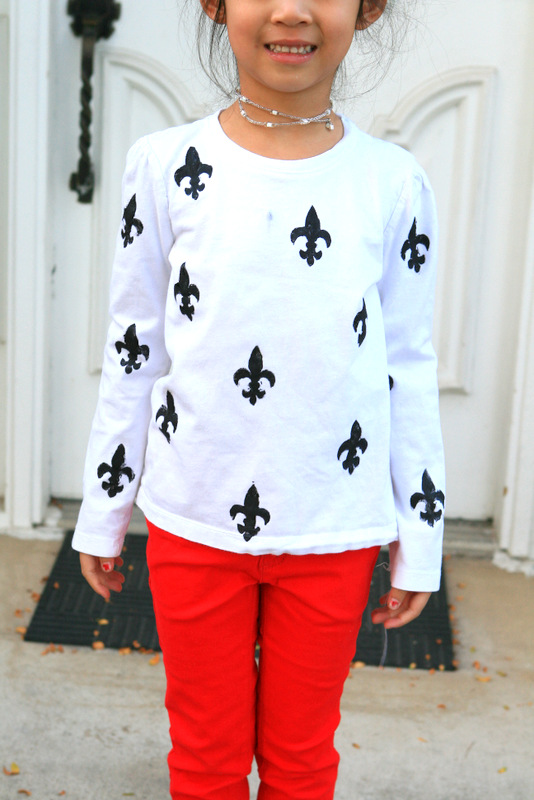
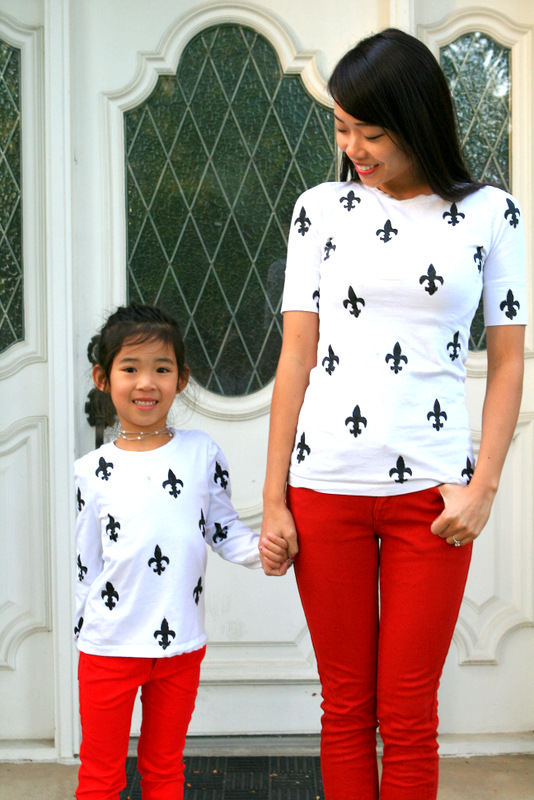
I did this while my girls were being babysat by my neighbor, and when Adi came home, she saw what I had made and wanted to make one for herself as well. She wanted to do it all by herself(I was right by her side to guide her), and didn’t she do a great job?
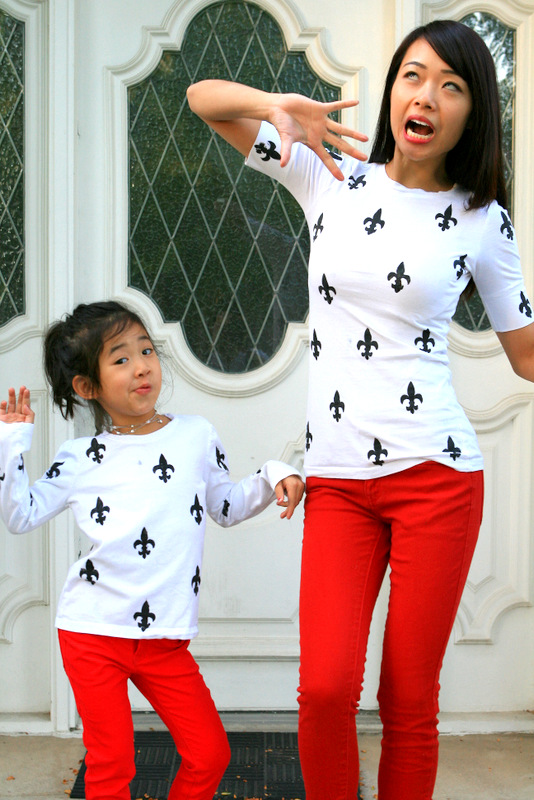
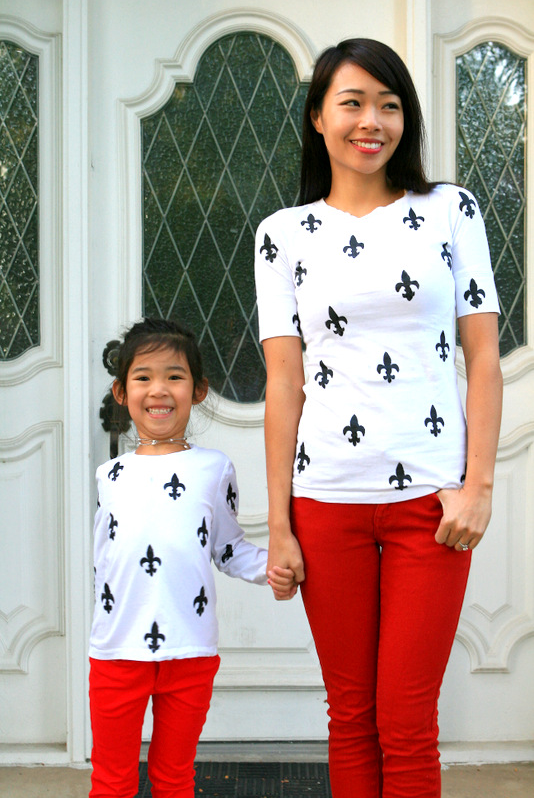
And when Jay came home and saw me in this shirt, he started reciting the Boy Scout’s slogan while signaling the Boy Scout sign. Turns out, it’s really close to the Boy Scout logo… darn it! But whatever, I still like it and I’m still gonna wear it!
I love this! Such a cute idea and the photos of you and your daughter are so adorable. Looks really good, you can't tell it's a diy top 🙂
I looove that idea! Really easy and cheap, and also can be made with bleach in color t-shirts!
xoxo
http://colorfulpaillettes.blogspot.com
It's so cute!! And Adi did such a great job too!
Seriously this it too freaking cute!!!
Such a good idea. And the photos are so cute!
Cute! I totally want to do this!
Adorable, love it!
you guys are so cute! Great job sarah!
cute shirt! i want to make one with my daughter one day.
the symbol is actually the fleur de lys (symbol of the French monarchs!)
really cool idea! my one son seems to not know what a napkin is for at dinner, so i could hide all his stained shirts!lol
Yes, that's what I told Jay too, but he doesn't care! haha 😀
oh and you should definitely make it with your daughter too, my daughter loved making it so I'm sure yours will too.
ha ha I love how your husband always keeps it real…
These look great and the two of you couldn't be any cuter!!!
great idea! & you both look adorable!
Oh, My
Thanks for linking to Take-A-Look Tuesday over at Sugar Bee Crafts – you were featured today! – Mandy, http://www.SugarBeeCrafts.com
Thanks so much for linking up to Refashion Week on my blog! I love this printed shirt and really love the picture of you two twinners! I will be highlighting this project on Friday! 🙂
i love seeing your alterations that you come up with. I need some help though i bought some new work pants at a bargain ($2) they fit alright in the waist they're just wide in the leg, below the knee, how would you alter the pants to fit better?
you two are adorable!! Such a great DIY – thanks for sharing
I love this! What a great idea. And those pictures are too cute 🙂 I think you have a future blogger in your midst 😉 She did a fantastic job on her shirt.
So cute! Love them!
It's pretty easy, you turn it inside out and sew the sides on both legs in, here's a tutorial I just found online:
http://mymcmlife.com/2012/02/16/altering-jeans-bootcut-to-skinny-how-to-hem-jeans/
Hope that helps! 🙂
Amei seu Blog, fiquei encantada vou me inspirar bastante, eu costuro também, você está de Parabéns! Fique com Deus!
This is something unique, you can add various prints to the plain t-shirt to give it a new look, i am gonna try this on my old tee this weekend.
can you still wash your shirt after you do this? just wondering.. i found this tutorial on pinterest and want to do it to one of my shirts, but then was wondering if it's still washable?
Hi Madison!
yes, you can wash it in the washing machine! I would recommend waiting for at least 3 days to let it completely dry and then washing in cold water. good luck and please send me a link once it's done!