I apologize for the lack of posts. The charger to my laptop is broken so the only access I get is through my phone or at my parents’ house. Not to mention I went to Vegas for the weekend with my girlfriends with NO kids WOO HOO!
Not using the internet has been pretty nice though I gotta admit, and I realized I’ve been using the computer way too much and that I should focus on what’s more important like relationships with my family. So I don’t think I’ll be blogging everyday, maybe every other day or so.
But guess what!? I did work on a DIY project to not disappoint you readers out there. 🙂
 I bought this shirt for $5 at Old Navy in XL. I’m in love with light blue these days so I knew I had to buy it in hopes of making it into something cute.
 My inspiration came from this Climbing Cowlneck top from Anthropologie. after a few hours and a few days later:


*I had so many requests for a tutorial for this one that I couldn’t resist. 😉 The only problem is the shirt is already made so there are n0 step by step pictures. But I can take detailed pictures of the after and explain the how-to’s as best as I could, does that sound good? good, here it is!
I altered the XL shirt into a XS first. I did that by putting a xs shirt on top of the shirt and then roughly measuring how much to cut. Then I cut up the sleeves into a cap sleeve, and cut up the sides. I sewed up the sides and left the sleeves alone. I also cut up the neckline hem so it’s just a open hem. One important thing to note is that the front of this shirt will end up to be the back of the shirt and the back will be the front of the shirt. This was necessary since the neckline has to be pretty high enough to be able to create the draping for the cowlneck effect.
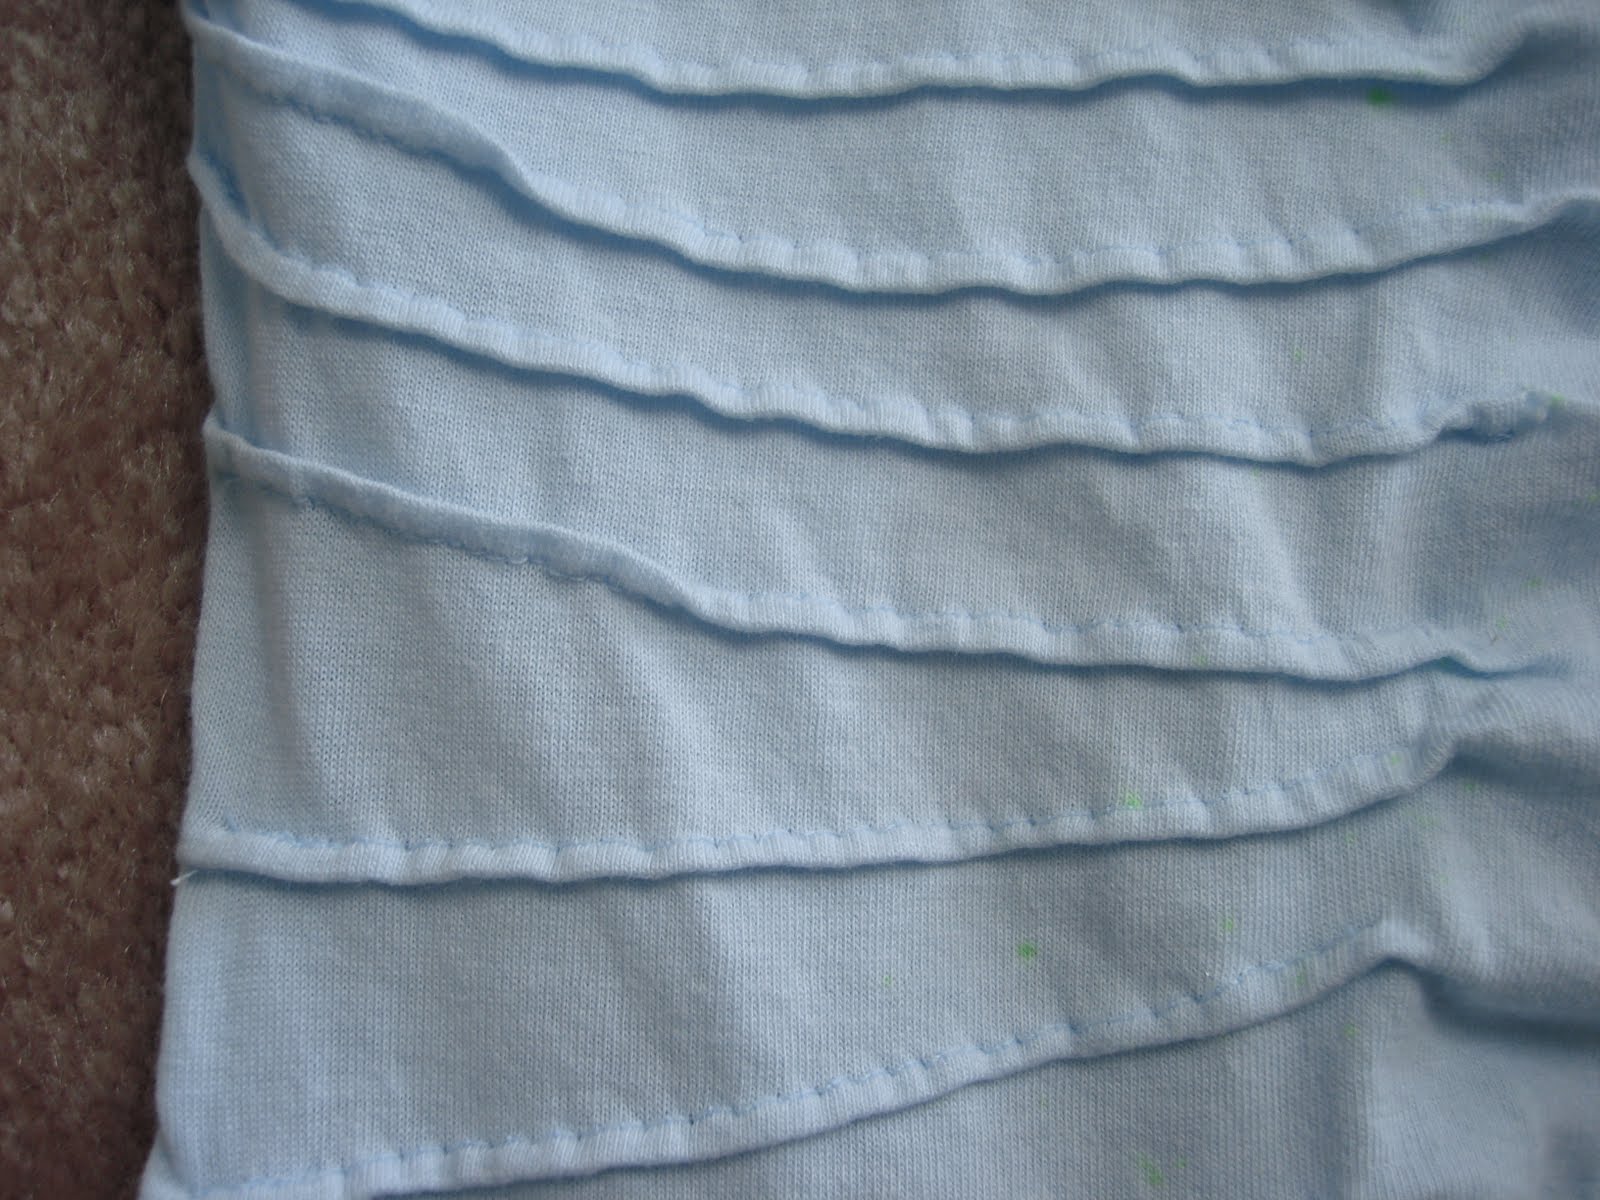
 after the shirt is altered, I worked on the sleeves. you pinch about 1/6″ inch of the fabric and sew it straight line horizontally, from the start of the neckline to the end of the sleeves. reverse a few times to make sure the stitches are in place. (sorry i don’t know the term for it, I’m not an expert seamstress!) I did 17 lines in the front and 16 lines in the back. (the only reason why I did so many in the back was because since it was a XL, the neckline was very low. You don’t have to do the back at all if the fit is just fine.) the spacings between the lines are roughly 1/2″ apart.
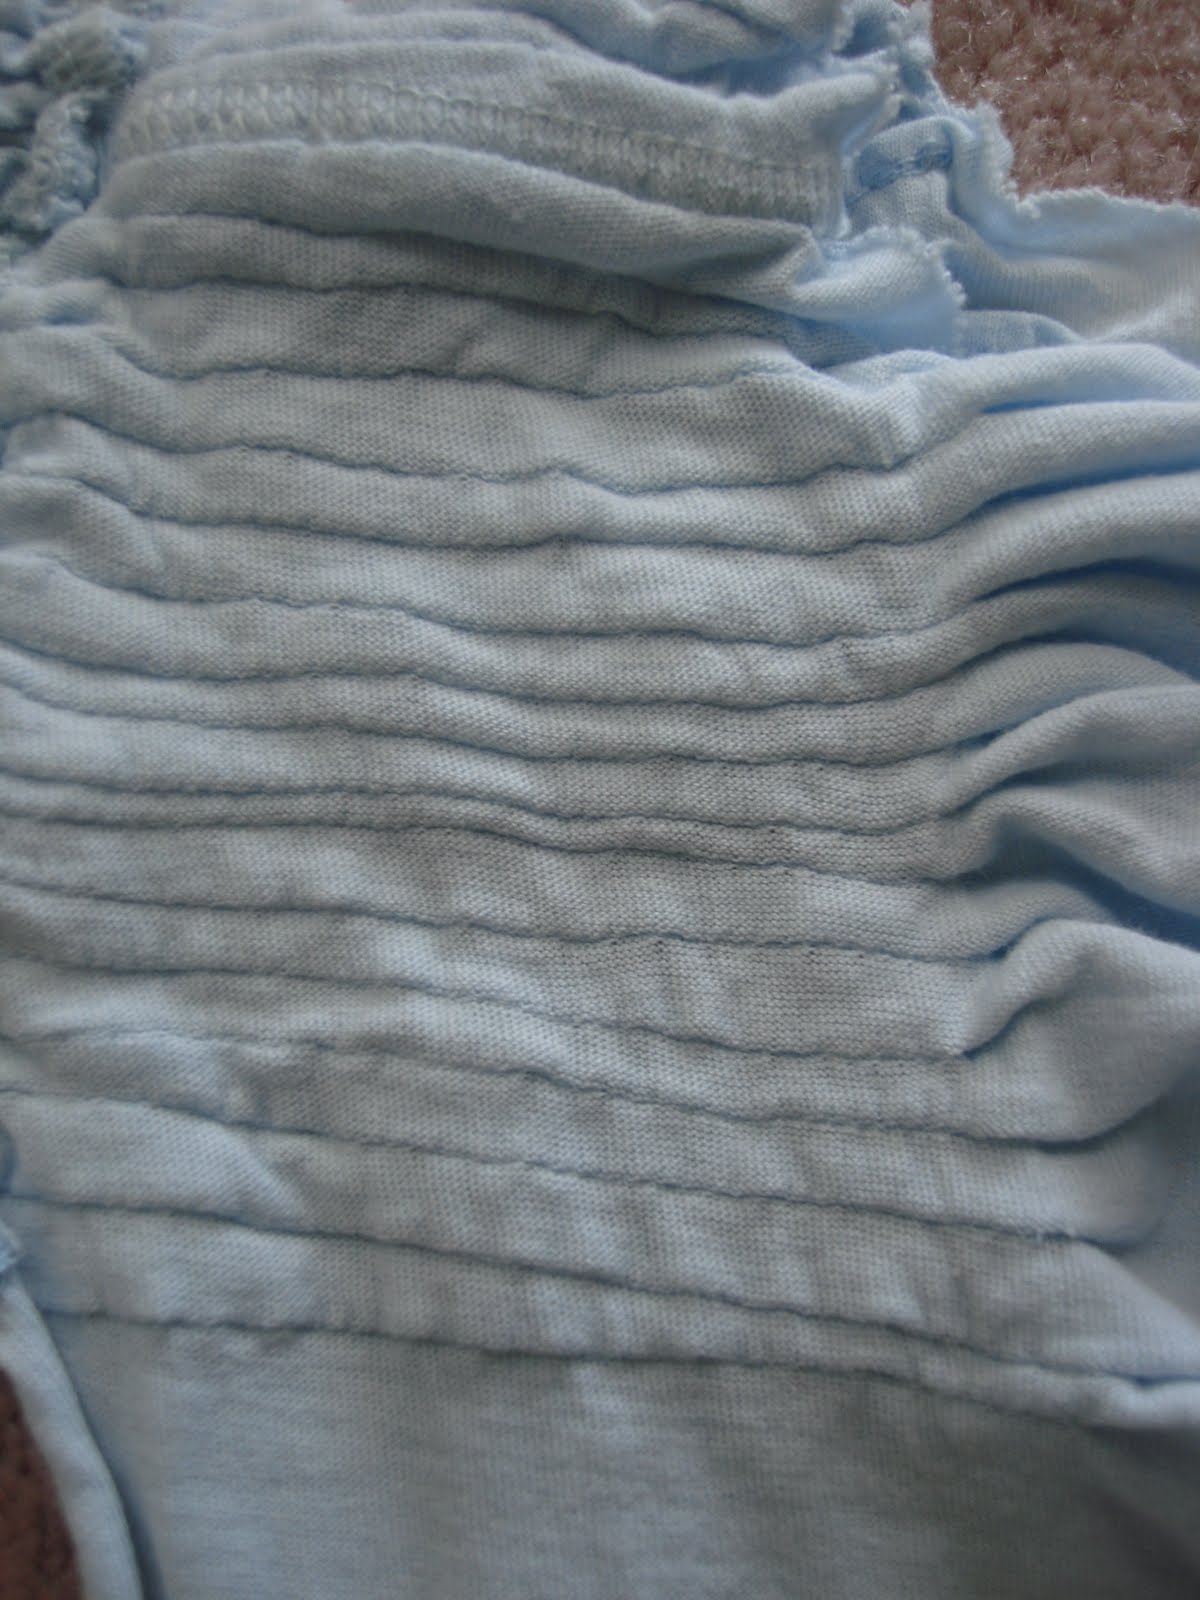 this is how the back should look. now repeat on the other sleeve.
 for the sleeves to be not so futuristic looking and stick out straight on the shoulders, I gathered the end of the sleeves by sewing on stitch length 5 and pulling it together to give it a “curved, round” look.
 then right on the back part of the shirt, I did the same as I did on the sleeves but only 8 lines VERTICALLY. I only did this because the XL shirt was too wide for me.
 the back of the seam
 the view of the back of the shirt. (remember this is actually the front of the shirt when no alterations were done.)
 then on the right side of the shirt, I did the same technique I did to the sleeves except it gradually gets longer per line, the longest line being the middle of the shirt. One line after the other is about 1/3″ shorter or longer.
 and you’re done! I hope I made sense! 🙂