Hi guys! I have exciting news, I am launching a new sewing YouTube channel with my little girls! This is our schedule so far and I am so excited:
Week 1 and 3: Mother-daughter sewing series where we motivate and inspire kids and their parents to sew in a very simple, non-intimidating way!
Week 2: Refashion Revision, you’ll take a trip with me to a thrift store where I’ll be surprised with a few vintage items and will have to share with you my vision for the “after”, impromptu style.
Week 4: Refashion! Where I take an outdated piece of clothing and transform it into new.
Tune in every Thursday at 2 pm MST on www.youtube.com/sarahtyau and subscribe to be the first ones to watch!
And follow me on Instagram: www.instagram.com/sarahtyau/ to see behind the scenes and sneak peeks of my next project!
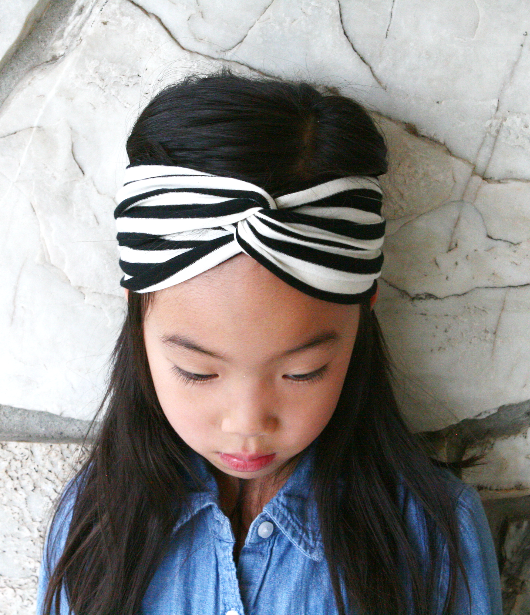
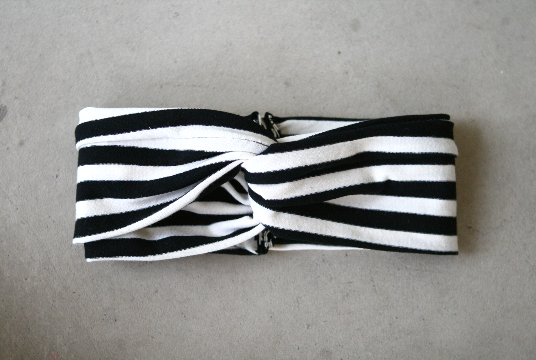
Now on to this Twist Headband DIY:

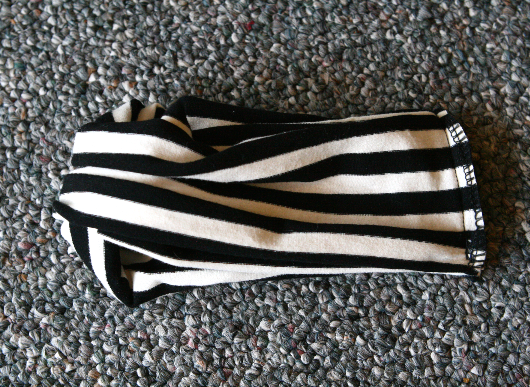
Remember when I made this Anthropologie fancified boatneck DIY where I cut a good 6″ off the bottom of the tunic? I recently found that extra fabric and wanted to make something with it. I didn’t know what, but as I kept looking at it, I thought it’d be perfect to make it into a twisted headband that I’ve seen around on Etsy. They sell it anywhere from $10- $38, but it’s so easy and simple to make and if you use an old t-shirt you have, it’ll cost you $0!

DIRECTIONS:
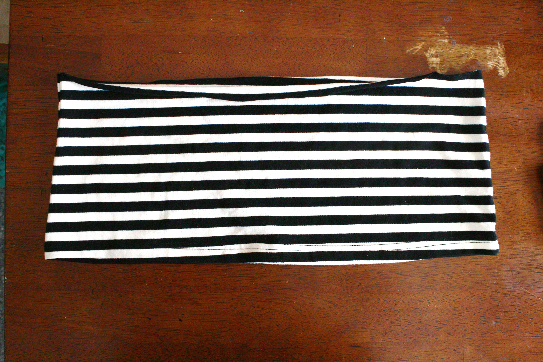
This piece is only 16″ lengthwise which was too short to make for me, my head circumference being 20″. 16″ is perfect for a baby headband(it was very tight on my 5 year old but I didn’t want to have my 13 month old son model it for me. :), but for adults it’ll be about 20″+ length and 5″ width. Make sure to measure your head circumference.
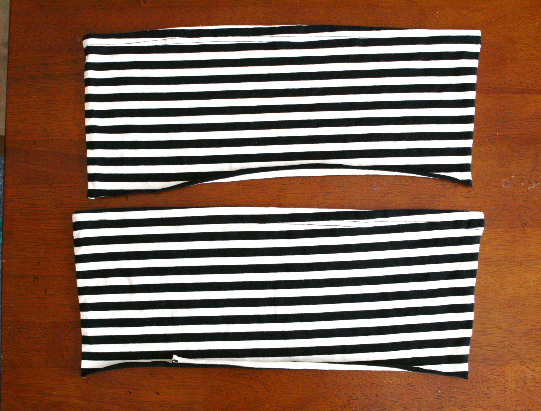
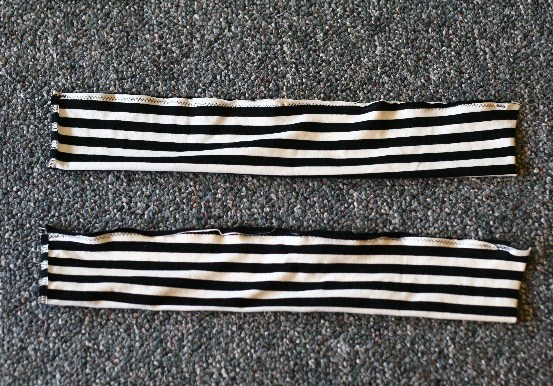
I cut it to separate the front and back part.
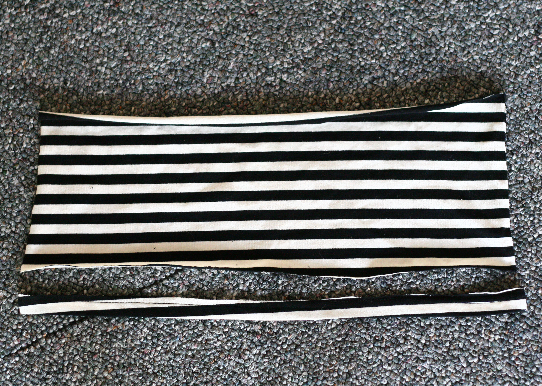
cut the bottom hem off on both pieces.
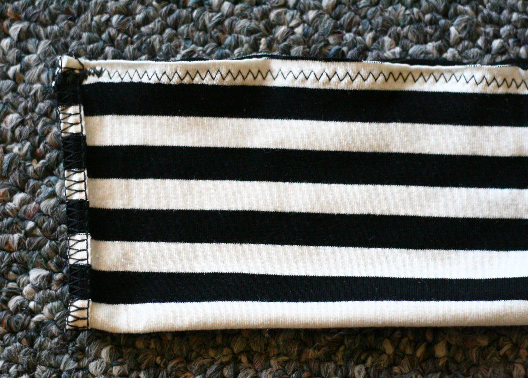
Fold the rectangle fabric in half, hot dog style and zigzag stitch the length.
the zigzag stitch helps the fabric to stretch more than if it was a straight stitch.
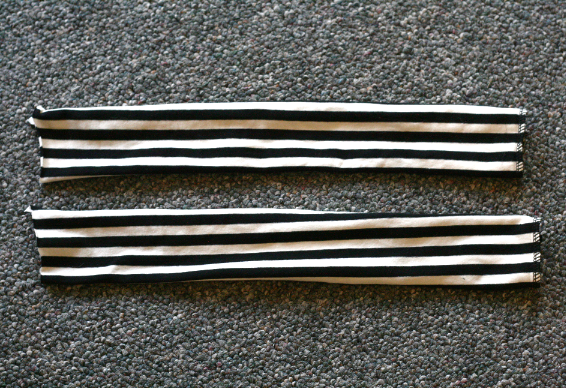
flip it inside out
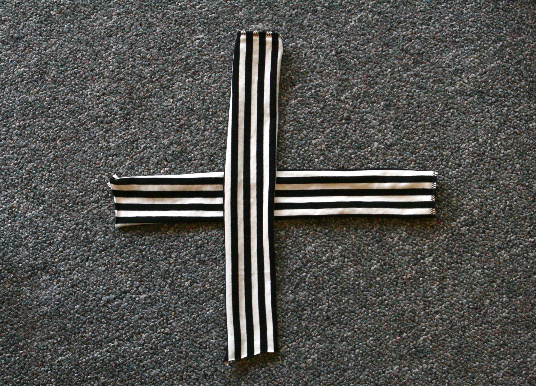
lay the strips in a cross style
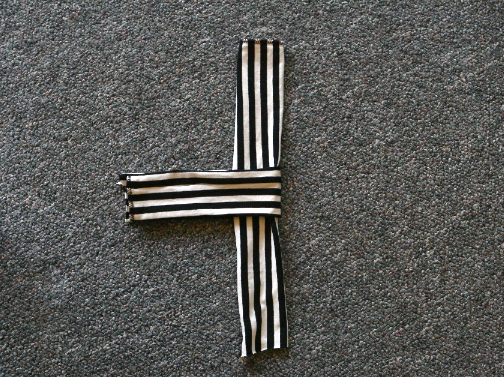
fold over one strip over the other strip.
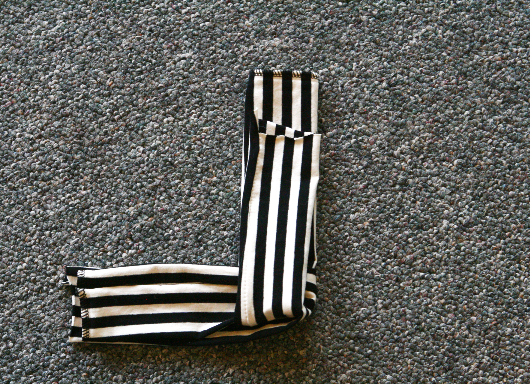
fold over the other strip
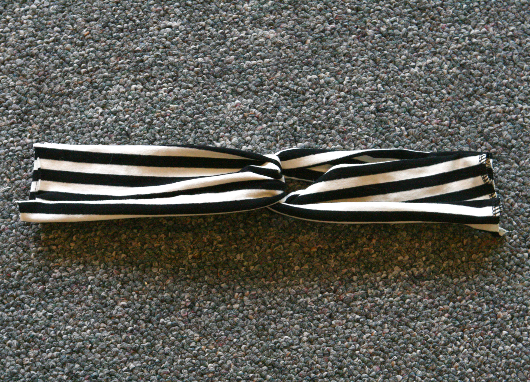
pull the strips on both sides
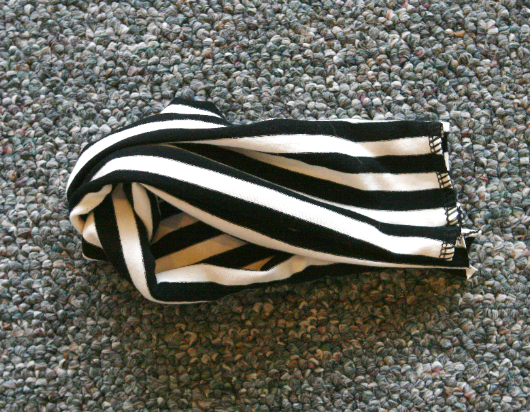
gather all 4 edges together
and sew it closed, straight stitch.
That’s it! So simple right? I know you can do it!


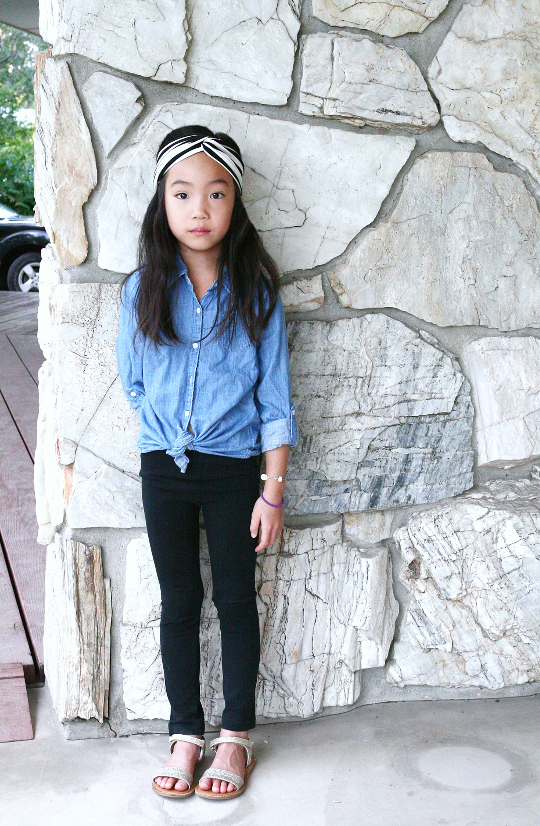

My little Kindergartner all ready for school!

Outfit detail:
twisted headband: DIY
chambray top: H&M
tights: GAP
gold sandals: GAP
plaid backpack: OASAP c/o
What you’ll need:
-2 pieces of knit jersey fabric(21″ x 5″)
-matching thread
-needle or sewing machine
-scissors
Directions:
1. Measure your head circumference. If your head is 21″, then cut two pieces of 21″ X 5″ fabric.
2. Fold the rectangle fabric in half, hot dog style and zigzag stitch the length(the zigzag stitch helps the fabric to stretch more than if it was a straight stitch).
3. Flip it inside out.
4. Lay the strips in a cross style.
5. Fold over one strip over the other strip. Repeat with the other strip.
6. Pull the strips on both sides
7. Gather all 4 edges together, and sew it all together, straight stitch.
Estimated time: 1st time: 30 mins. after that, as little as 10 mins.
Budget: very low to almost nothing(mine was $0).
Skill level: a very beginner.
I love our twisted turban headbands! I'd love you to share it at Outside {the Box} link party Tuesday 5pm EST
Very cute and good to know how to make one, adding it to my to-do list – thanks for sharing!
LOVE these head bands and that girl is such a cutie!! Great styling!
xo/Riva
http://www.rivaladiva.com
Oh this is so cute, I love it.
http://www.kindoflovely.com || AUS Fashion/Lifestyle
I love it! Pinning to the Monday Funday board! Thanks for linking!
Thank you so much for linking up to Wonderful Wed. Blog Hop. Your twisted headband is so clever and your tutorial is clear, easy to follow – PERFECT. I hope you will come again next week. I am ditzy and couldn't find your fb page or button, but I would like to feature your post on my fb page. Carrie, A Mother's Shadow
this is so easy…love it and your daughter is so cute…
comfortandblissfullife.wordpress.com
Hi there
Just stopped by to let you know that I featured this on my Saturday Spotlight post this week!
Saturday Spotlight
Thanks again for linking up! Hope you have a great week!
Jill @ Creating my way to Success
so easy and super cute too!! You are featured this weekend at the Create Link Inspire features over at Nap-Time Creations- Emily
This looks so amazing! What a cutie! Pinned. Thank you for being a part of our party. I hope to see you tonight at 7 pm. We love partying with you! http://loulougirls.blogspot.com/
Happy Monday! Lou Lou Girls
Cut idea!
https://www.etsy.com/shop/KarensPhotoCreations